USB flash drive (also known as Pen Drive) is a trendy storage device and does not need our introduction. In a tiny-sized device, you can handle a lot of data. You can easily share data from one PC to another without doing any networking. Connect to your PC and copy the data from your hard disk to a USB flash drive and paste it into another PC, so easy to transfer files using a USB thumb drive.
After purchasing the USB flash drive, you have to format them to make it compatible with your operating system when you first connect to a PC. Once you have formatted it with a compatible file system, you can start using it to store the data. There is nothing wrong with formatting and using a USB flash drive; the USB drive format is too easy on a Windows PC. If you purchased a lot of capacity Pen drive, for example, a 1TB USB flash drive, managing the data is difficult in one partition. After creating more than one partition in your USB flash drive, you can systematically store the data. Creating multiple partitions is not a new technology; we also create multiple partitions for our built-in HDD or SSD drive to manage data easily.
There may be another benefit of creating multiple partitions; for example, if you work in Windows and Linux environments simultaneously and want to copy data from both OS in a single USB drive. If you make a single partition on your Pen drive, you can either make them compatible with Windows or Linux. That means you can only use that USB thumb drive on Windows PC or Linux. But, when you create two partitions, one for Windows and the other for Linux, you can handle both OS data in a single USB thumb drive.
Note: Formatting a thumb drive using FAT32 technology will use only up to 32GB of space, and if the drive is large, you will waste a lot of storage.
Those who carry normal and sensitive data on the same thumb drive can create two partitions to keep them separate. One partition (with normal data) you can leave unprotected, while the other (with sensitive data) can encrypt using BitLocker of Windows 10. The reasons may be a lot, but the whole thing is that if you have a large capacity pen drive, you should create partitions on it. It will help you to segregate the data reliably.
To create multiple partitions on a Windows 10 for your thumb drive, you don’t have to search for a third-party tool and pay the charges for creating partitions. Built-in Windows 10 Disk Management tool is enough to set up multiple partitions on a USB flash drive.
In this post, you will learn the following:-
- Generate multiple partitions on a USB flash drive
- Make multiple partitions with password protection on a USB flash drive
How to create multiple partitions on a USB flash drive?
Gentle Reminder: Before proceeding with the steps, create a backup of any important data stored on your USB flash drive. In this process, your USB drive data is erased.
Step 1. Connect your USB flash drive to Windows 10 PC.
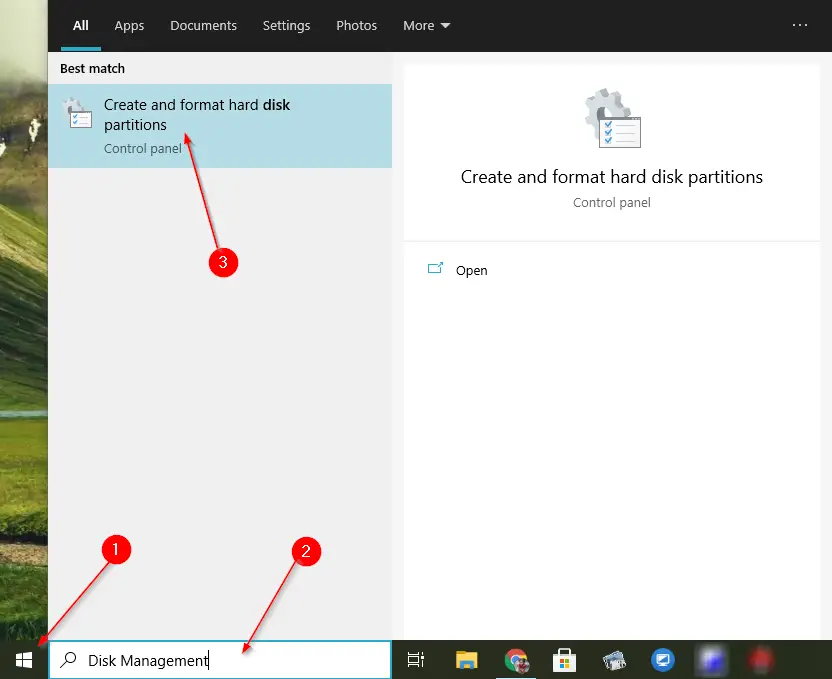
Step 2. Open the Start menu and type Disk Management.
Step 3. From the available top results, click on Create and format hard disk partitions.
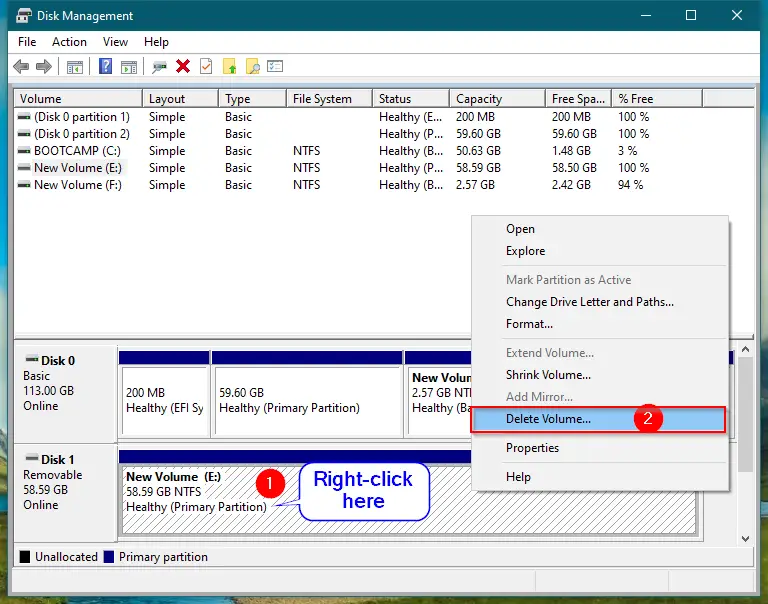
Step 4. Once you perform the above steps, the “Disk Management” window opens.

Step 5. Here, you will see a removable disk; if not, connect the USB flash drive to the PC and reopen the “Disk Management” tool.
Step 6. Right-click on the right-side pane of the removable disk entry and select the Delete Volume option.
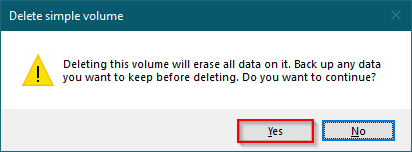
Step 7. Click Yes when the “Delete simple volume” dialog box prompts.
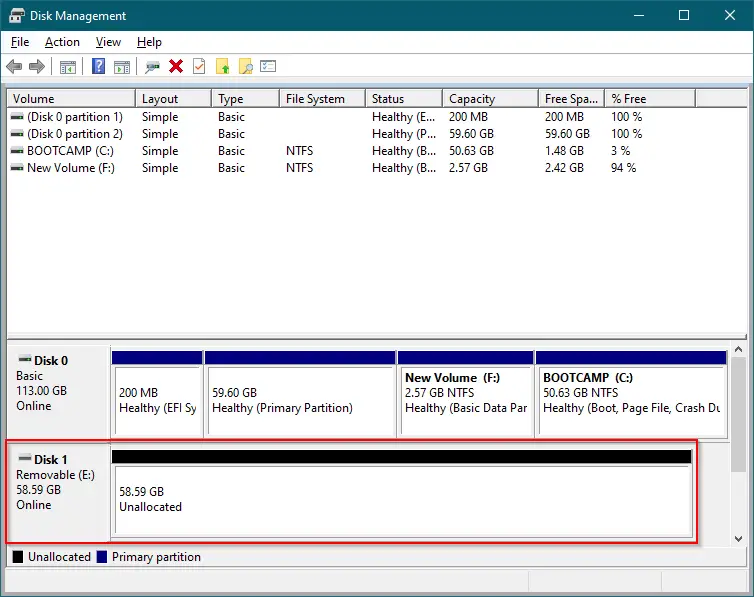
Step 8. Once you complete the above steps, you should see the “Unallocated” space.
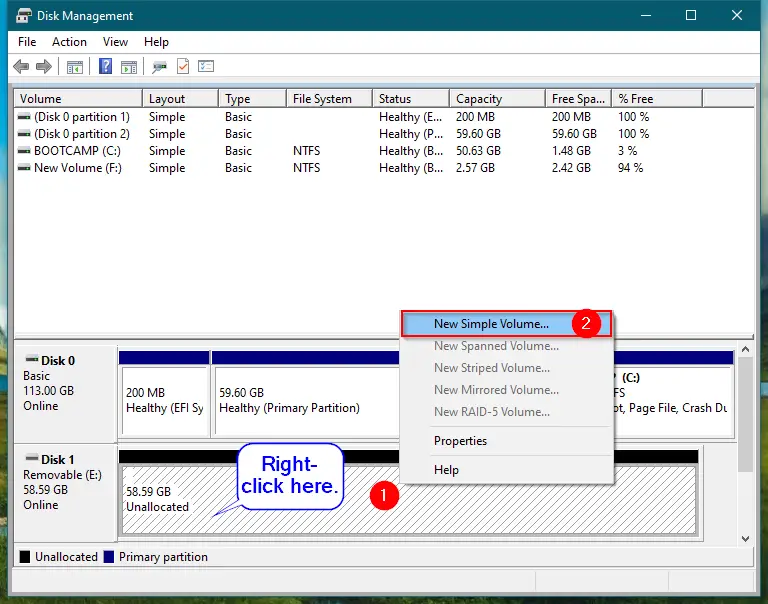
Step 9. Now, the USB thumb drive is empty, and you are ready to create partitions on it. To create a partition on Pen drive, right-click on the Unallocated space and select the New Simple Wizard option.
Step 10. Click on the Next button when the “New Simple Volume Wizard” opens.

Step 11. On the next window that appears, specify the first partition size in megabytes (MB) next to “Simple volume size in MB.”
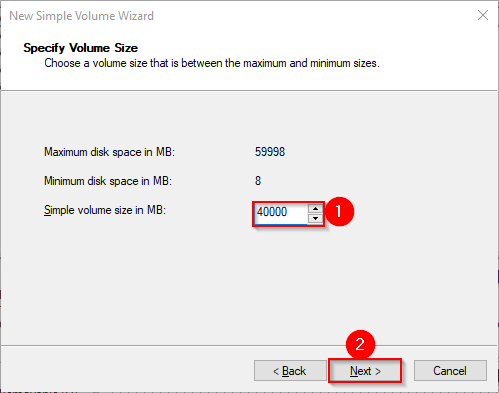
Step 12. Click on the Next button.
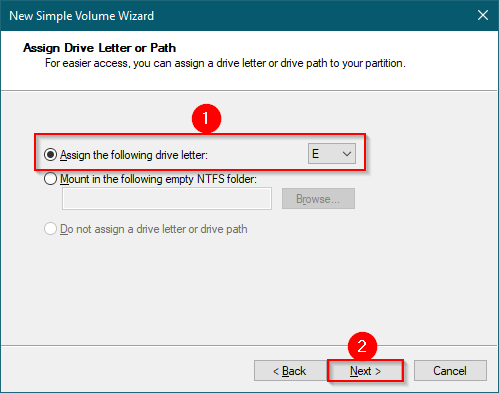
Step 13. Select a drive letter from the drop-down next to “Assign the following drive letter” or leave it default. Windows automatically assigns a free drive letter when we create a new partition.
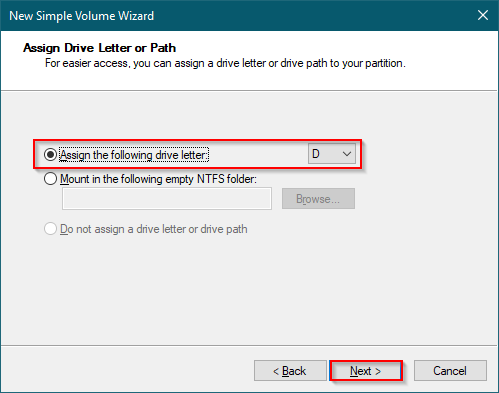
Step 14. Click Next.
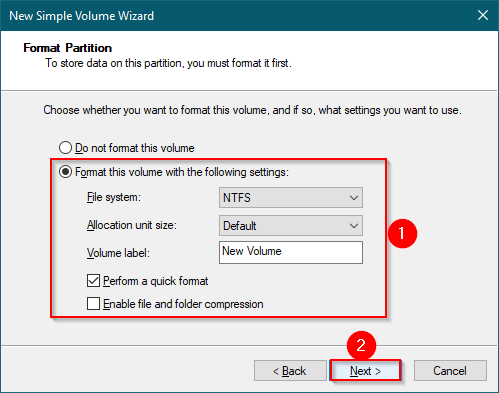
Step 15. Select “File system” and “Allocation unit size” from the drop-down menu, or leave to Windows default. Finally, check the option Perform a quick format and then click on the Next button to format the new partition.
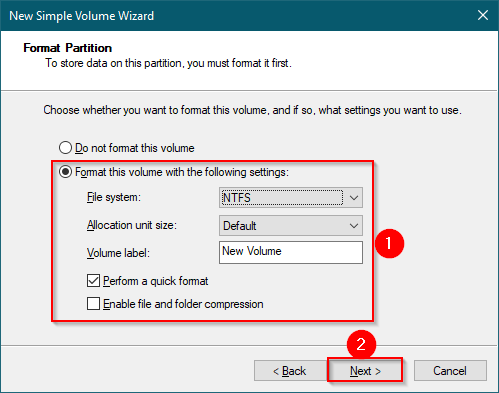
Step 16. Click the Finish button. Windows OS will format it, and you can use it then.
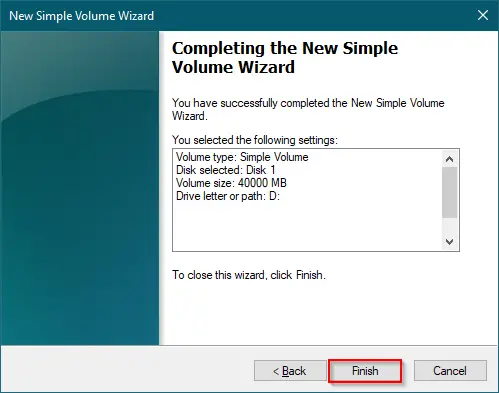
Step 17. Once formatting is completed, you will see the USB flash drive is divided into two parts: one with a drive letter and the other as Unallocated.
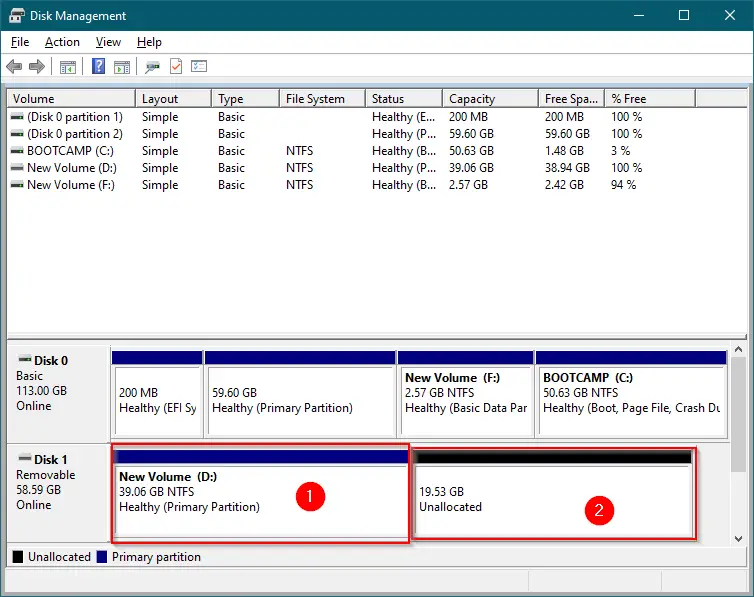
Step 18. Perform a right-click on the Unallocated space and select New Simple Partition.
Step 19. Click on the Next button under the “New Simple Volume Wizard” window.
Step 20. Click Next.
Step 21. On the next window that appears, set the second partition size in megabytes (MB) next to “Simple volume size in MB.”

Step 22. Select a drive letter from the drop-down next to “Assign the following drive letter” or leave it default. Windows automatically assigns the next free drive letter when we create a new partition.
Step 23. Select “File system” and “Allocation unit size” from the drop-down menu, or leave to Windows default. Finally, check the option Perform a quick format and then click on the Next button to format the new partition.
Step 24. Click the Finish button when formatting is completed.
By doing the steps, you can create multiple partitions on a single USB flash drive.
How to make multiple partitions with password protection on a USB flash drive?
By doing the above procedures, you can create multiple partitions on your USB flash drive. Now, you are only left with BitLocker to encrypt the important drive. To password-protect your important partition with BitLocker, perform the following steps:-
Step 1. Click on the Start button and type Control Panel.
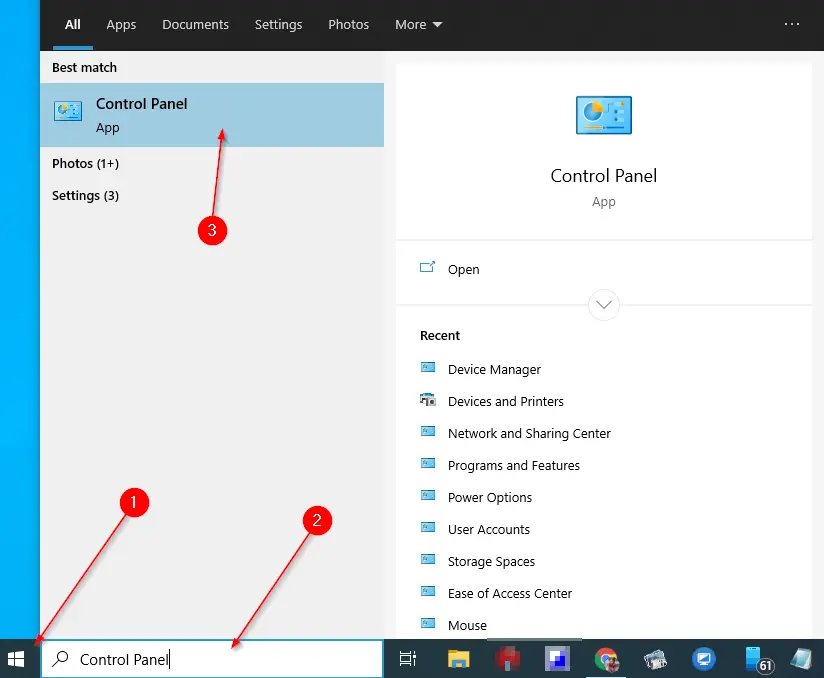
Step 2. From the top results, click on the “Control Panel” entry to open it.
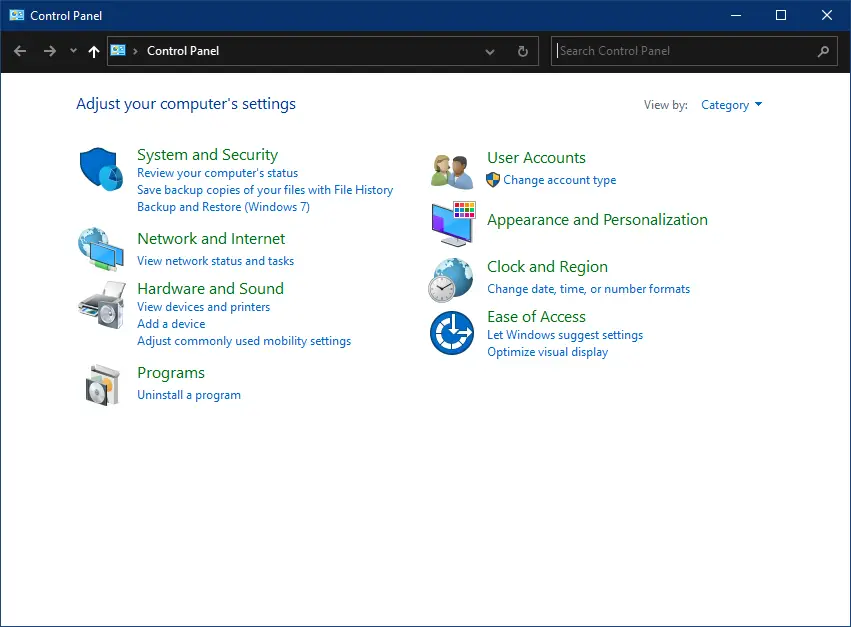
Step 3. Under the “Control Panel,” click on the System and Security category.
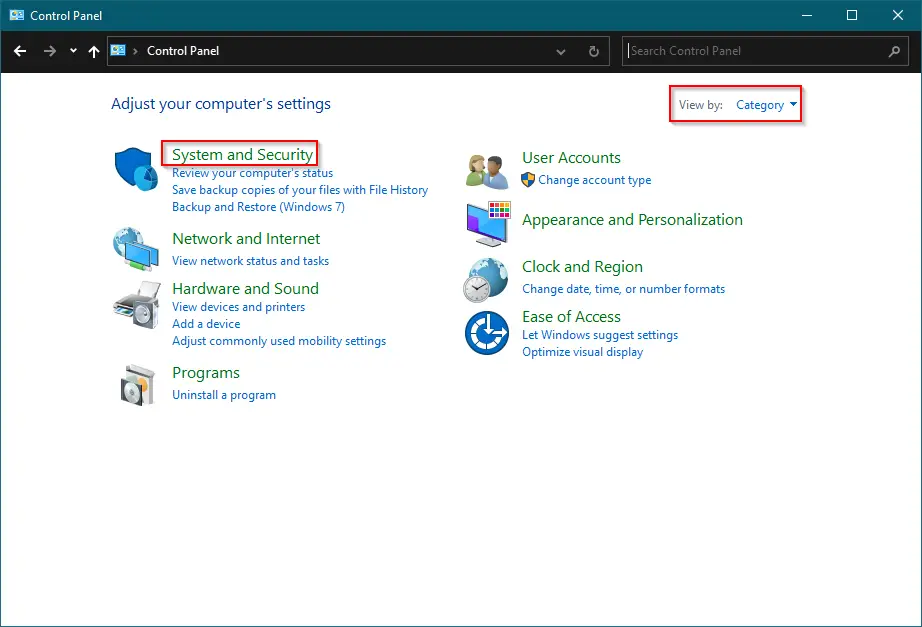
Note: If you see something different from the above image, click on the “View by” drop-down and select “Category” from the available options.
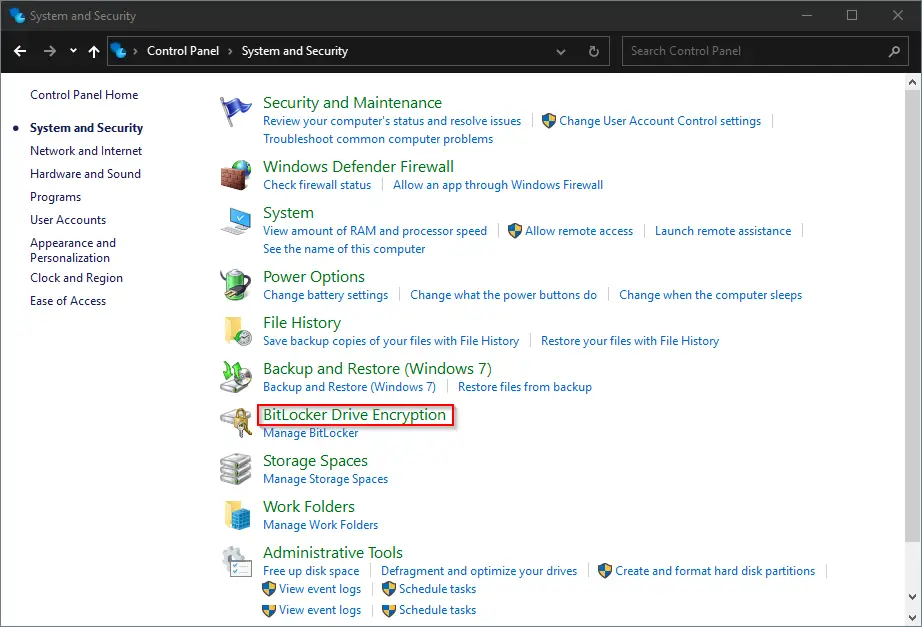
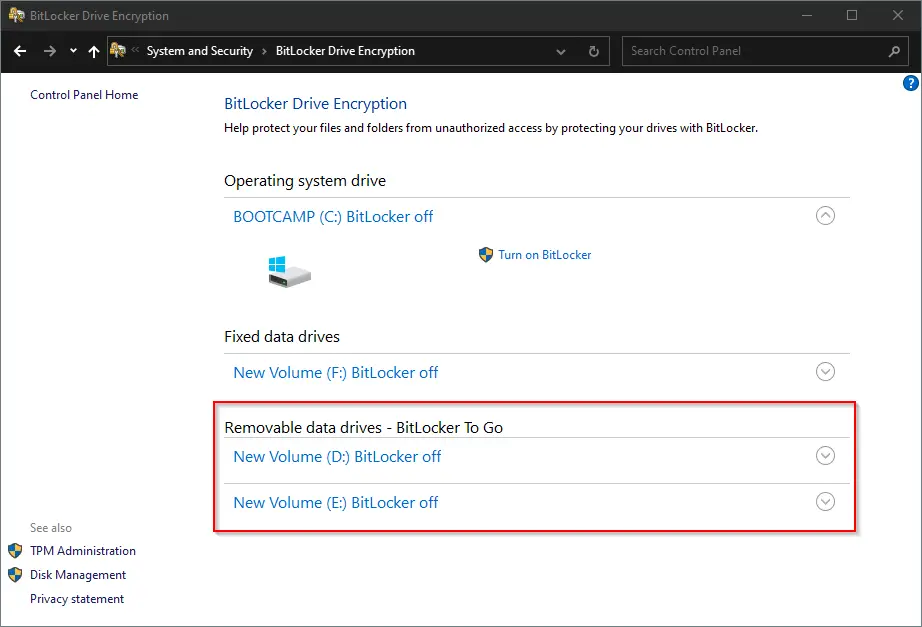
Step 4. Click on BitLocker Drive Encryption.
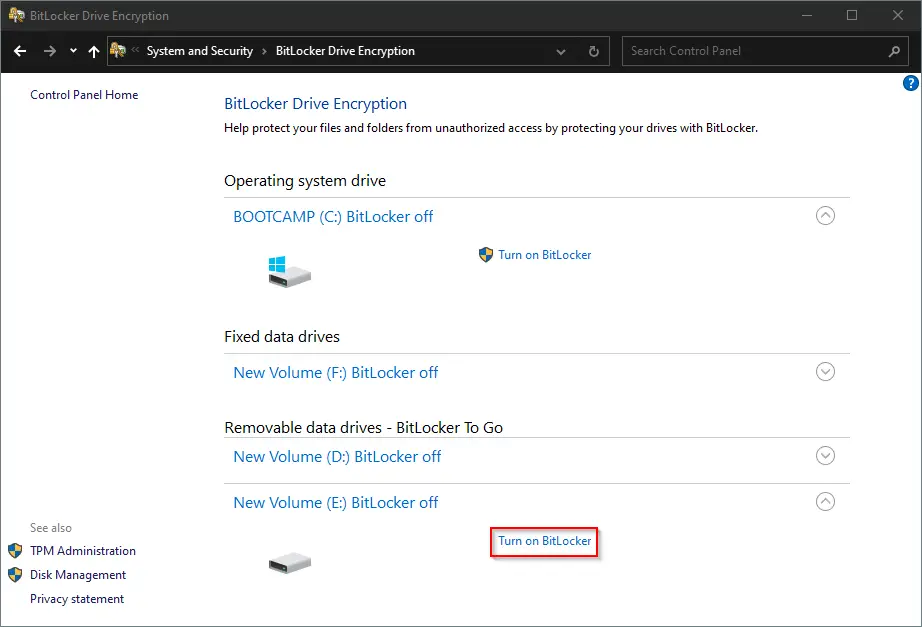
Step 5. In the “BitLocker Drive Encryption” window, under the “Removable data drives – BitLocker to Go” section, expand the partition that you want to protect with BitLocker.
Step 6. Click Turn on BitLocker.
Step 7. Check the checkbox Use a password to unlock the drive and set the password you want.
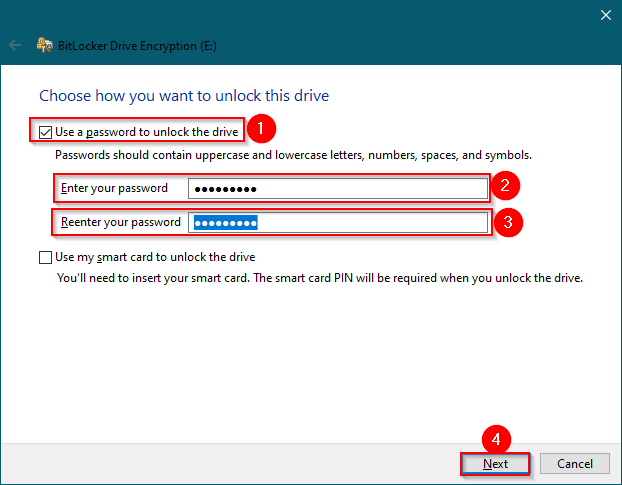
Step 8. Click the Next button.
Step 9. Click the Save to a file option.
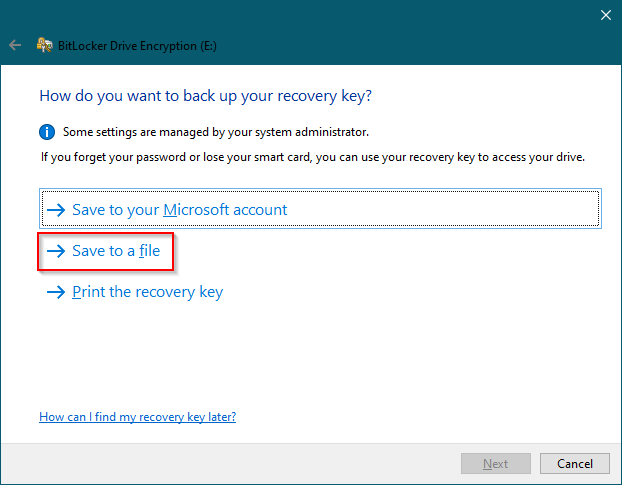
Step 10. Select the desired location on your PC to store the encrypted password to recover your drive data if you forget the password in the future.
Step 11. Click Save.
Step 12. Click Next.
Step 13. Select the Encrypt used disk space only option.
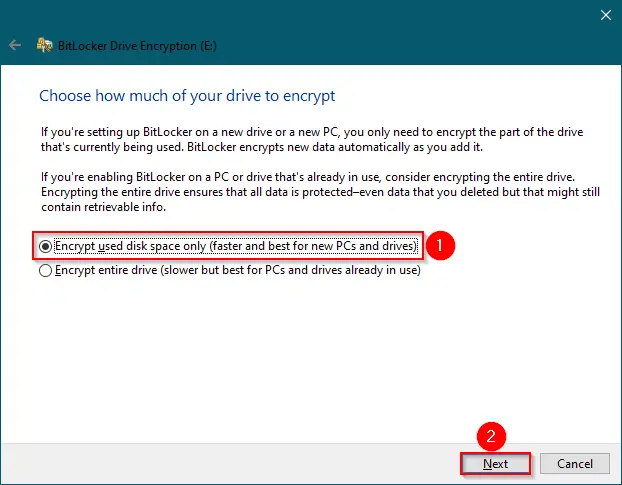
Step 14. Click Next.
Step 15. Select the Compatibility mode option.
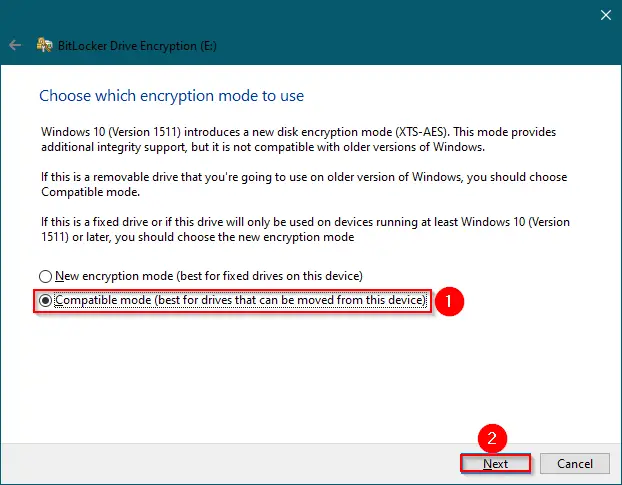
Step 16. Click the Next button.
Step 17. Click the Start encrypting button.
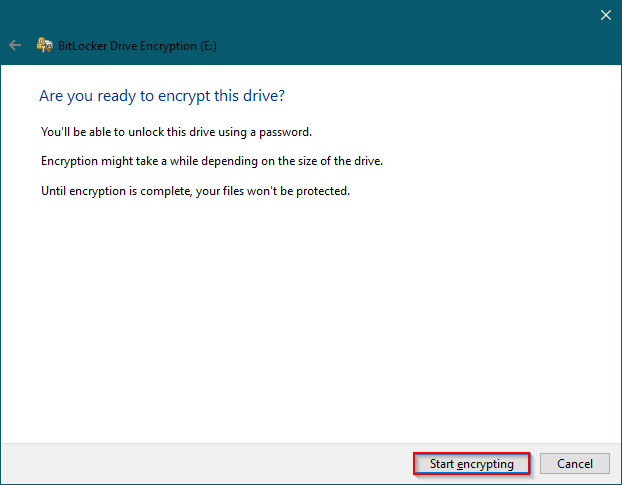
Step 18. Once encryption is completed, click on the Close button.
Once you complete the above steps, you will have the flash drive with two partitions. One partition you can use to store normal files, whereas another you can use for important data.
To access the encrypted partition with BitLocker, connect the flash drive to a Windows PC and open File Explorer. Double-click the encrypted drive. It will prompt for BitLocker password, which you have set. Please enter the BitLocker password to open it and access the stored data.
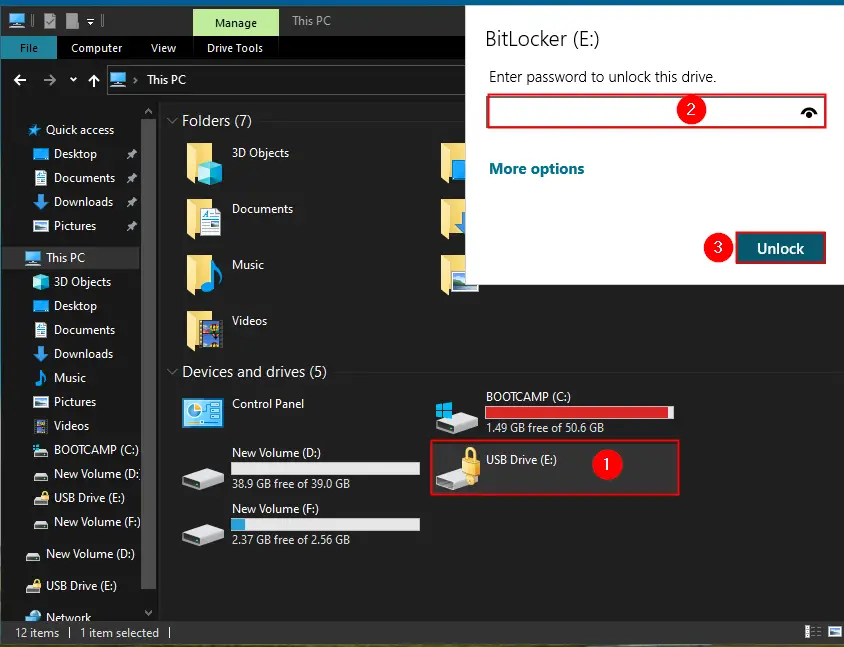
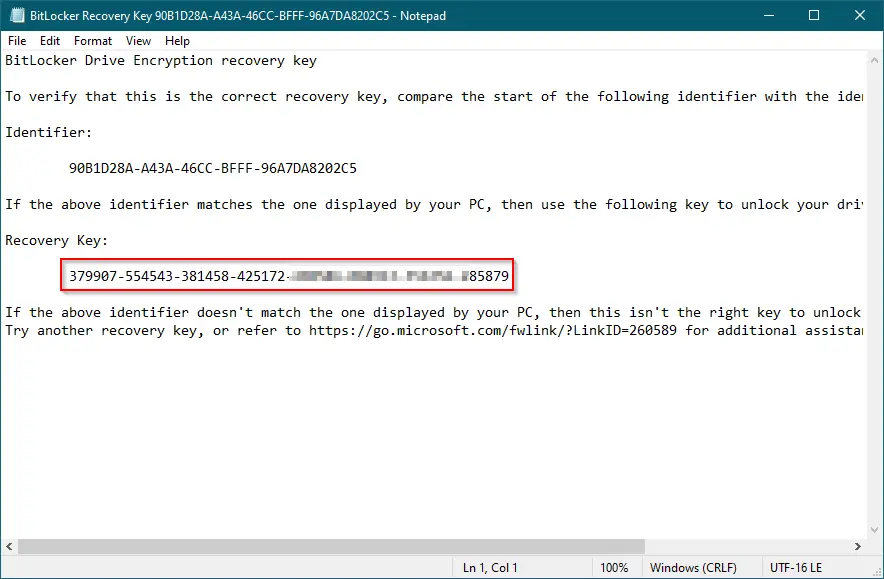
Quick Note: Once you forget the BitLocker password and cannot access important data, click the More options link and select the Enter recovery key option. Type 48-digit recovery key which you have saved during the BitLocker process. Click the Unlock button.
Once you complete the steps, you can access the password-protected drive and its contents. To lock it again, disconnect and reconnect to the PC. Since you are using BitLocker To Go, you’ll be able to unlock the drive on any compatible computer only.
This guide applies to any removable or fixed storage drive. You can use these steps on Windows 11, Windows 8.1, and Windows 7 also.
Conclusion
In conclusion, USB flash drives are small but powerful devices that allow us to store, share and transfer data easily. To make the most of them, we can create multiple partitions that help us organize and separate different types of data. This is especially useful when working with different operating systems or when we need to keep sensitive and non-sensitive data on the same drive. Creating partitions on a USB flash drive using Windows 10 Disk Management tool is a simple process that doesn’t require any third-party software. It is important to remember to back up any important data before starting the process, as it will erase all the data stored on the drive. With these simple steps, we can maximize the use of our USB flash drives and make them even more useful in our daily work and personal lives.