
Recycle Bin is a special folder that is used to store deleted files that are pending permanent deletion. However, in Windows 10, when anyone deletes a file or folder, it does not display a dialog box and sends the file or folder directly to the trash. In other words, Windows 10 just sends your folder/file to the Trash when you press the Remove/Delete key on the keyboard. This seems tedious, and most users are not satisfied with this behavior. There is an option to show a dialog box when someone tries to empty the files in Windows 10.
Some users (including myself) enjoy the default behavior. I prefer that my files get erased as soon as possible. I want to see no confirmation dialog because even if I delete something accidentally, I can still open my Recycle Bin folder and restore my files.
If you want a dialog box to appear when deleting a file/folder on Windows 10, this guide will assist you.
There are at least two ways through which you can bring back Windows 10 confirm delete dialog box; these are the following:-
- Using Recycle Bin properties dialog
- Via Local Group Policy Editor
- Through Registry Editor
Note: If you do not want to send the file/folder after deletion into Recycle Bin, you can use the shortcut, select the file, and from the keyboard, press the Shift + Delete keys. It will bypass the Recycle Bin, and the file/folder will be permanently deleted from your computer or laptop.
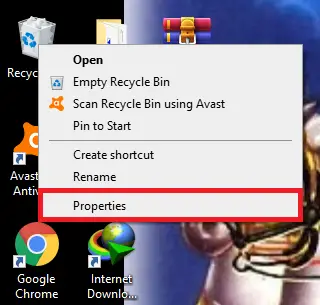
How to enable the delete confirmation dialog in Windows 10 using Recycle Bin Properties?
Follow these steps to enable the delete confirmation dialog in Windows 10 using Recycle Bin Properties:-
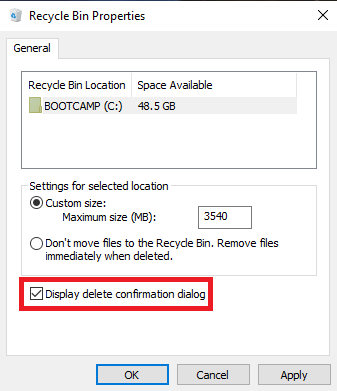
Step 3. Click on Apply, and then the OK button.
Step 4. When you try to delete a file or folder, a delete commitment dialog box is displayed.
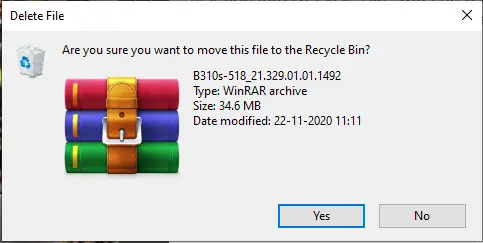
Step 5. If you would like to delete the file, click the Yes button and if you want to change the decision, click the No button.
Note: Repeat the above step for other discs where you want a delete confirmation dialog box. If you simply go through the above step for the “C” drive, deleted files from the “D” drive will still be moved to Recycle Bin directly without the confirmation dialog box.
How to enable the delete confirmation dialog in Windows 10 using Group Policy Editor?
If you cannot enable the delete confirmation dialog using Recycle Bin Properties, you can configure the same using Local Group Policy Editor. However, if you are using Windows 10 Home Edition, you need to enable gpedit.msc to proceed with further steps.
Perform the following steps to enable the delete confirmation dialog in Windows 10 using Group Policy Editor:-
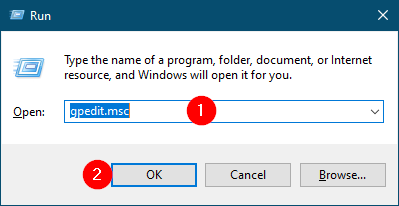
Step 1. Press the Windows logo + R keys to open the Run dialog box.
Step 2. In the Run dialog box, type gpedit.msc and hit Enter from the keyboard to launch the Local Group Policy Editor window.
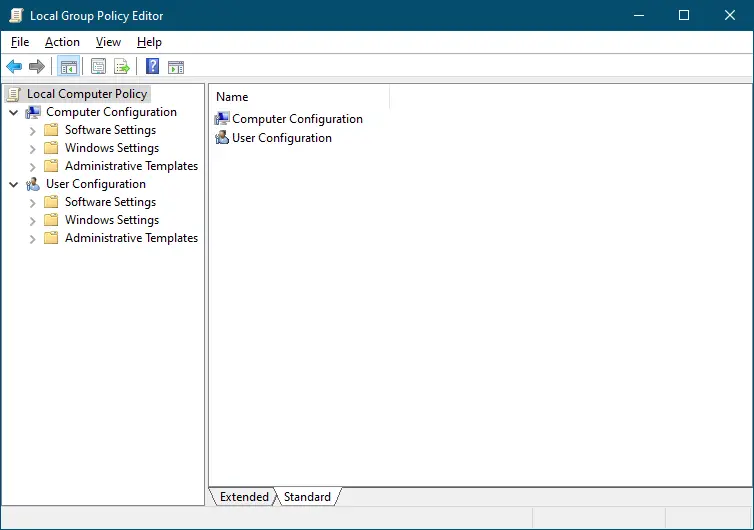
Step 3. In the Local Group Policy Editor, navigate to the following path:-
Local Computer Policy > User Configuration > Administrative Templates > Windows Components > File Explorer
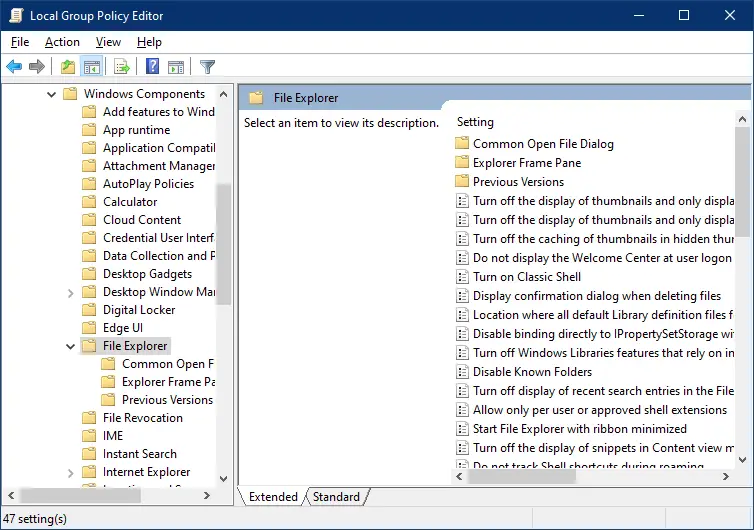
Step 4. On the right side pane of File Explorer, select the policy labeled “Display confirmation dialog when deleting files.”
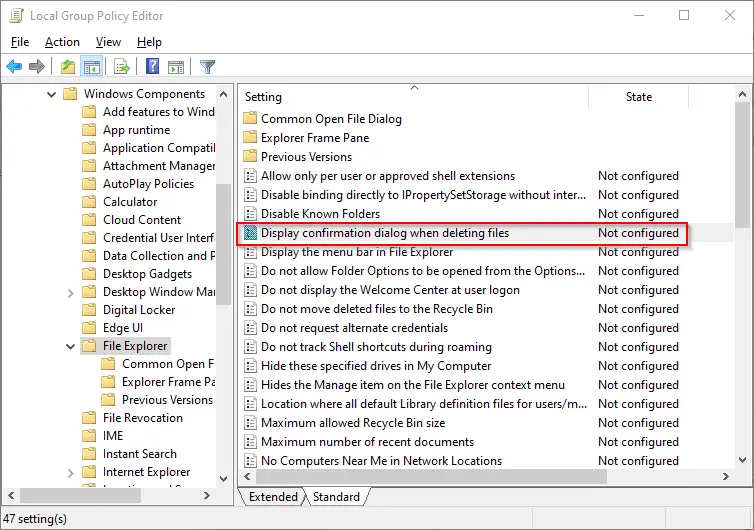
Step 5. Double-click on the policy “Display confirmation dialog when deleting file” to open it.
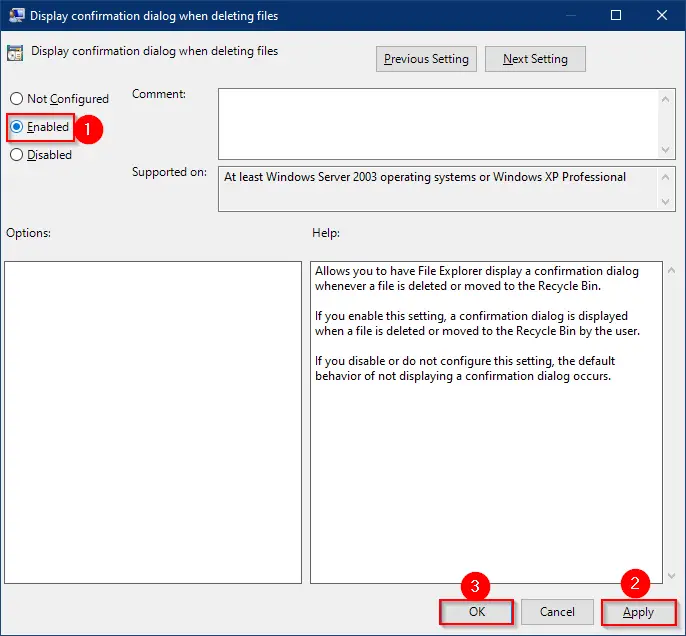
Step 6. Select the Enabled option.
Step 7. Click Apply.
Step 8. Click OK.
Step 9. Reboot your PC.
Once you complete the above steps, Windows will always display a confirmation dialog box before deleting a file or folder.
How to enable the delete confirmation dialog in Windows 10 through Registry Editor?
Using Registry Editor also, you can enable the delete confirmation dialog on Windows 10. Here is how to do it:-
Step 1. Open the Registry Editor.

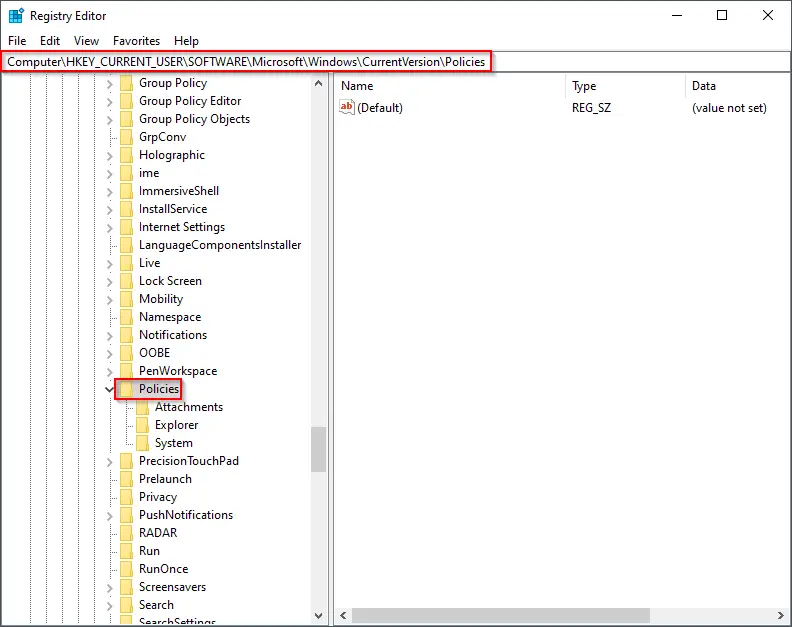
Step 2. In the Registry Editor window, navigate to the following registry key from the left side pane:-
HKEY_CURRENT_USER\Software\Microsoft\Windows\CurrentVersion\Policies
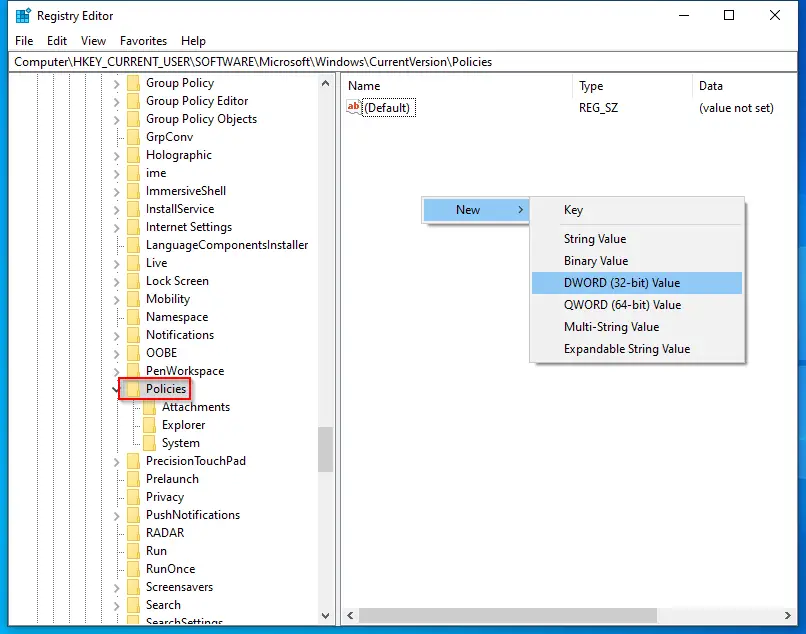
Step 3. On the right side of the Policies key, perform a right-click on the blank area, select New, and then DWORD (32-bit) Value. Name it ConfirmFileDelete.
Step 4. Now, double-click on ConfirmFileDelete and change its Value data from 0 to 1.

Step 5. Now, reboot your PC to apply the policy.
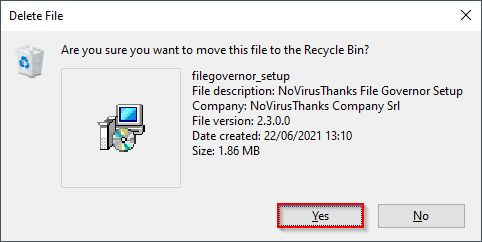
From now, when you will try to delete a file on your PC, it will prompt with a dialog box saying, “Are you sure want to move this file to the Recycle Bin?” Click the Yes button to delete the file and send it to Recycle Bin, or select the No button to undelete it.
That’s all.
Conclusion
In conclusion, while some users prefer the default behavior of Windows 10, which sends deleted files directly to the trash without showing a dialog box, others find it tedious and would like to have the option to confirm before deletion. Fortunately, there are at least three ways to enable the delete confirmation dialog in Windows 10, which include using Recycle Bin Properties, Local Group Policy Editor, or Registry Editor. By following the steps outlined in this guide, users can easily enable the confirmation dialog and have more control over their deleted files. It’s important to note that users can also bypass the Recycle Bin altogether and permanently delete files using the Shift + Delete keys on their keyboard.