In all versions of Windows (from Windows 95 to Windows 11), the Startup folder is used to add applications to a computer that a user wants to launch at startup. When you install third-party software on your computer, most of them either add themself to the startup folder or offer to add-in startup. This is the same folder where a rogue program also sits to infect your PC. If you need, you can access this folder to add or remove programs from starting up with the machine.
There are two types of Startup folders in Windows 11: one is available for a particular user while the other is for all the machine users. The apps in a specific user startup folder will launch only when a particular user is logged in, whereas the programs present in the All Users Startup folder will launch for every system user. In this gearupwindows article, we will review both these folders.
Startup Folder vs. Startup App
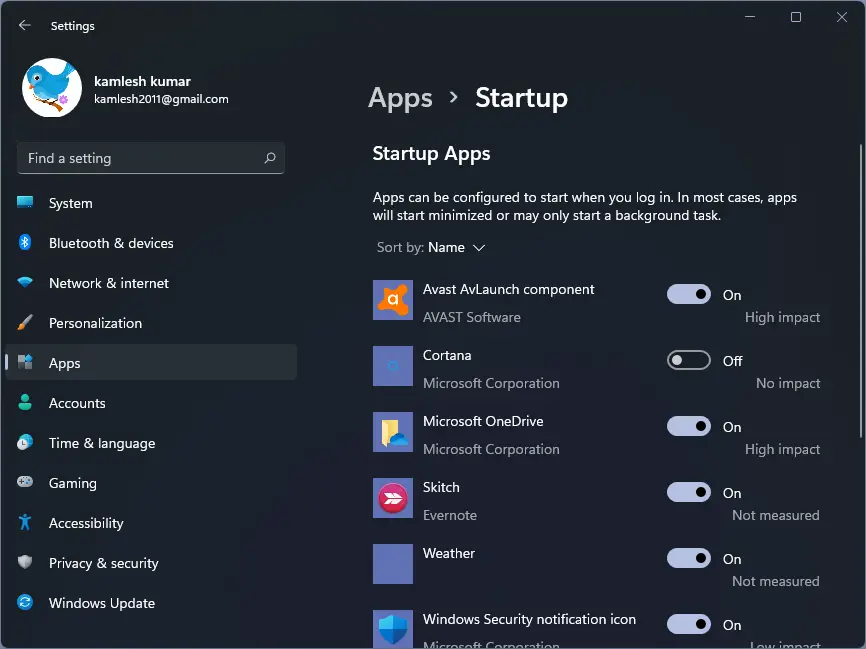
You can manage third-party apps from the Startup folder, while to manage the startup app that you have either installed from the Microsoft Store or comes built-in, you need to dive into the Settings app. To stop apps from starting when you sign in, you should use the Startup Apps screen in Windows 11’s Settings app. You can toggle on or off apps that you want to run or stop at startup. These apps don’t appear in the Startup folders, but you can still access them.
How to Open the Startup Folder on Windows 11?
As said above, there are two locations where you can find the “Startup” folder. One is for your account, and the other is for all users. Programs that sit in these folders will launch when the PC is started. You can add a program shortcut in this folder to run the app when your PC starts. Deleting a program shortcut from this folder will remove it from the start-up.
To access these Startup folders on your Windows 11 computer, do the following:-
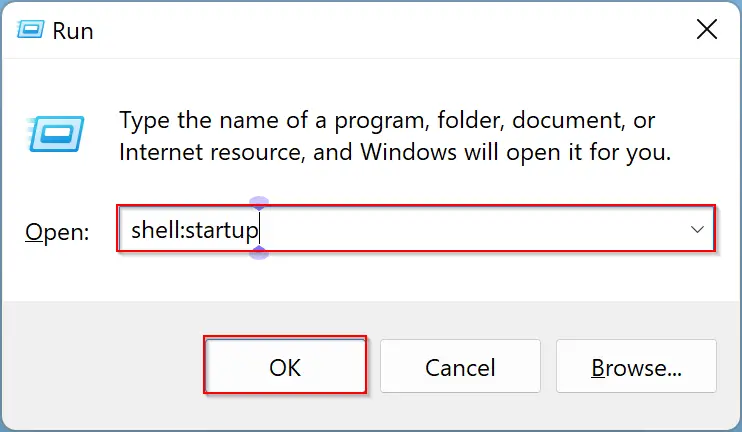
Step 1. Use the Windows + R keyboard shortcut to open the Run menu.
Step 2. When the Run box opens, type one of the following commands and press Enter from the keyboard or click OK:-
- For Personal User Startup folder: shell:startup
- For All Users Path: shell:common startup
When you complete the above steps, the Startup folder will immediately open, and you may see a bunch of folders and program shortcuts.
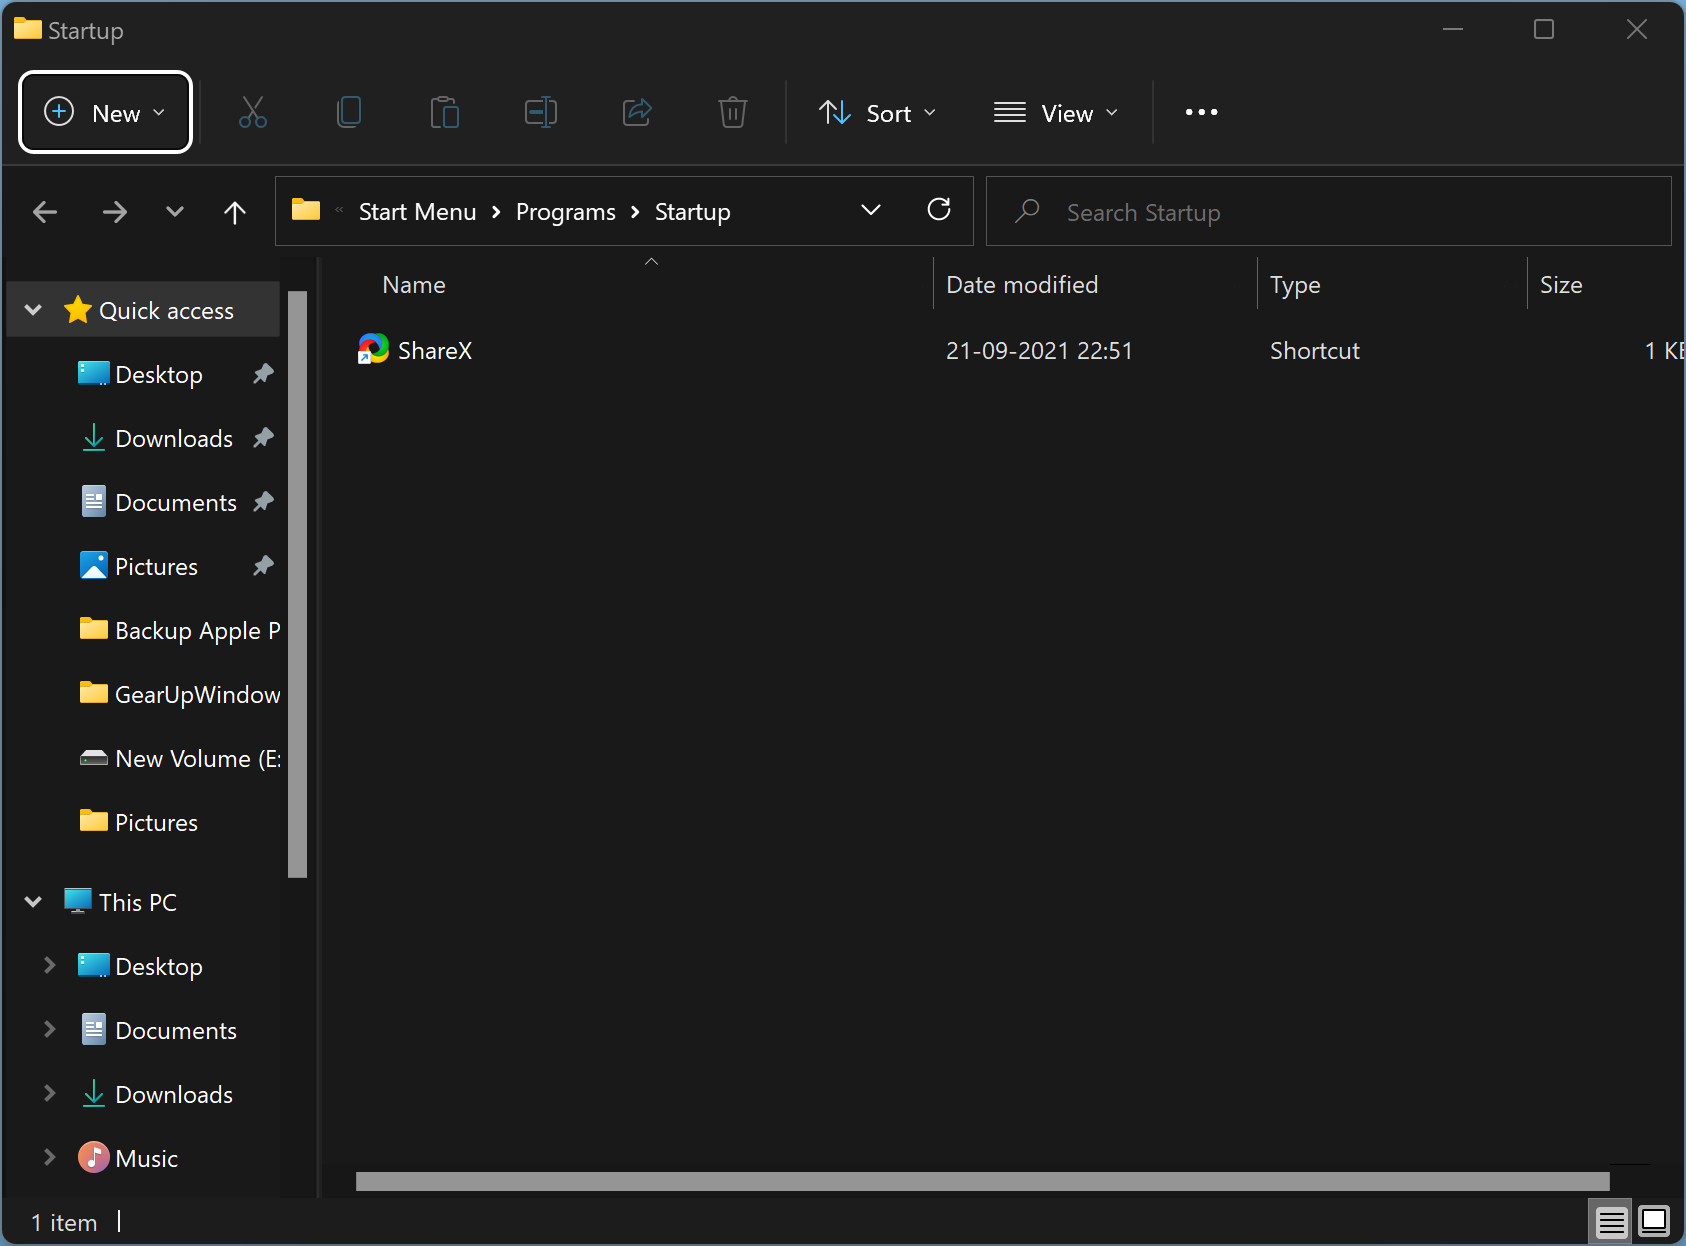
You can drag and drop the program shortcuts to this folder to make them launch at startup. If you need to prevent a program from launching at startup, remove the app shortcut from this folder. It is effortless to add or remove a program from the startup. Try and let me know.
Good luck!
Conclusion
In conclusion, the Startup folder in Windows has been around for a long time and is a useful feature for managing the applications that run when a user logs into their computer. In Windows 11, there are two types of Startup folders available – one for a particular user and the other for all users. This gearupwindows article has explained how to access both folders and how to add or remove programs from them. It is important to note that managing startup apps is different from managing apps from the Startup folder, and the former can be done through the Settings app. By using the Startup folder, users can have more control over their system’s startup process, ensuring that only necessary apps run at startup, thereby reducing the boot time and improving performance.