Microsoft has announced Windows 11 with some hardware restrictions that were not mandatory for its predecessor Windows 10. That means you were able to install Windows 10, even on a virtual machine, easily. But, on Windows 11, Microsoft has made TPM 2.0 and Secure Boot mandatory to install on any PC. Since the TPM 2.0 chip and Secure Boot functions are not available on Oracle VM VirtualBox, that means you will never be able to install it virtually. Am I right? No, I am not right exactly. It is now possible to install Windows 11 on a virtual machine but with some tweaks. You need to modify the official Windows 11 ISO file and bypass Secure Boot and TPM 2.0 enforcement, and then you can install it on a virtual machine. Similarly, you need to bypass and create a bootable USB flash drive to install Windows 11 on an old Windows computer or Mac machine.
You may have an old Windows or Mac machine, and after the announcement of Windows 11 minimum hardware requirements, you thought it is now useless. It is not useless; old is gold. Still, you can utilize it to run Windows 11.
Windows 11 is a pretty nice operating system, and I am sure 99% of people will love it. But wait, there is a problem with this. If you are used to Windows 10, you will face several issues with Windows 11. It is not totally straightforward. Various new features have been added, and some Windows 10 functions have been removed in Windows 11. That means you have to learn a lot to be familiar with Windows 10. Don’t worry; we are here to help you.
During Windows 11’s installation, most people use a Microsoft account to set up their PC. But what will you do if you want to add a local account on your computer? Just after installing a fresh Windows 11/10 OS on your PC, add a local account on your computer. Disaster can call anybody at any time. We don’t know what will happen in the future and who will help us.
In this gearupwindows article, we will guide you on adding a local user account under Windows 11/10. To do this, there are at least three very simple methods available on Windows 11/10. These are the following:-
- Settings app
- Command Prompt
- User Accounts dialog
How to Add a New Local User Account under Windows 11 using the Settings app?
The Settings app has been our preferred method to modify or apply settings since the launch of Windows 10. It is still valid on Windows 11 to add a new local user account under Windows 11. You need to do the following:-
Step 1. First, launch the Settings app and click on the Accounts category from the left side window. On the right-side pane, click the tab Family & other users.
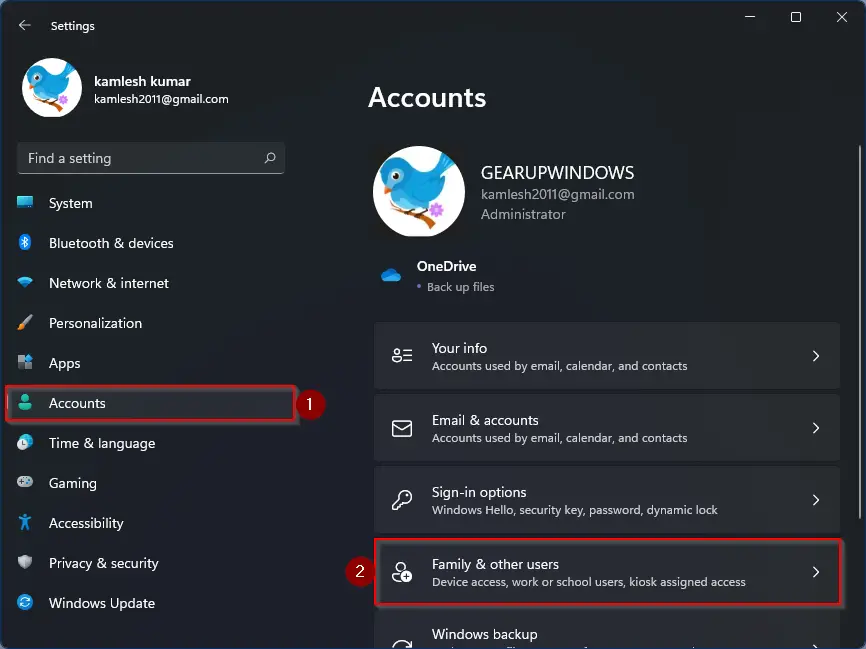
Step 2. After that, click on the Add account button next to the “Add other user” option.

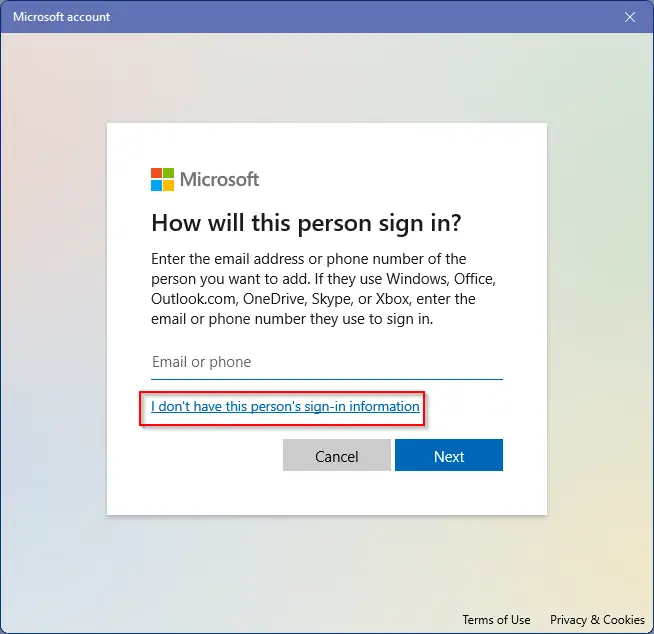
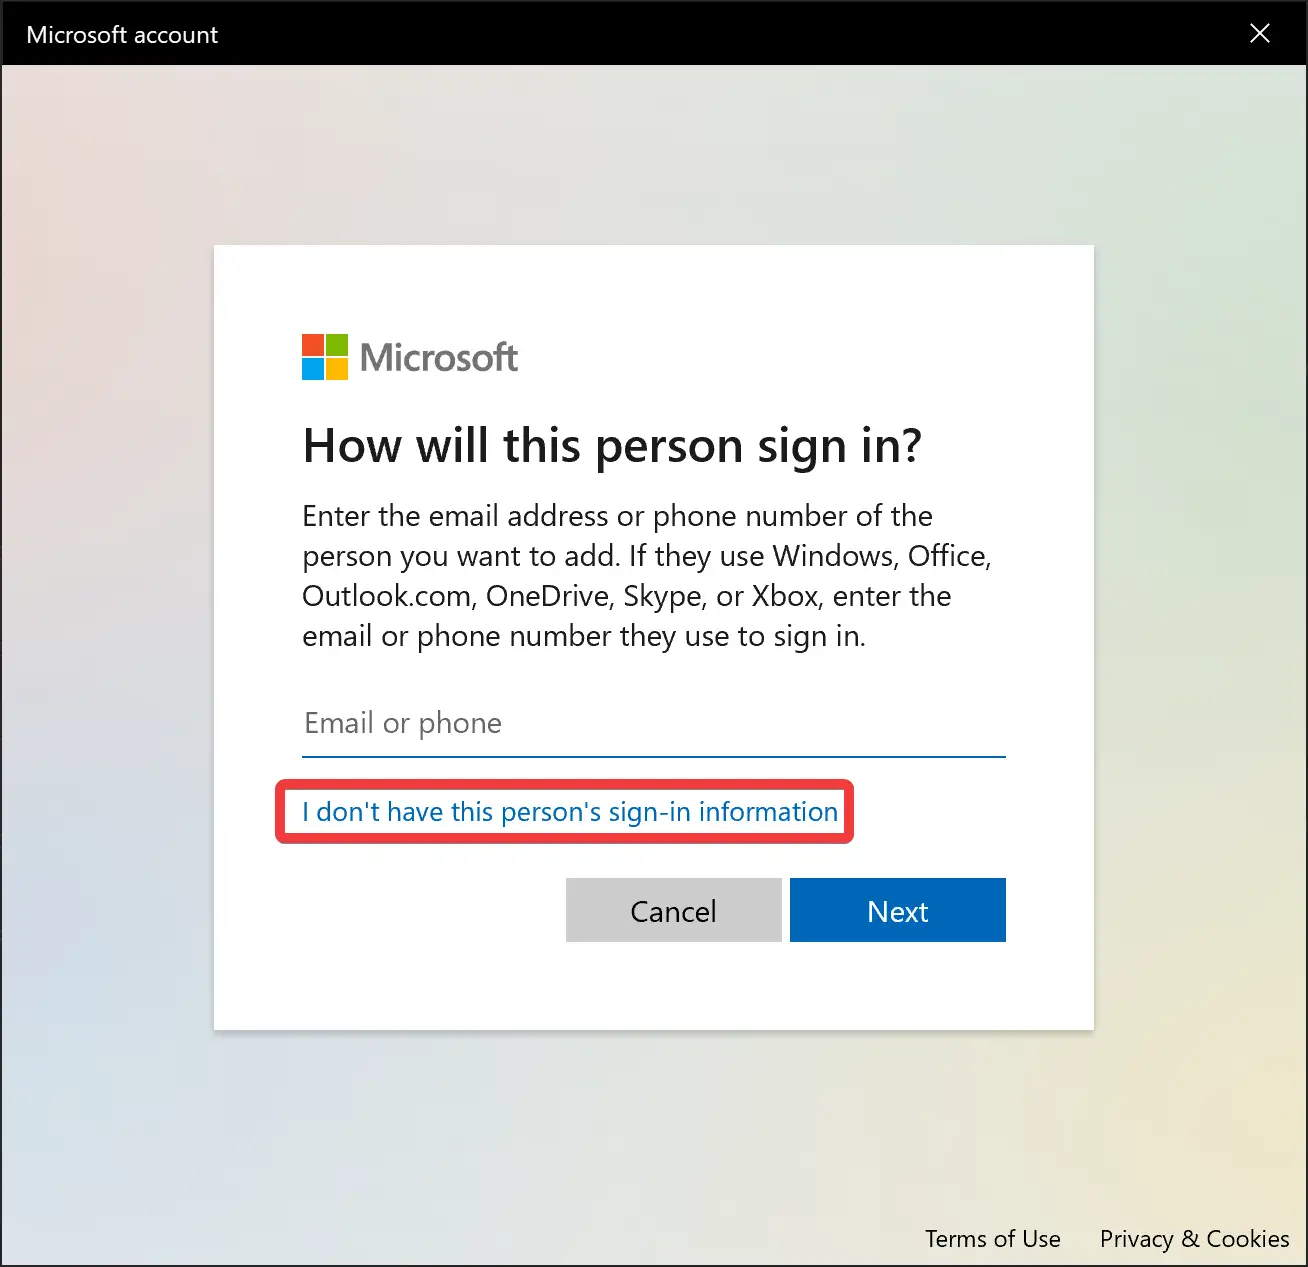
Step 3. A new pop-up window will open saying, how will this person sign in? Click the link labeled with “I don’t have this person’s sign-in information.”
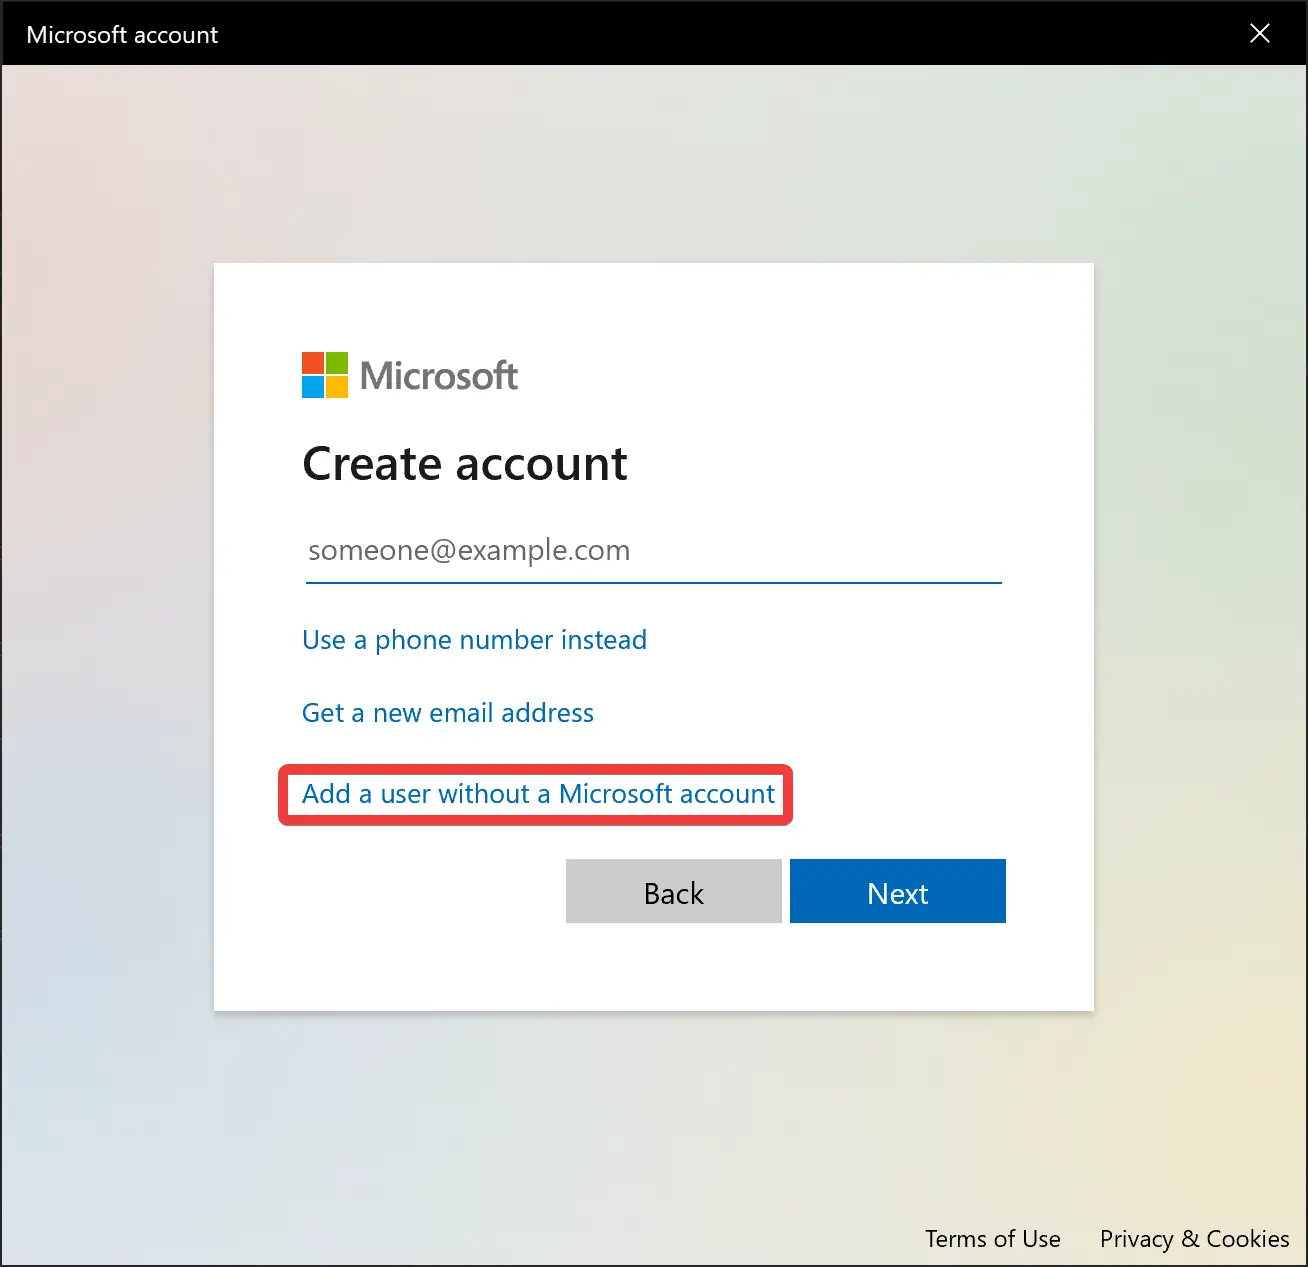
Step 4. On the next window that appears, click on the link “Add a user without a Microsoft account.”

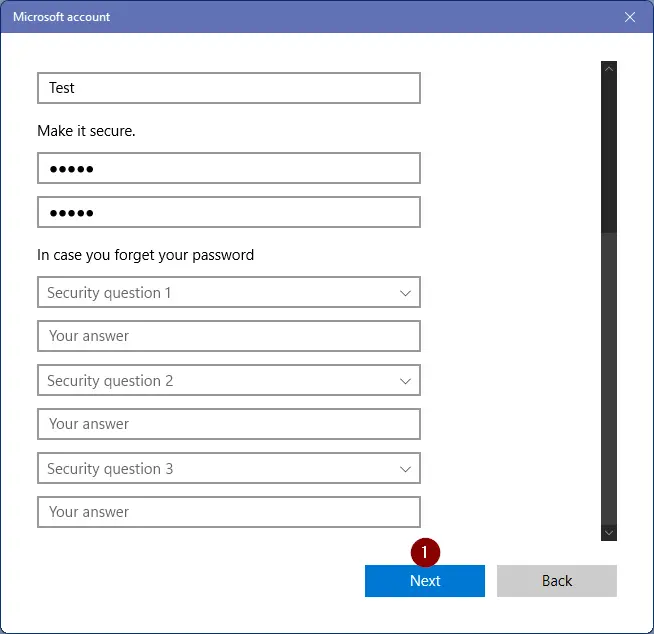
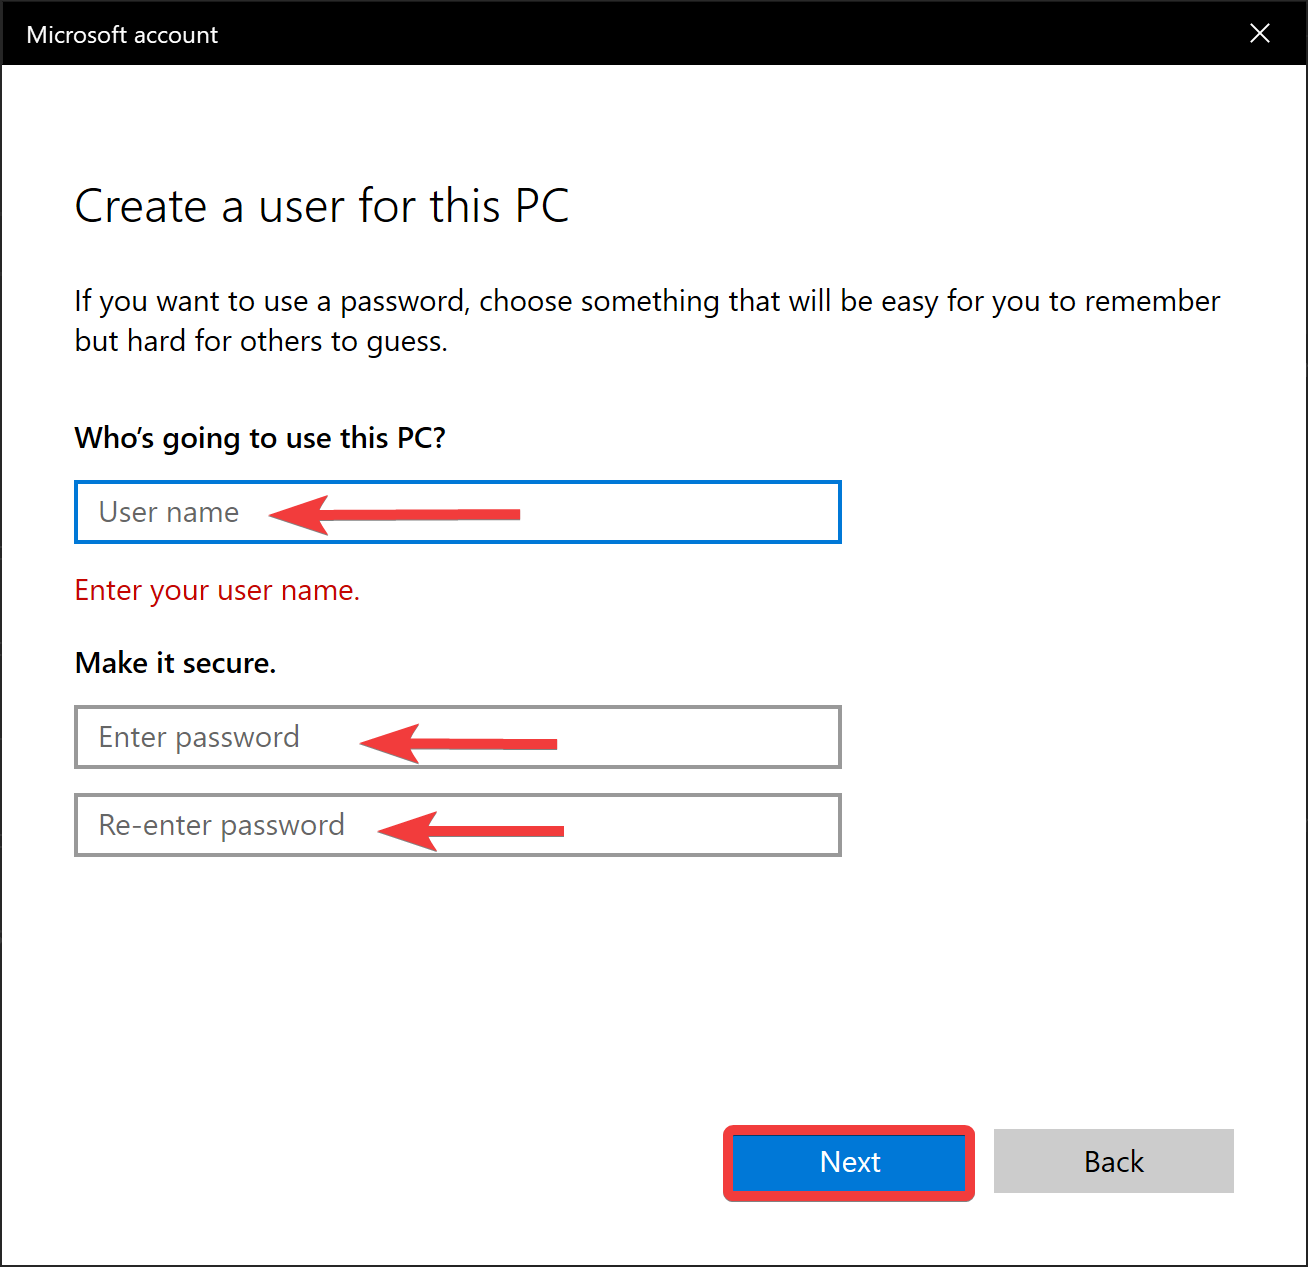
Step 5. Next, type an account name in the “User Name” box. Enter a secure password in the password box and then reconfirm with the same password. Now scroll down and select the security questions and reply to them. Finally, click the Next button.
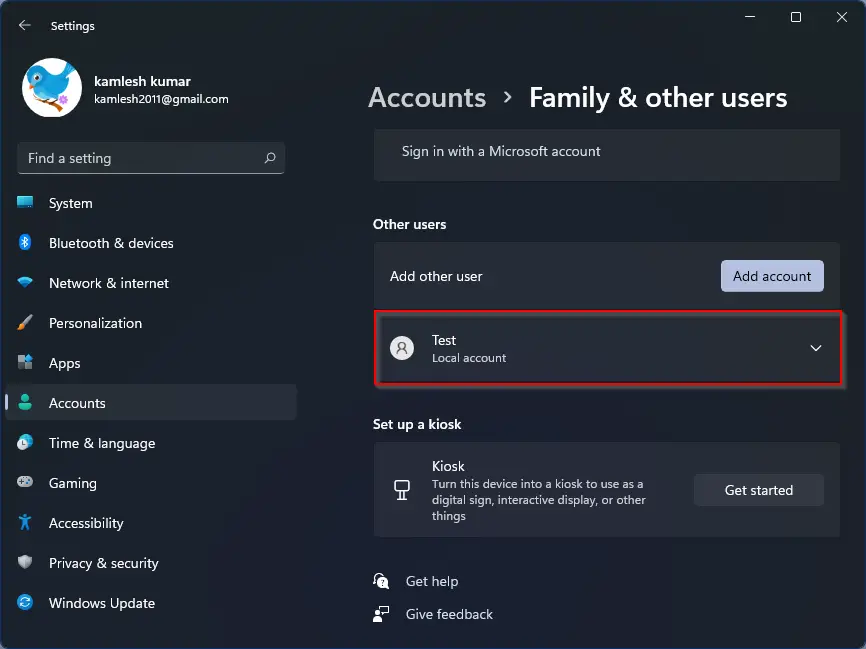
Step 6. Then, under the “Other users” section, you will see a local account has been added. If you need, you can access this newly created account anytime.
How to Make a New Local User Account under Windows 11/10 through Command Prompt?
Using Command Prompt also, you can create a new local user account on a Windows 11 PC. Perform the following recommended steps to do so:-
Step 1. Open Command Prompt as administrator.
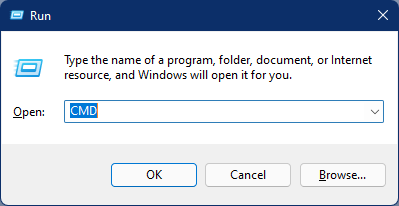
To launch Command Prompt with the elevated rights, press Windows + R keys to open the Run dialog box. Type CMD in the Run box. Now, press Ctrl + Shift + Enter from the keyboard.
If the User Account Control dialog prompts, click the Yes button.
Step 2. In the administrative command prompt windows, type the following and hit Enter from the keyboard:-
net user "Username" "Password" /add
Note: Replace “Username” with the name you would like to use at the login prompt. And replace “Password” with the desired password you would like to set.
It should look like something: net user test 12345 /add
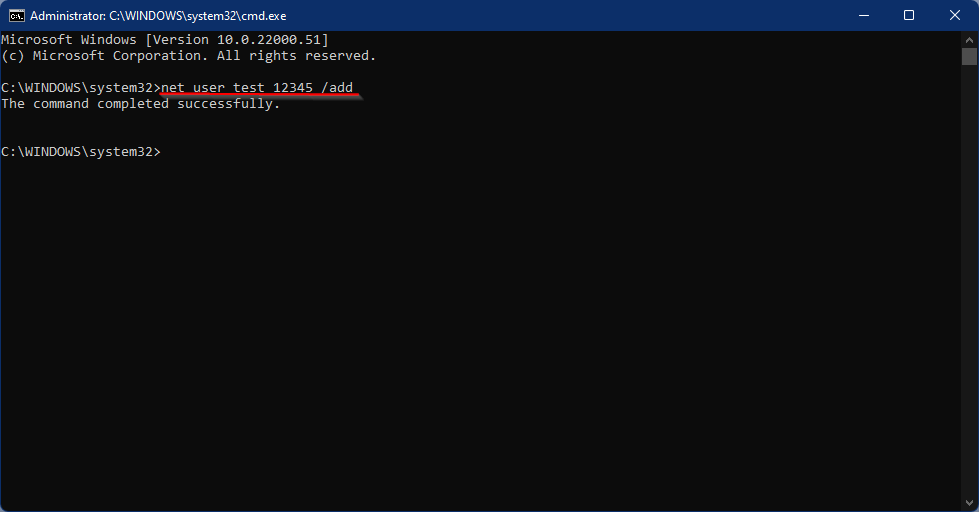
Once you execute the above command, you will get a response, “The command completed successfully.”
How to Add a New Local User Account under Windows 11/10 using the User Account dialog?
Follow these steps to add a new Local User Account under Windows 11/10 using the User Account dialog:-
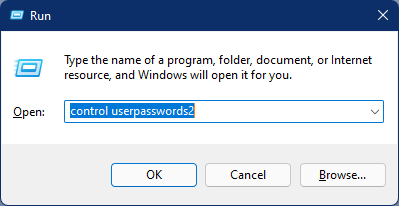
Step 1. Open the Run command box by pressing Windows and R keys altogether. Now, in the Run box, type the following and hit Enter from the keyboard:-
control userpasswords2
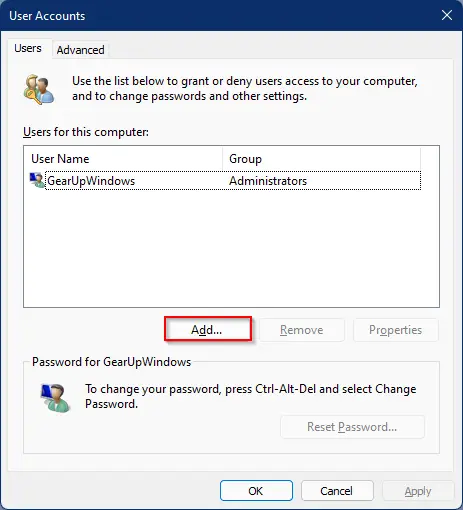
Step 2. Click on the Add button on the User Accounts window.
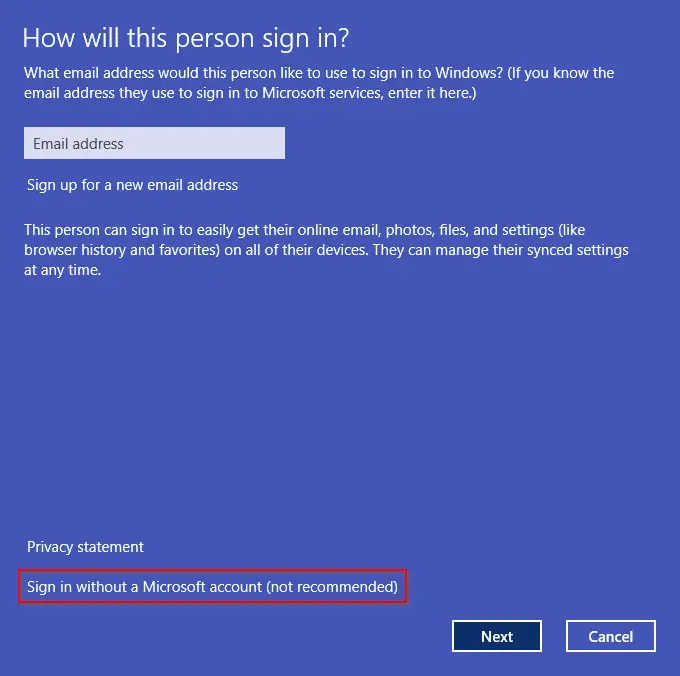
Step 3. On the pop-up window, How will this person sign in? Click the link “Sign in without a Microsoft account (not recommended).”
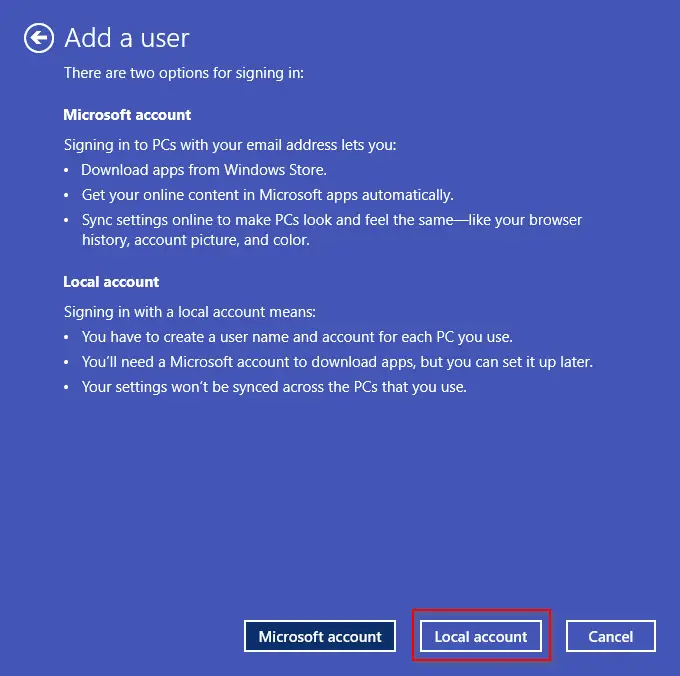
Step 4. Now, click on the Local account button.
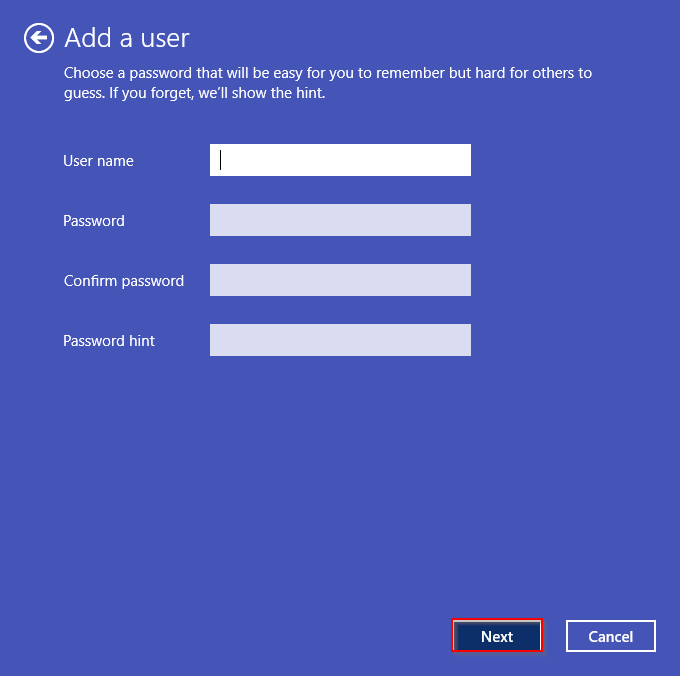
Step 5. Next, fill in the user details and click on the Next button.
Step 6. Finally, you will see that your desired user account has been created and is ready to log in to your PC.
How to Create a New Local User Account under Windows 10 using the Settings app?
To add or create a new local user account under Windows 10, do the following steps:-
Step 1. First, press Windows + I keys on the keyboard to bring up the Settings app.
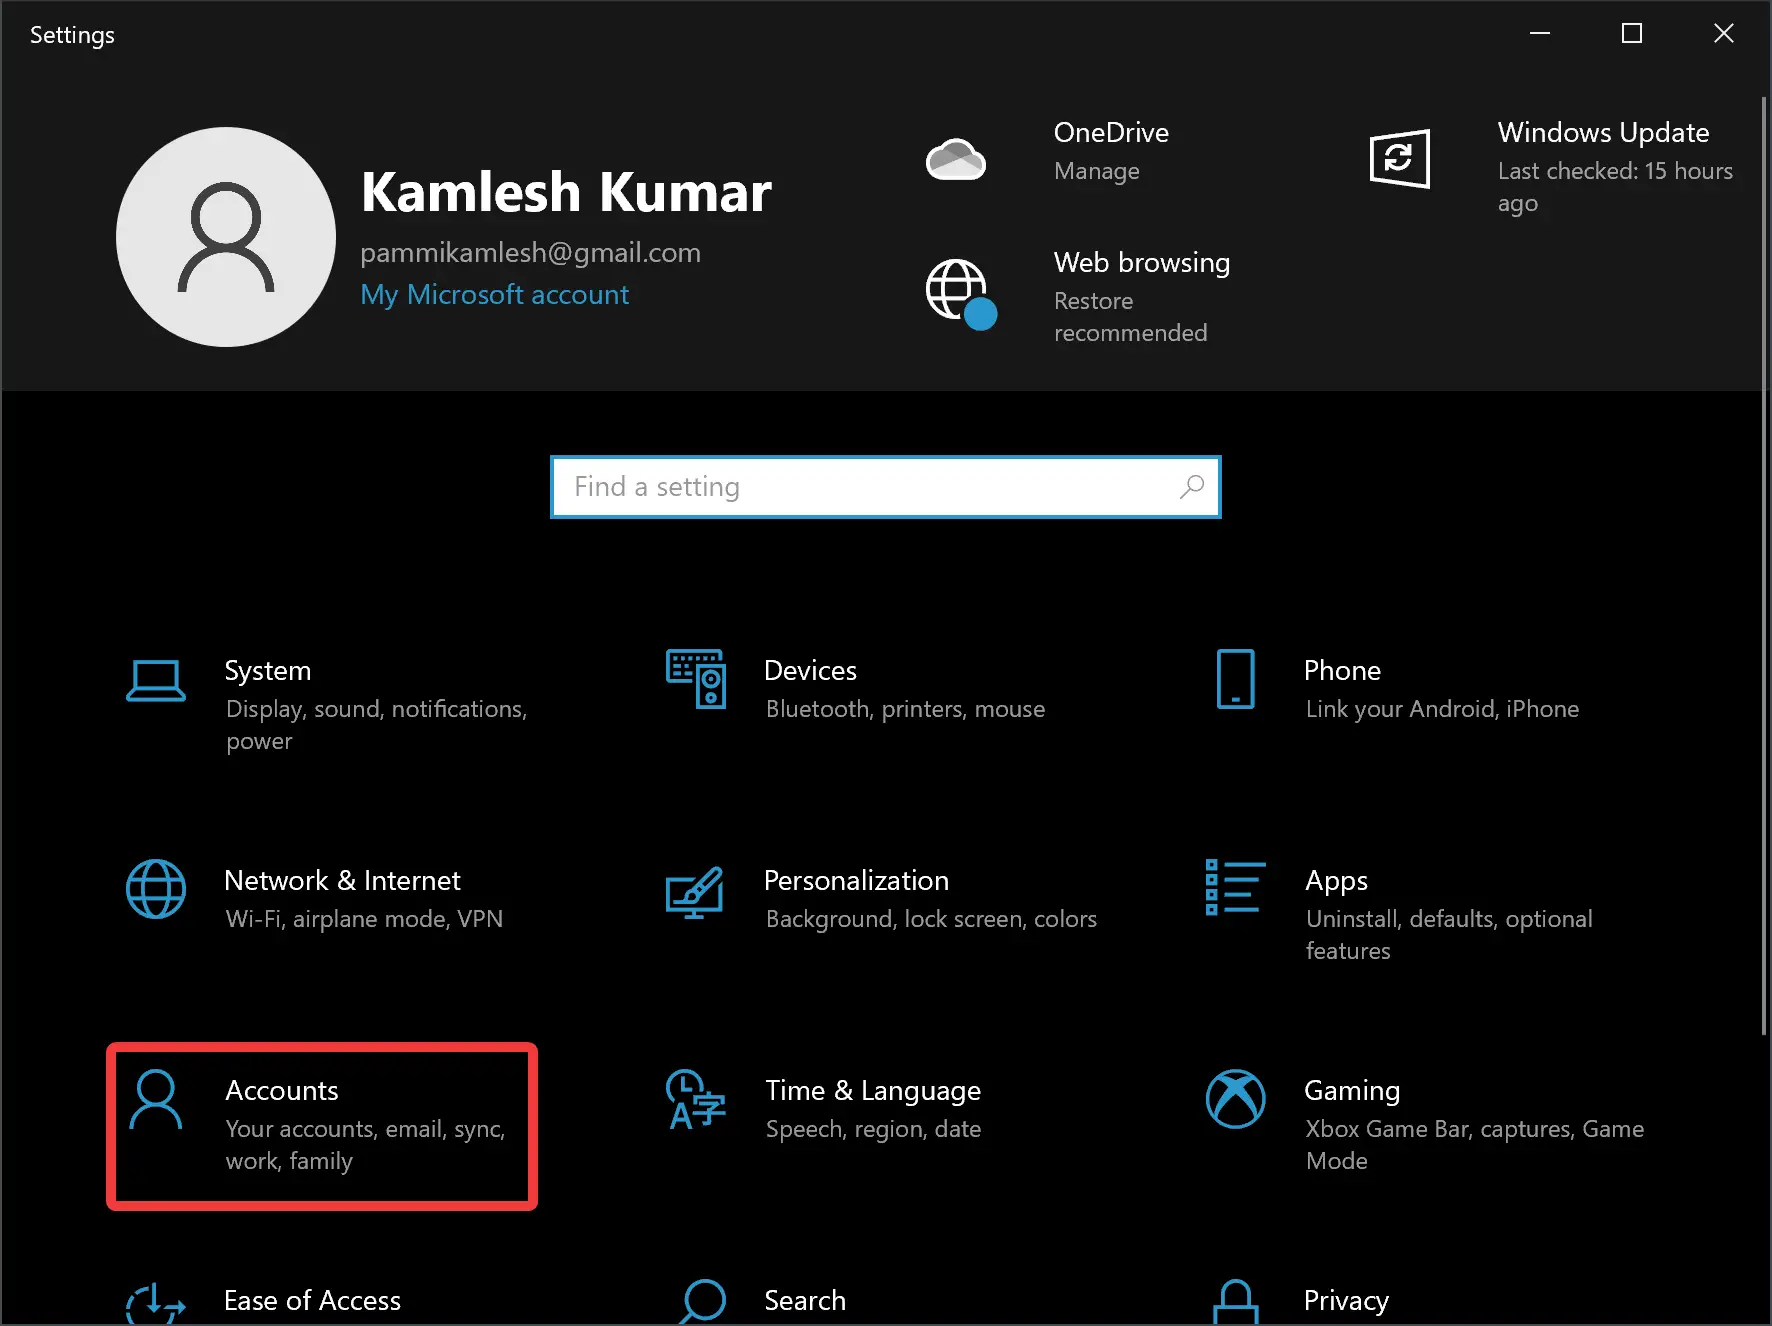
Step 2. After that, click the Accounts category.
Step 3. On the Accounts settings page, switch to the Family & other people tab in the left sidebar.
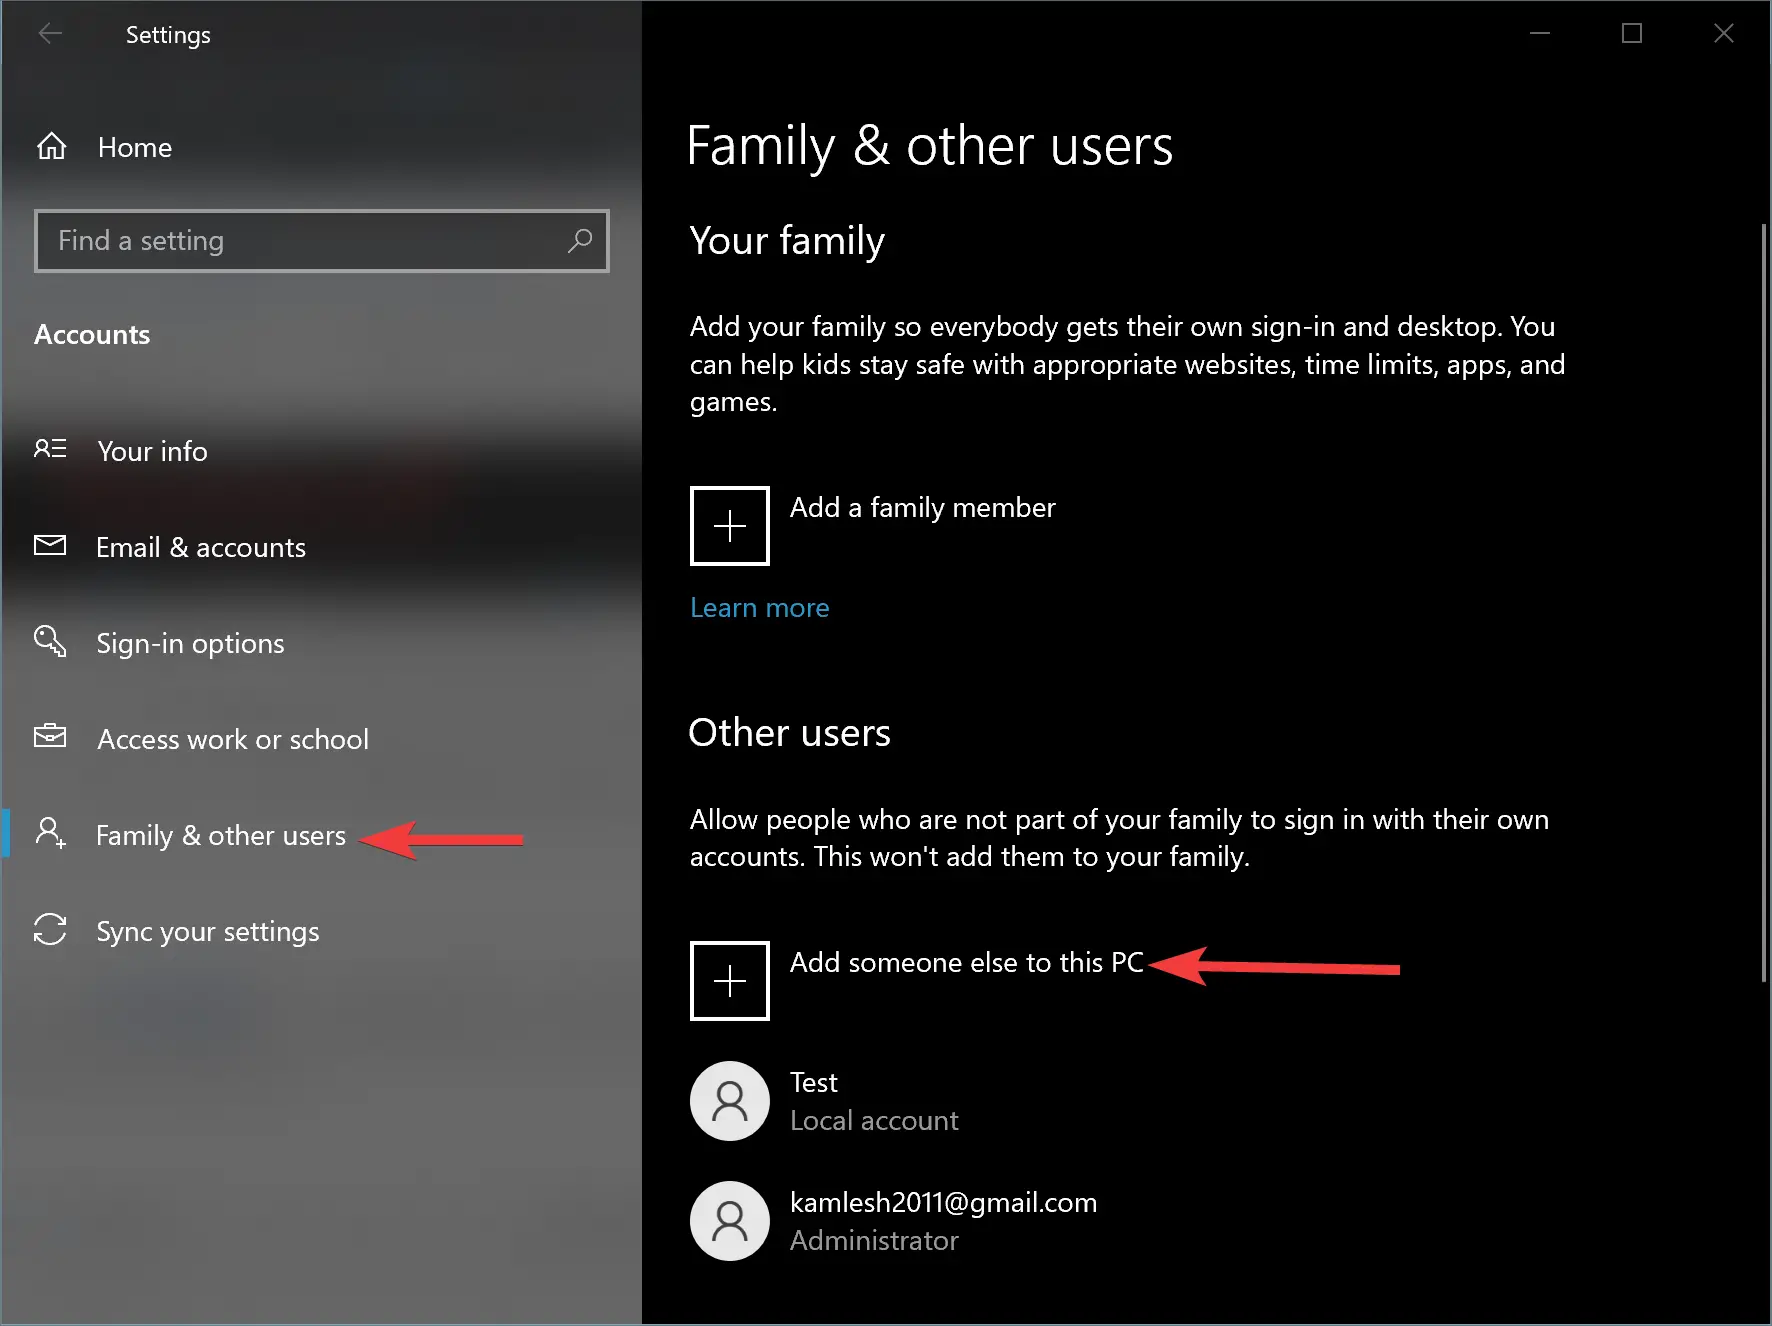
Step 4. Then, click the Add someone else to this PC button on the right side.
Step 5. In the Microsoft Account window that pops up, click the “I don’t have this person’s sign-in information” link at the bottom.
Step 6. Then, click the “Add a user without a Microsoft account” link on the next window at the bottom.
Step 7. Now, fill in the username, and password, confirm password, and click the Next button.
That’s it. Now a new local user account has been created. You can close the settings app. When you’ll first-time sign in to your account, Windows will create user folders and finish setting things up.
Conclusion
In conclusion, Microsoft has made TPM 2.0 and Secure Boot mandatory for installing Windows 11 on any PC. However, it is still possible to install Windows 11 on a virtual machine or an old Windows or Mac machine with some tweaks. Windows 11 comes with various new features, but some functions of Windows 10 have been removed. Users need to learn and get familiar with Windows 11. It is always recommended to add a local account to your computer, and there are at least three methods to add a local user account on Windows 11/10: Settings app, Command Prompt, and User Accounts dialog. With these methods, users can add local accounts with ease and secure their data.