Formatting cells in Microsoft Excel can be an important step in presenting data in a clear and organized manner. Adding or removing borders around cells can help draw attention to specific cells or create a more visually appealing layout. In this tutorial, we will show you how to add or remove borders in Microsoft Excel cells so that you can customize the appearance of your spreadsheet to suit your needs better.
Borders in Excel can be added or removed in a variety of ways, depending on the specific formatting options you are looking for. You can add borders around individual cells or groups of cells or even around entire tables or ranges of cells. Similarly, you can remove borders to create a more minimalistic appearance or to remove borders that are no longer necessary. In the following sections, we will guide you through the process of adding and removing borders in Microsoft Excel cells so that you can easily customize the formatting of your spreadsheet to meet your specific needs.
How to Add or Remove Borders in Microsoft Excel Cells?
In Microsoft Excel, changing the layout of borders around cells basically adds or customizes lines on those cells. MS Excel has a built-in option to add predefined cell borders and custom cell borders. One can easily add or remove the borders around the cells according to his or her choice.
In this article, we will see the following:-
- Add borders to cells in an Excel worksheet
- Remove borders from cells in an Excel worksheet
How to Add Borders to Cells in an Excel worksheet?
Follow these steps to add borders to cells in an Excel worksheet:-
Step 1. Open the Microsoft Excel worksheet.
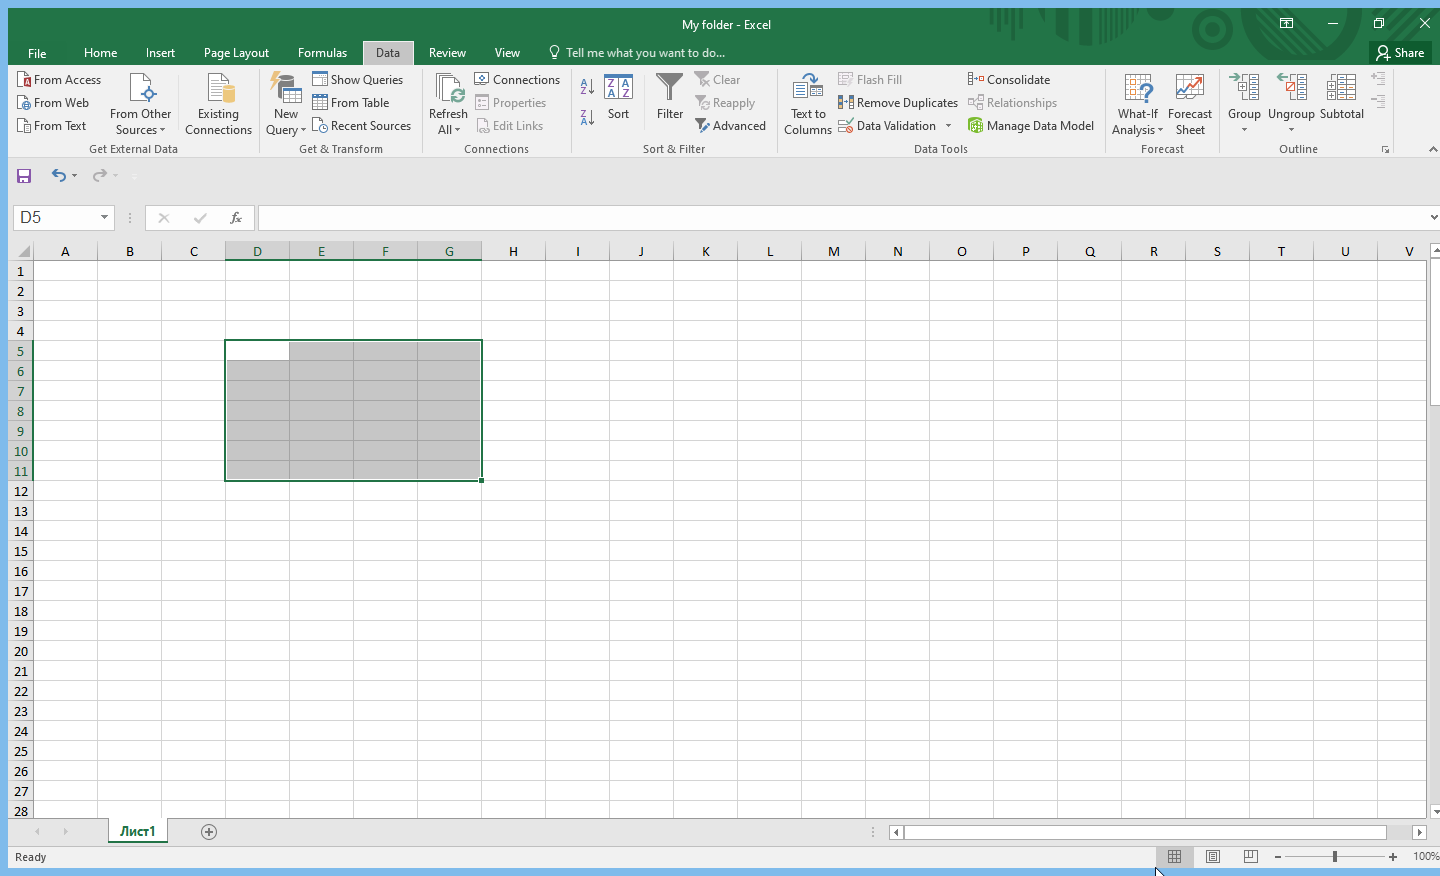
Step 2. Select the cells in which you want to put borders or lines.
Step 3. On the Home tab, in the Font group, you can see the border icon; click on it
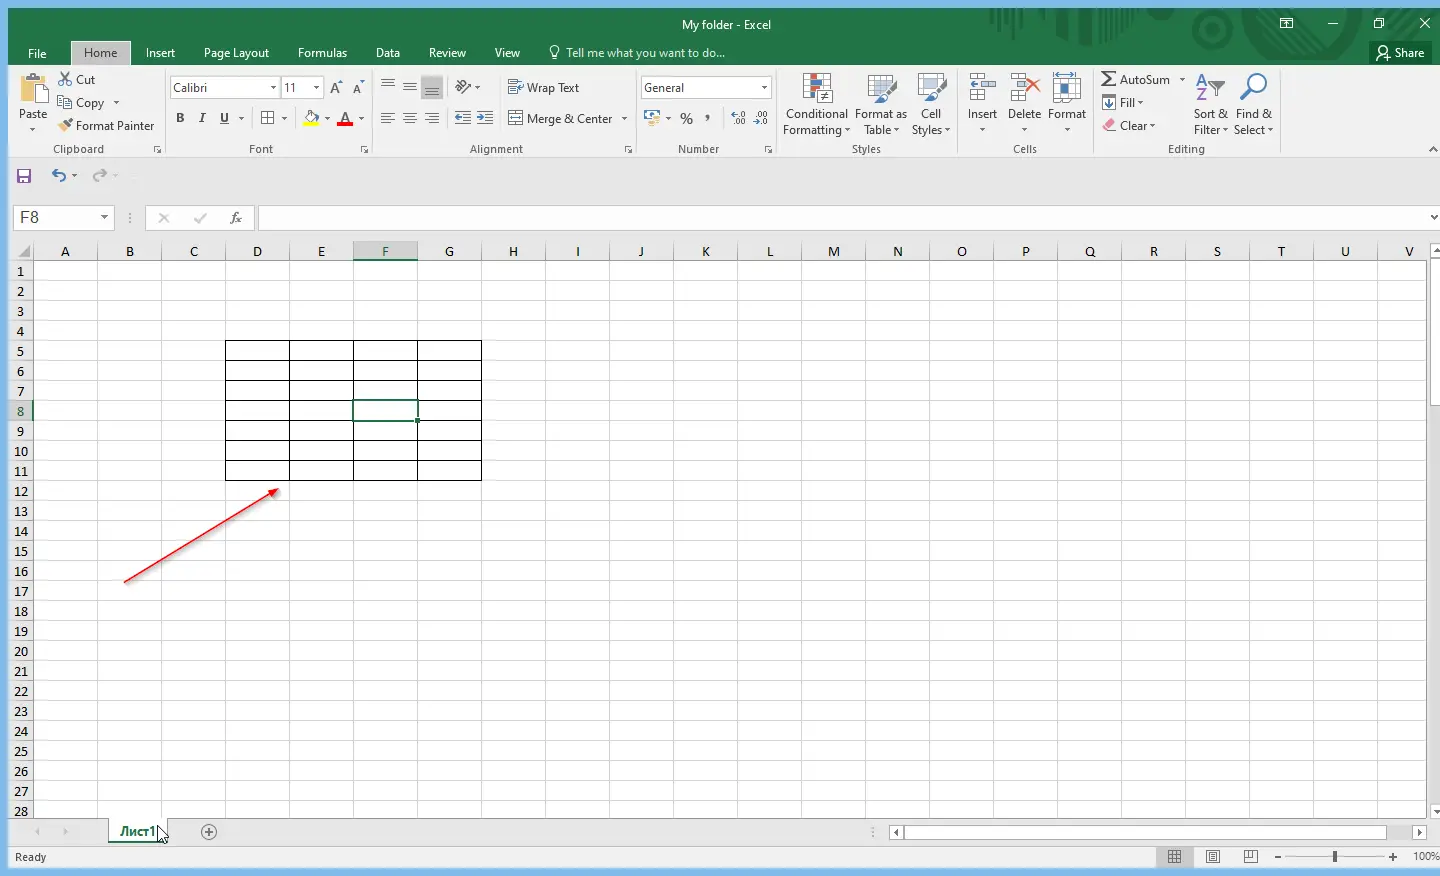
Step 4. In the Border icon drop-down menu, you will see a list of predefined borders; click any border you want to use, and it will automatically appear in the cell you selected. We have selected the “All Borders” option, and you can see the thin lines around the selected cells.
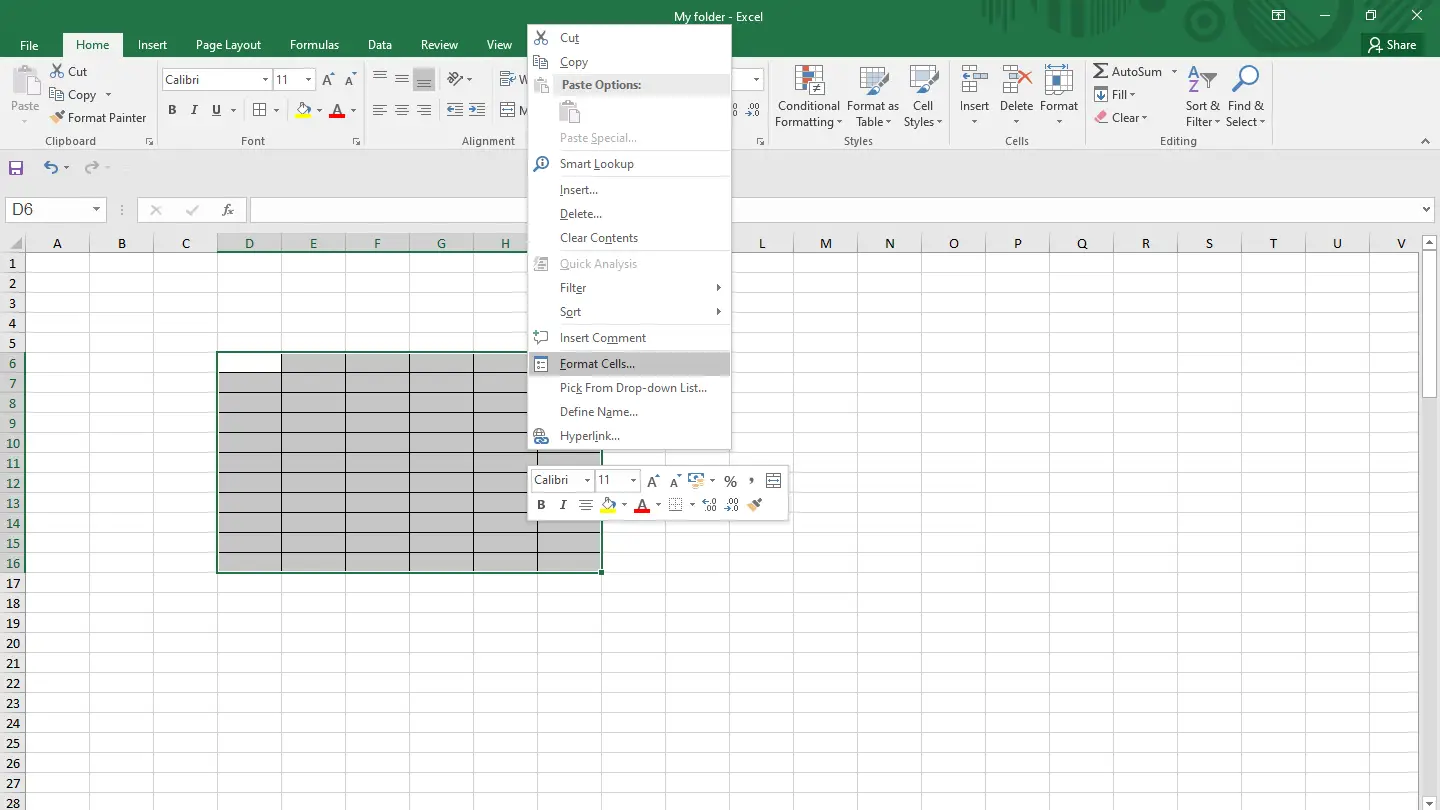
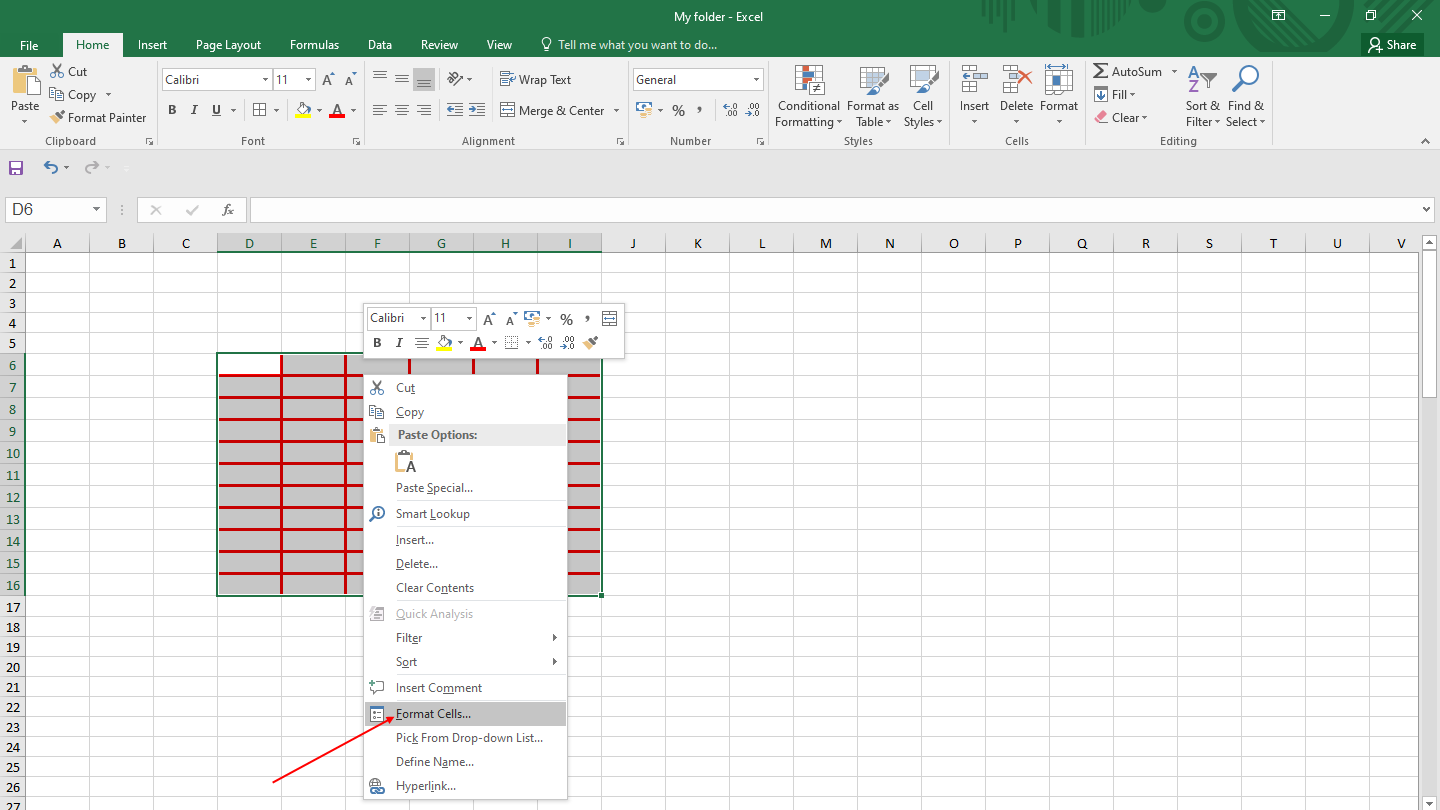
Step 5. Suppose you want to customize these borders of the selected cells; if you want thick borders or want to change the color of the selected cells, that is also possible. Right-click on the selected cells and click the option “Format Cells.”
Step 6. Format Cells will open. Navigate to the Border tab, and you can customize your selected cells with some predefined options.
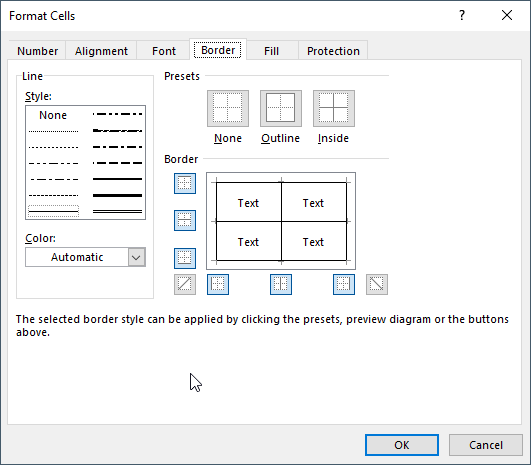
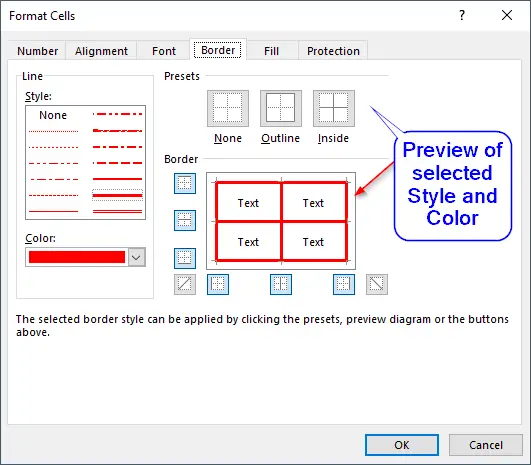
Step 7. From the Line Style section, you can change the Border style, and the Line Color section can be used to color the Border of the cells. Once you select any predefined option in the Line Style or Line Color section, it will show the preview in the Border section. Once you are satisfied with your selection, click the OK button to apply changes.
Note: To apply the Line Color on the borders of cells, you need to set the Border color by clicking on the Border section. If you select a Color from the Color section and do not set the Border from the Border section, the selected cell line’s color will not be changed.
How to remove borders from cells in an Excel worksheet?
If you want to remove the Border or lines from any selected Cells, perform the following steps:-
Step 1. Open the Excel worksheet and select the Cells through which you want to remove borderlines.
Step 2. Click the Border icon in the Font group. Select the No Border option to remove all the borders from the selected cells.
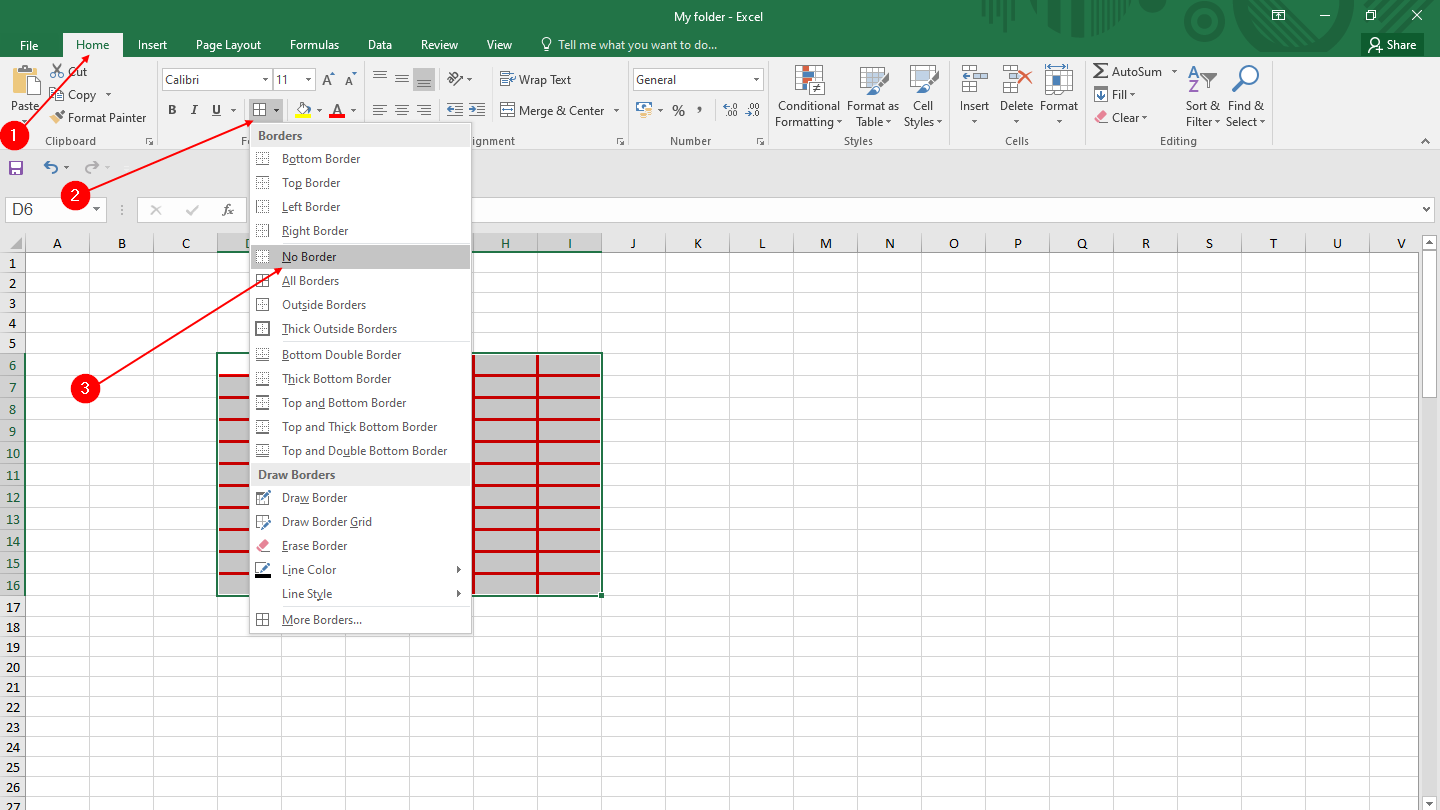
Step 3. Once you click the “No Border” option, as suggested above, all the borders or lines will be removed from the selected cells.
Step 4. Alternatively, right-click on the selected cells and select the “Format Cells” option.
Step 5. In the “Format Cells” window that opens, click the Border tab. In Presets section, click the None and set the Color to Automatic if you have changed it before.
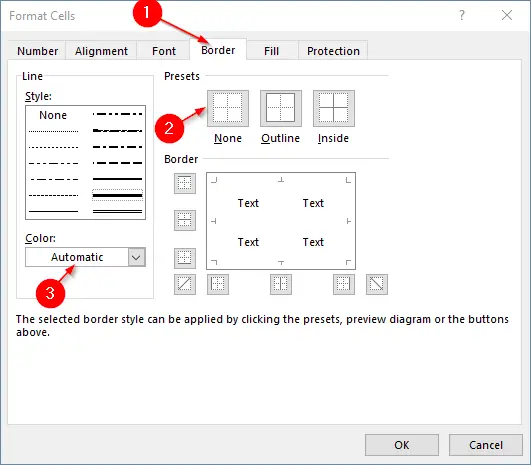
Step 6. Finally, click the OK button to remove all the selected cells’ borders, colors, and customization.
Conclusion
In conclusion, adding or removing borders in Microsoft Excel cells is a simple but effective way to enhance the appearance and organization of your spreadsheet. By following the steps outlined in this tutorial, you can add or remove borders around individual cells, groups of cells, or entire tables or ranges of cells. With the ability to customize the line style and color of your borders, you can create a spreadsheet that is not only functional but visually appealing as well. Whether you are creating a simple table or a complex data set, borders can help to highlight important information and create a clear and professional presentation.