Similar to the Quick Action feature of Windows 10, Windows 11 ships with Quick Settings functionality. The Quick Settings of Windows 11 is now part of the new Action Center experience that breaks the interface into two flyouts (Quick Settings and Notification Center). The Quick Settings menu includes the most common settings, such as:-
- Wireless (Wi-Fi),
- Bluetooth,
- Airplane mode,
- Battery saver,
- Night Light,
- Focus Assist,
- Accessibility,
- Nearby charging,
- Cast,
- Brightness,
- Volume, etc.
Also, if you are playing audio or video using the Microsoft Edge browser, Quick Settings shows a new media control above the flyout. From here, you can play/pause or open the next/previous audio/video in the list.
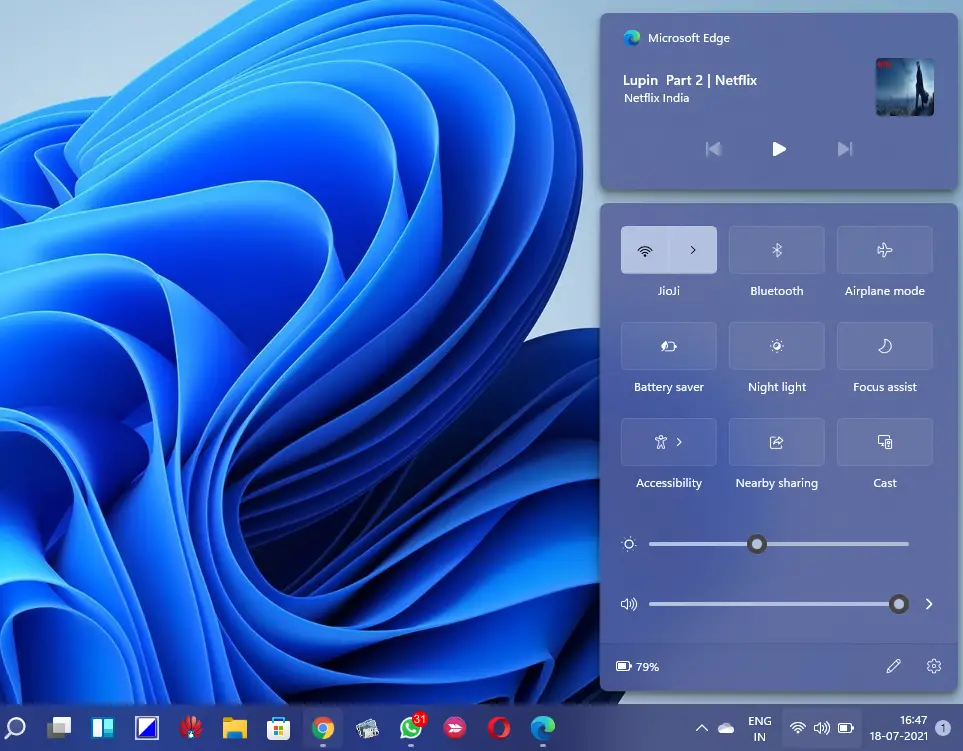
You can use Windows + A to open Quick Settings on Windows 11, while the dedicated Notification Center in Windows 11 has its own shortcut keys, Windows + N. Quick Settings allows you to quickly and easily manage the most frequently used PC settings, such as Volume, Brightness, Wi-Fi, Bluetooth, etc. You can also control media playback when playing media content in the Microsoft Edge browser or streaming music in apps like Spotify.
How to Add Buttons in Windows 11 Quick Settings?
Follow these steps to add Buttons in Windows 11 Quick Settings:-
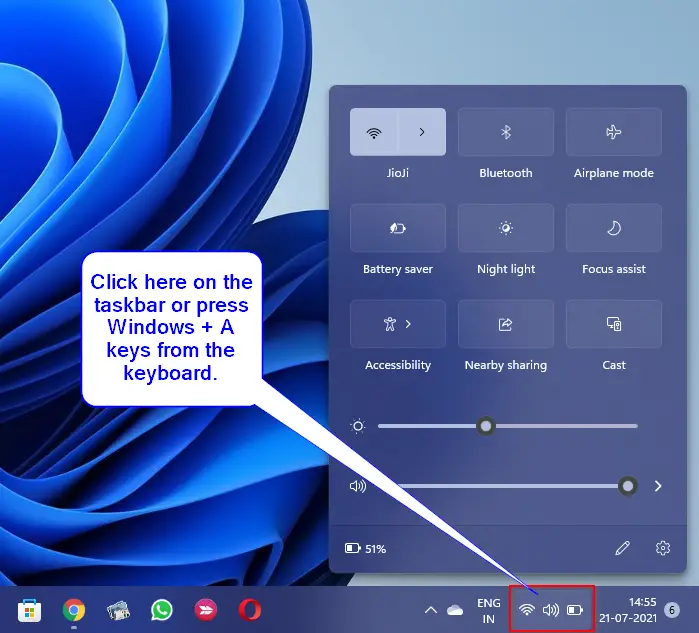
Step 1. Bring up Quick Settings by pressing Windows + A keyboard shortcut or click on the Quick Settings area on the taskbar.
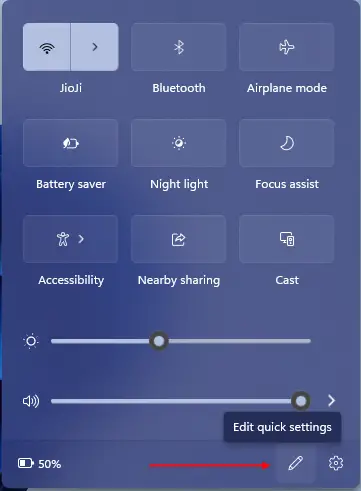
Step 2. On the Quick Settings flyout, click on the pencil icon (Edit quick settings button).
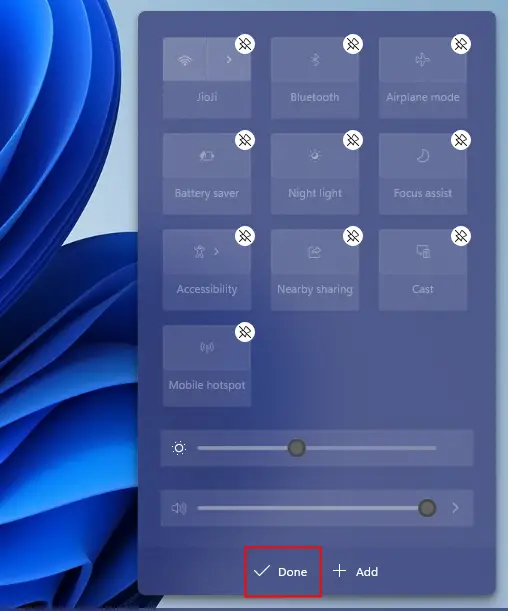
Step 3. In the next dialog, click on the + Add button, and select a setting you want to add under Quick Settings.
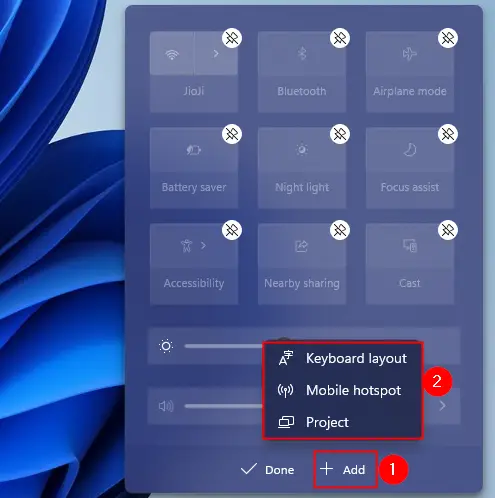
Step 4. Finally, click on the Done button.
Repeat the above steps if you would like to add more buttons on the Quick Settings flyout.
How to Remove Buttons from Windows 11 Quick Settings?
Follow these steps to remove Buttons from Windows 11 Quick Settings:-
Step 1. Bring up Quick Settings by pressing Windows + A keyboard shortcut or click on the Quick Settings area on the taskbar.
Step 2. On the Quick Settings flyout, click on the pencil icon (Edit quick settings button).
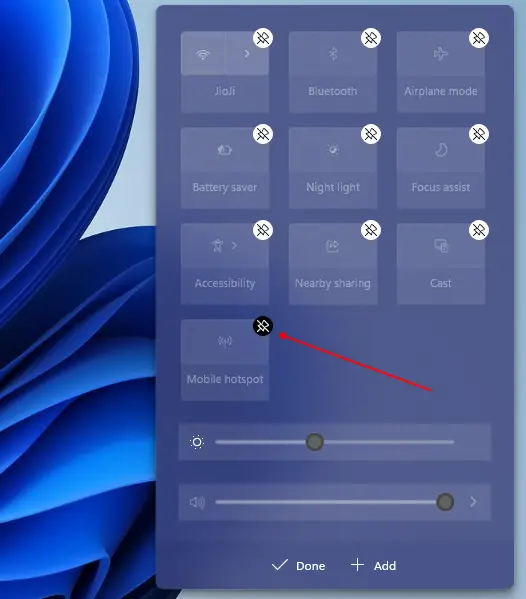
Step 3. In the next dialog, click on the Unpin button to remove a button from the Quick Settings flyout.
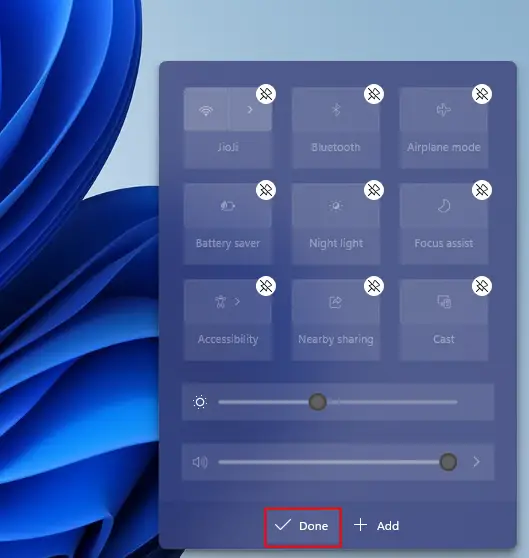
Step 4. Finally, click on the Done button.
You need to repeat the above steps if you would like to eliminate more buttons from the Quick Settings flyout.
How to Arrange Quick Settings Buttons in Windows 11?
Follow these steps to arrange Quick Settings Buttons in Windows 11:-
Step 1. Access Quick Settings by pressing Windows + A keyboard shortcut or clicking on the Quick Settings area on the taskbar.
Step 2. On the Quick Settings flyout, click on the pencil icon (Edit quick settings button).
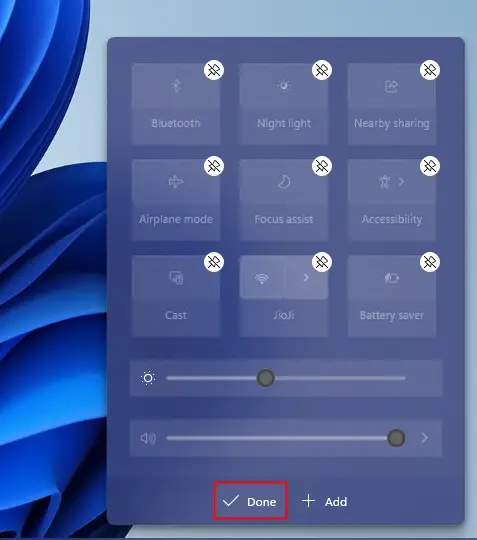
Step 3. In the next dialog, drag and drop the Quick Settings items on your desired location to rearrange them. Finally, click on the Done button to save the changes.
That’s all.
Conclusion
In conclusion, Windows 11 introduces Quick Settings functionality that allows users to manage frequently used PC settings easily and quickly. Quick Settings includes common settings such as Wi-Fi, Bluetooth, Battery Saver, Night Light, Accessibility, Cast, and more. The media control feature also allows users to control audio or video playback while using the Microsoft Edge browser. Additionally, users can customize Quick Settings by adding or removing buttons and rearranging them to their desired location. With the Windows + A keyboard shortcut, Quick Settings can be accessed conveniently, and users can use the Windows + N shortcut to access the dedicated Notification Center. Overall, the Quick Settings feature in Windows 11 offers a streamlined and efficient way to manage various settings on your PC.