Windows 11 includes many folders and files, and you might never access them, but they are required to run your system properly. It does not stop here; when you use your PC for some time, it keeps generating temporary files and folders that are safe to delete. These temporary files are unnecessary and may take up a lot of storage space and slow down your PC. These temporary files may include application data, error logs and data, browsing data, window updates, and installation files, amongst others.
Even if you upgrade from Windows 10 to Windows 11, it will occupy about 15GB of space. Under the Windows installation drive, you will see a Windows.old folder that Microsoft creates in case you want to go back to the previous OS. However, after upgrading your PC, if you have decided to use the latest Windows 11 OS, this Windows.old folder is useless for you and unnecessarily occupies the space on your computer; why should we not delete these useless files/folders and keep our PC trim?
If you are running low on storage or notice a slowdown in system performance, deleting the files makes sense. You don’t have to find temporary files manually on Windows 11; Microsoft has made it easy and will clean automatically after configuring Storage Sense. Microsoft introduced the Storage Sense feature on Windows 10, and now it is also a part of Windows 11.
This v article will guide you on configuring the Storage Sense and automatically cleaning temporary files/folders in Windows 11.
How to Delete Temporary Files Automatically in Windows 11?
Follow these steps to Delete Temporary Files automatically in Windows 11:-
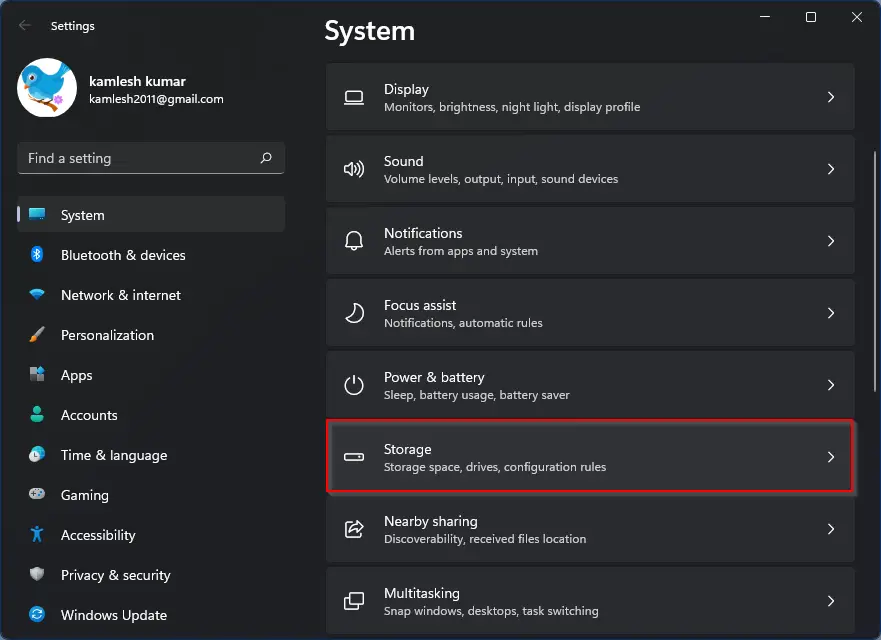
Step 1. Launch the Settings app by pressing Windows + I keys simultaneously from the keyboard or using any other method that you prefer. On the Settings window, click on the System category from the left side pane.

Step 2. On the right-side pane of the System category, find and click on the Storage tab.
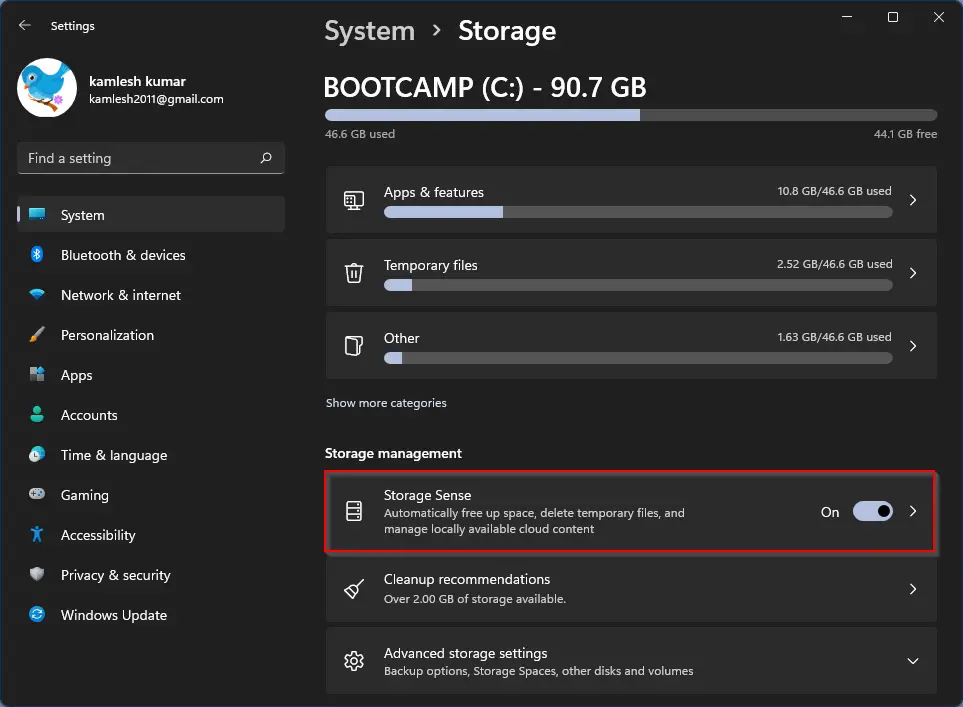
Step 3. Turn on the toggle switch next to the Storage Sense option. Now, click anywhere on Storage Sense to open its settings.
Step 4. On the next window, check the checkbox labeled “Keep Windows running smoothly by automatically cleaning up temporary system and app files.” Turn the toggle On next to “Automatic User content cleanup.”
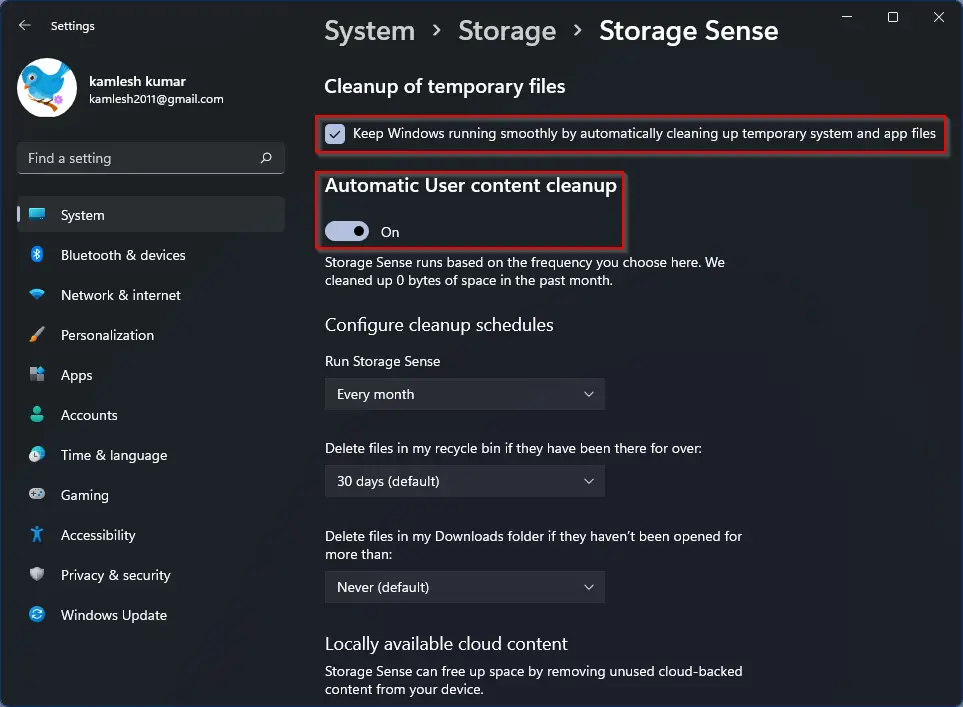
Step 5. Click on the Run Storage Sense drop-down to find available options. You will see the following settings here:-
- Every day
- Every week
- Every month
- During low free disk space
By default, if you have turned on Storage Sense, Windows 11 will clean your PC if it has low free disk space. If you use your PC more often, you can choose either the Every day or Every week option.
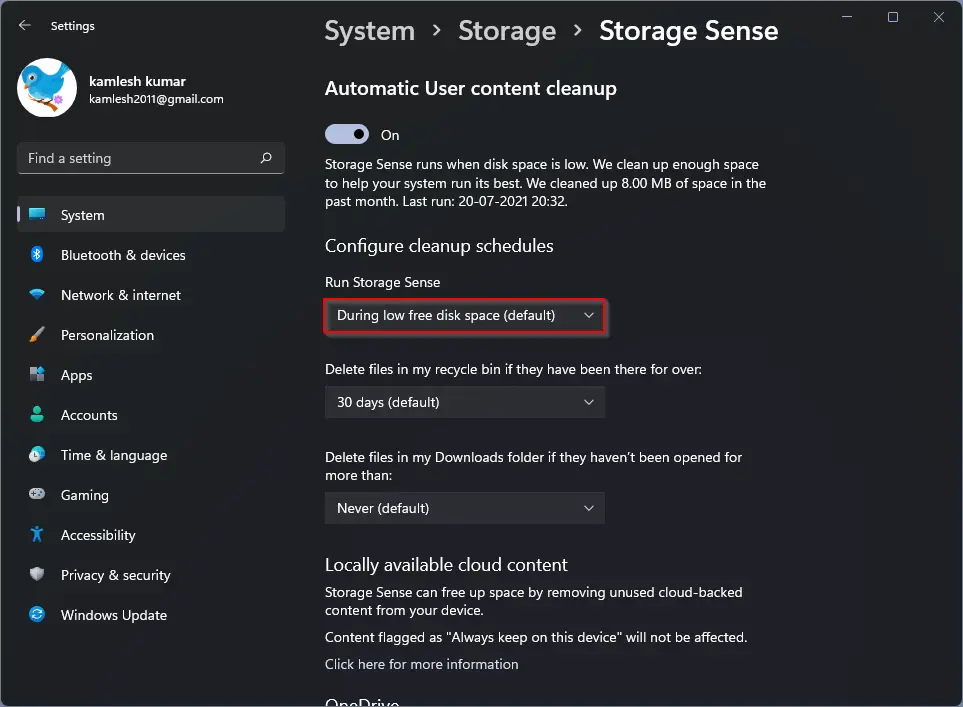
Step 6. Next, after turning on the Storage Sense feature on Windows 11, it will empty the recycle bin in 30 days. However, you have the following options to choose from:-
- 1 day
- 14 days
- 30 days
- 60 days
![]()
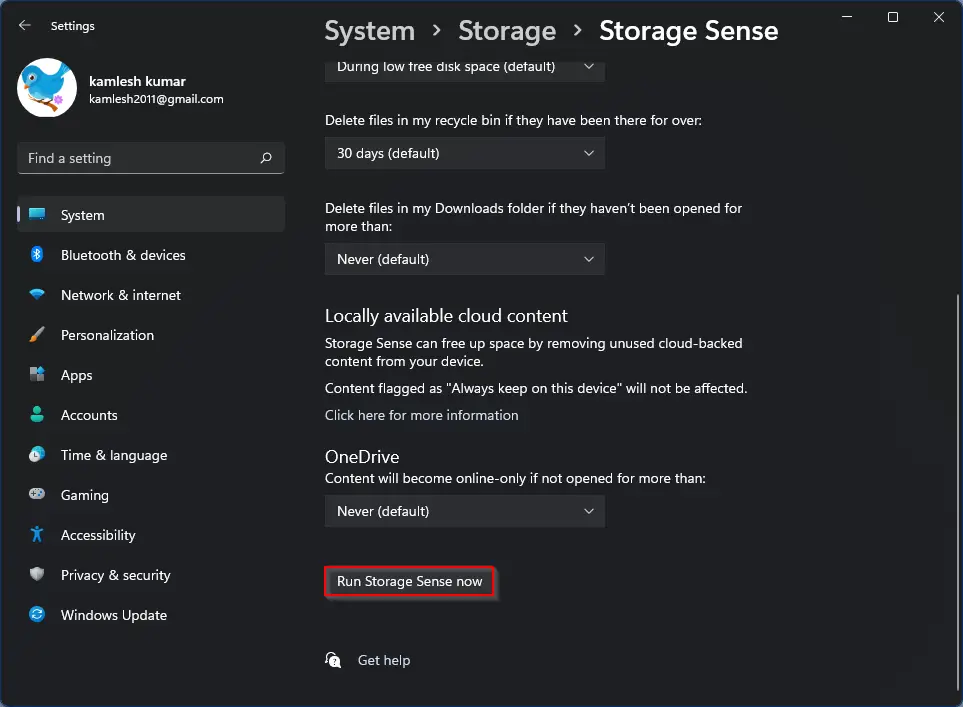
Step 7. You have two more options to clean up your PC; however, it remains turned off by default. Windows 11 can automatically delete files from the Downloads folder if you need them. Next, you can configure OneDrive settings to make content offline if you do open them in a few days.
![]()
Step 8. Finally, Storage Sense also allows you to clean up your Windows PC manually. For that, click on the Run Storage Sense now button.
Conclusion
In conclusion, Windows 11 is an advanced operating system that comes with many features and functionalities. However, as you use your PC, temporary files and folders keep accumulating, which may take up storage space and slow down your system. Deleting these files manually can be time-consuming and difficult, but Windows 11 has made it easy with the Storage Sense feature. By following the simple steps outlined above, you can automatically delete temporary files and folders and keep your PC running smoothly. With Storage Sense, you can also choose the frequency of cleaning and configure other options to keep your PC clean and efficient. Overall, configuring Storage Sense in Windows 11 is a great way to optimize your PC’s performance and keep it in excellent condition.