By default, when you double-click an item on Windows 11 or 10 using your primary mouse button, it opens. If you have difficulties with fast double-clicking or your mouse, Microsoft allows you to lower or increase the speed of your mouse double-click. If you need, you can adjust the double-click sensitivities level according to your amenity.
Also Read: How to change the primary mouse button on Windows 11?
In this gearupwindows article, we will guide you on increasing and decreasing the mouse double-click speed in Windows 11 and 10.
How to Change a Mouse Double Click Speed in Windows 11?
As mentioned above, Windows 11 allows users to open an item by double-clicking using the primary mouse button. However, if you want, you can change the mouse double-click speed settings.
To adjust the mouse double-click speed in Windows 11, use the following steps:-
Step 1. First, open the Windows 11 Settings app.
To launch the Settings, you can use the Windows + I hotkey or right-click on the Start button and select Settings in the menu.
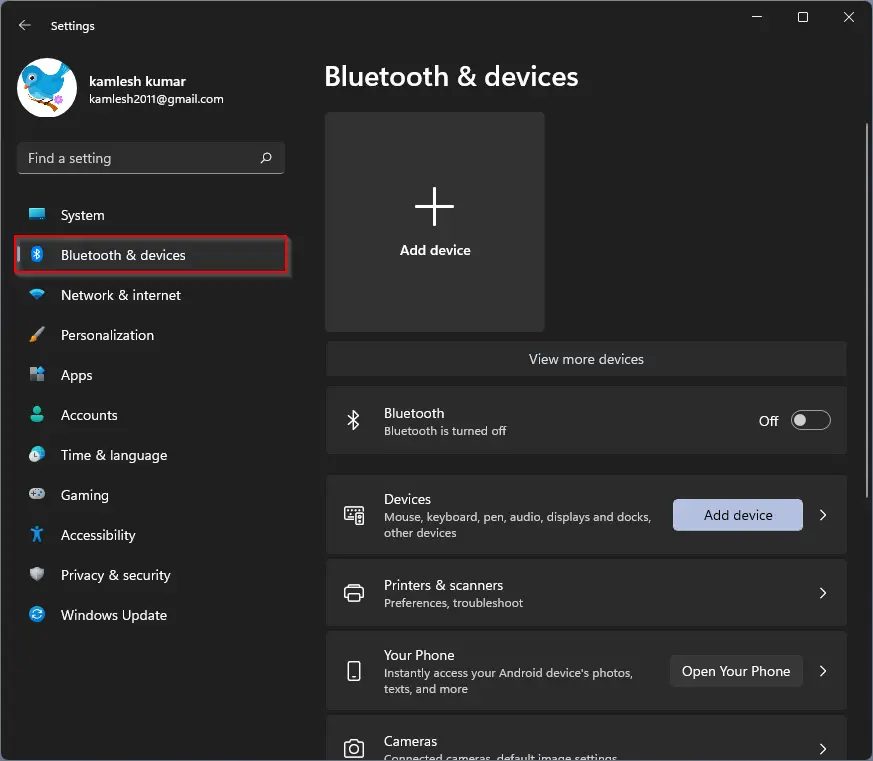
Step 2. When Windows Settings appears on your computer, choose Bluetooth & devices in the left sidebar.
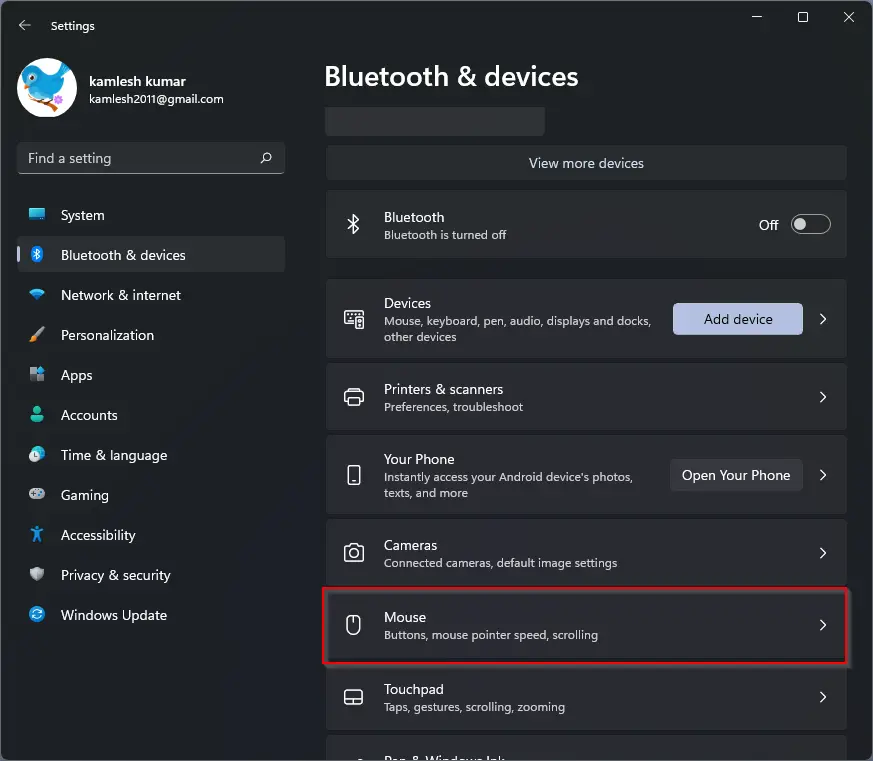
Step 3. On the opposite side of Bluetooth & devices, click the Mouse tile.
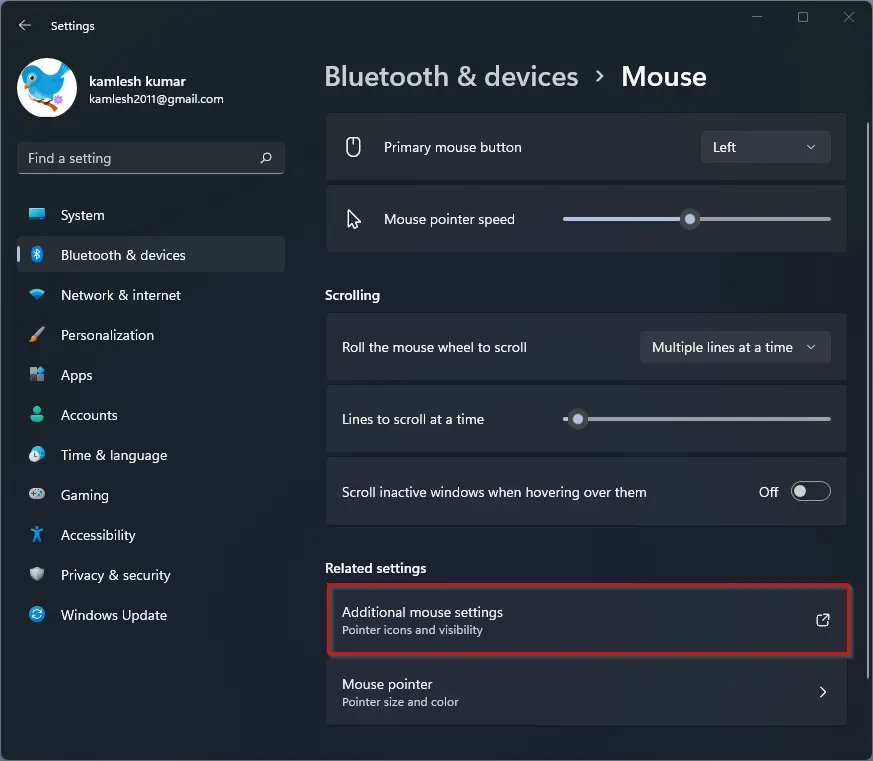
Step 4. On the Mouse settings pane, under the “Related settings,” click the Additional mouse settings option.
Step 5. When you’re done, the Mouse Properties dialog will appear on the screen. Here, select the Buttons tab.
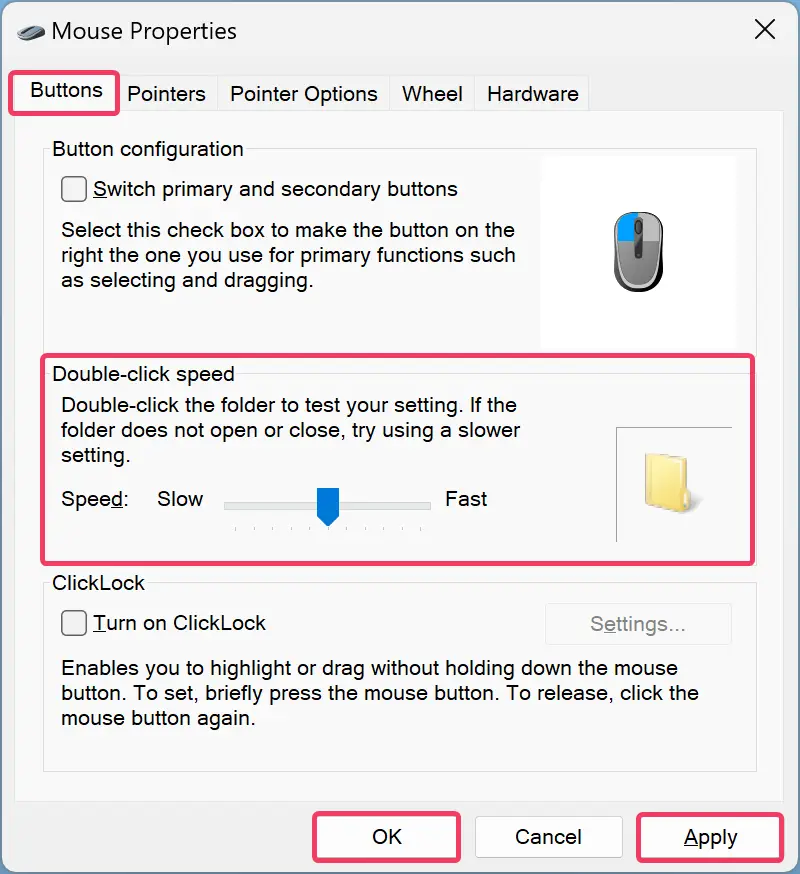
Step 6. Next, use the Speed slider under the “Double-click speed” to increase or decrease the speed of the primary mouse button double-click.
If you want, you can test the speed by double-clicking the folder that you see under the “Double-click speed” section. If the folder does not open or close, you should try using slower settings.
Step 7. Then, click the Apply button.
Step 8. Finally, hit the OK button.
How to Change the Mouse Double Click Speed in Windows 10?
To change the mouse double-click speed in Windows 10, use these steps:-
Step 1. First, open Windows 10 Settings.
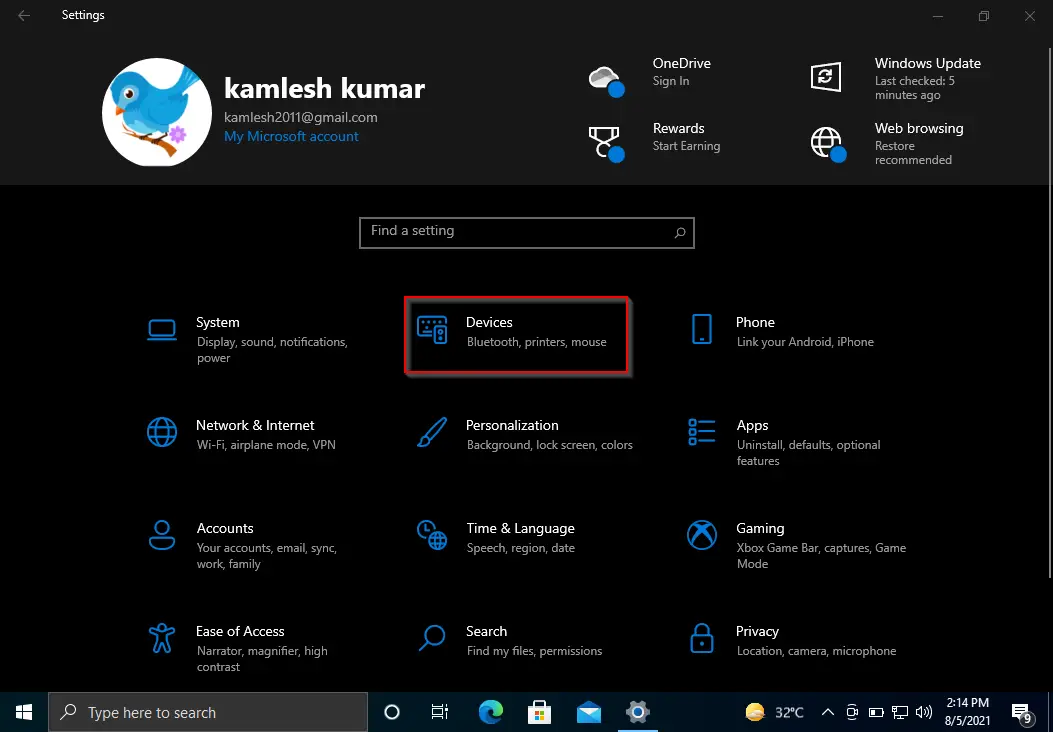
Step 2. Then, click on Devices.
Step 3. Under Devices, select the Mouse option.
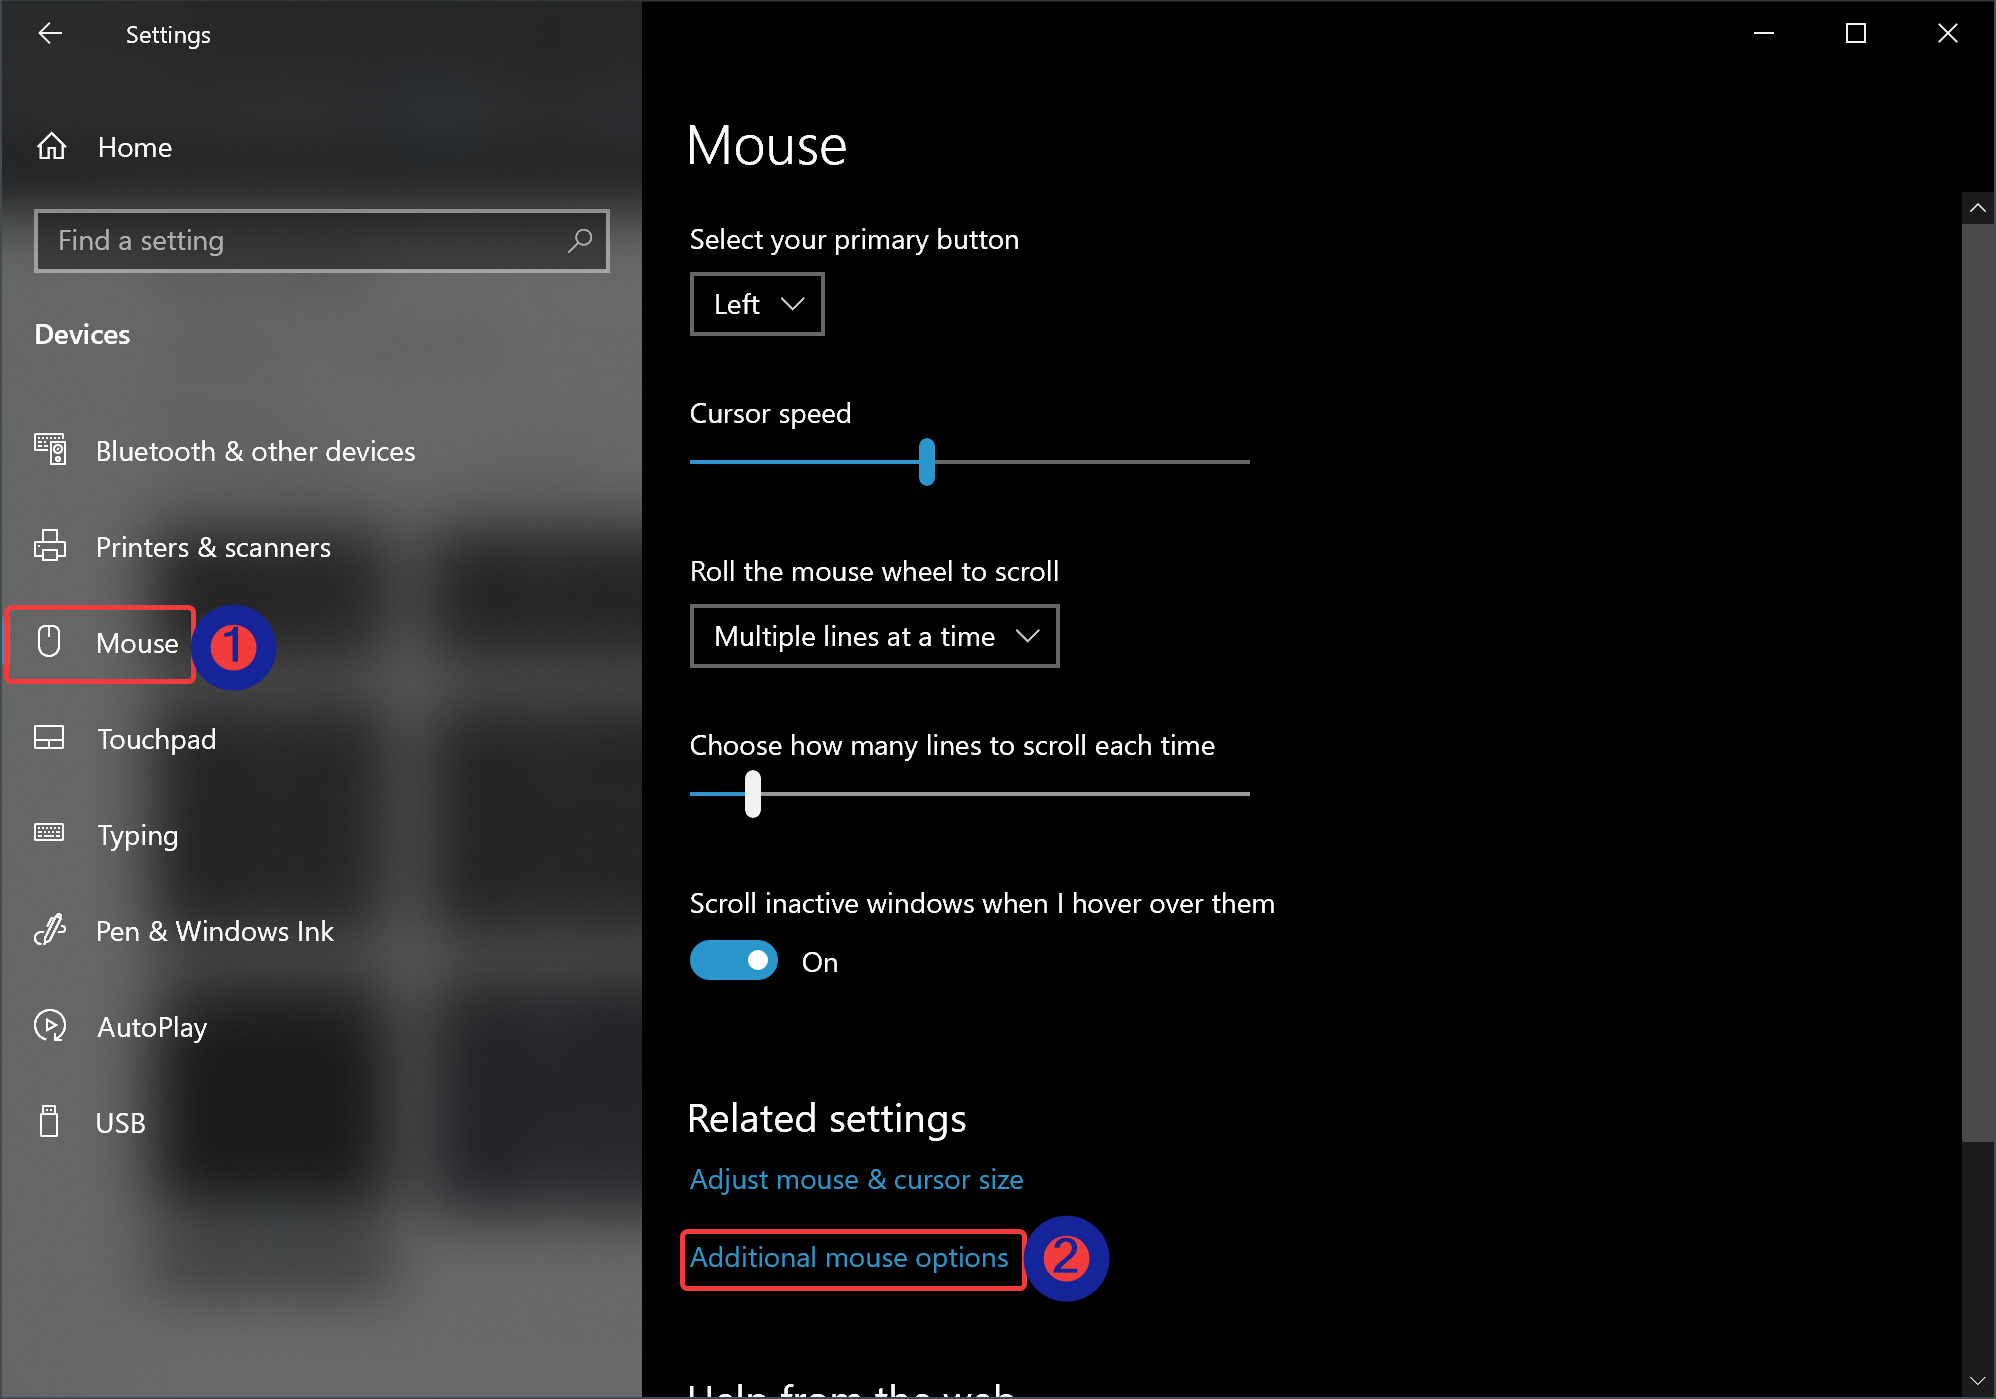
Step 4. On the right side of the Mouse, click the link Additional mouse options under the Related settings section.
Step 5. When you’re done, the Mouse Properties window will open. Switch to the Buttons tab.
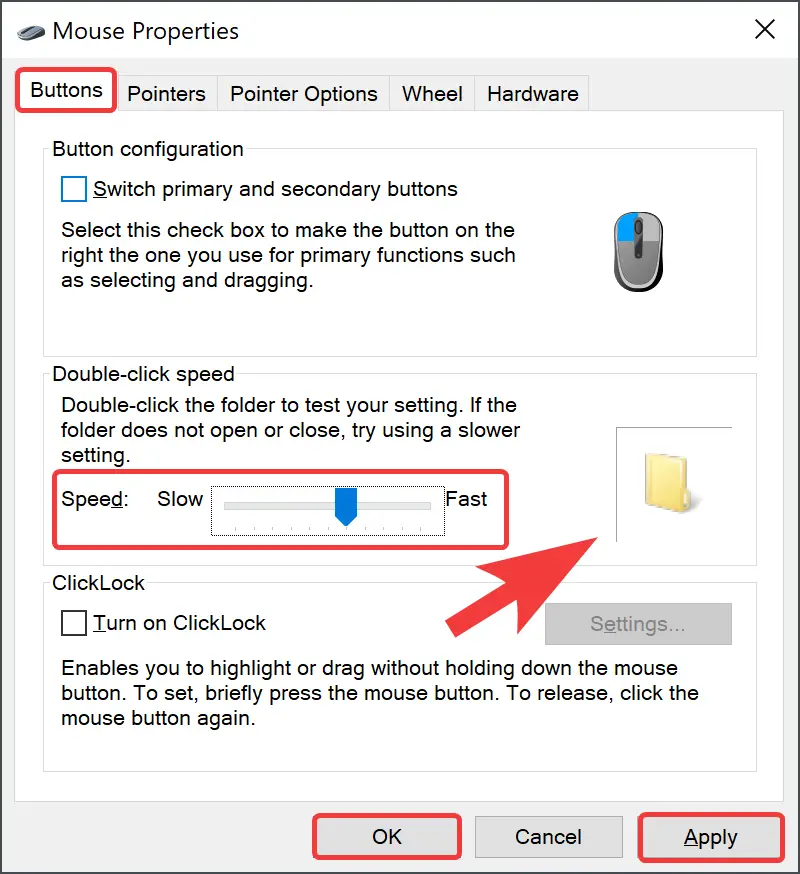
Step 6. Now, use the Speed slider under the “Double-click speed” section to increase or decrease the double-click speed of your mouse. Once the changes are done, double-click on the folder icon beside the Speed slider. If the folder icon changes, then you are good to go. And if the folder does not open, you need to adjust the Speed slider again.
Step 7. Next, click the Apply button.
Step 8. Click OK.
That’s it.
Conclusion
In conclusion, changing the mouse double-click speed in Windows 11 and 10 is an easy process that can help users who have difficulty double-clicking or want to adjust the sensitivity of their mouse. By following the steps outlined in this gearupwindows article, you can quickly adjust the double-click speed to your liking. Whether you need to slow down or speed up the double-clicking process, the Windows settings allow you to customize it easily.