Windows 11, like its predecessors, allows users to customize how dates and times are displayed on their system. By default, Windows 11 displays dates and times in a specific format based on the language and region settings of your computer. However, you may prefer a different format that better suits your needs or preferences. In this article, we will explain how you can change the dates and times format in Windows 11 and customize it to your liking.
Changing the dates and times format in Windows 11 is a simple process that can be done through the settings menu. By changing the format, you can choose how you want the dates and times to appear on your system, including the order of the day, month, and year, as well as the time format. This is especially useful for users who work with international clients or colleagues and need to display dates and times in a different format than their default system settings. Additionally, changing the format can make it easier for users with visual impairments or dyslexia to read and interpret dates and times.
How to Change Dates Format in Windows 11?
To change the date format on your PC, do the following steps:-
Step 1. Open the Settings app by pressing the Windows + I keys from the keyboard or any other method that you like to use.
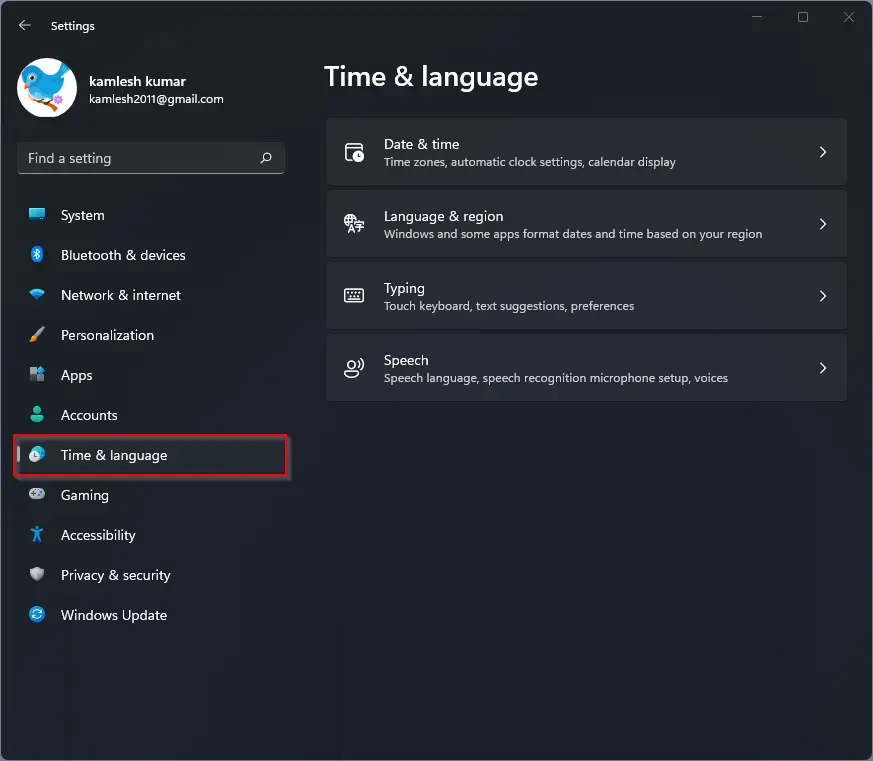
Step 2. When Windows Settings opens, select the Time & language category from the left side pane.
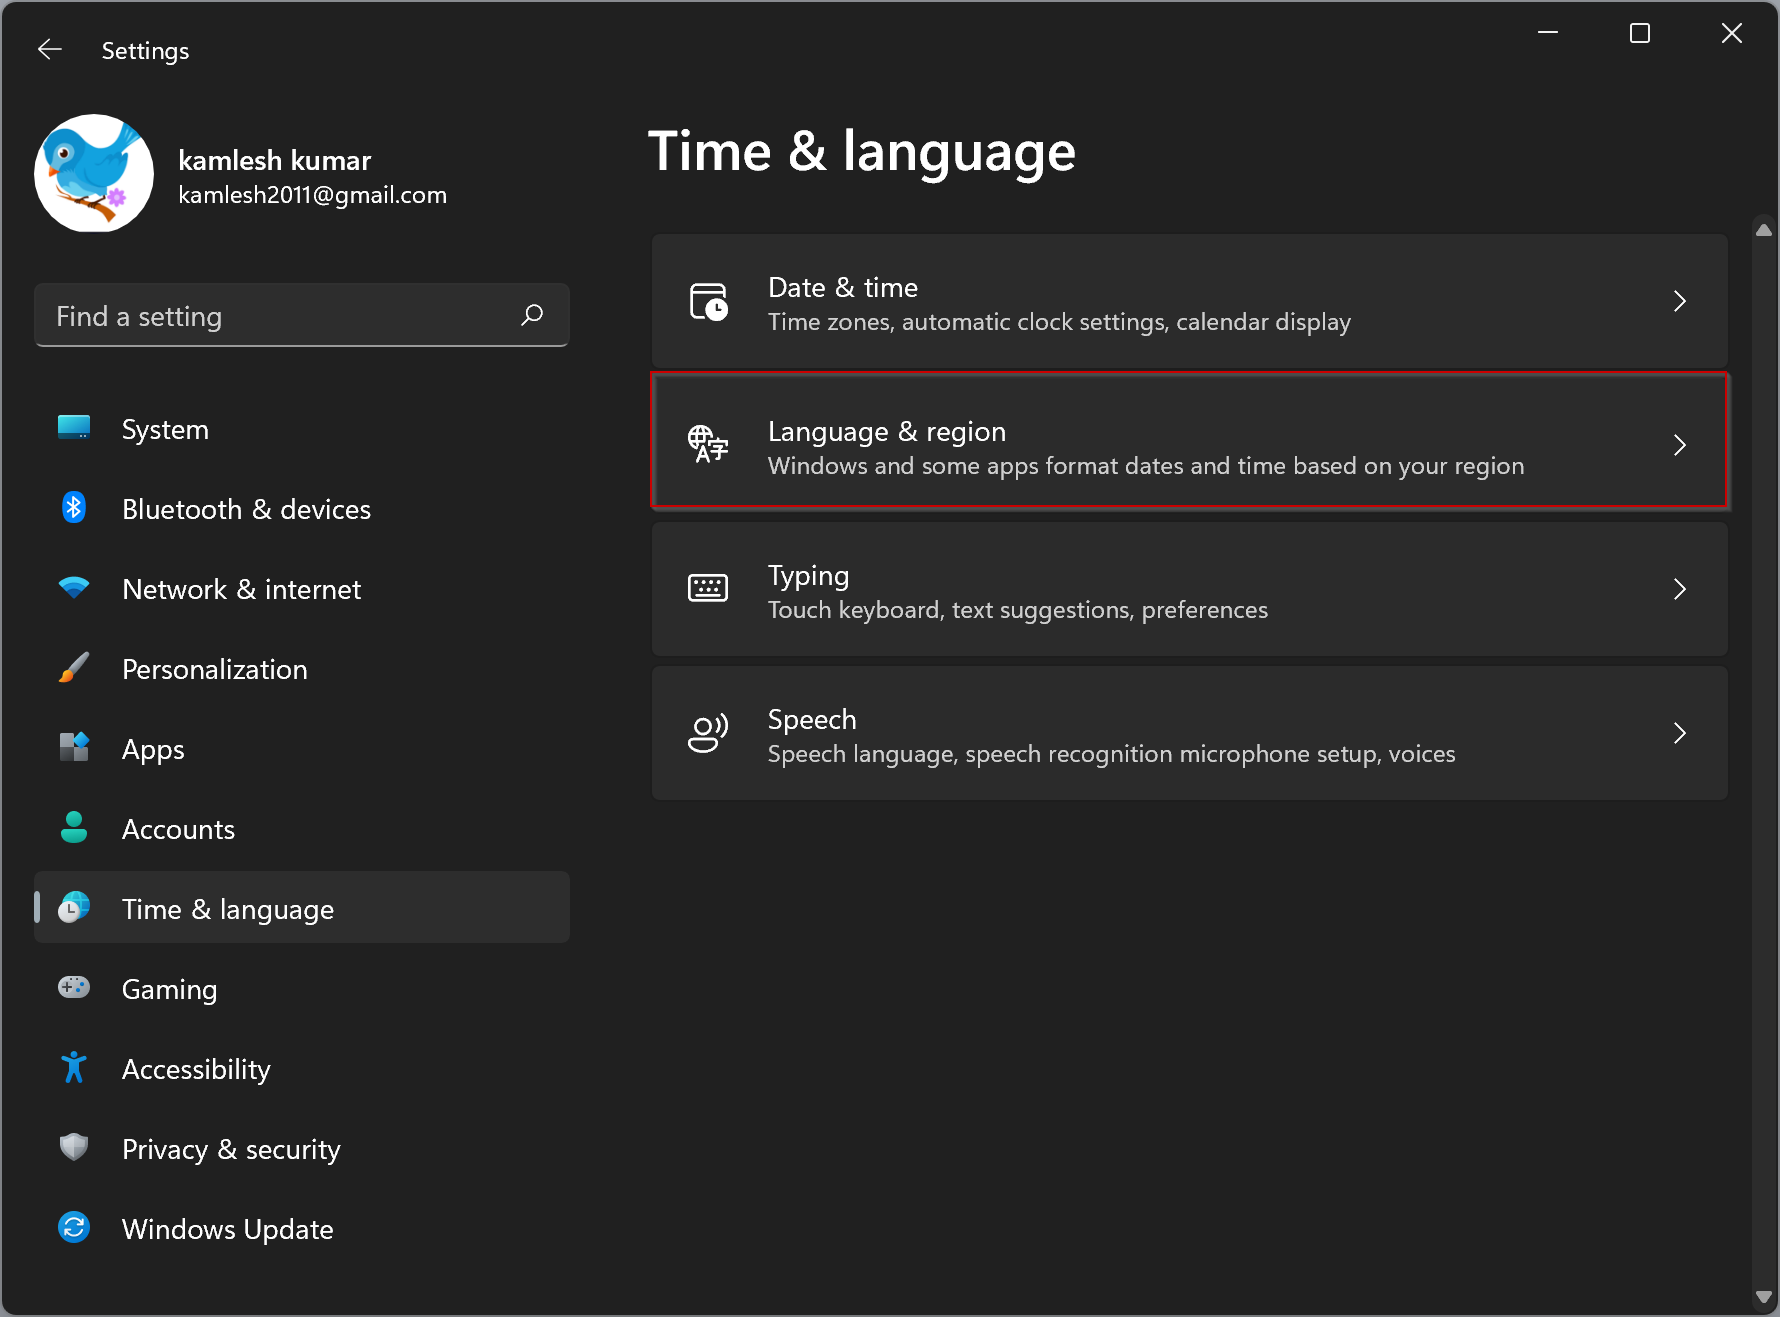
Step 3. On the right side pane, click the Language & region.
Step 4. On the Language & region settings page, scroll down to find the Related settings section.
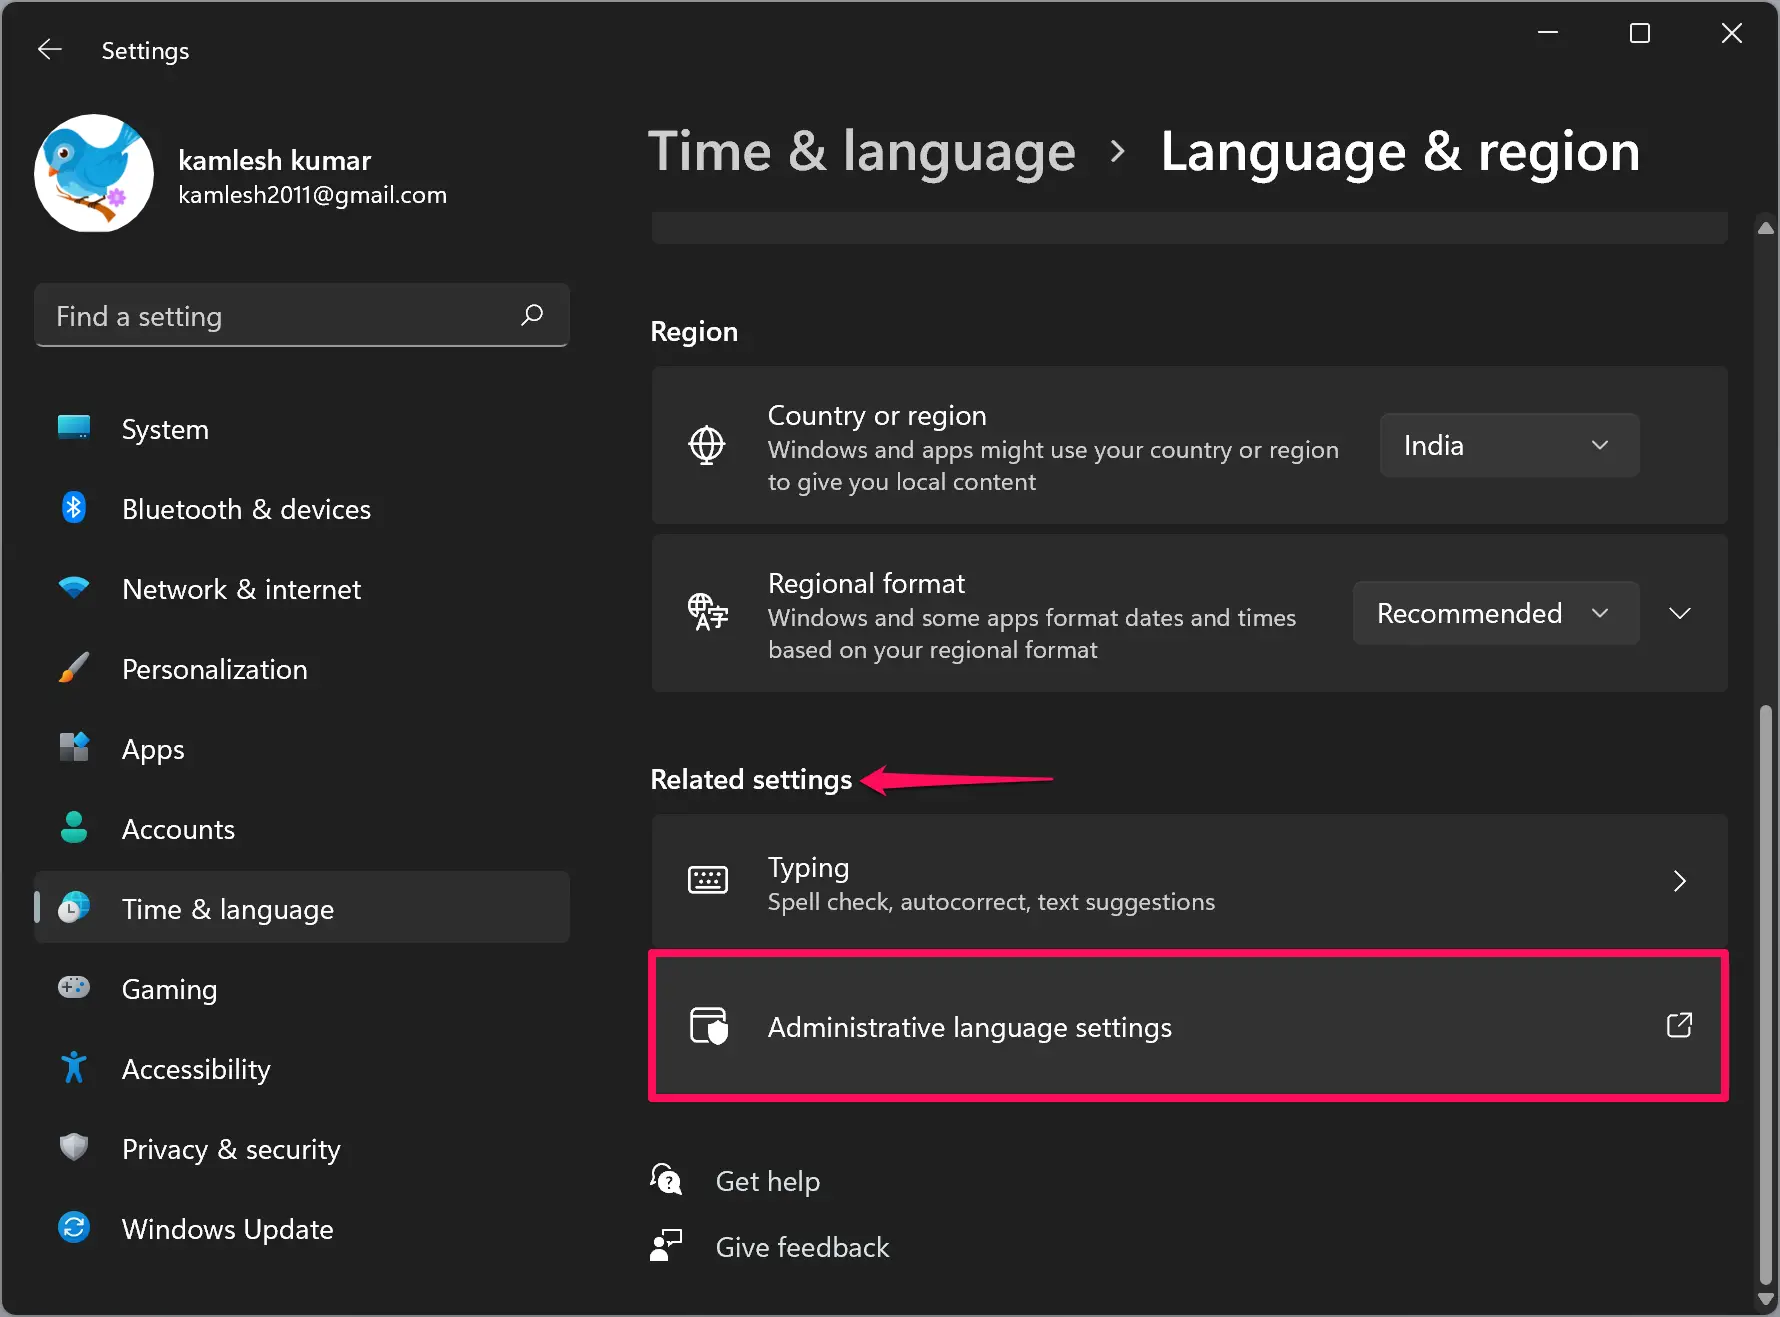
Step 5. Then click the option Administrative language settings.
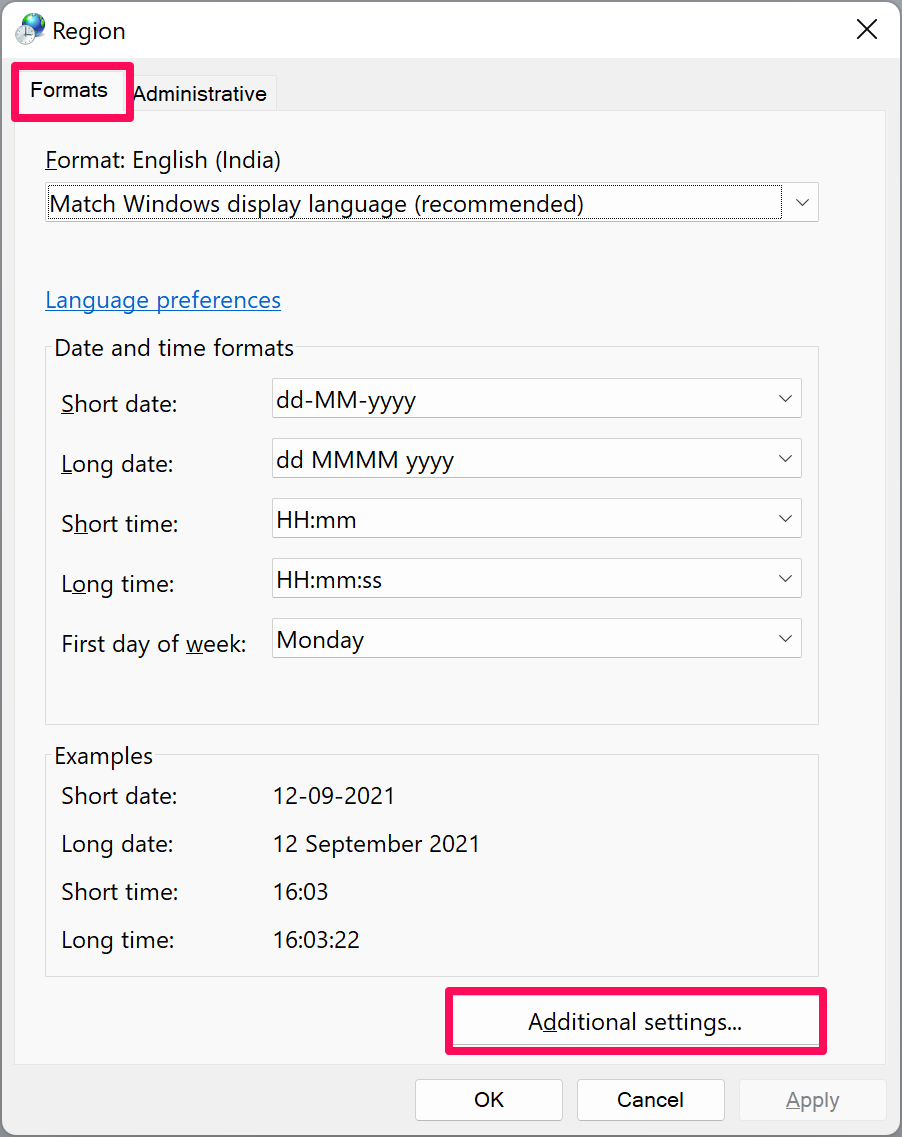
Step 6. A new pop-up window will open. Navigate to the Formats tab. Here, if you wish, you can select a built-in date and time format. For a custom format, click the Additional settings button.
Step 7. On the Customize Format dialog, select the Date tab.
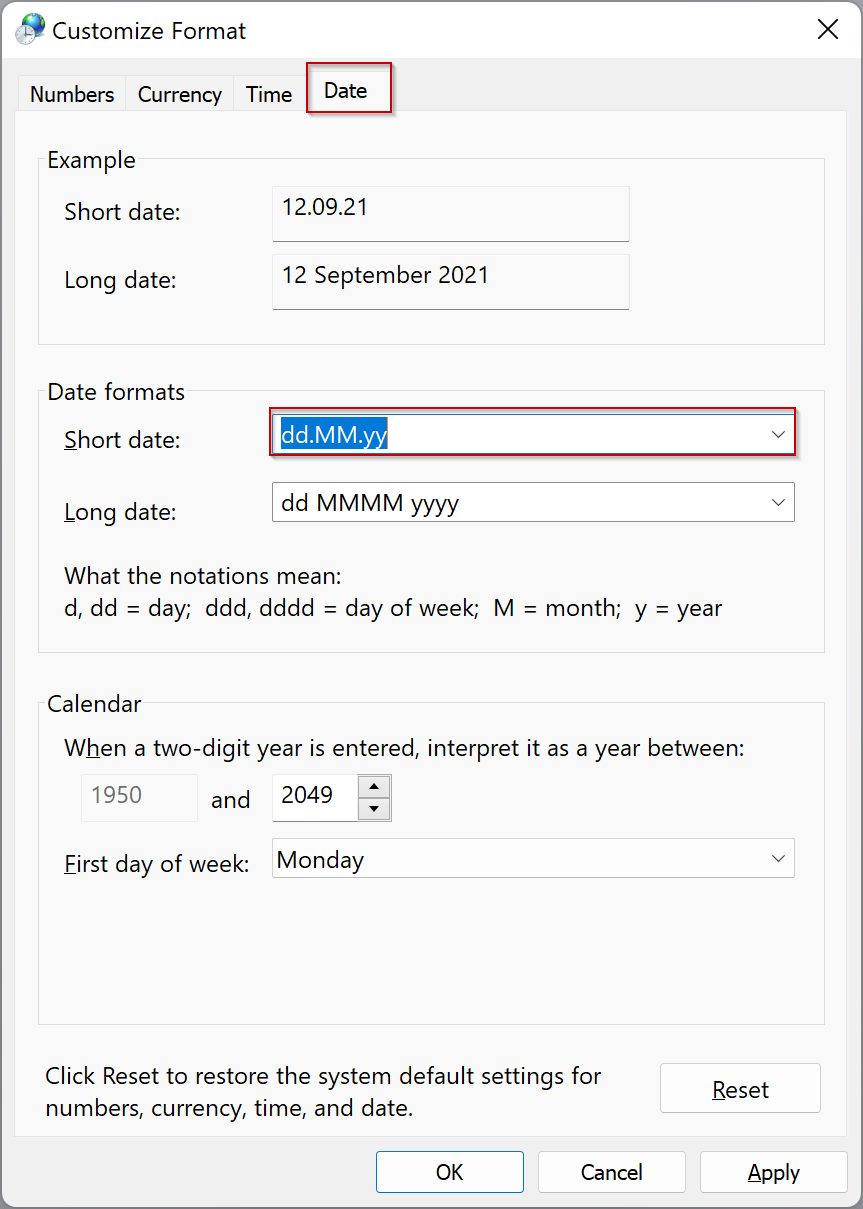
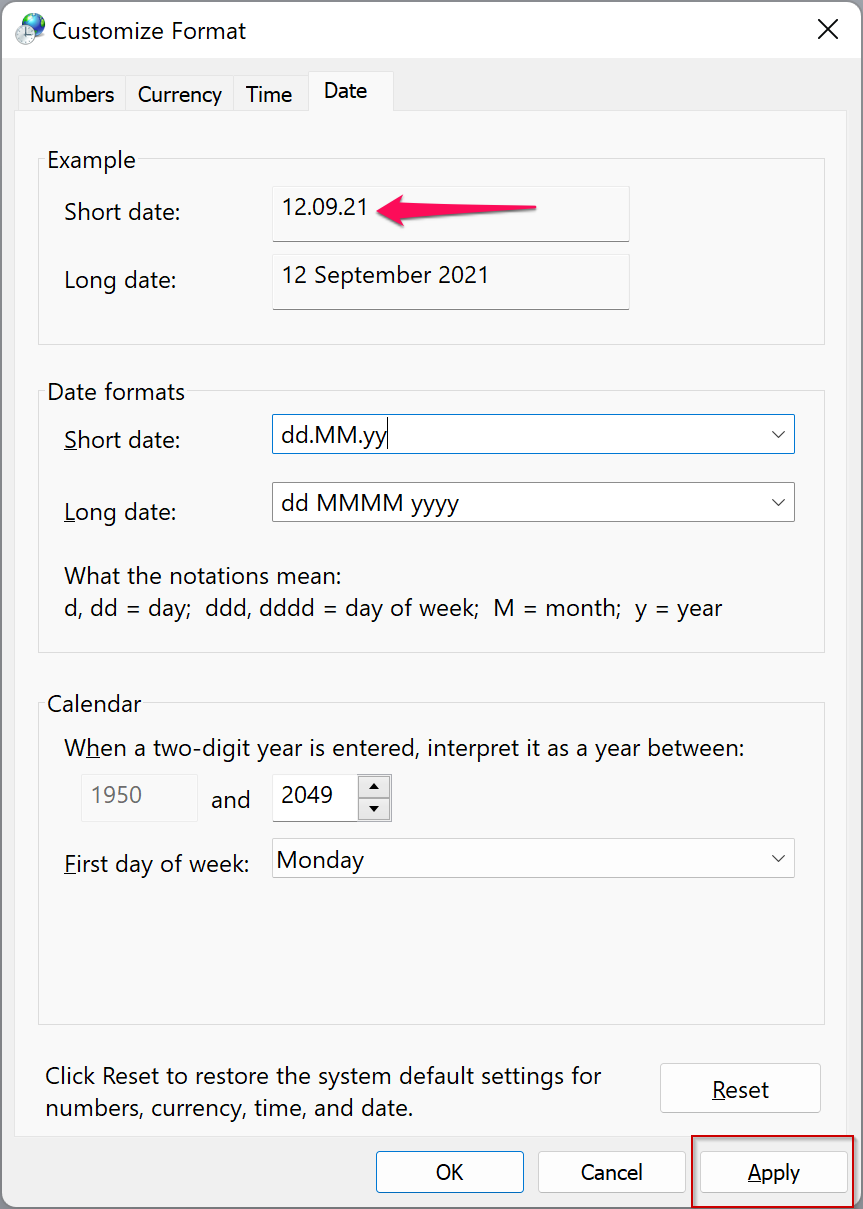
Step 8. Under the Date formats section, select any Short date and edit them according to your choice. For instance, we have used dots (dd.mm.yy) for the date format.
When done, click the Apply button to see the preview under the Example section.
Step 9. Similarly, to change the time format, navigate to the Time tab and edit the Short time format that you want to see in the taskbar.
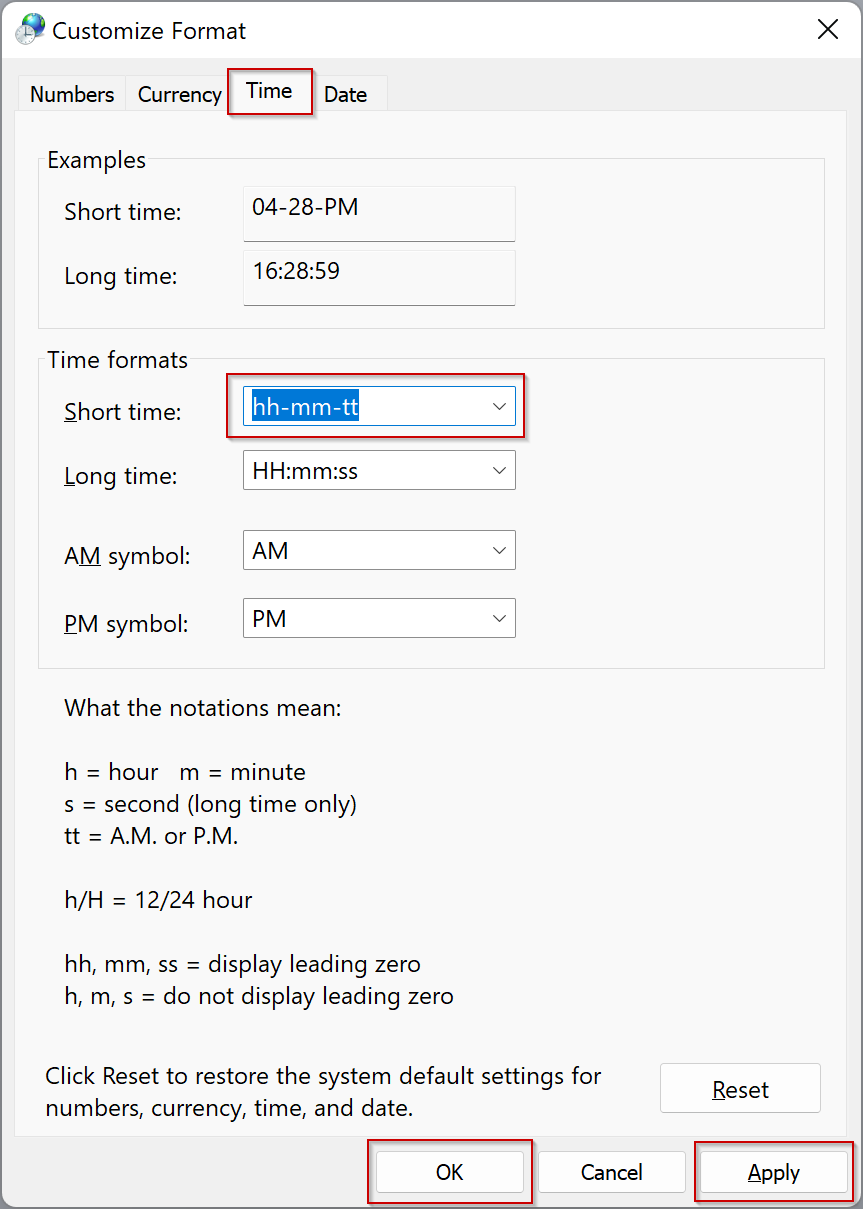
Step 10. Click Apply.
Step 11. Click OK.
Step 12. Click Apply.
Step 13. Click OK.
Now, you can close the Settings app. All the settings are stored automatically.
Conclusion
In conclusion, customizing the date and time format in Windows 11 is a simple and convenient way to personalize your system and make it more accessible for your needs. With just a few clicks in the Settings app, users can change the order and format of dates and times, including the time format, making it easier to read and interpret. This is especially useful for users who work internationally or have visual impairments or dyslexia. Overall, Windows 11 continues to provide users with the ability to customize their experience and improve their productivity.
Also Read:
thanks
Thanks, really helped!
You are welcome.
Thanks a bunch, very well explained!
You are welcome.
Thanks really it helped