The mouse is a crucial tool for desktop computer users as it allows us to perform various tasks efficiently. However, using the same old mouse pointer on Windows 10 can become monotonous. Fortunately, the internet offers numerous cute and interesting mouse pointers that you can download and install on your PC.
If you enjoy having a diverse range of mouse pointers, you can easily download multiple sets and switch between them whenever you wish. This post provides a simple guide to help you change your mouse pointer with ease and keep your desktop looking fresh and exciting.
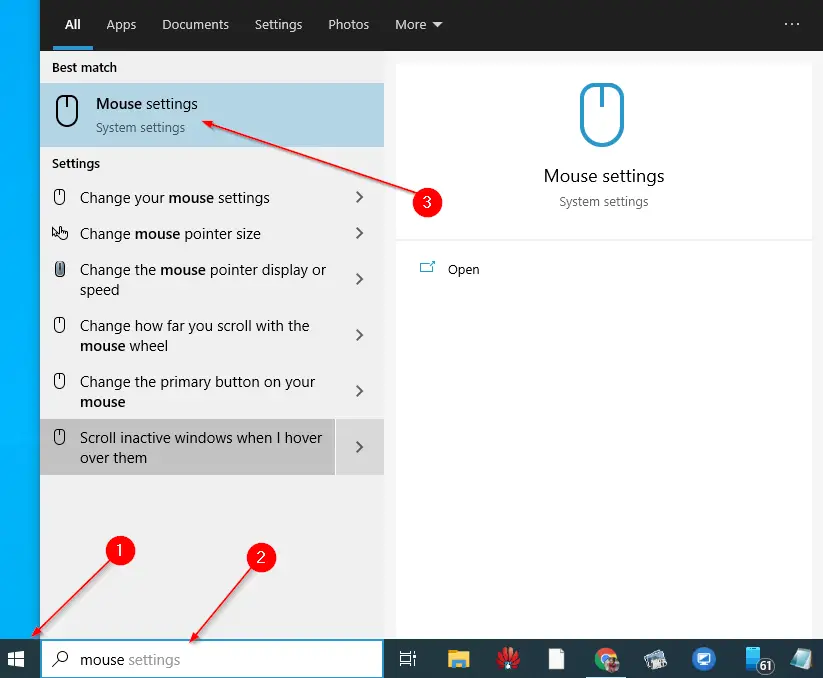
How to change the mouse pointer in Windows 10?
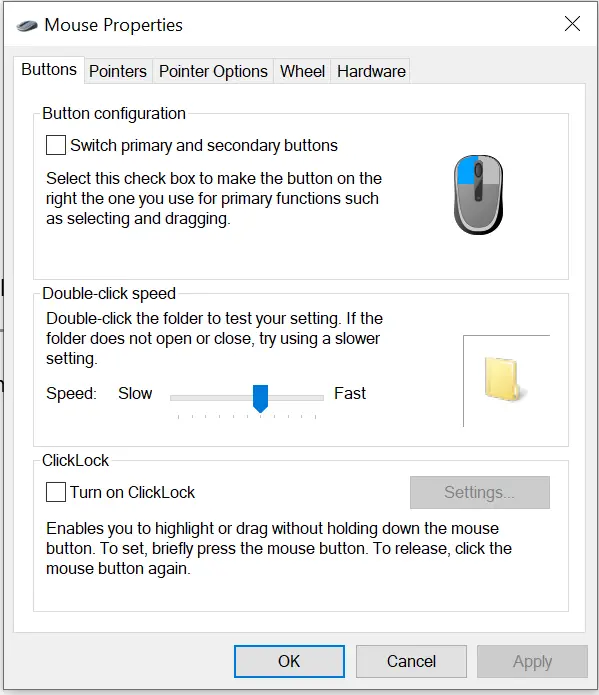
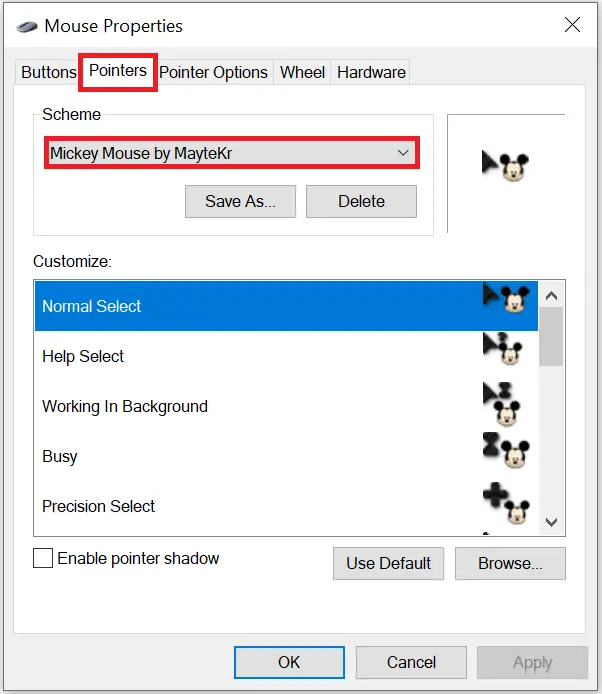
Here’s how to change the mouse pointer in Windows 10:-

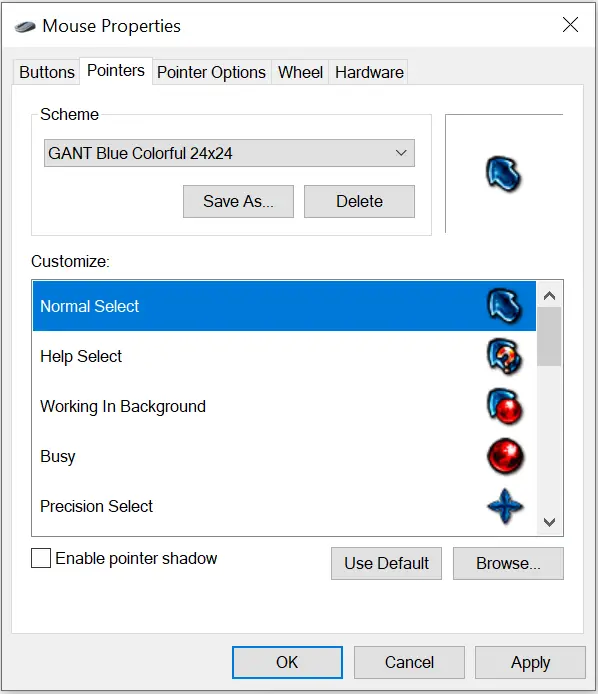
Step 4. Select the second tab Pointers.
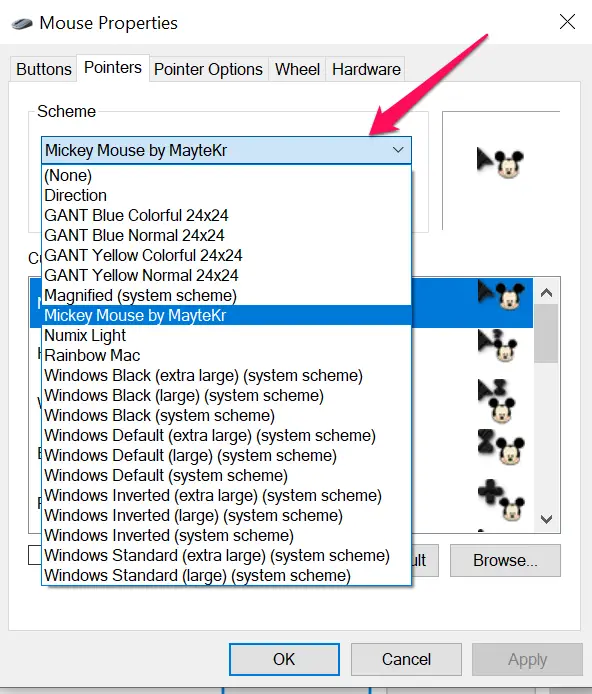
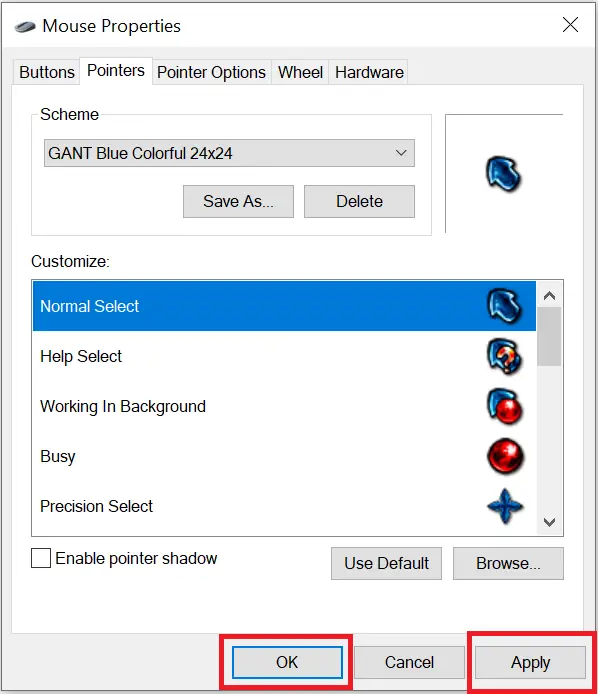
Step 7. Finally, press Apply and then OK button.
That’s it! Your new mouse pointer scheme has been set, and you can enjoy a new look for your mouse pointer.
Conclusion
In conclusion, the mouse is an essential tool for computer users, and changing its pointer can bring a fresh and exciting look to your desktop. With the help of the internet, you can easily download and install cute and interesting mouse pointers on Windows 10. Following the simple guide provided in this post, you can easily switch between multiple sets of mouse pointers and keep your desktop looking new and exciting. So, give your mouse pointer a new look and make your computer experience more enjoyable.
Also Read: How to Allow or Prevent Users from Changing Mouse Pointer in Windows 10?