The mouse pointer is an essential feature of every operating system, and Windows 10 is no exception. Using the mouse cursor, you can quickly navigate the desktop more efficiently. However, if the pointer is too small or too big, you can change the size according to your needs.
This gearupwindows article will guide you to change the mouse pointer size using the Settings app and Control Panel on Windows 10.
How to Change the Mouse Pointer Size Using Windows 10 Settings?
To change the mouse pointer size on Windows 10, use these steps:-
Step 1. First, open Windows 10 Settings.
Step 3. Then, click on Ease of Access.
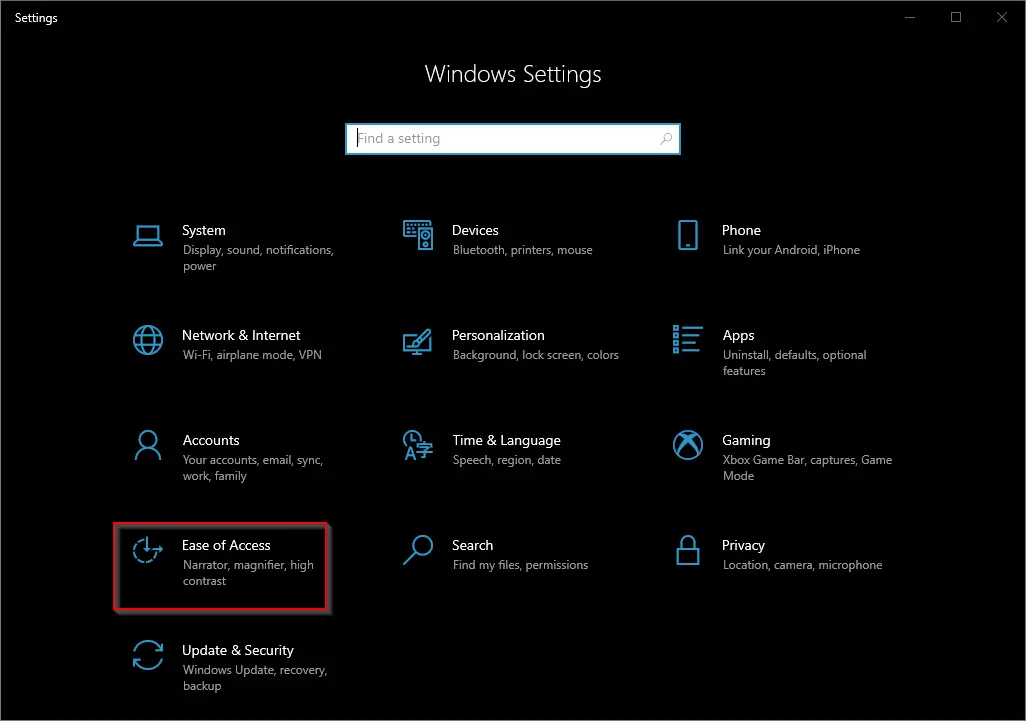
Step 3. Under “Ease of Access,” select the Mouse pointer option.
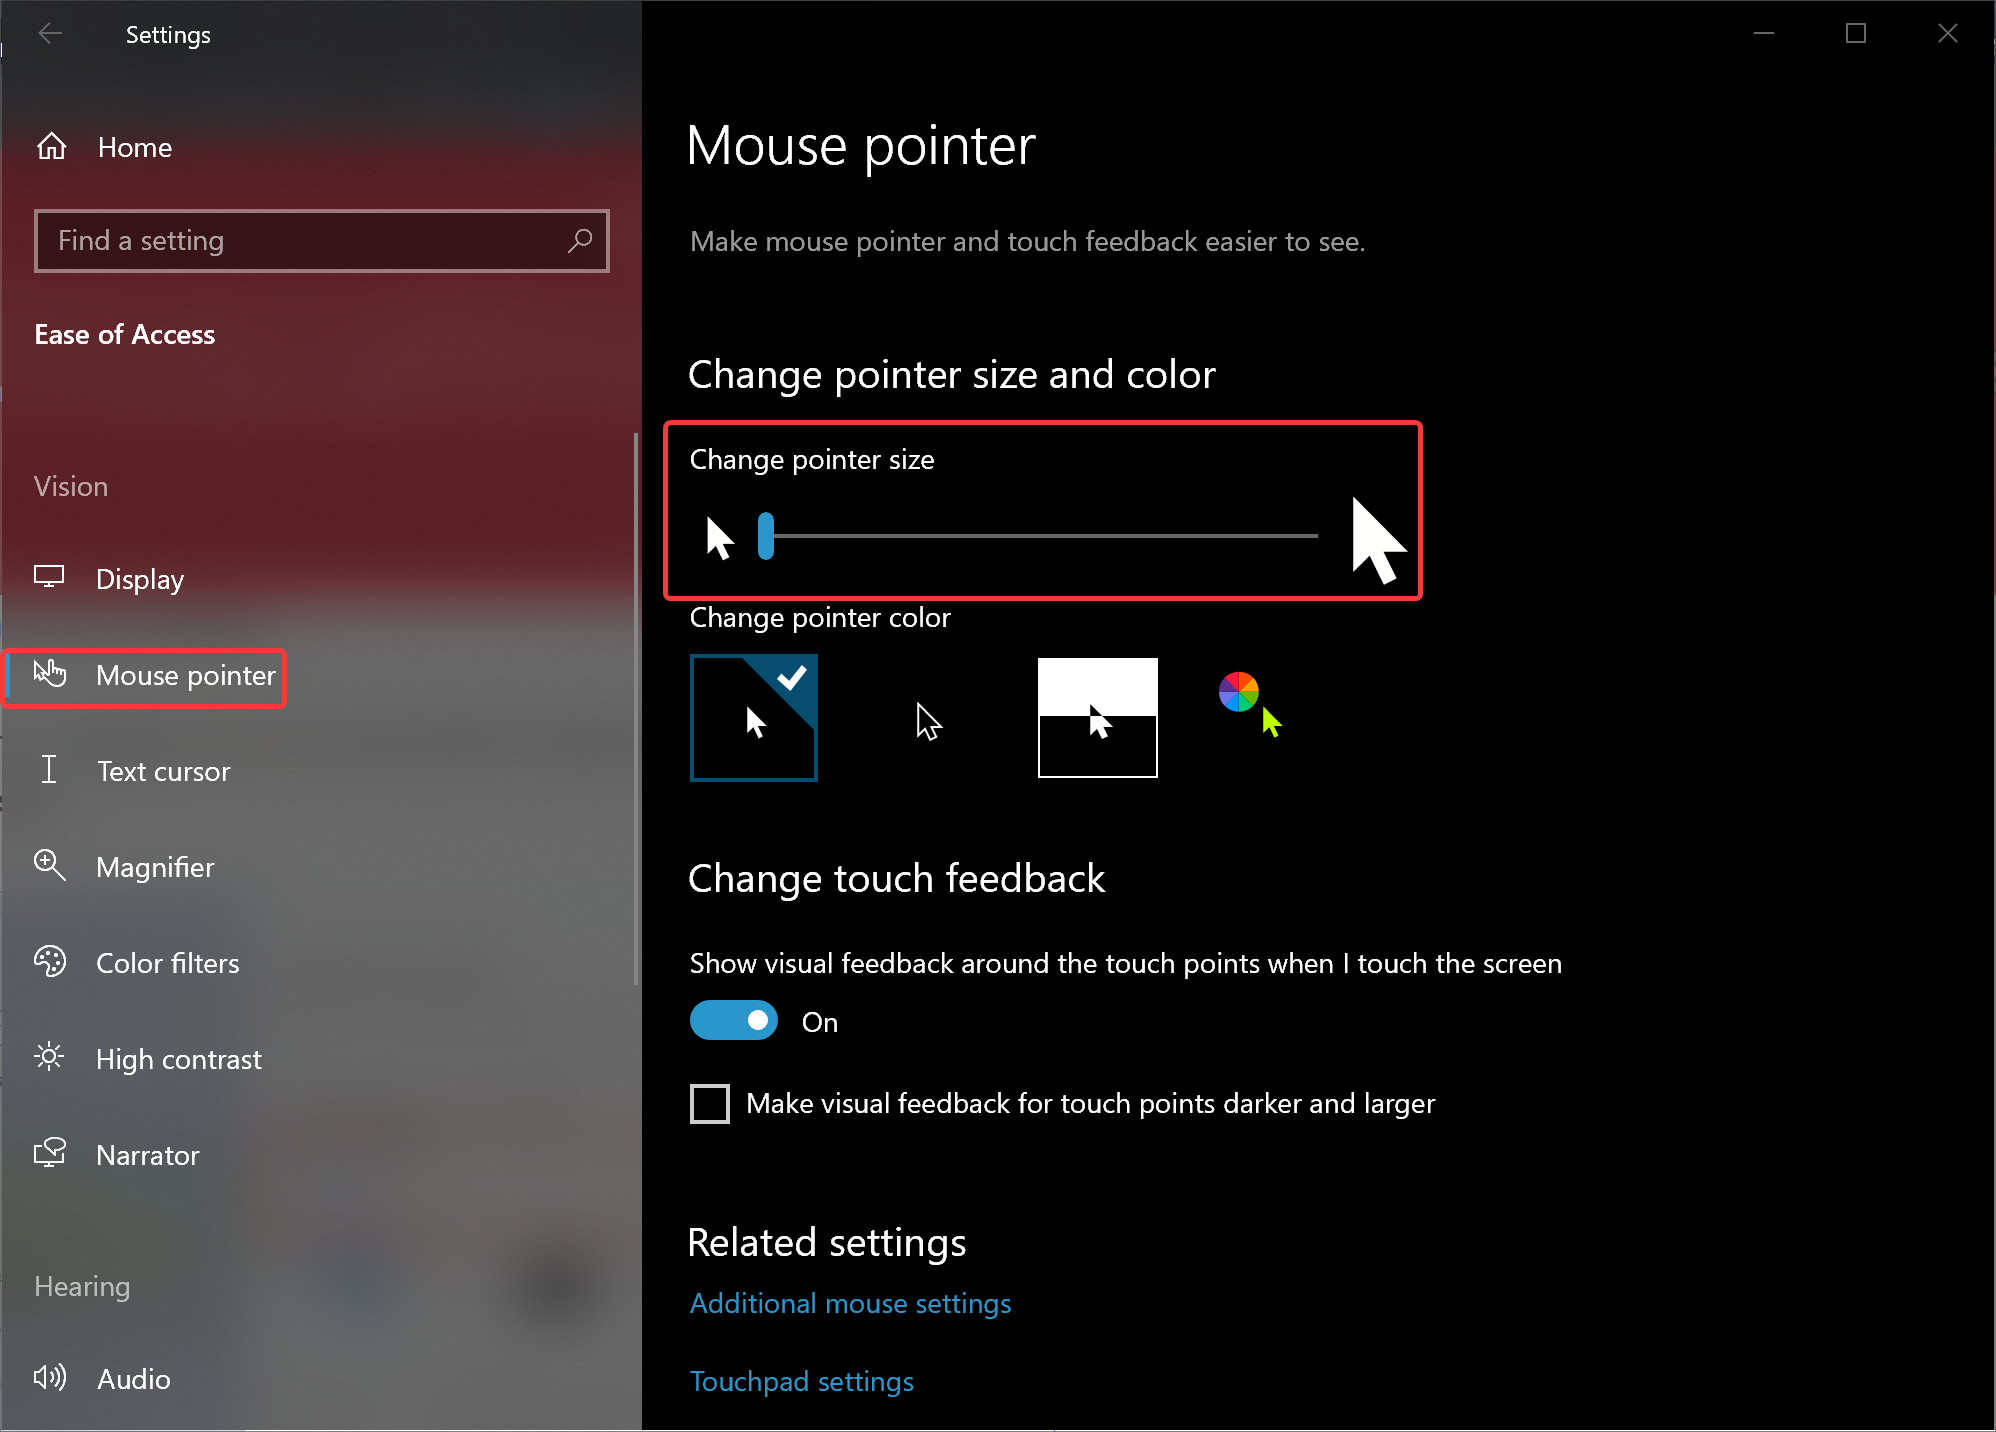
Step 4. Under the “Change pointer size and color” section, use the slider to increase or decrease a pointer size. You can select up to 15 different sizes.
Once you complete the steps, the pointer will automatically switch to your selected size.
How to Increase or Decrease Mouse Pointer Size Using Control Panel?
If you want to change (increase or decrease) the mouse pointer size using the Windows Default Scheme, use these steps:-
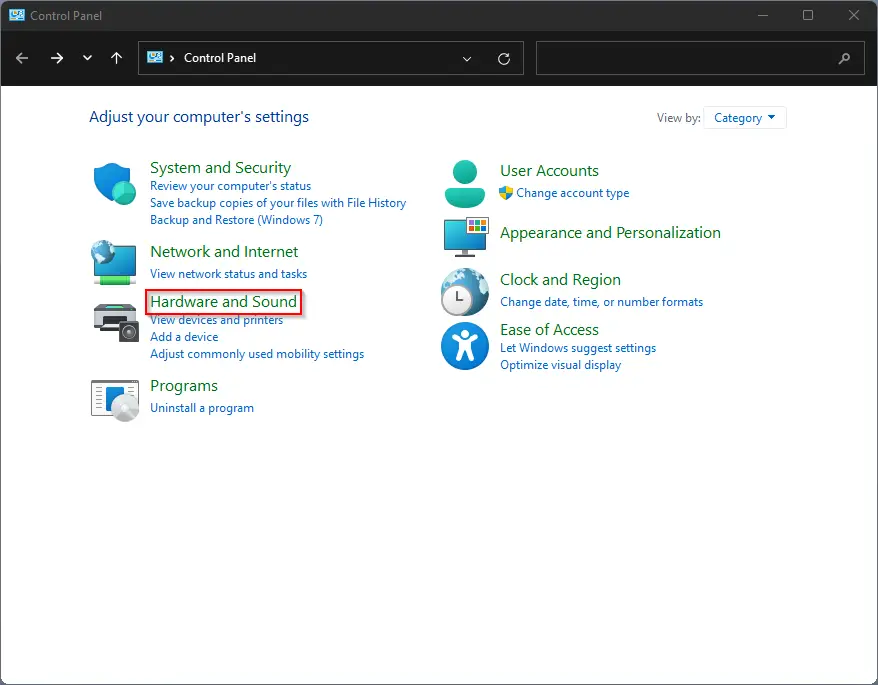
Step 1. Very first, open Control Panel.
Step 2. Then, click on Hardware and Sound.
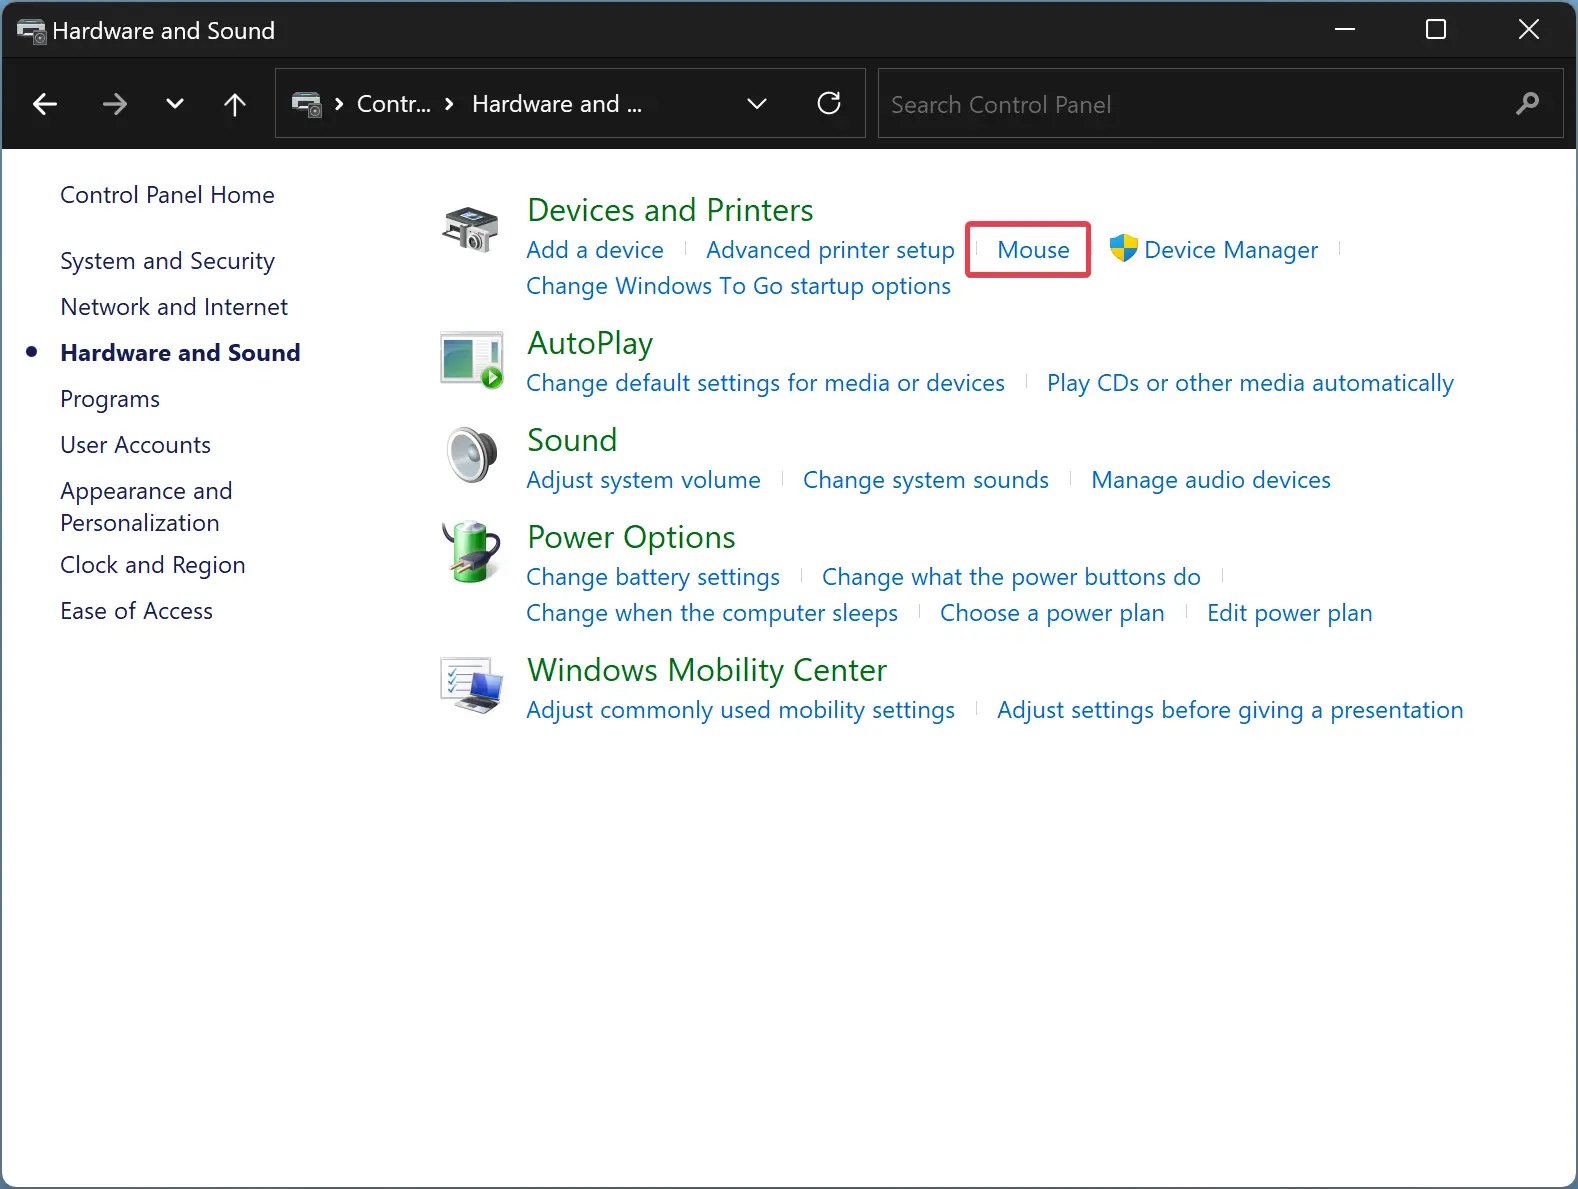
Step 3. After that, click on Mouse under “Devices and Printers.”
Step 4. Next, switch to the Pointers tab in the “Mouse Properties” window.
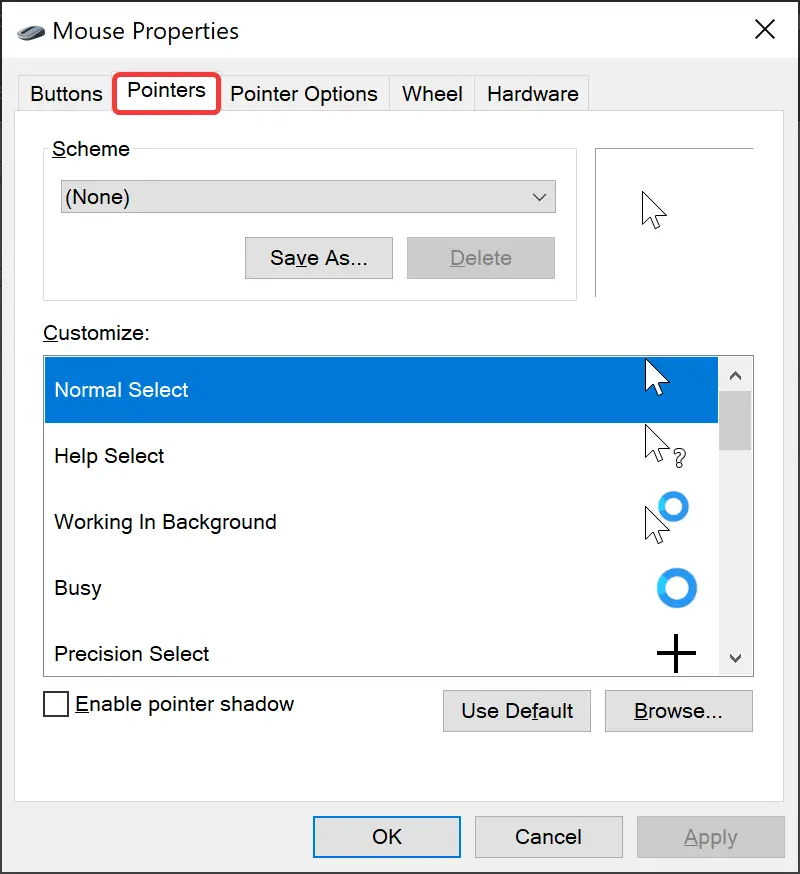
Step 5. Now, use the Scheme drop-down menu to select the size you want, including small, large, and extra large.
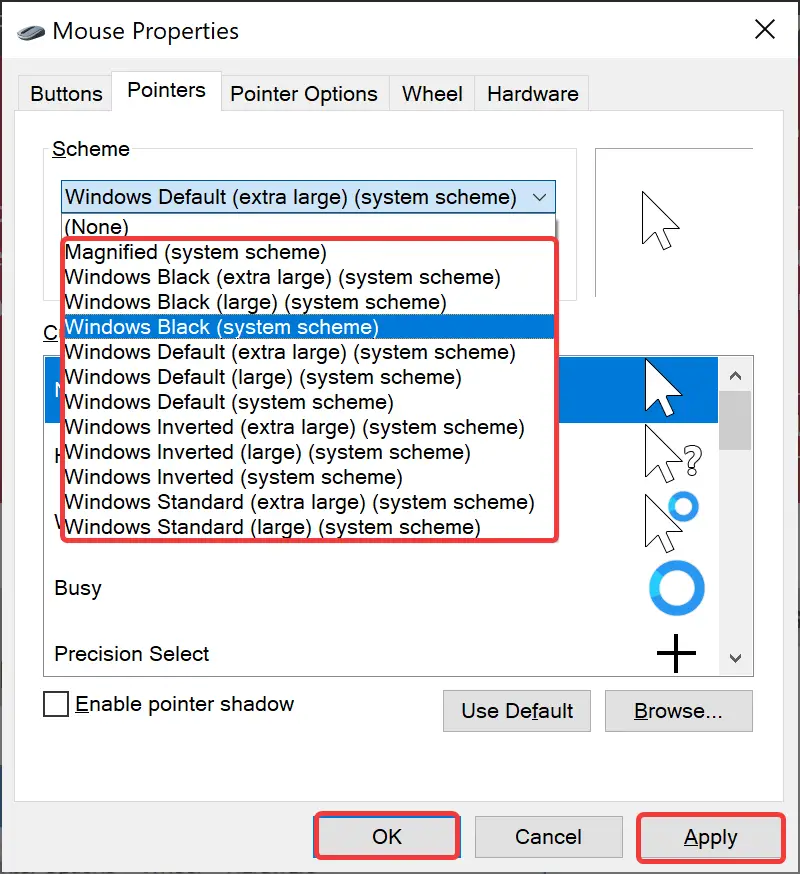
Step 6. Click Apply.
Step 7. Click OK.
Once you complete the above steps, the mouse pointer will start using your chosen size.
Good luck.
Conclusion
In conclusion, changing the mouse pointer size on Windows 10 is a straightforward process, and users can do it using either the Settings app or Control Panel. Whether the pointer is too small or too large, users can adjust the size according to their needs to make navigating the desktop more comfortable and efficient. By following the steps outlined in this gearupwindows article, users can easily change the mouse pointer size to one of the fifteen different sizes available on Windows 10.