The default mouse scrolling behavior is typically suitable for most Windows 11 and 10 users. However, if the default settings don’t suit you and you want to tune it, you can set the number of lines to roll at a time or specify to roll one screen with a single roll. In addition to that, you can even control inactive window scrolling when you hover over them while working on another application.
In this gearupwindows article, we will guide you on changing the mouse scrolling settings on Windows 11 and 10.
How to Change Mouse Scroll Wheel Behavior Settings on Windows 11?
To change the mouse scrolling settings on Windows 11, use these steps:-
Step 1. First, open the Settings app.
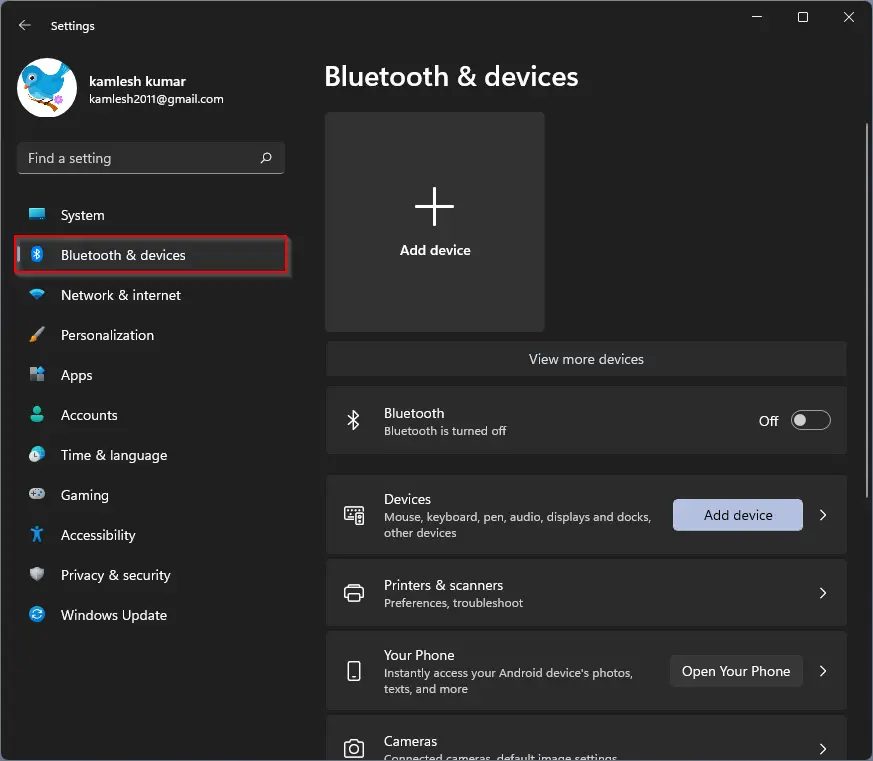
Step 2. Then, select Bluetooth & devices on the left side.
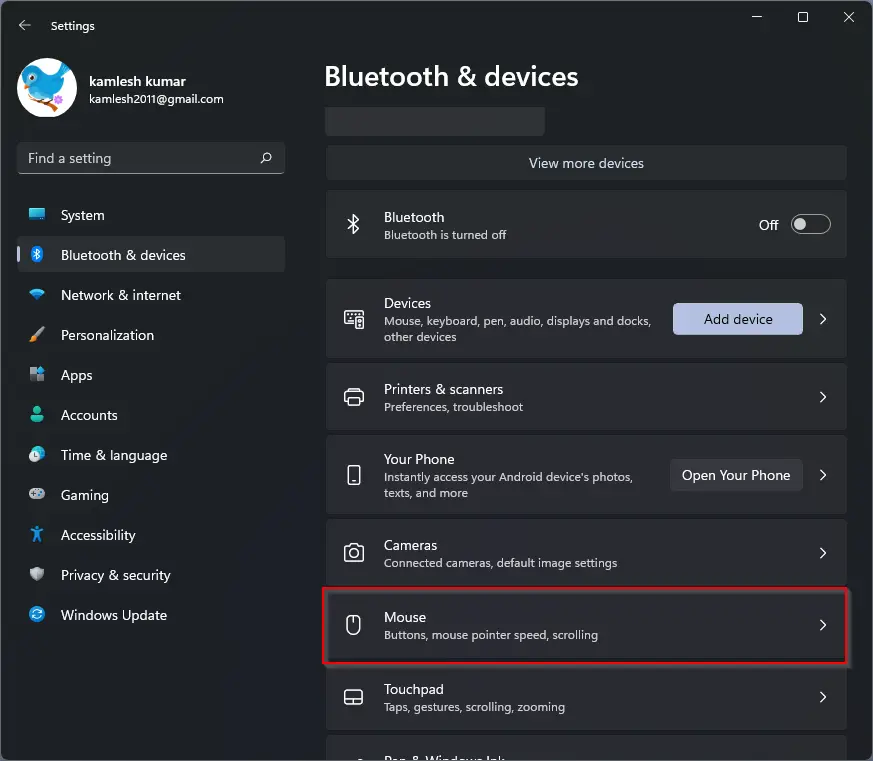
Step 3. After that, click the Mouse tile on the right side.
Step 4. On the Mouse settings page, under the “Scrolling” section, use the drop-down menu Roll the mouse wheel to scroll and select one of the options:-
- Multiple lines at a time.
- One screen at a time.
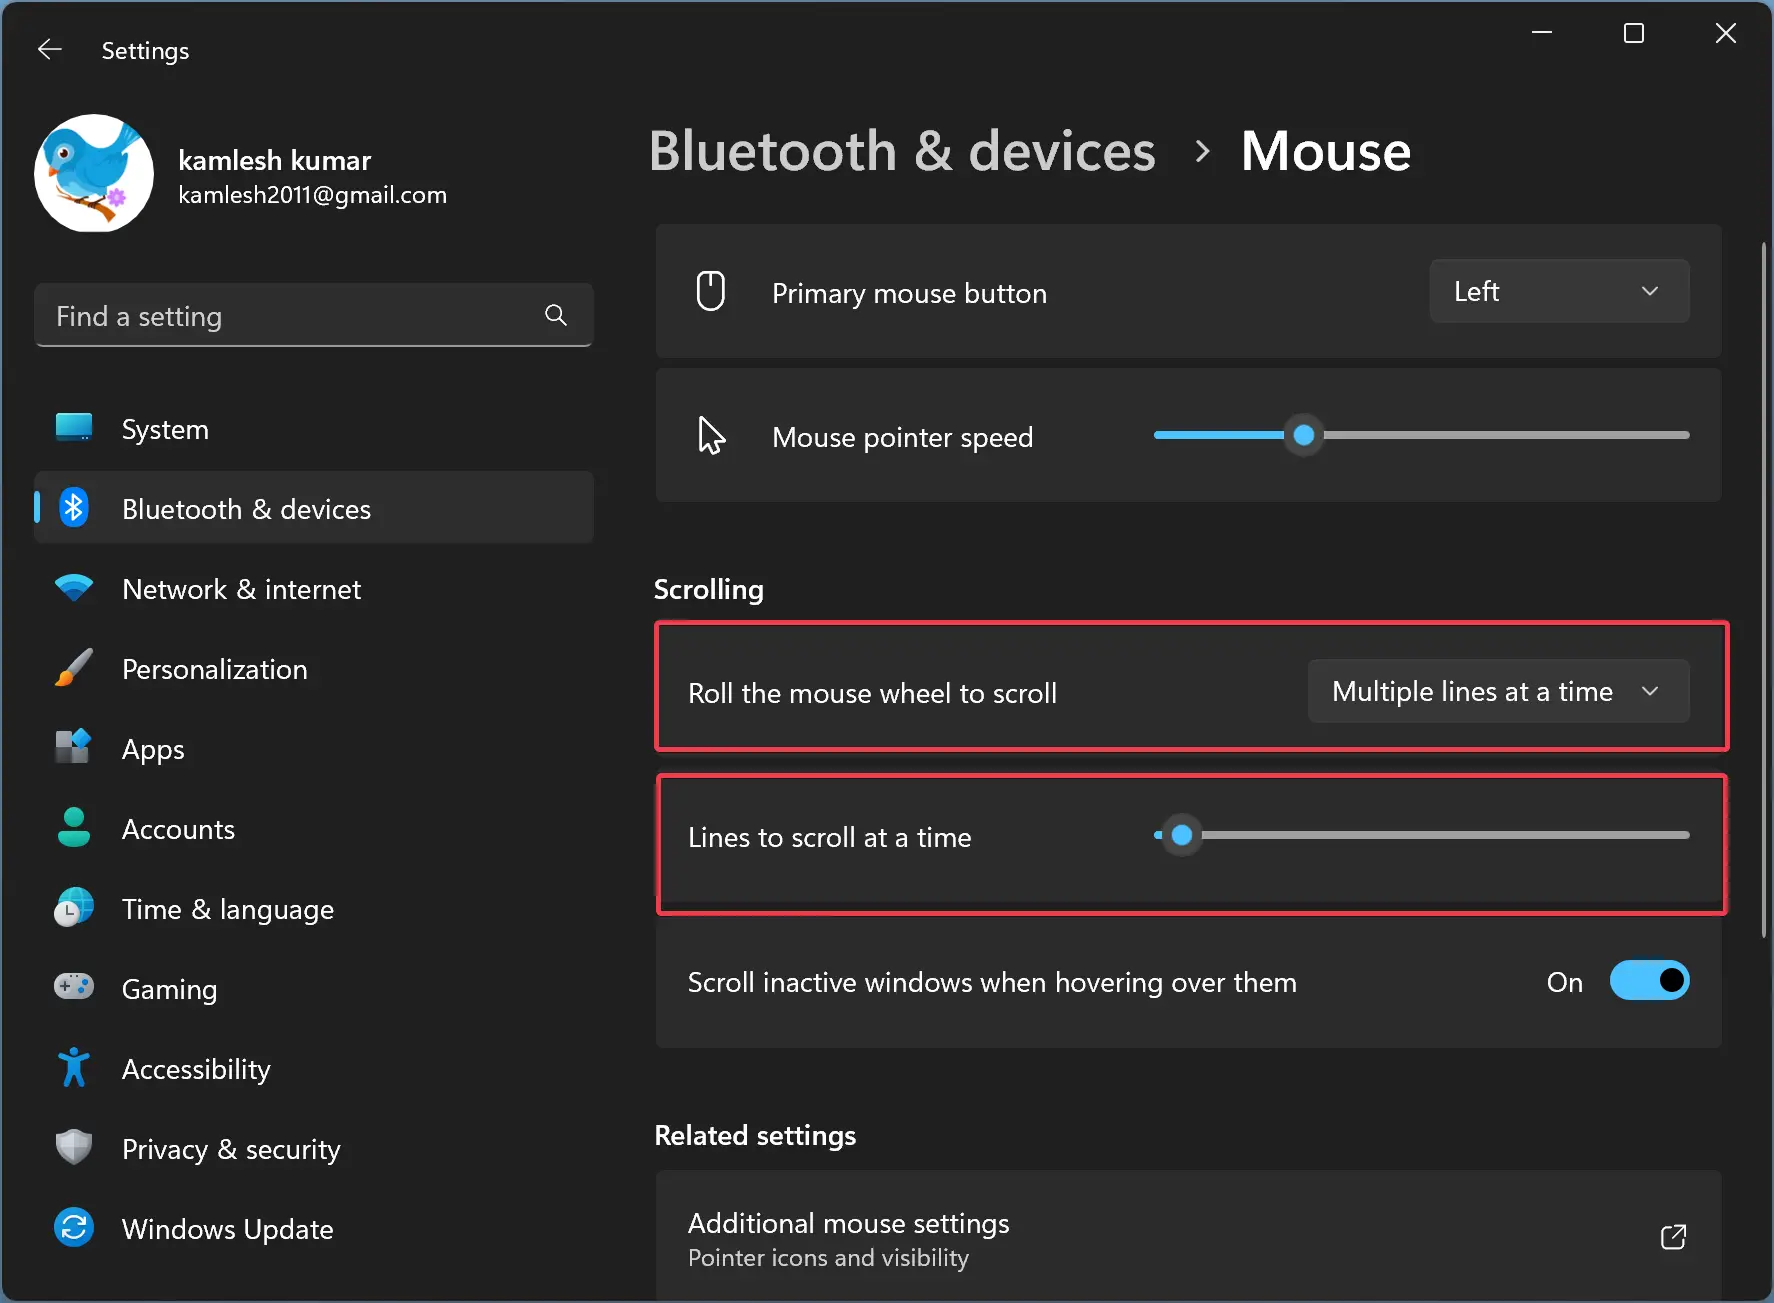
If you choose “One screen at a time,” no additional settings are required. When you scroll using the mouse, it will scroll one page at a time. However, if you select the “Multiple lines at a time” option, you will find an additional option to configure how many lines to scroll at a time. Using the “Lines to scroll at a time” slider, you can set the lines to scroll at a time.
Once you complete the above steps, the next time you roll the mouse wheel, the scrolling will be based on your configuration.
How to Adjust Mouse Scroll Wheel Behavior Settings on Windows 10?
To change or adjust the mouse scrolling settings on Windows 10, do the following steps:-
Step 1. Very first, launch the Settings app.
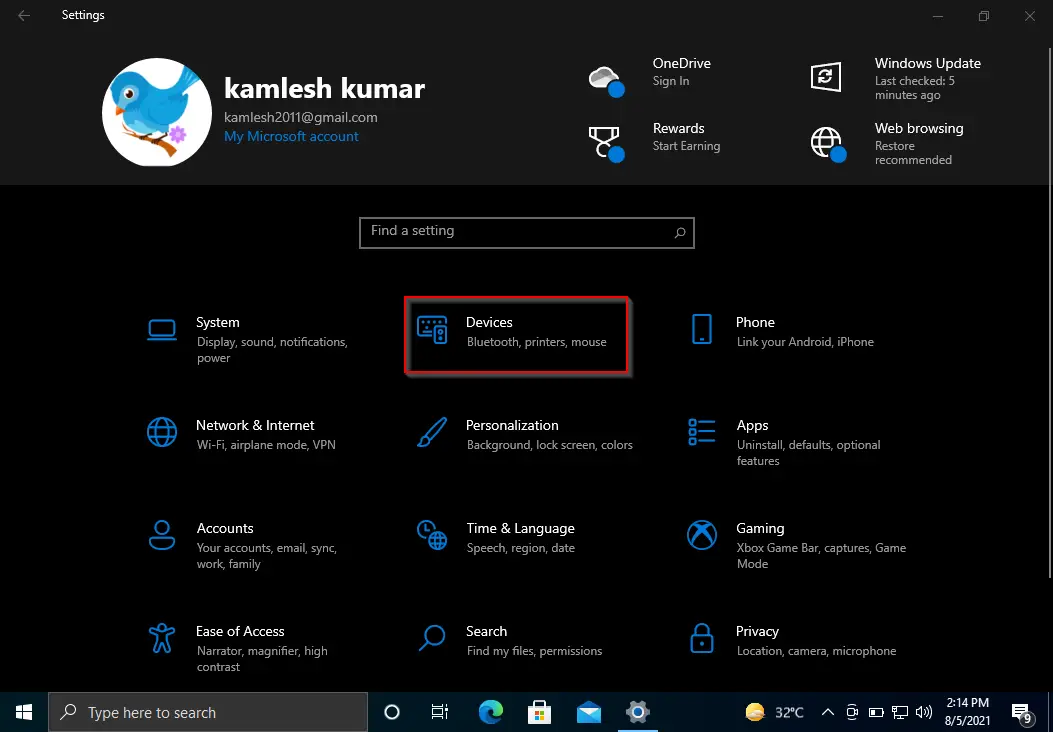
Step 2. Then, click on Devices.
Step 3. Select the Mouse option in the left sidebar when you’re ready.

Step 4. On the Mouse settings page, use the drop-down menu Roll the mouse wheel to scroll and select one of the options:-
- Multiple lines at a time.
- One screen at a time.
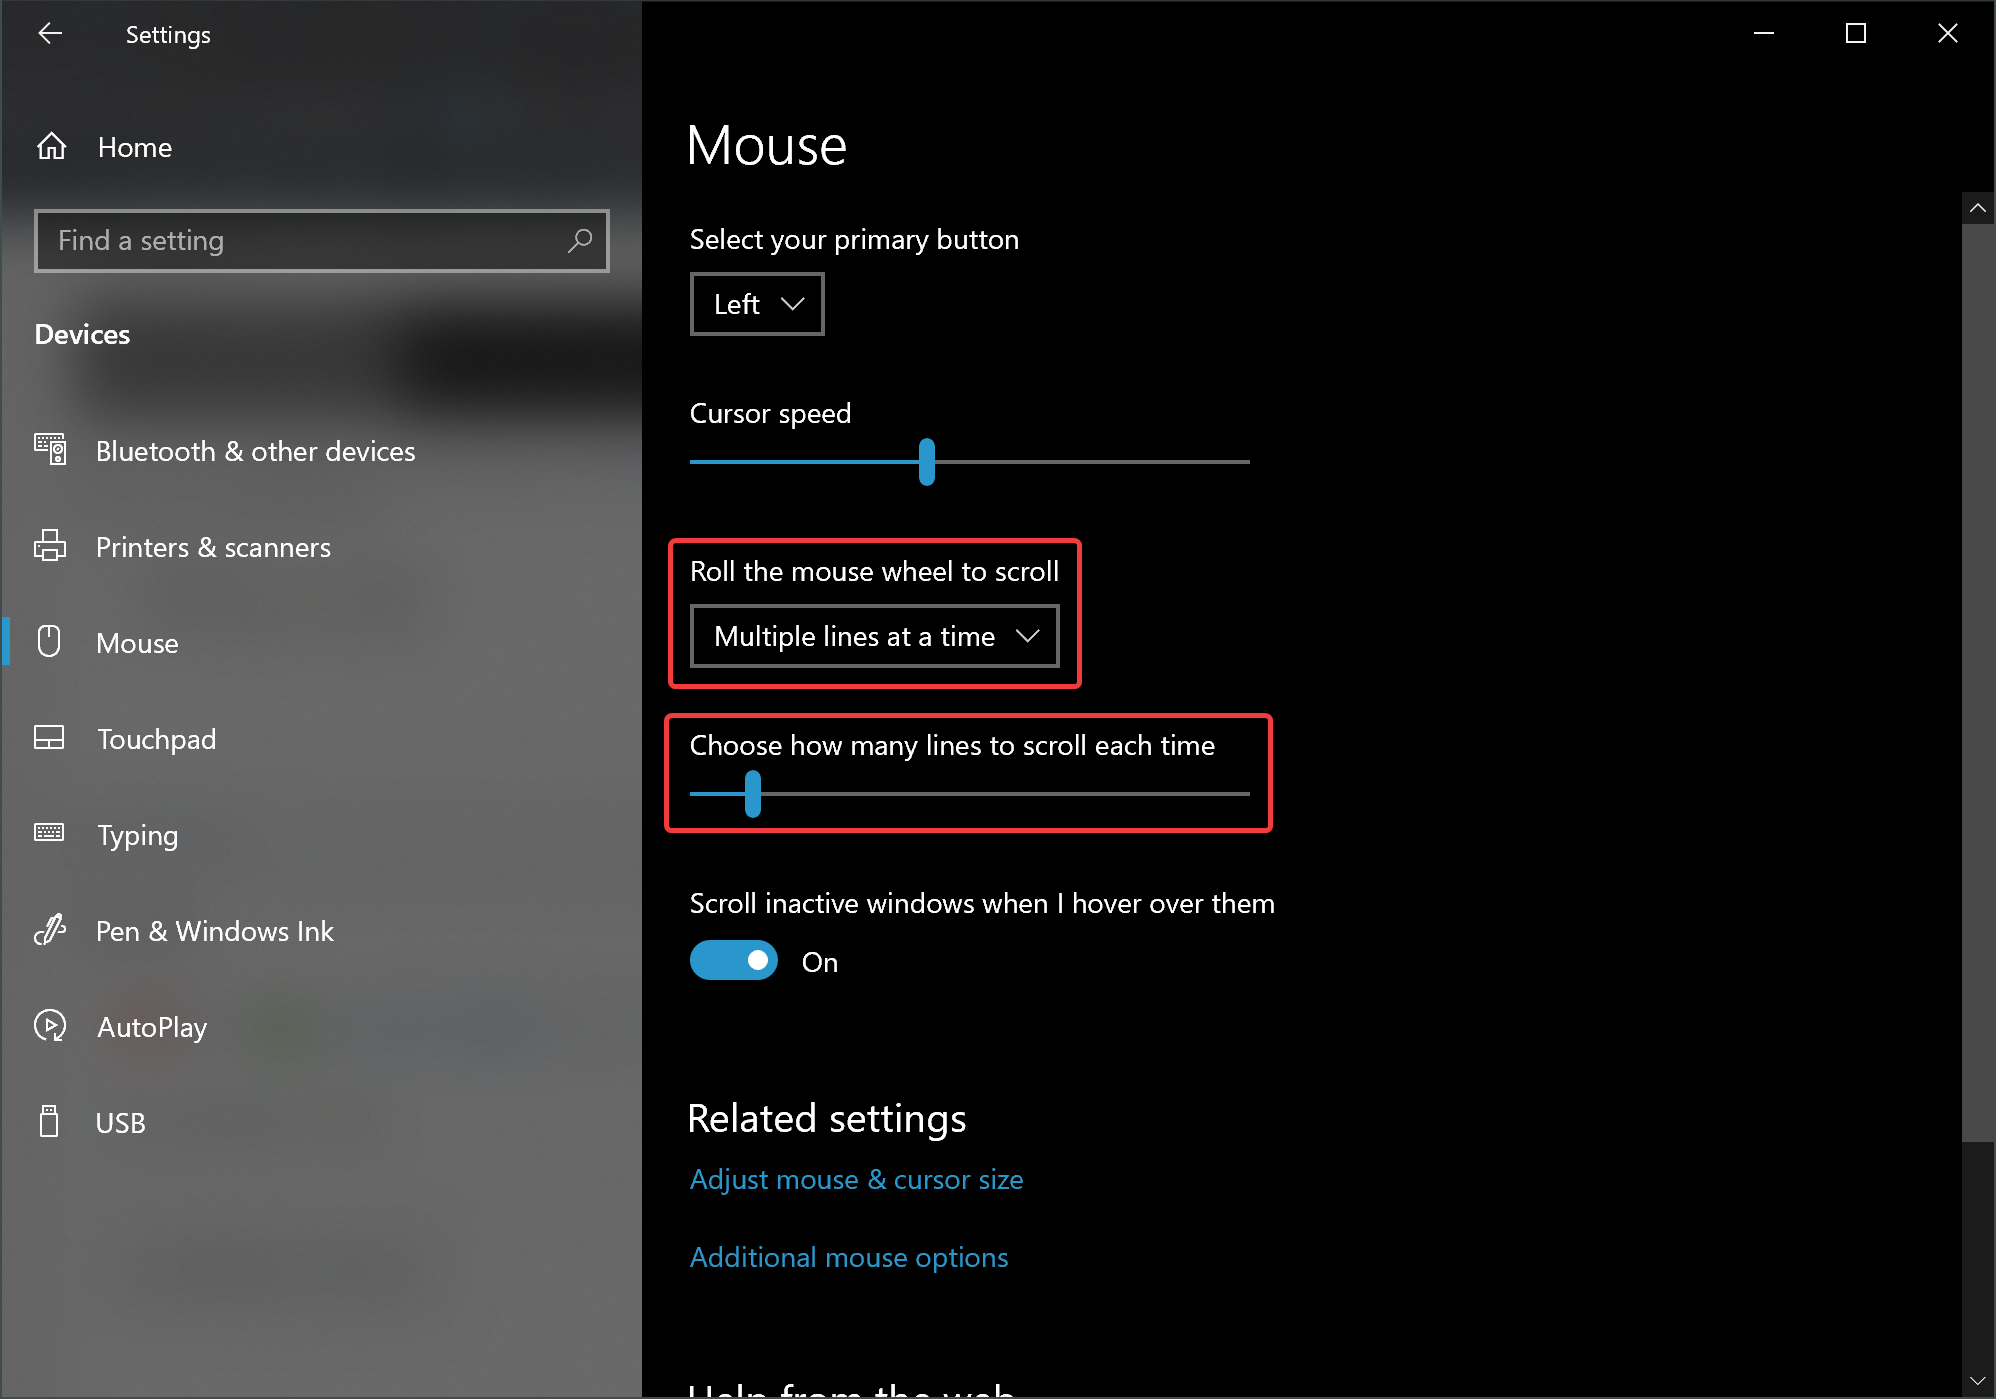
If you select “One screen at a time,” no additional settings are required. When you roll the mouse wheel, it will scroll one page at a time. However, if you pick the “Multiple lines at a time” option, you will find an additional option to configure how many lines you want to scroll at a time. Using the “Choose how many lines to scroll each time” slider, you can set the lines to scroll at a time.
Once you complete the above steps, the next time you roll the mouse wheel, the scrolling will be based on your configuration.
Conclusion
In conclusion, the default mouse scrolling behavior on Windows 11 and 10 is generally suitable for most users. However, if you prefer to customize your scrolling experience, you can adjust the settings to roll one screen at a time or specify the number of lines to roll at a time. The steps to change the mouse scrolling settings on Windows 11 and 10 are simple and straightforward. By following the instructions outlined in this gearupwindows article, you can easily modify your mouse scrolling settings to suit your needs better.