There are several opportunities in Microsoft Excel Worksheet to beautify its contents. If you have some data in Excel Worksheet that doesn’t fit your requirement, you may want to adjust the height and width of the rows and columns. Usually, the height of rows and the width of columns in Excel are automatic, but for a reason, you can change the row’s height and column’s width manually. Excel automatically increases and decreases the row height in Excel spreadsheets according to the data’s size entered into the rows. In case you want to set the rows’ height for specific reasons, such as a cell with an orientation text, this tutorial will help you.
What are Rows and Columns in Excel?
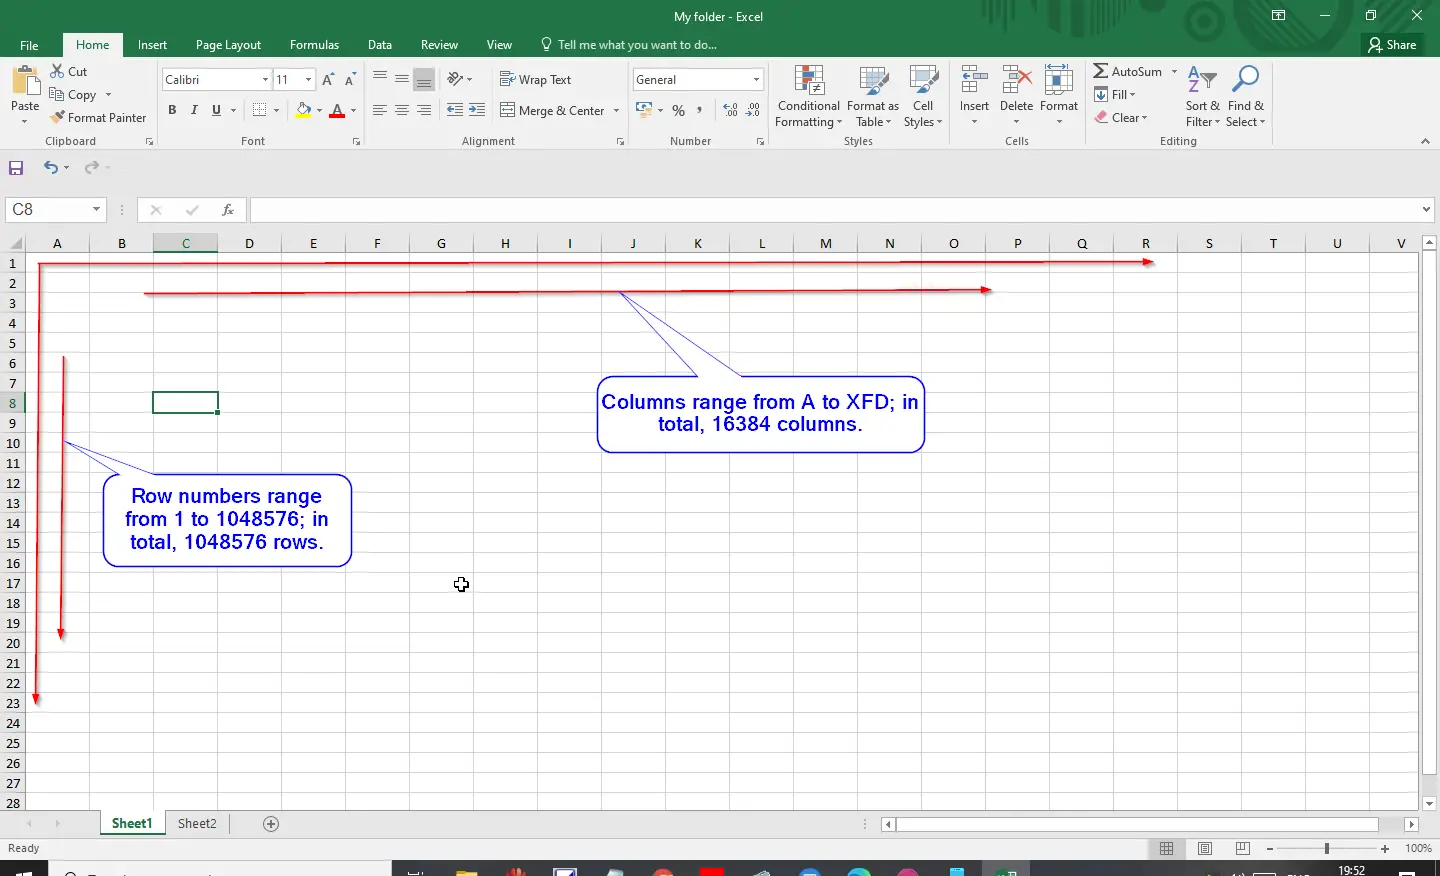
Rows: On an Excel Spreadsheet, rows run horizontally. The rows are identified by row numbers which run vertically on the left side of the Excel spreadsheet. Row numbers range from 1 to 1048576; in total, 1048576 rows.
Columns: On an Excel spreadsheet, columns run vertically and are identified by alphabetical column headers that run horizontally on the spreadsheet’s top. Columns range from A to XFD; in total, 16384 columns.
How to Change the Height of a Row in Microsoft Excel?
There are two options available in the Microsoft Excel worksheet to change the height of a row.
First Option
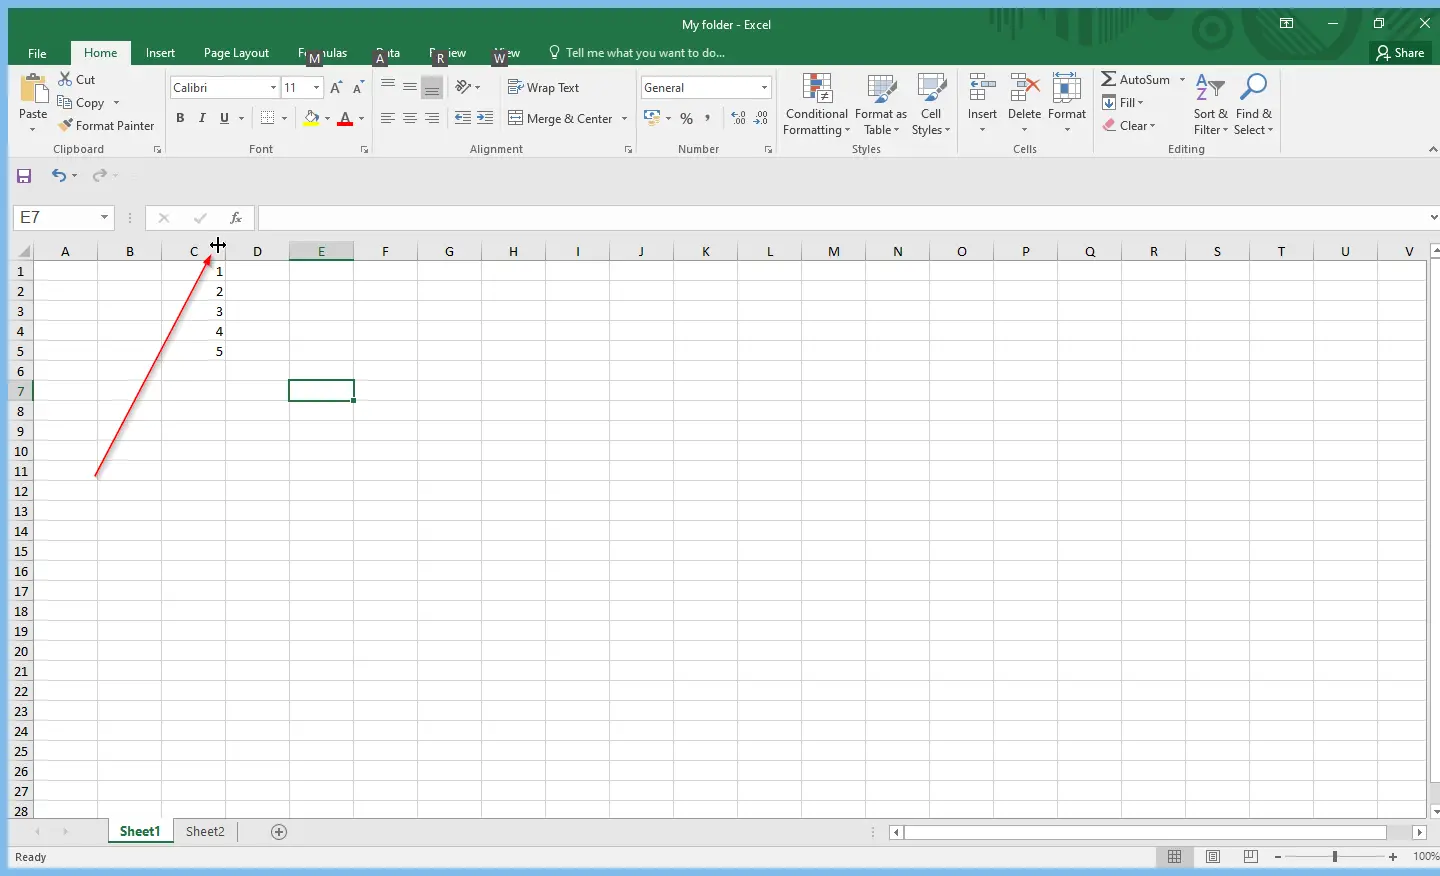
Place the cursor on the bottom border of the row number; when the cursor changes to the black cross sign, hold and drag the cursor down.
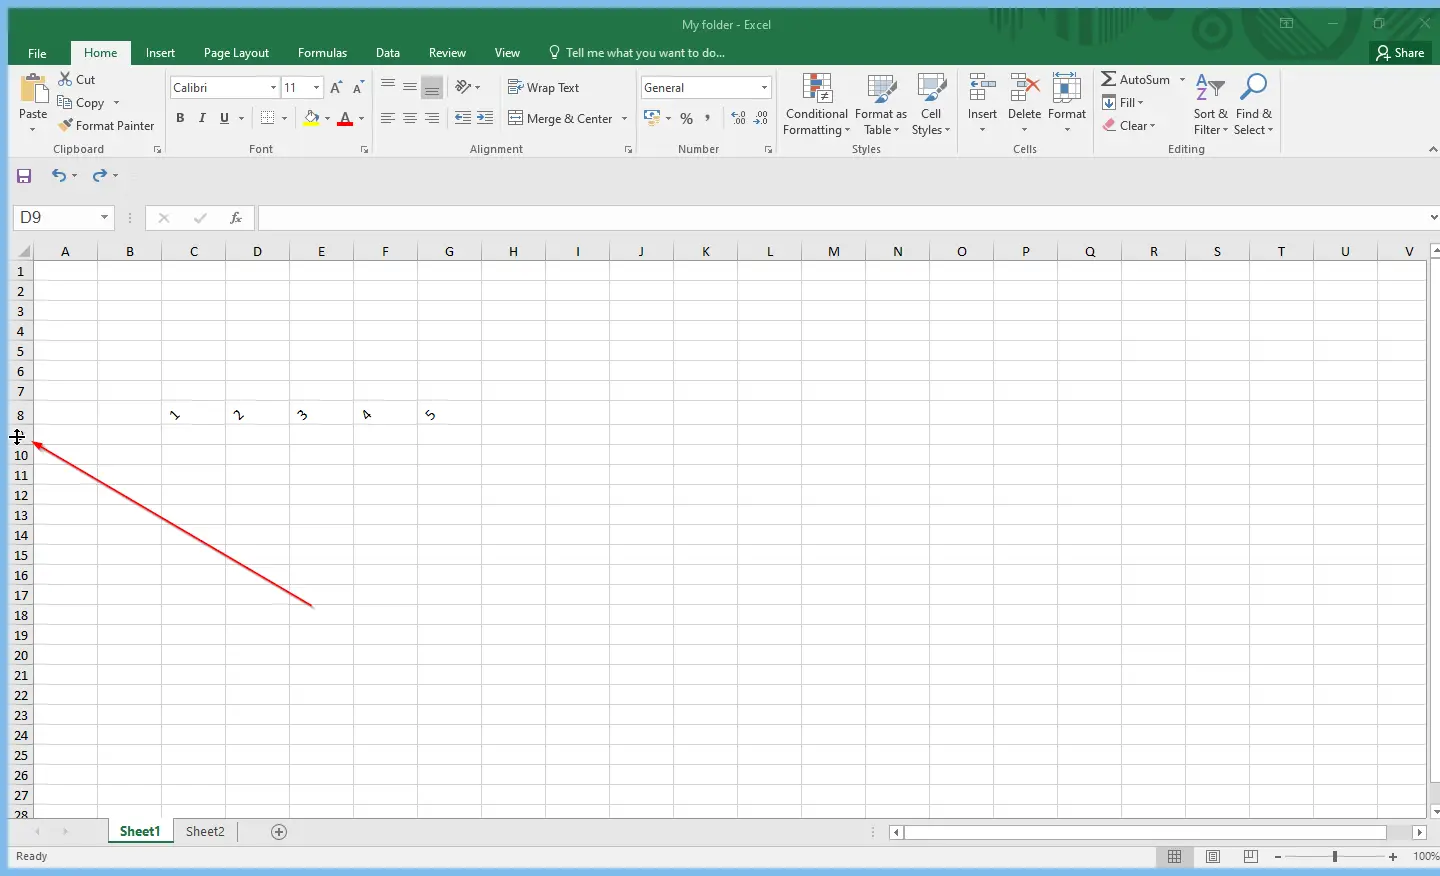
Particular row height will be increased. Similarly, to decrease the height of the Row, place the cursor on the bottom border of the row number; when the cursor changes to the black cross sign, hold and drag the cursor upward.
Second Option
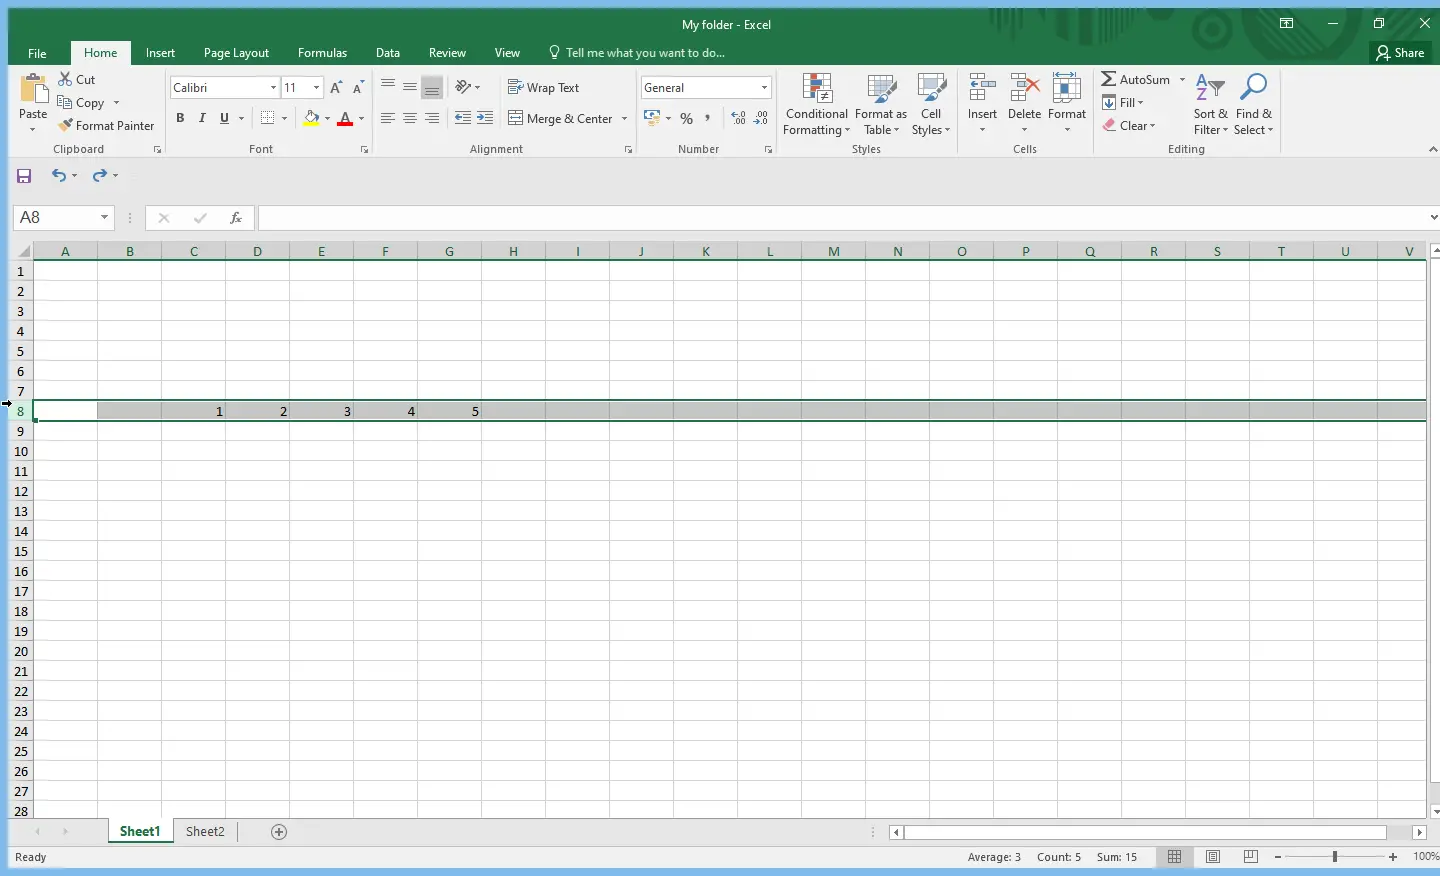
Step 1. If you are not comfortable with the above-mentioned steps, select the Row by clicking on the Row number.
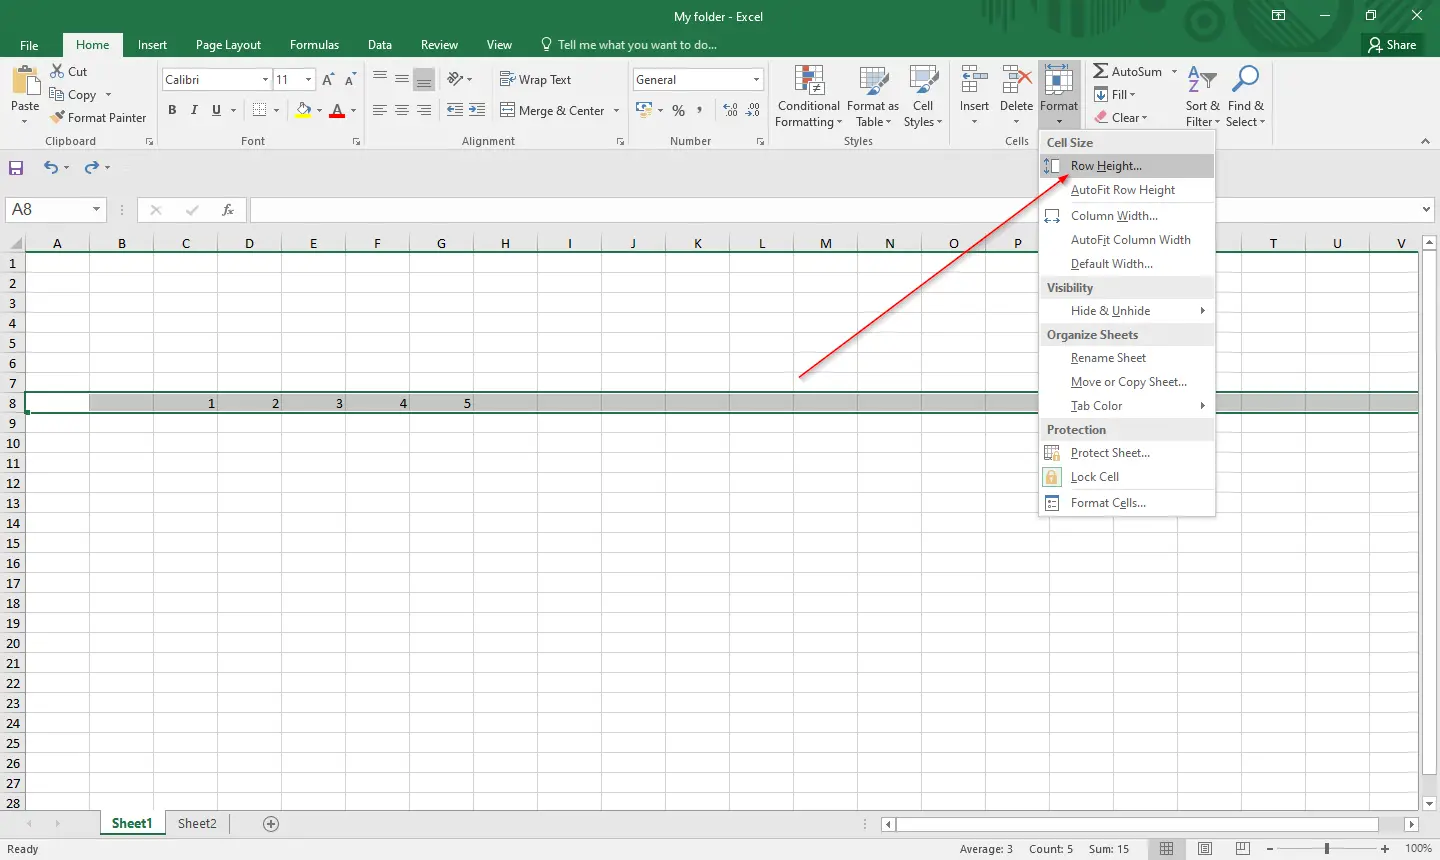
Step 2. Select the Home tab, and click the Format icon in the Cells group.

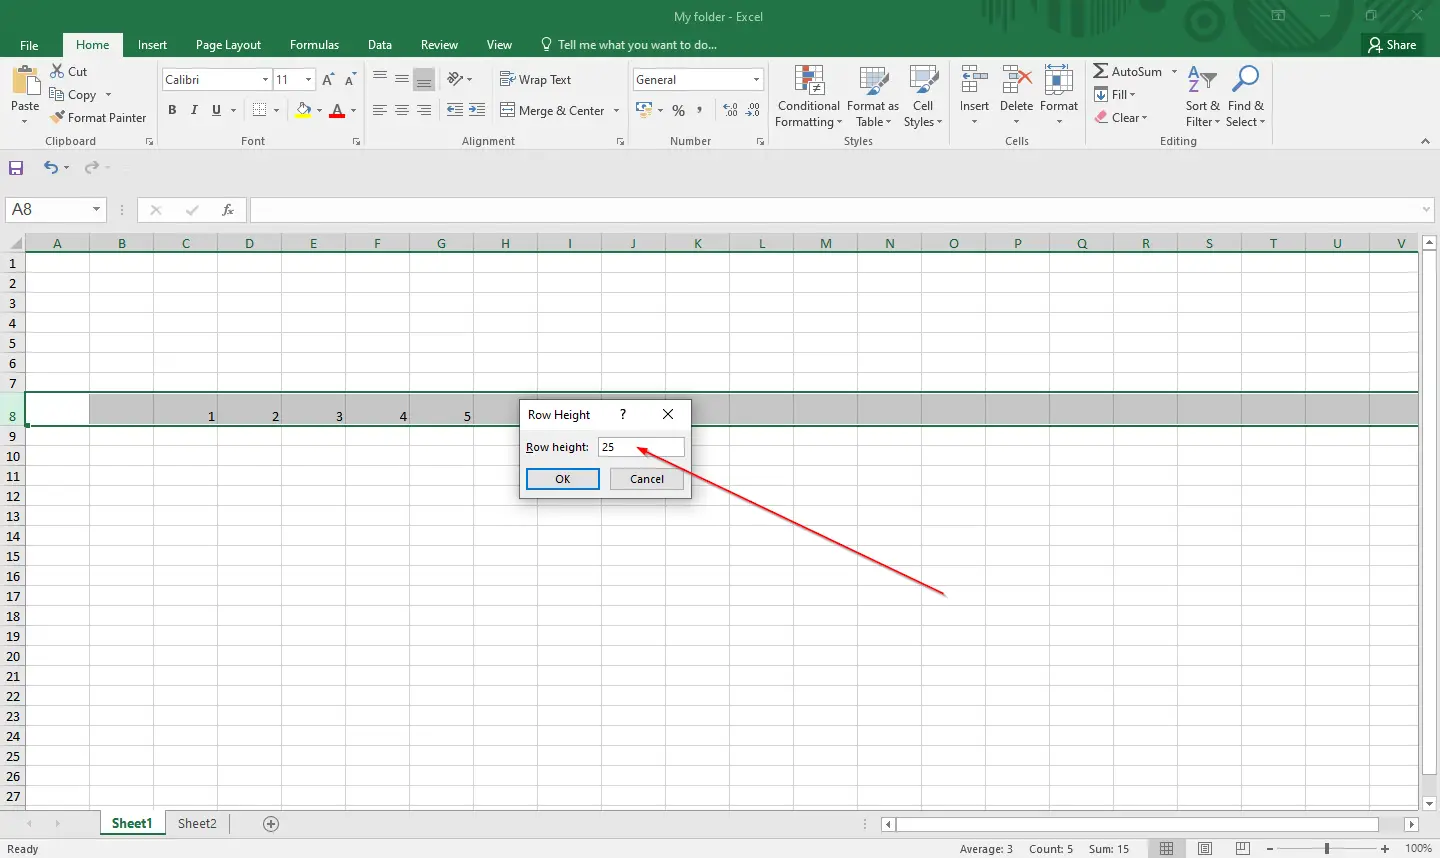
Step 3. From the Format drop-down menu that appears, select Row Height.
Step 4. A small dialog box will appear with Row Height. Set the new Row Height by changing the number. Finally, click the OK button to apply the changes.
How to Change the width of a column in Microsoft Excel?
There are two methods available in the Microsoft Excel worksheet to change the width of the column.
First Method
Place your cursor on the right side of the column in the Microsoft Excel worksheet. When the cursor changes to the cross sign, drag the cursor to the right side to increase the width of the column.
Similarly, if you want to decrease the width of the column, place your cursor on the right side of the column in the Microsoft Excel worksheet. When the cursor changes to the cross sign, drag the cursor to the left side to decrease the width of the column.
Second Method
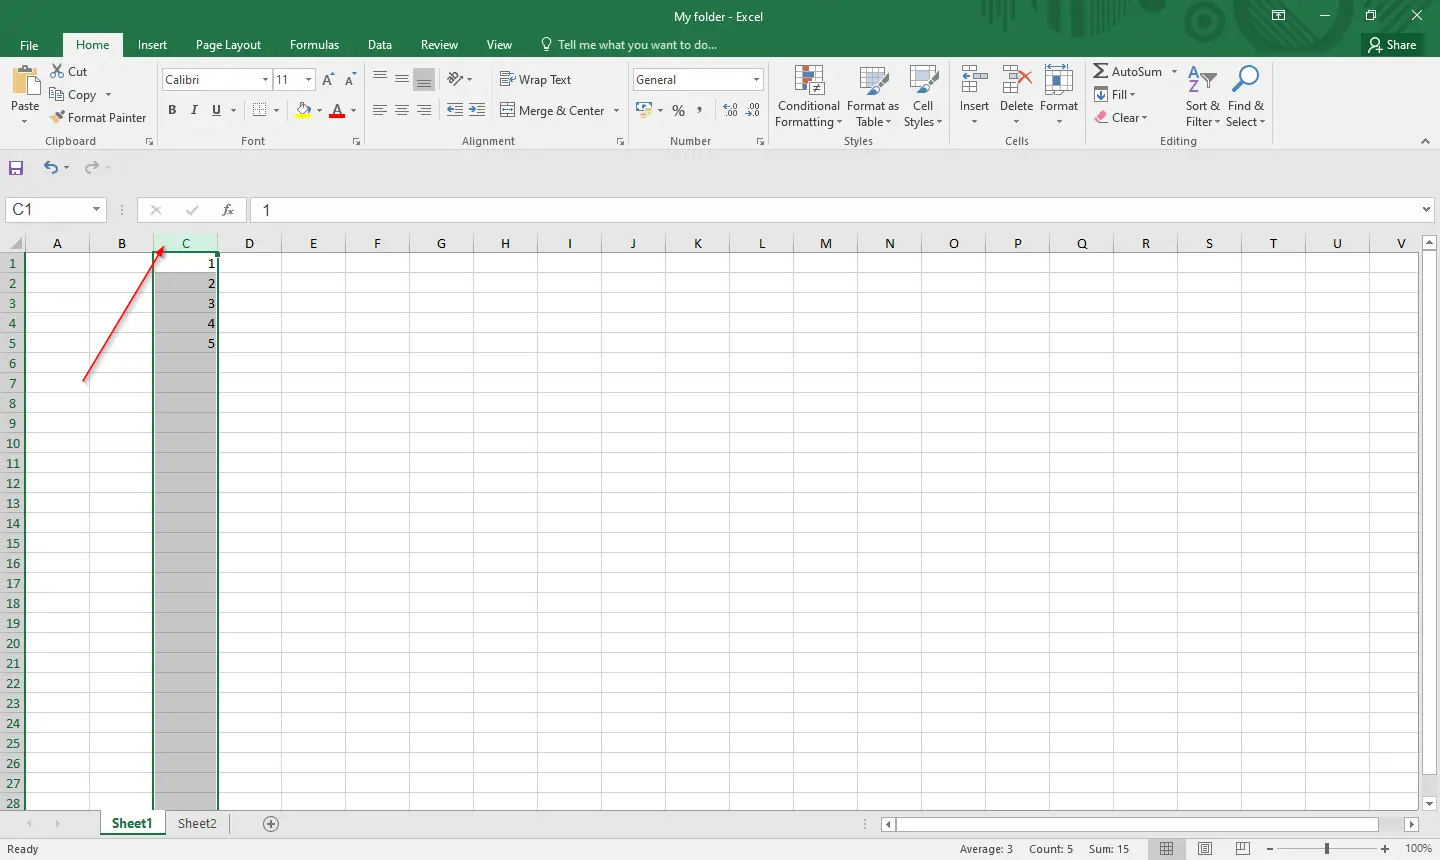
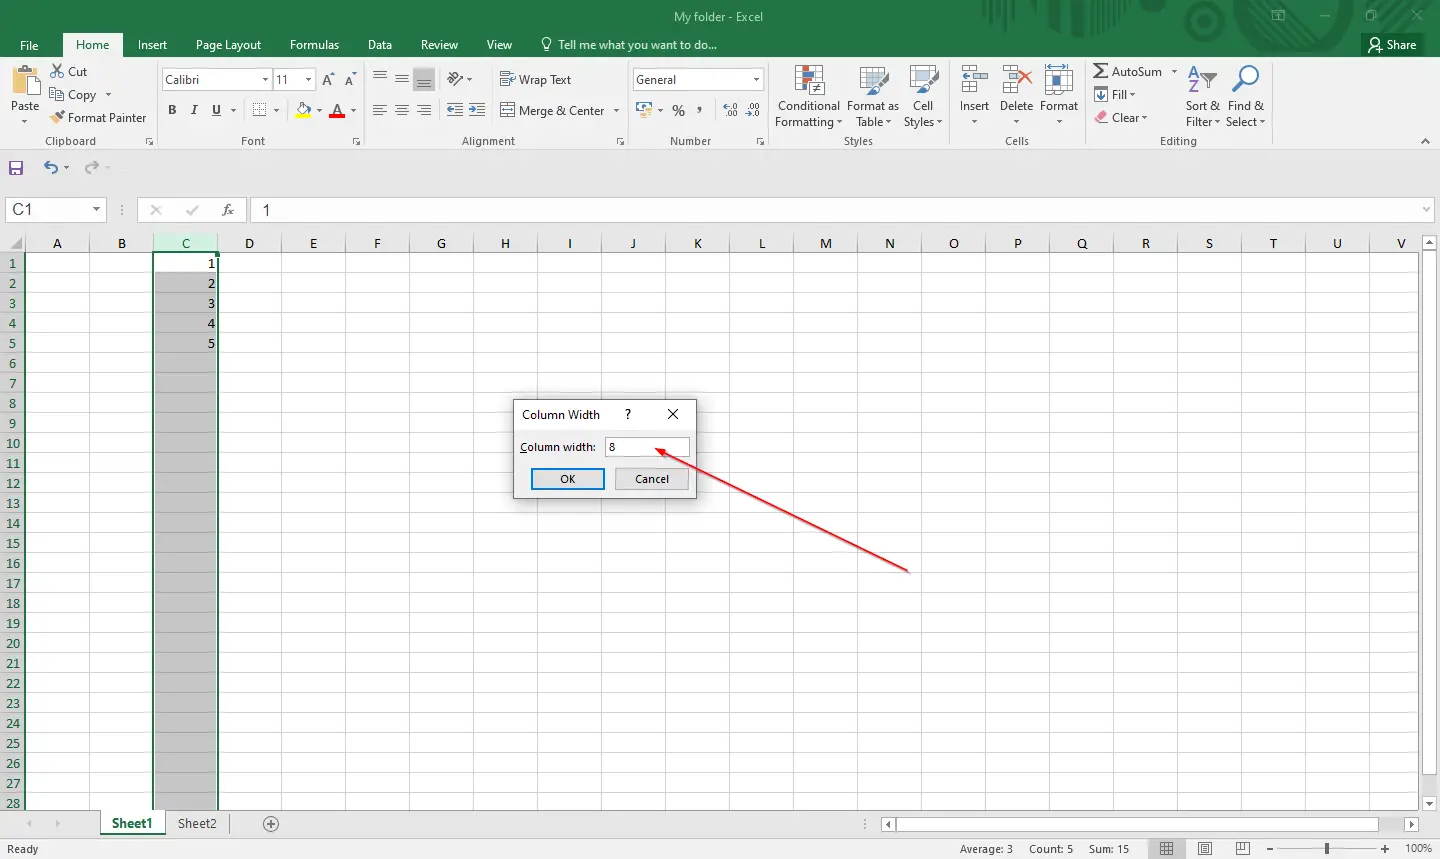
Step 1. Select the column by clicking on the column letter number (In my example, we will change the width of column C).
Step 2. Click the Home tab, then click the Format icon in the Cells group.
Step 3. From the drop-down list of Format, select Column Width.
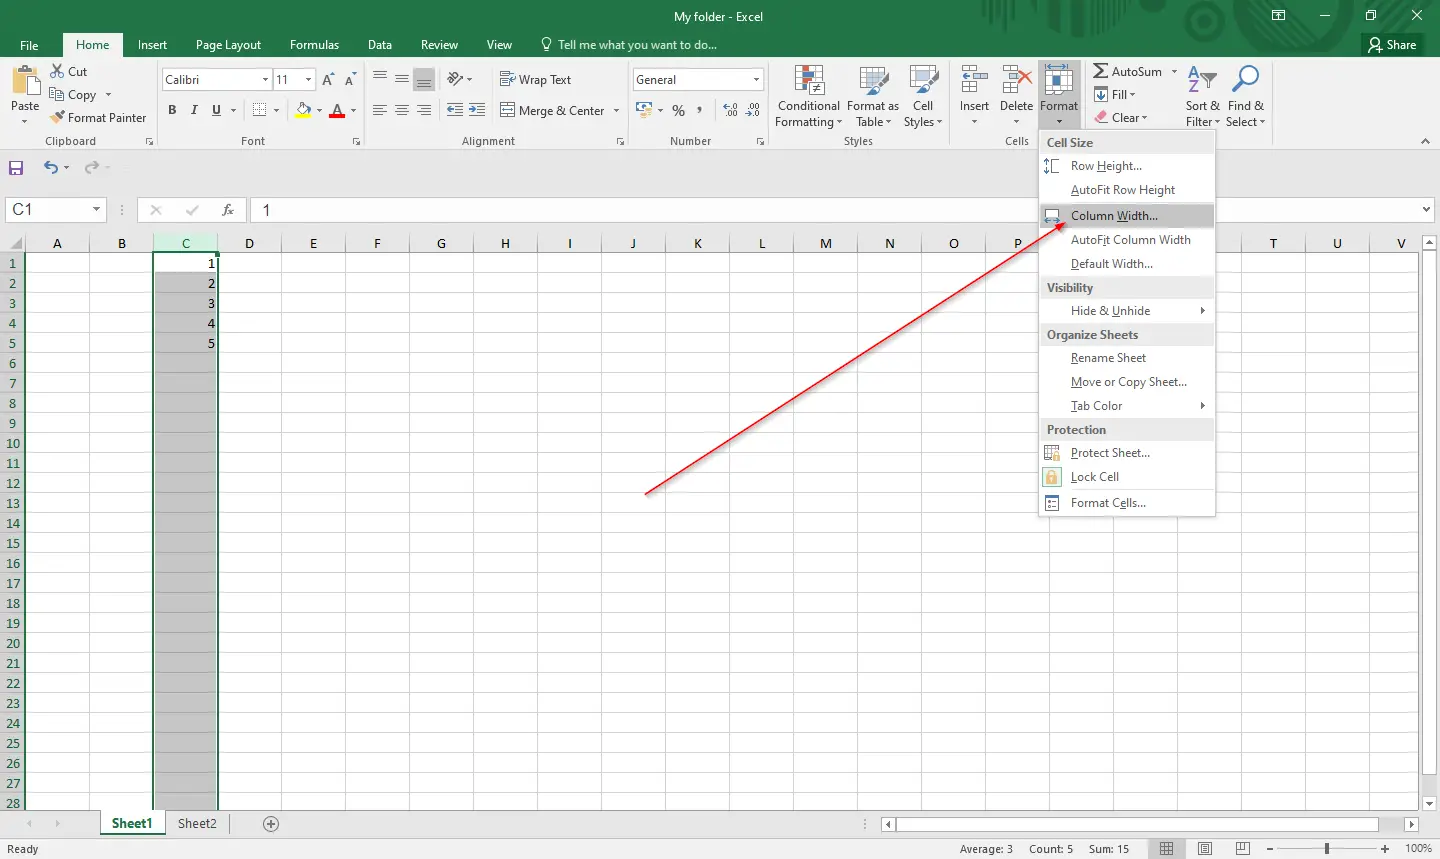
Step 4. Column Width dialog box will open. Set your desired column width, and then click the OK button.
That’s all! Let me know if there is any problem.
Conclusion
In conclusion, changing the height of a row and the width of a column in Microsoft Excel can be done through simple and easy steps. There are two methods available for each, making it convenient for users to choose which one works best for them. Whether it is adjusting row height for specific reasons or increasing column width to fit data better, Microsoft Excel provides the flexibility to customize the spreadsheet according to one’s needs. With these steps, users can easily beautify the contents of their Excel worksheet and make it more visually appealing.