For your information, by default, Windows 11 turns off the screen if your computer sits idle for 30 minutes. If you wish, you can change the screen off timeout in Windows 11. After customizing that option, you can reduce the screen turn-off timeout to save energy or extend it if needed.
In this gearupwindows article, we will guide you on changing the screen turn-off timeout in Windows 11. According to your needs, you can reduce or increase the screen turn-off time in Windows 11 using the Settings app, Control panel, or Windows PowerShell. We will review all of them one by one.
How to Change the Screen Turn off Timeout in Windows 11 using the Settings app?
To change the screen turn off timeout using the Settings app, do the following:-
Step 1. First, open the Settings app by pressing Windows + I keys on the keyboard.

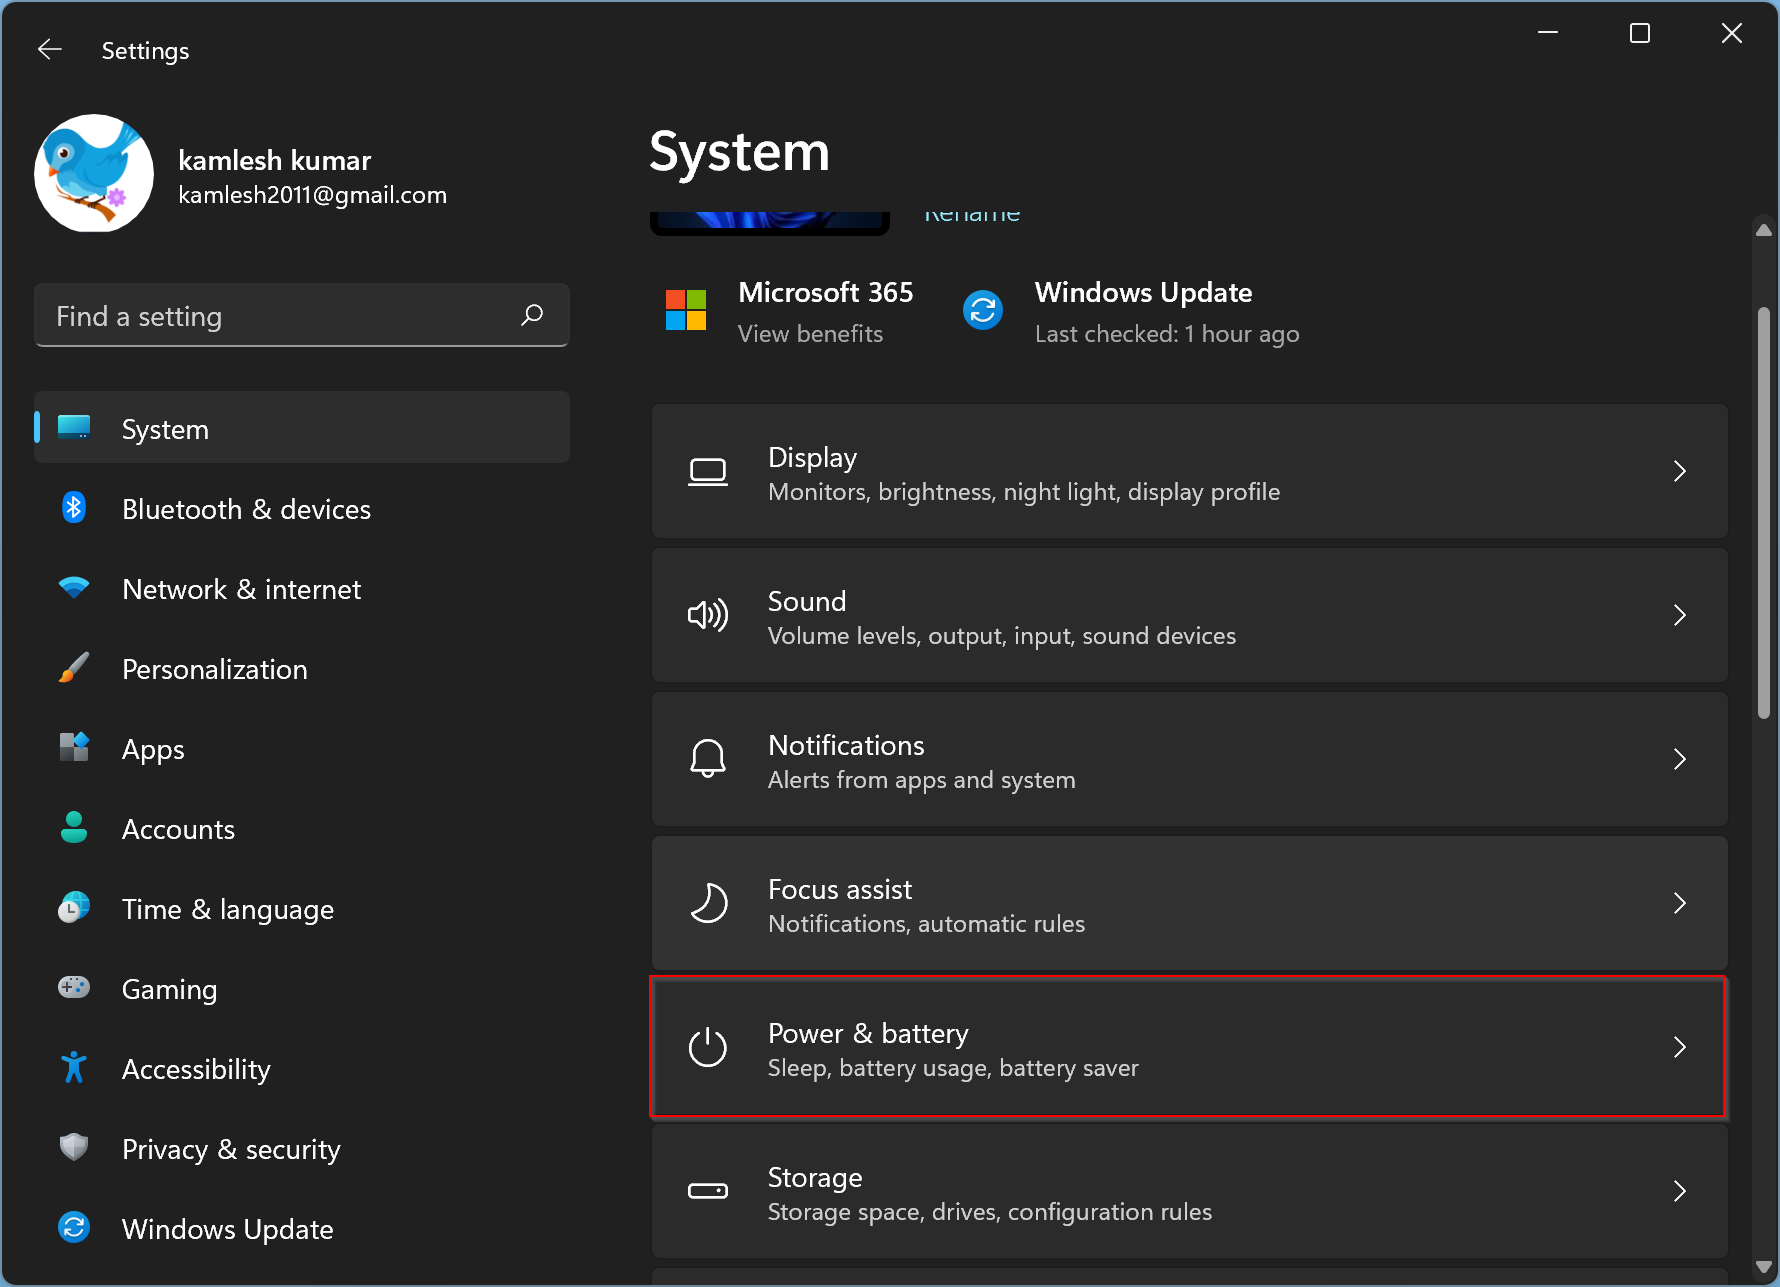
Step 2. Then, select the System category in the left sidebar.
Step 3. After that, in the right sidebar of “System,” click the Power & battery option.
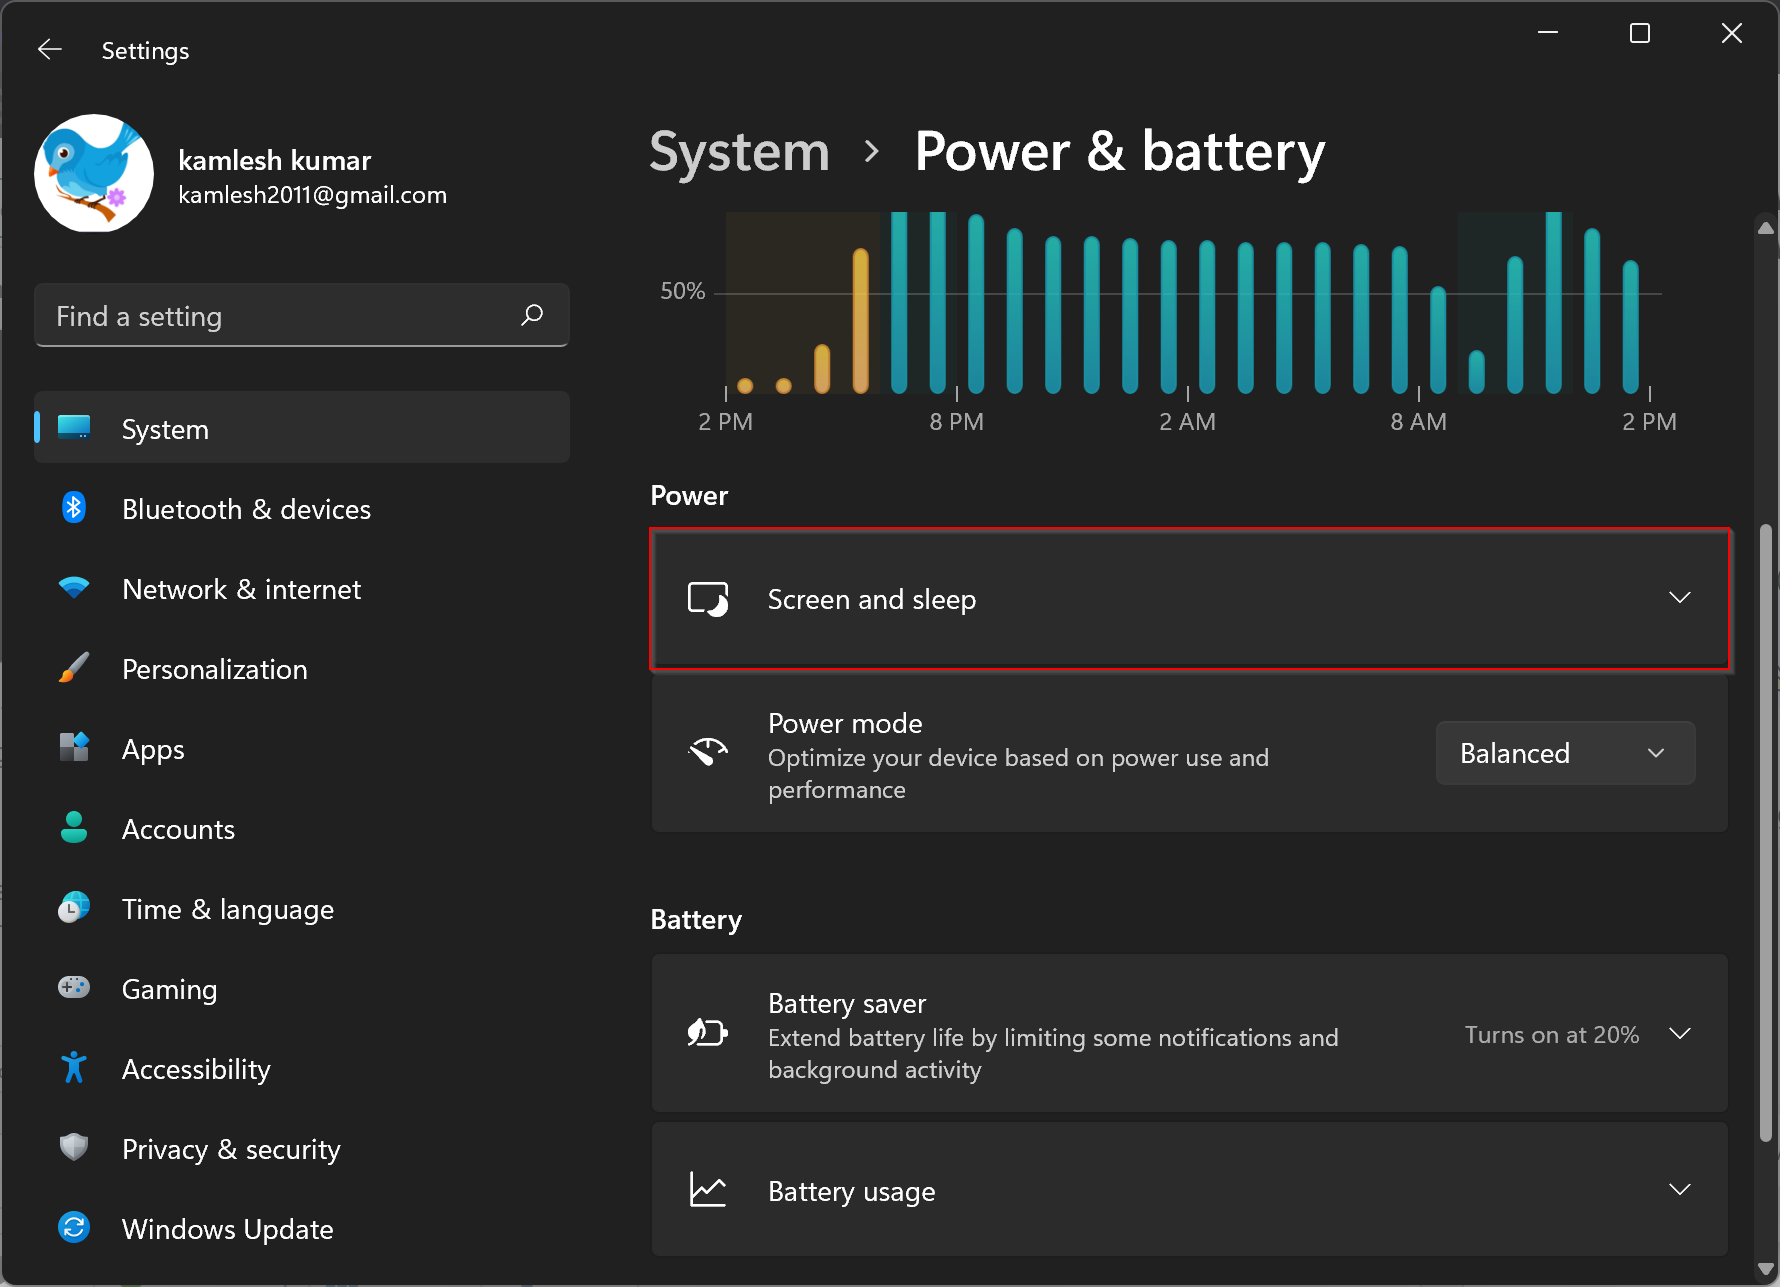
Step 4. On the “Power & battery” settings page, expand the Screen and sleep header by clicking on it.
Step 5. Next, select a new timeout from the “When plugged in, turn off my screen after” drop-down list.
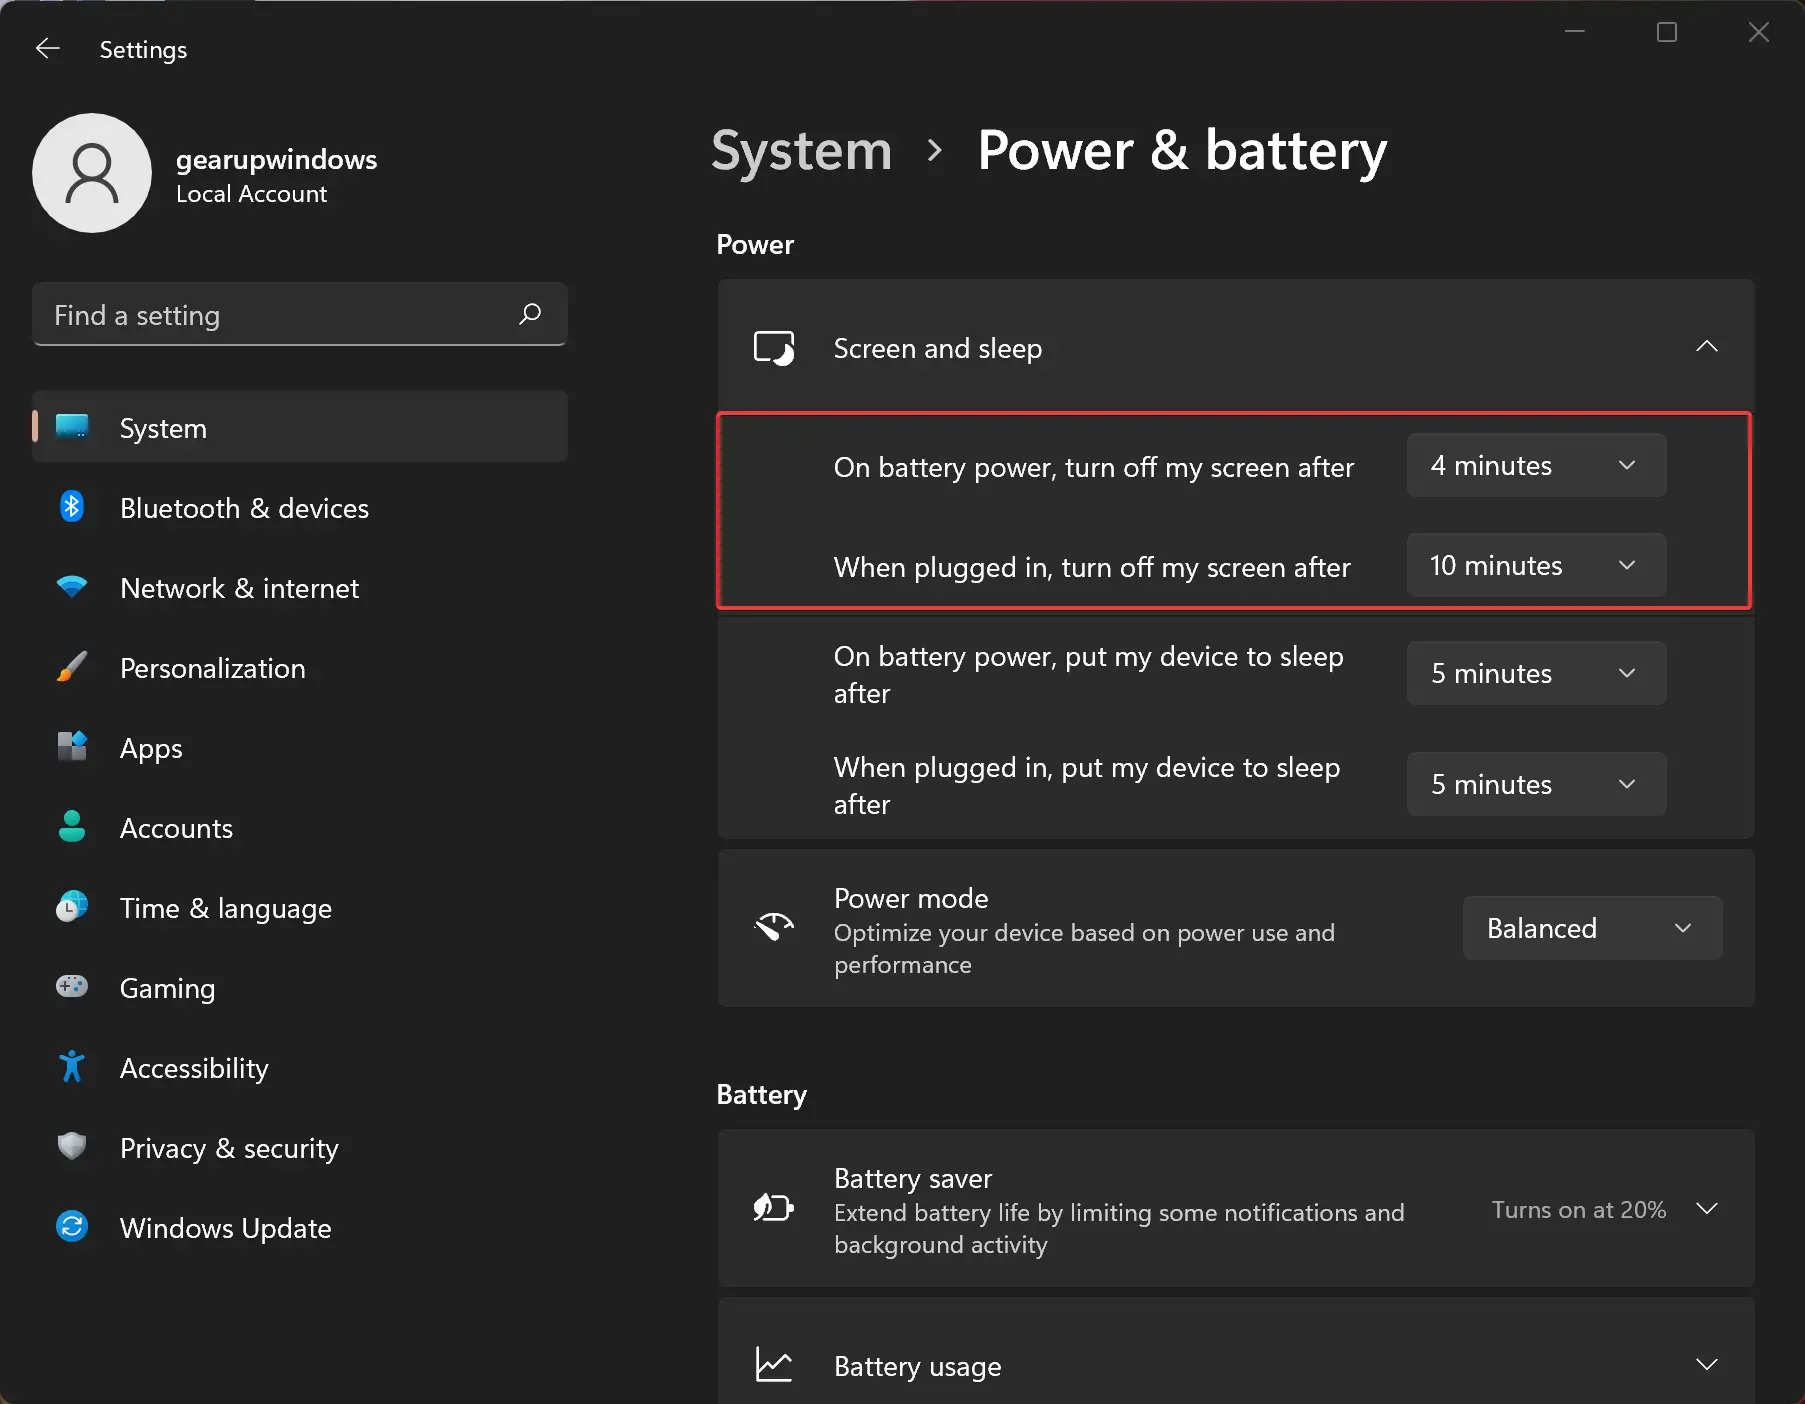
Step 6. You need to repeat the same for the other options, “On battery power, turn off my screen after.” Skip this step if you use a desktop computer.
When you’re done, close the Settings app.
How to Change the Screen Turn-off Timeout in Windows 11 via Control Panel?
It is also possible to change the screen timeout in Windows 11 through Control Panel. For that, you need to perform the following steps:-
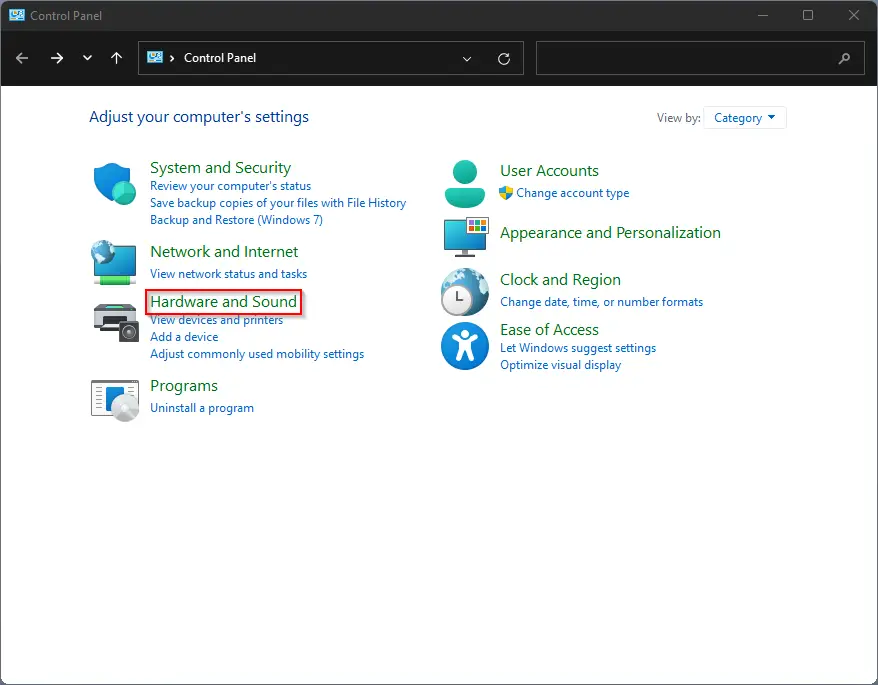
Step 1. First, open Control Panel.
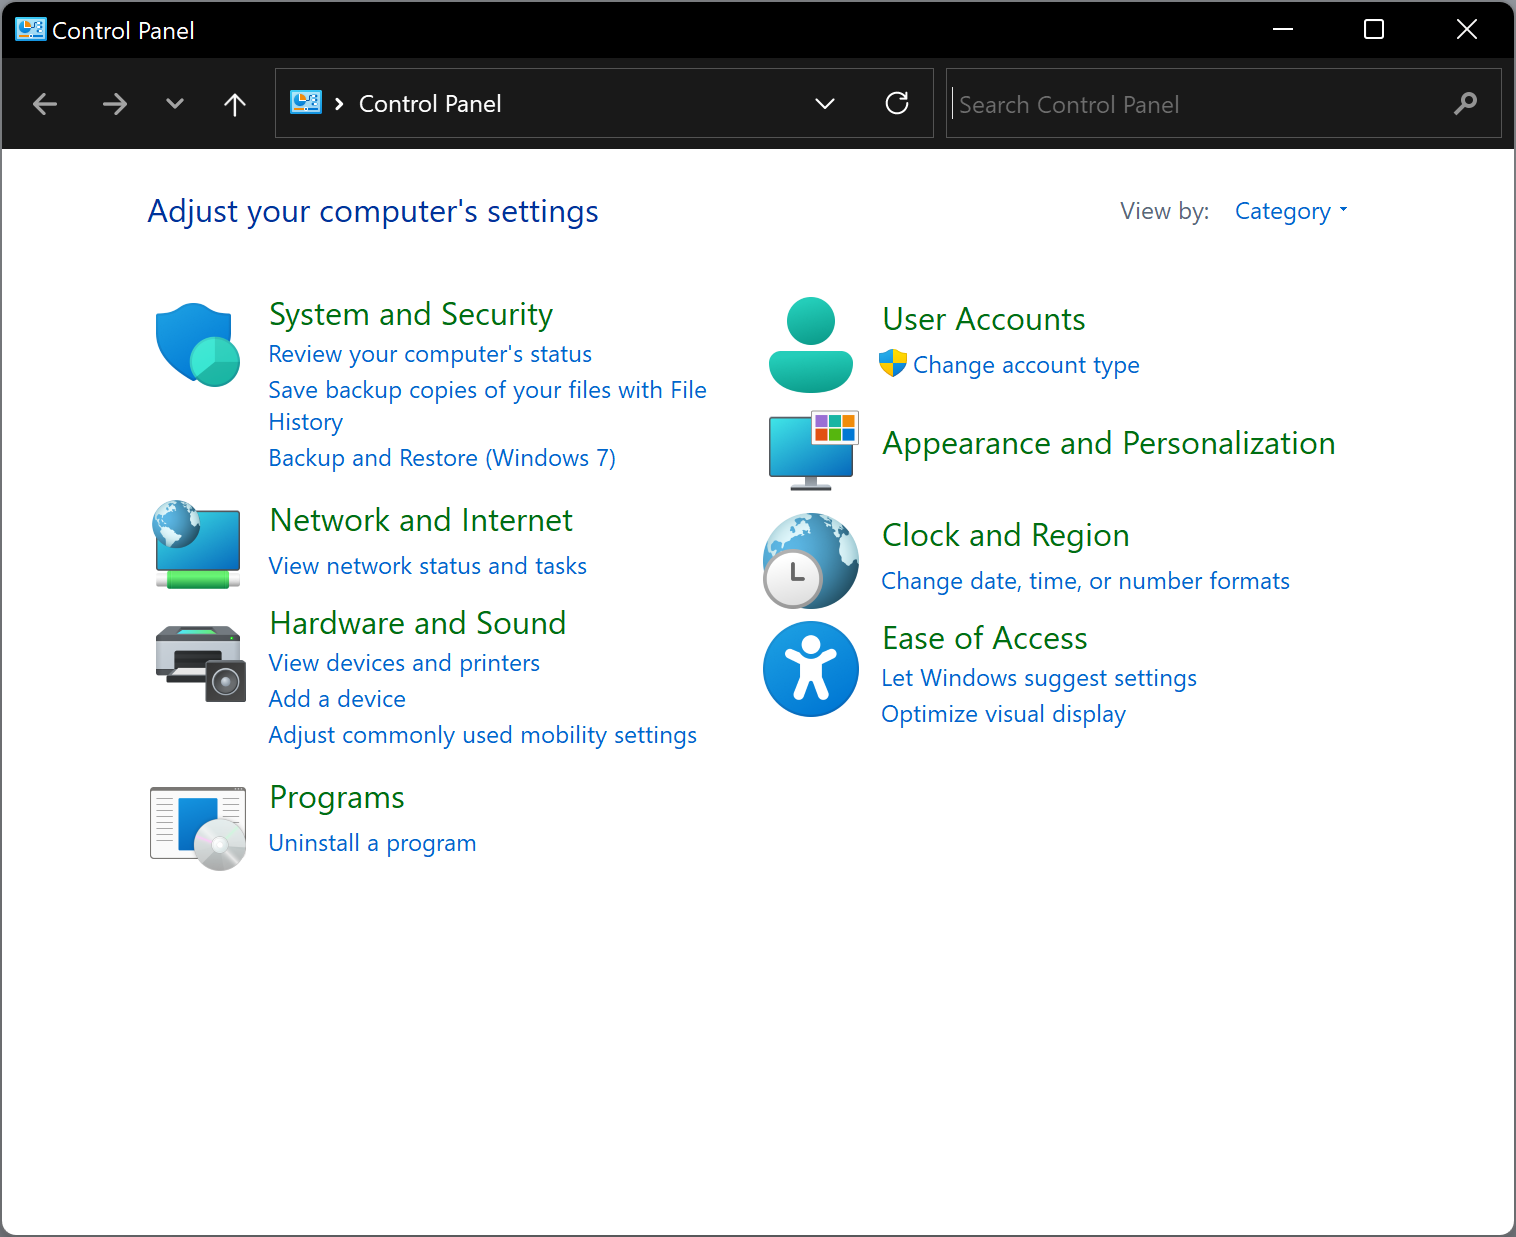
Step 2. After that, select Hardware and Sound.
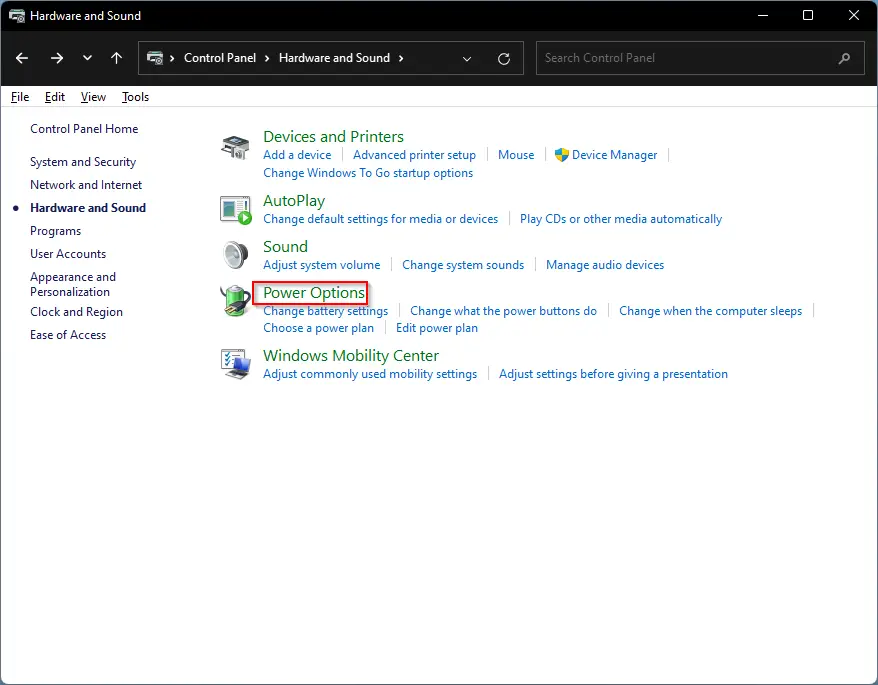
Step 3. On the next screen that appears, click Power Options.
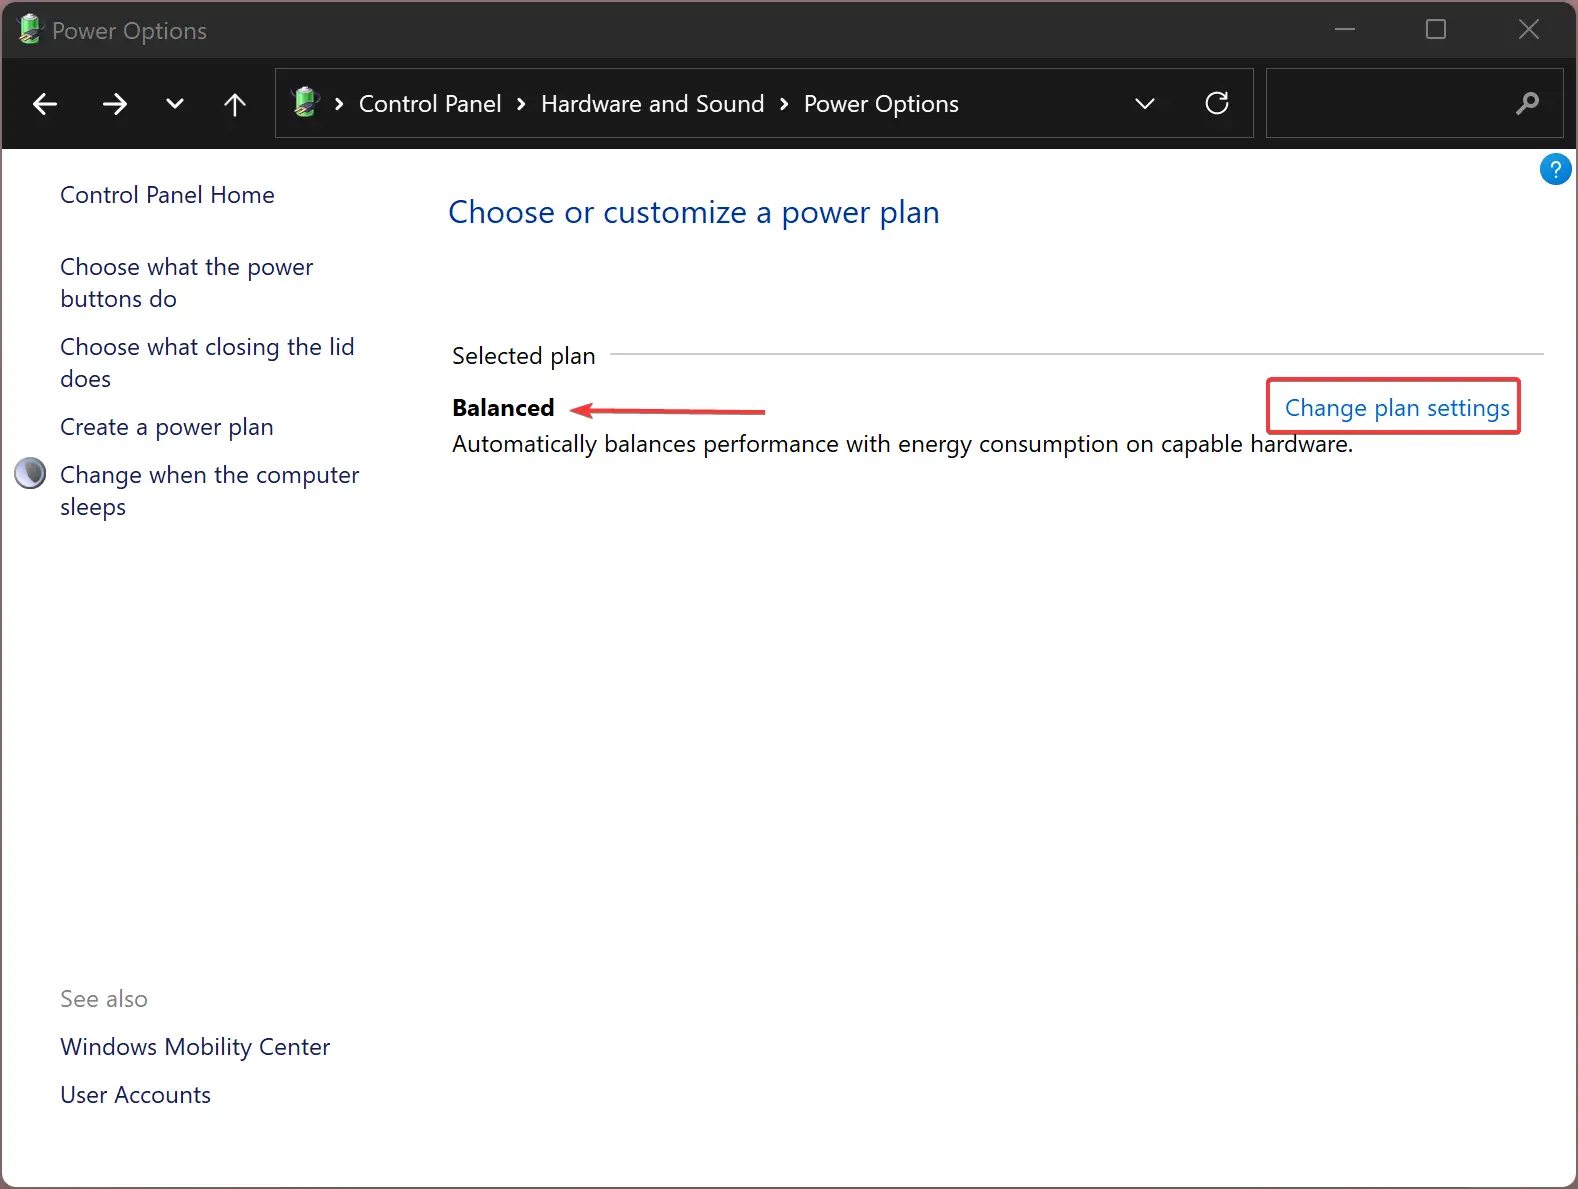
Step 4. Next, click the link Change plan settings beside the power plan on the right-side pane.
Step 5. Finally, select a new timeout from the drop-down list of Turn off the display.
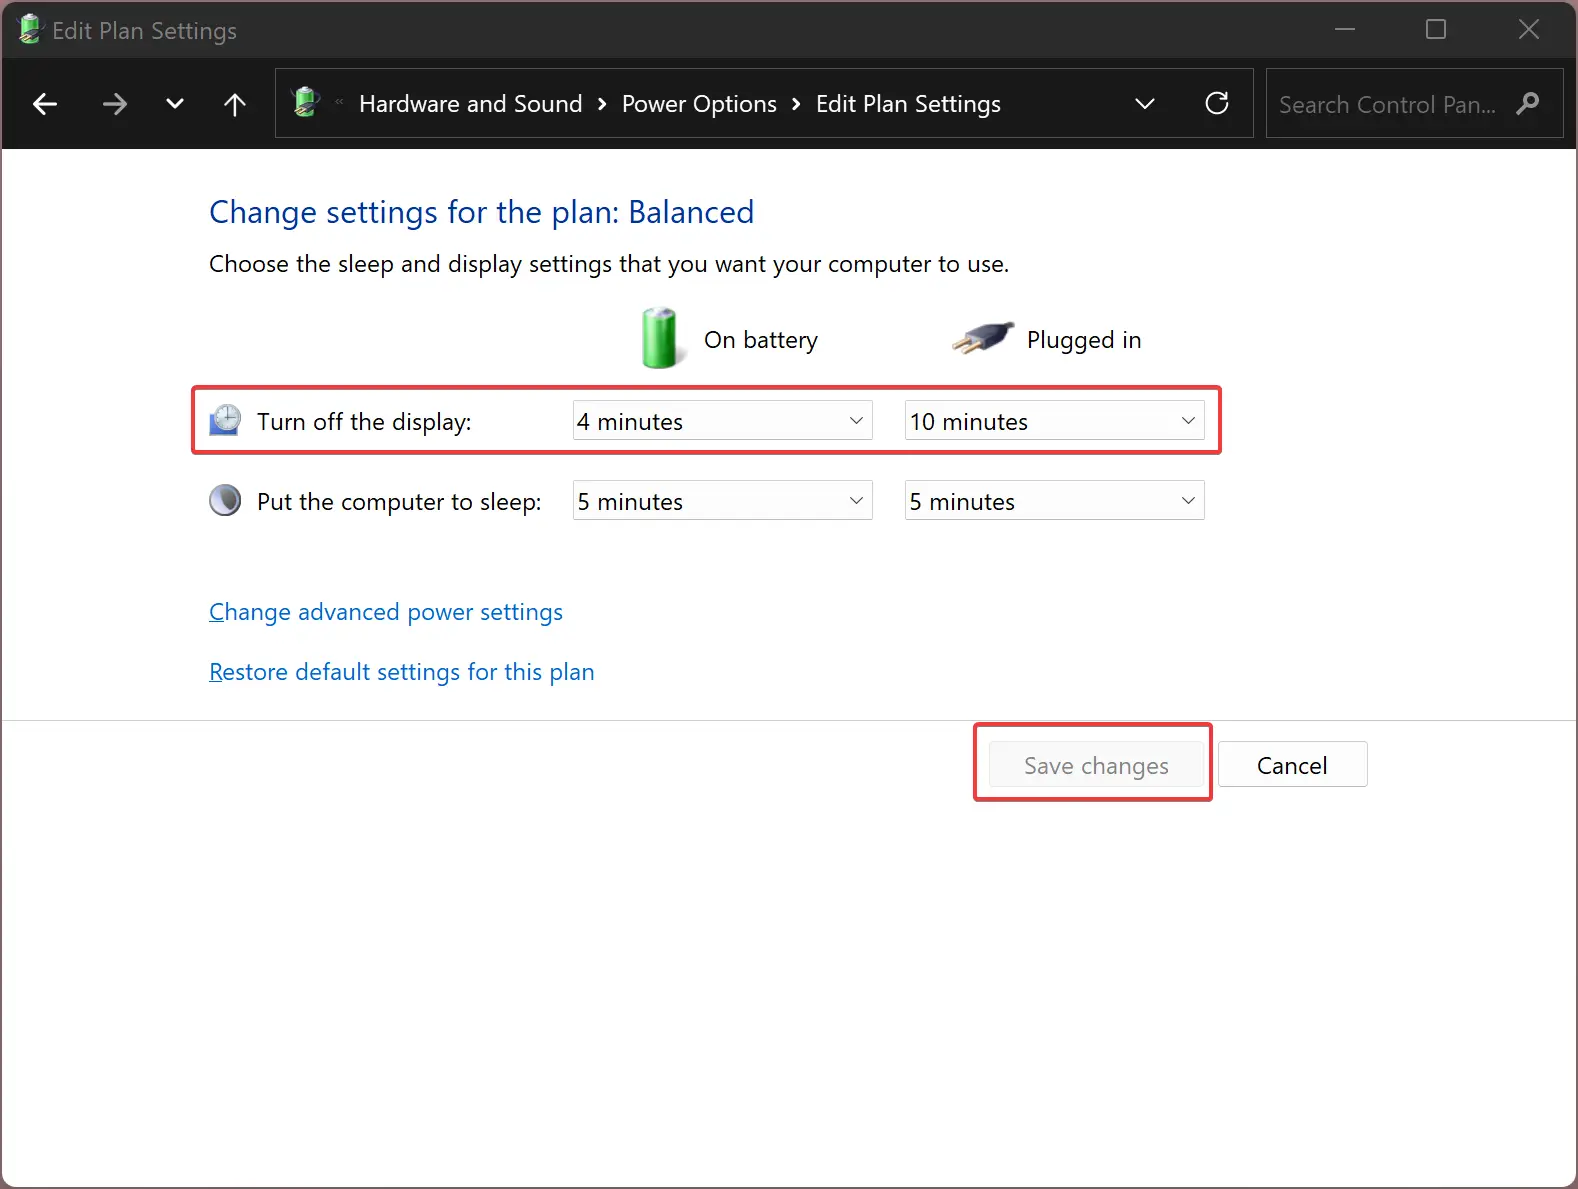
Step 6. Then click the Save changes button.
Please note that you need to repeat the previous steps for other plans if required. For different power plans, you can assign different timeouts.
When you’re done, you can close the Control Panel.
How to Change the Screen Turn-off Timeout in Windows 11 using Windows PowerShell or Command Prompt?
It is also possible to change the screen off period in Windows 11 using a simple command in Windows PowerShell or Command Prompt. To change the Windows 11 screen turn-off timeout from Command Prompt or PowerShell, do the following:-
Step 1. First, open Windows PowerShell with elevated rights (or an administrative Command Prompt).
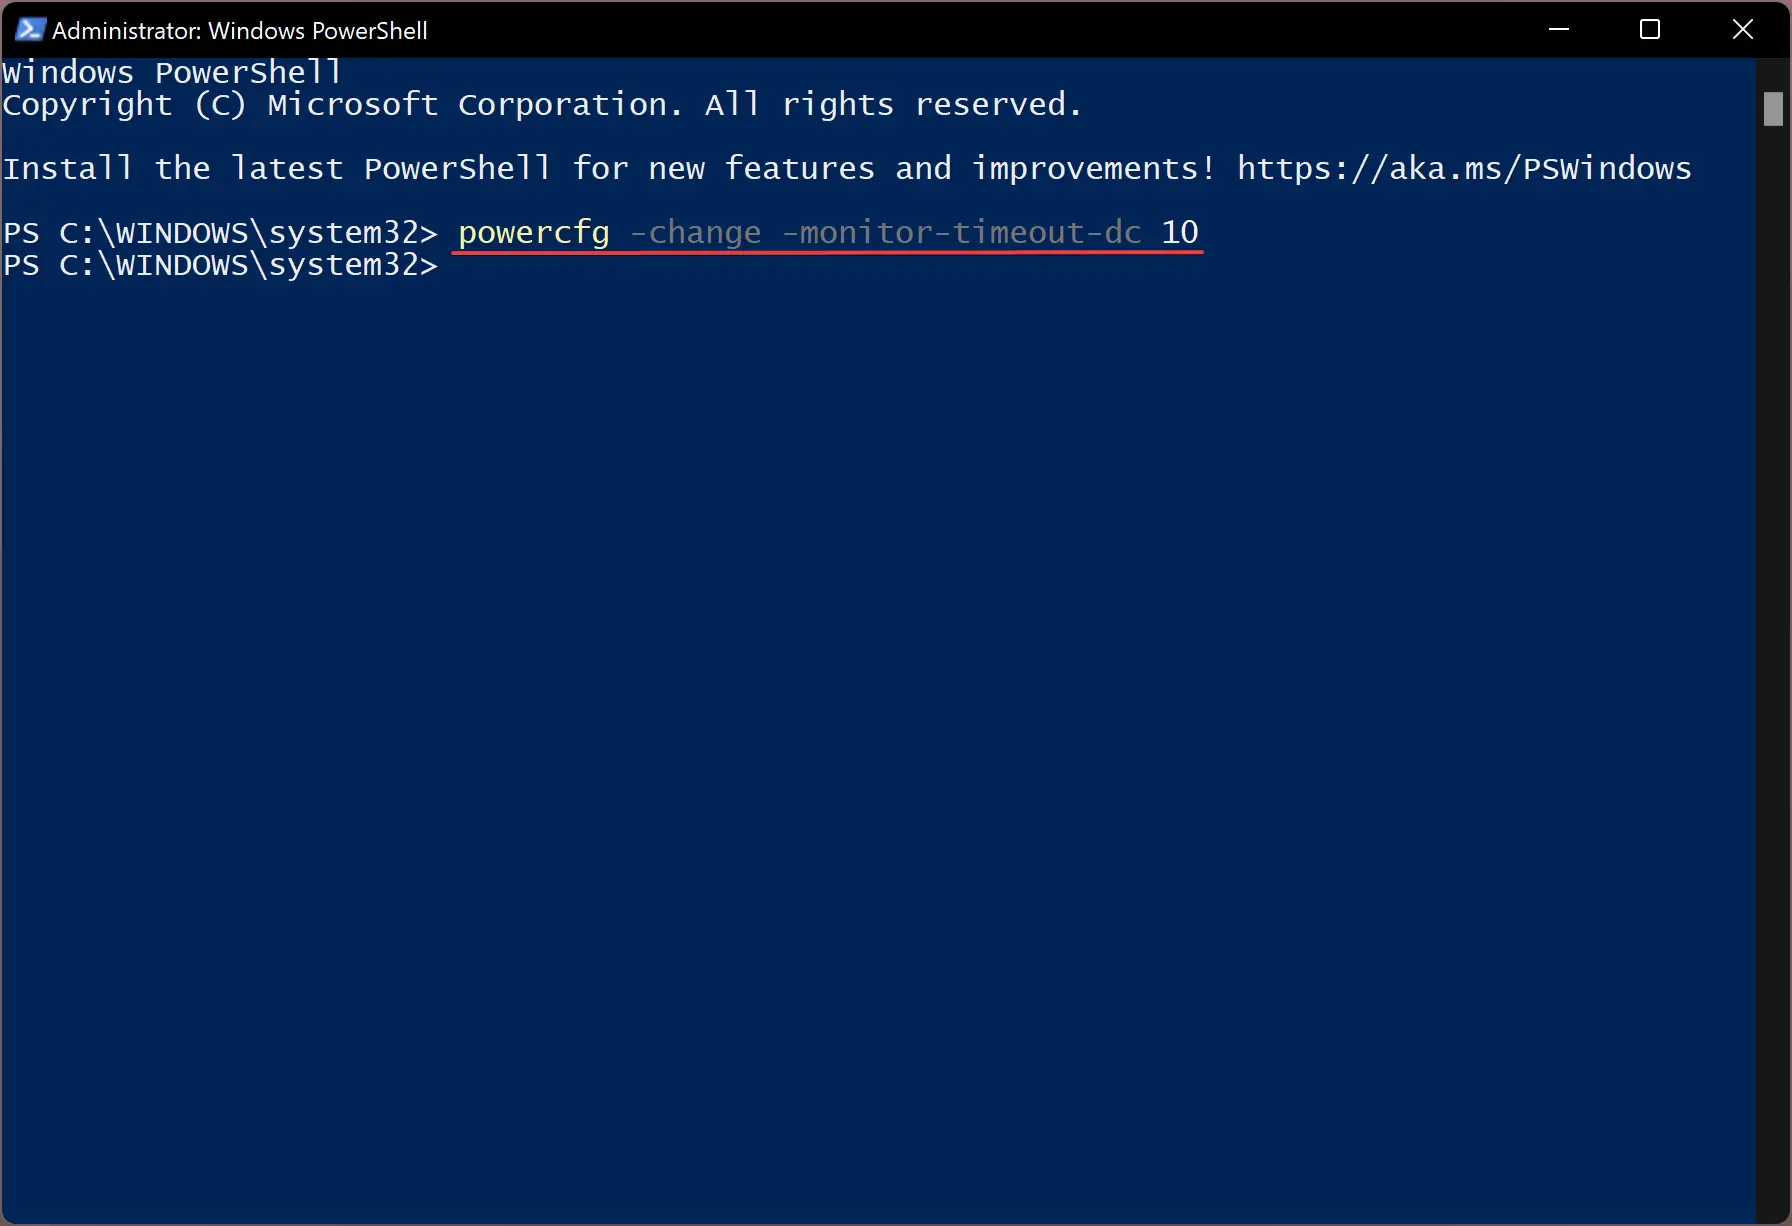
Step 2. In the administrative Windows PowerShell, enter the following command to change the screen off time for when on battery mode:-
powercfg -change -monitor-timeout-dc X
Note:- Please replace “X” with your preferred time specified in minutes. The above command will set screen turn-off time-out when your computer is on battery power.
To set screen turn-off time-out when your computer is plugged in, execute the following command:-
powercfg -change -monitor-timeout-ac X
Note:- Please replace “X” with your preferred time specified in minutes. The above command will set screen turn-off time-out when your computer is plugged in.
Good luck.
Conclusion
In conclusion, changing the screen turn-off timeout in Windows 11 is a simple process that can be done through the Settings app, Control Panel, or Windows PowerShell. By default, Windows 11 turns off the screen after 30 minutes of inactivity, but users can customize this setting to save energy or extend it as needed. With the step-by-step instructions provided in this article, users can easily change the screen turn-off timeout to suit their preferences. Whether you prefer using the Settings app, Control Panel, or Windows PowerShell, adjusting the screen timeout in Windows 11 is a quick and easy process.