Windows 11 includes several accessibility settings that make the user experience comfortable. If you find the default text size in Windows 11 is too small or big, then this gearupwindows article will help you.
High-resolution computers and laptops have their own advantages and disadvantages. Sometimes you might find texts on the screen too tiny and challenging to read. Commonly, Windows 11 handles ‘high-DPI’ automatically and adjusts elements and texts, so they’re average in size.
But if you find that text is too small or too large on your screen, regardless of its resolution, you need to fix it. Here is how to do it.
How to Change Text Size in Windows 11 using Accessibility?
To increase or decrease the text size in Windows 11 through the Accessibility option, use these steps:-
Step 1. First, open Windows 11 Settings by pressing the Windows + I keyboard shortcut.
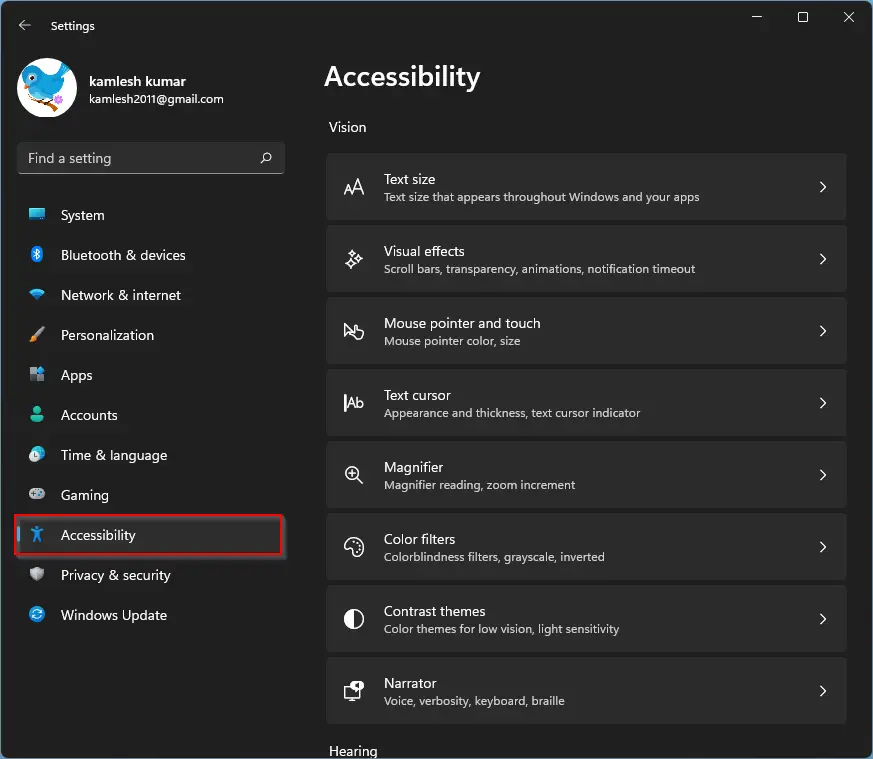
Step 2. When the Settings window appears on your screen, select the Accessibility option on the left side.
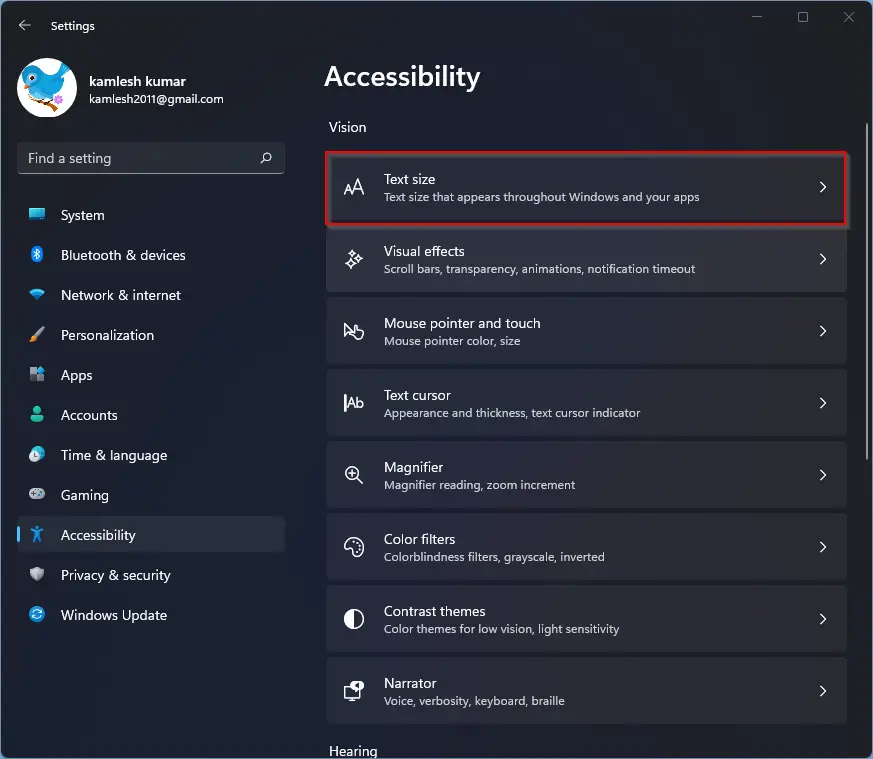
Step 3. On the right, click the Text size option.
Step 4. Now, use the Text size slider to increase or decrease the size of the text.
Step 5. Once you have found the correct text size, click the Apply button.
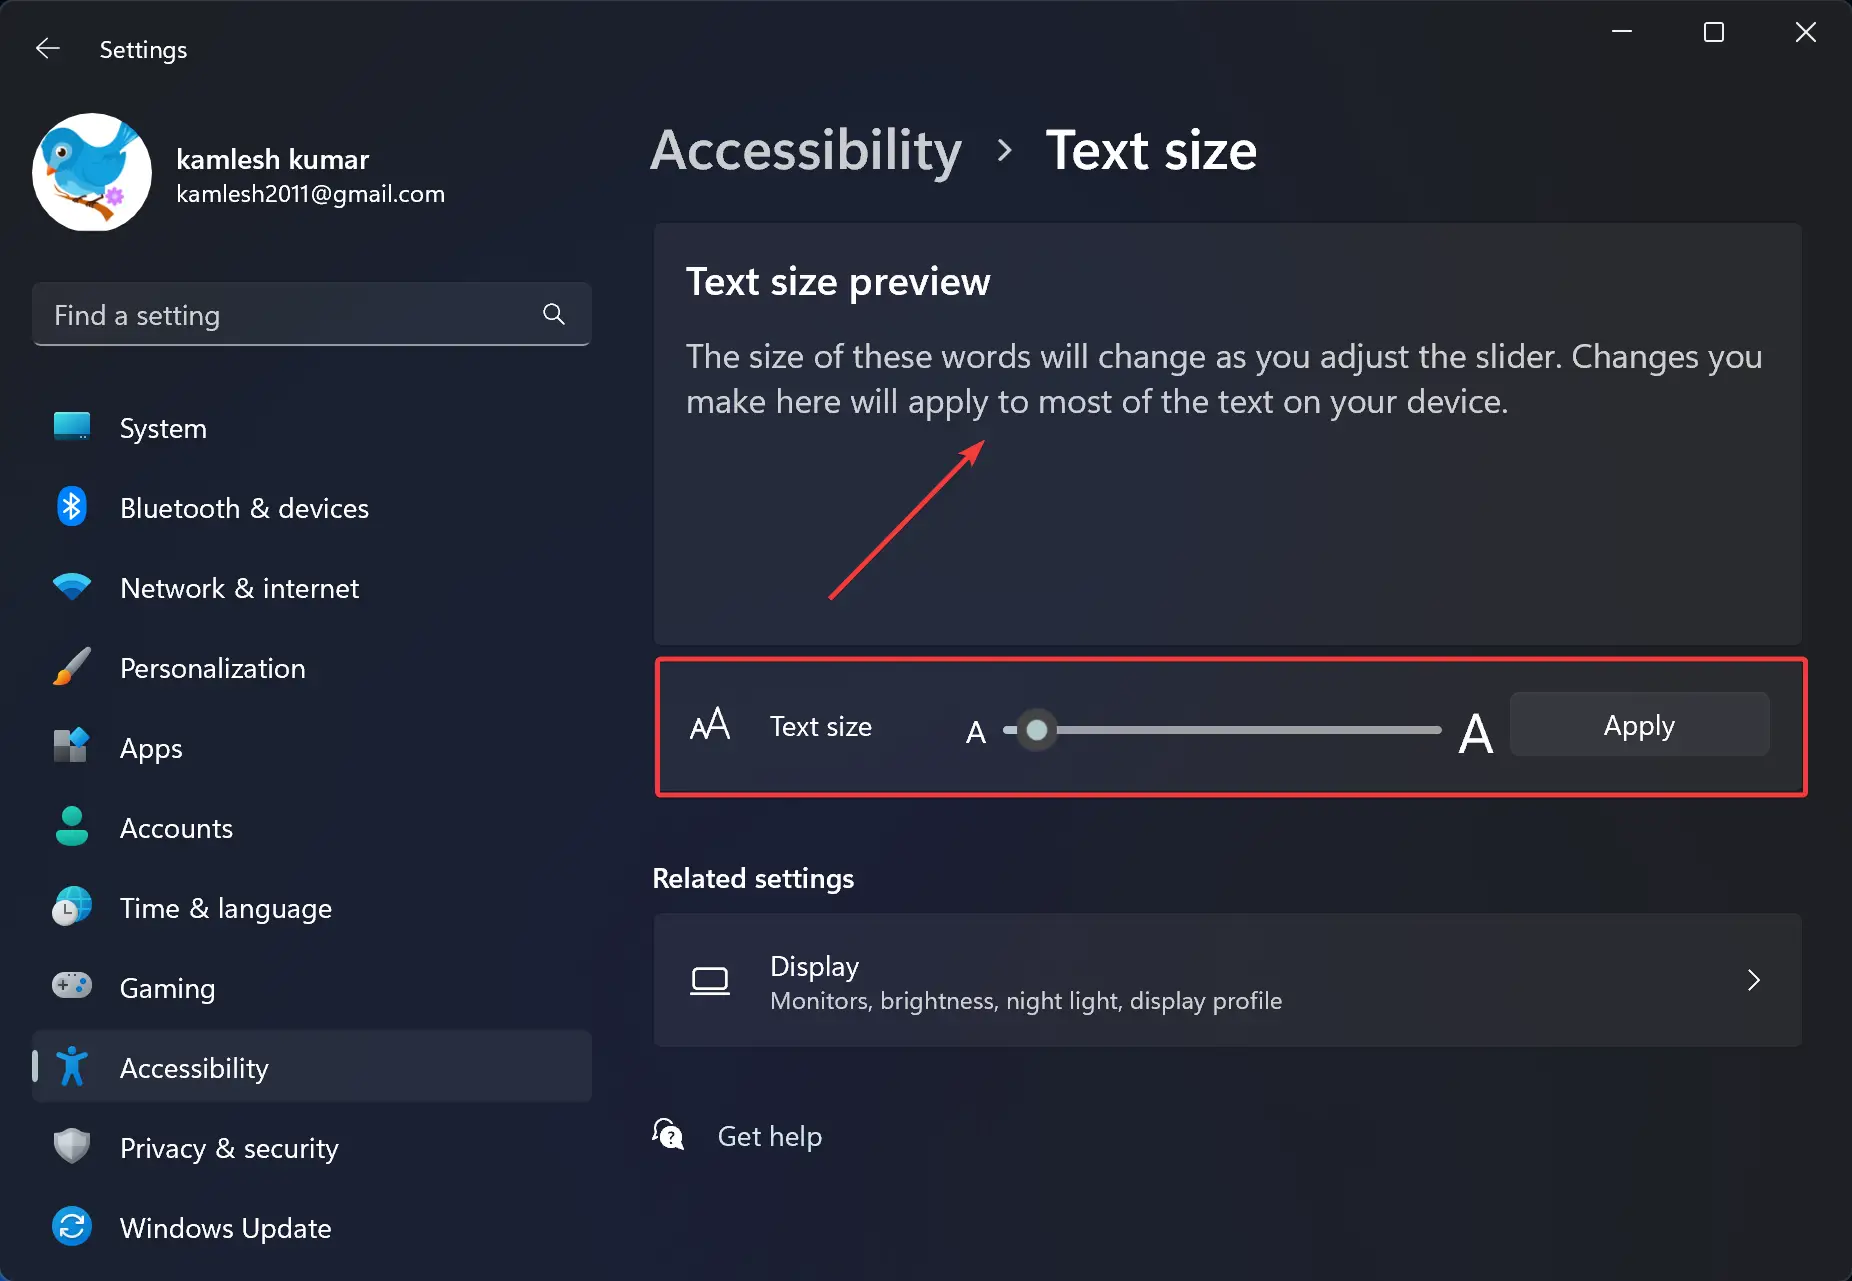
Please note that before applying a new text size, you can see a preview above the slider.
The changes are immediate, which means when you select any value, depending upon the selection, the text size will increase or decrease throughout Windows 11.
How to Adjust Text Size using Display Scale Settings?
On a Windows 11 machine, you can also change the text size through Display Scale Settings. For that, use these steps:-
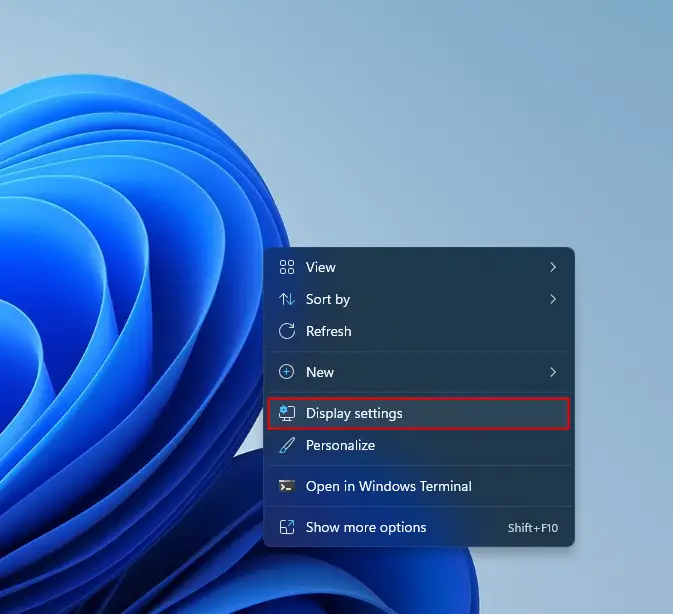
Step 1. First, right-click the blank space on the Desktop and select the Display Settings option.
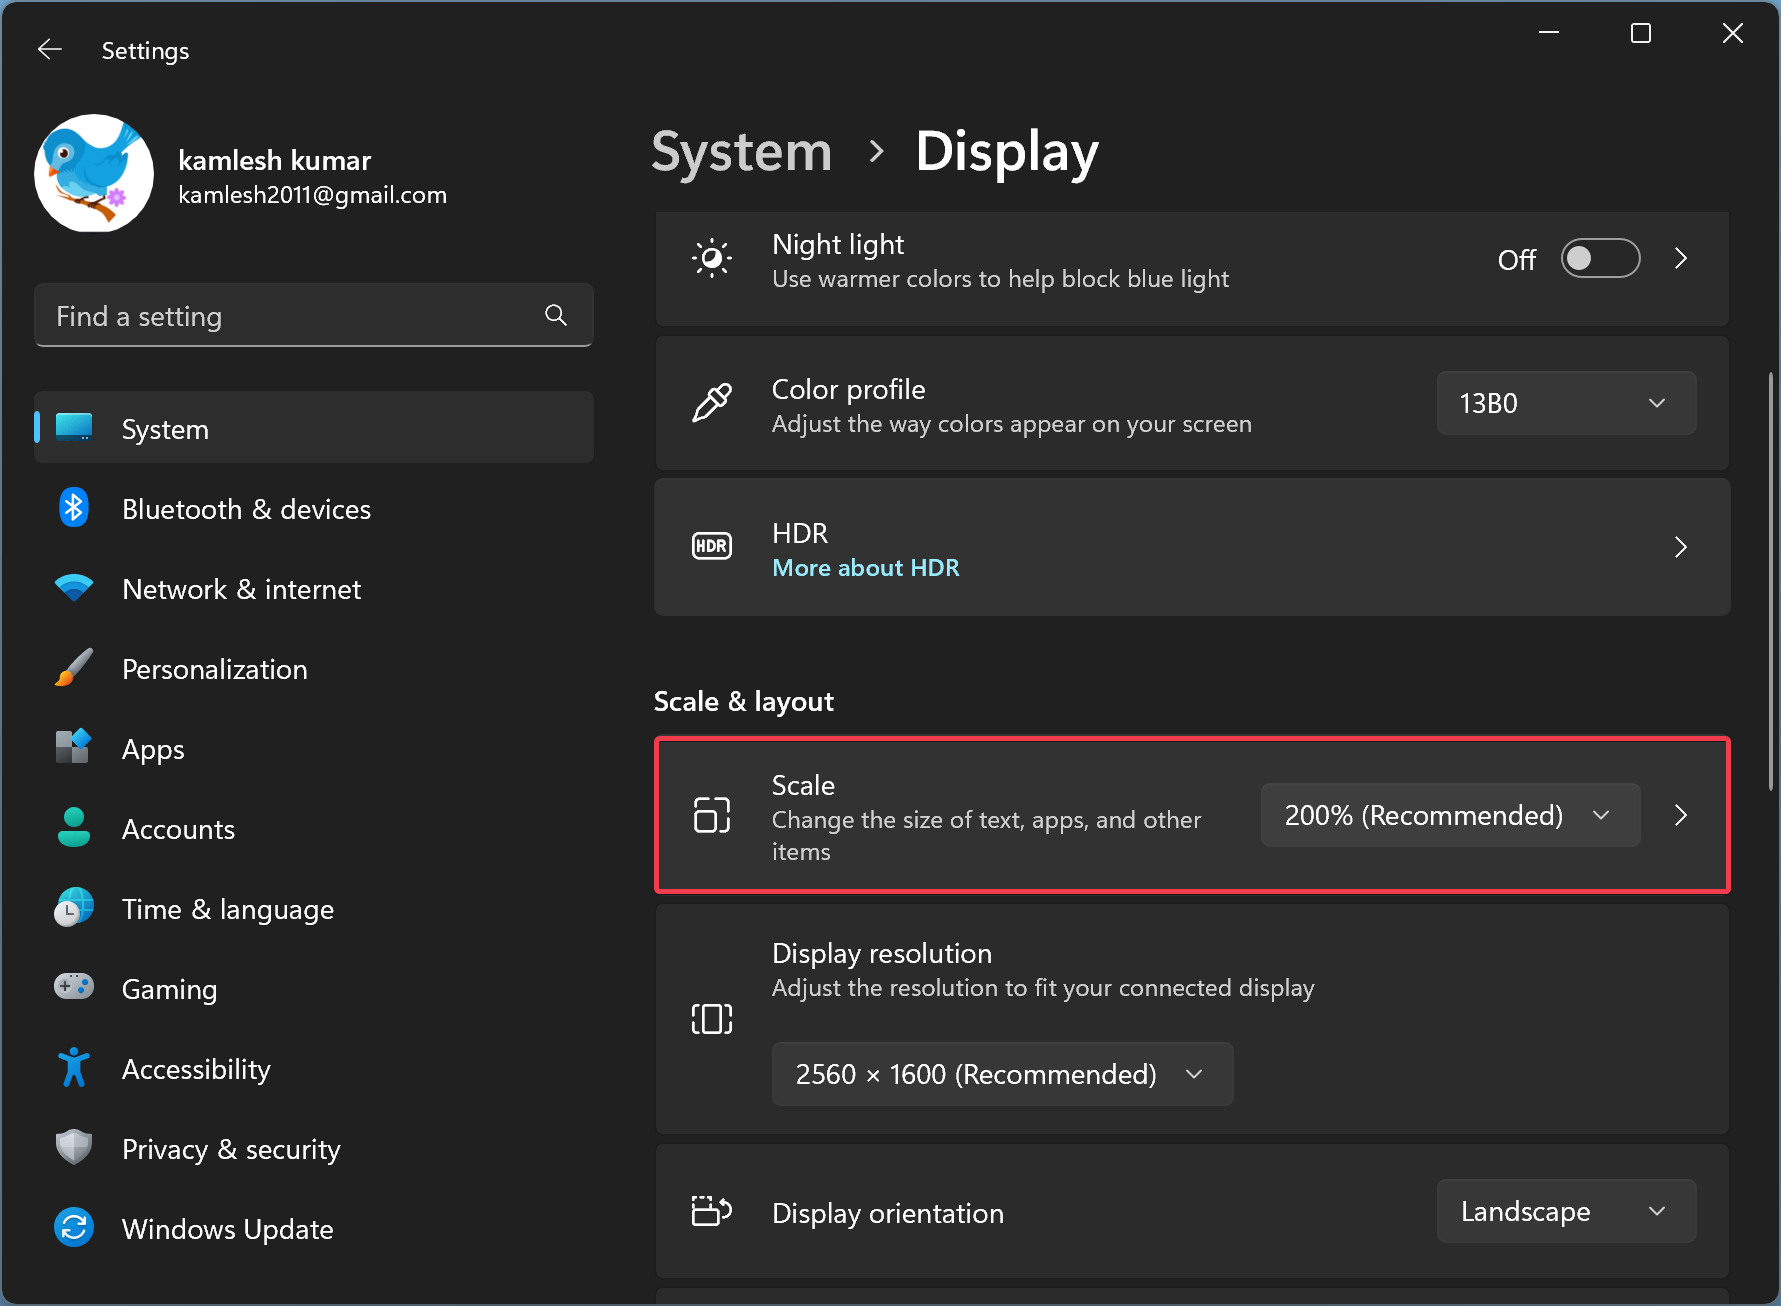
Step 2. Now, move the cursor on the right sidebar and find the Scale and layout section. Here, use the drop-down menu Scale and select the appropriate value in percentage.
Please note that the value range depends on your screen size and resolution.
That’s it.