The Microsoft Word Startup folder retains all the data files, add-ins, themes or templates, etc. When you start the MS Words document, it fetches all the data from the respective Startup folder. By default, when you install MS Office on your PC, it sets the default location of the Startup folder as “C:\Users\user-name\AppData\Roaming\Microsoft\Word\STARTUP.” However, Word allows you to change the Startup folder location according to your needs.
In this gearupwindows article, we will guide you on changing or modifying the Startup folder of MS Word in Windows 11 or 10. There are at least three methods to get this job done. You can use the built-in settings panel, Local Group Policy Editor, and Registry Editor. We will review all these methods one by one.
How to Change or Modify the MS Word Startup folder using the built-in Settings Panel?
To change or modify the Startup folder of Microsoft Word, use the following steps:-
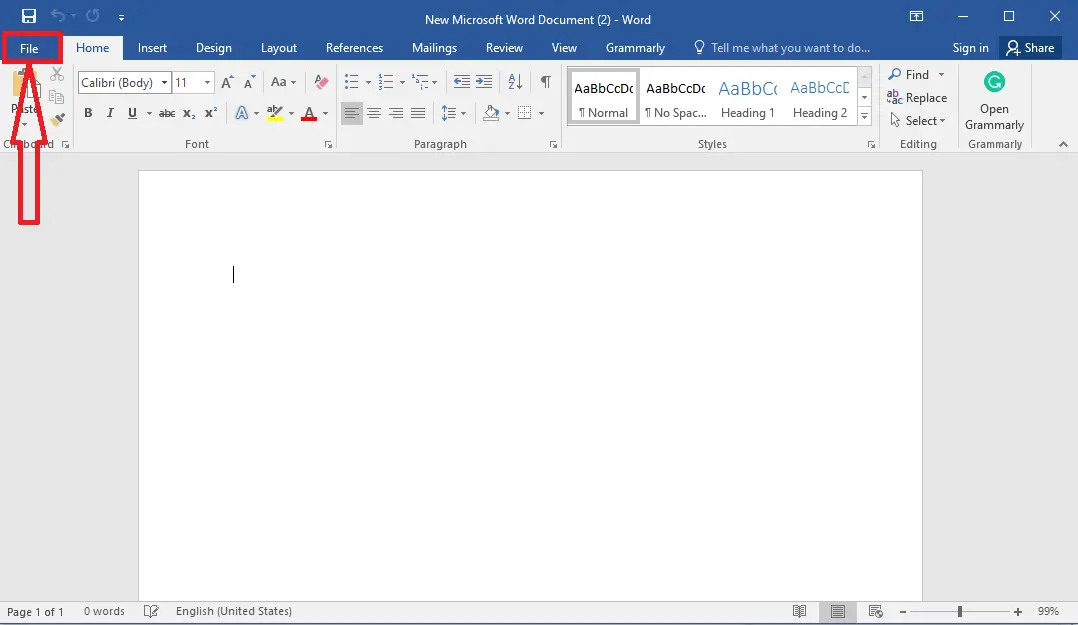
Step 1. First, open a Microsoft Word document on your computer and then click the File in the menu.
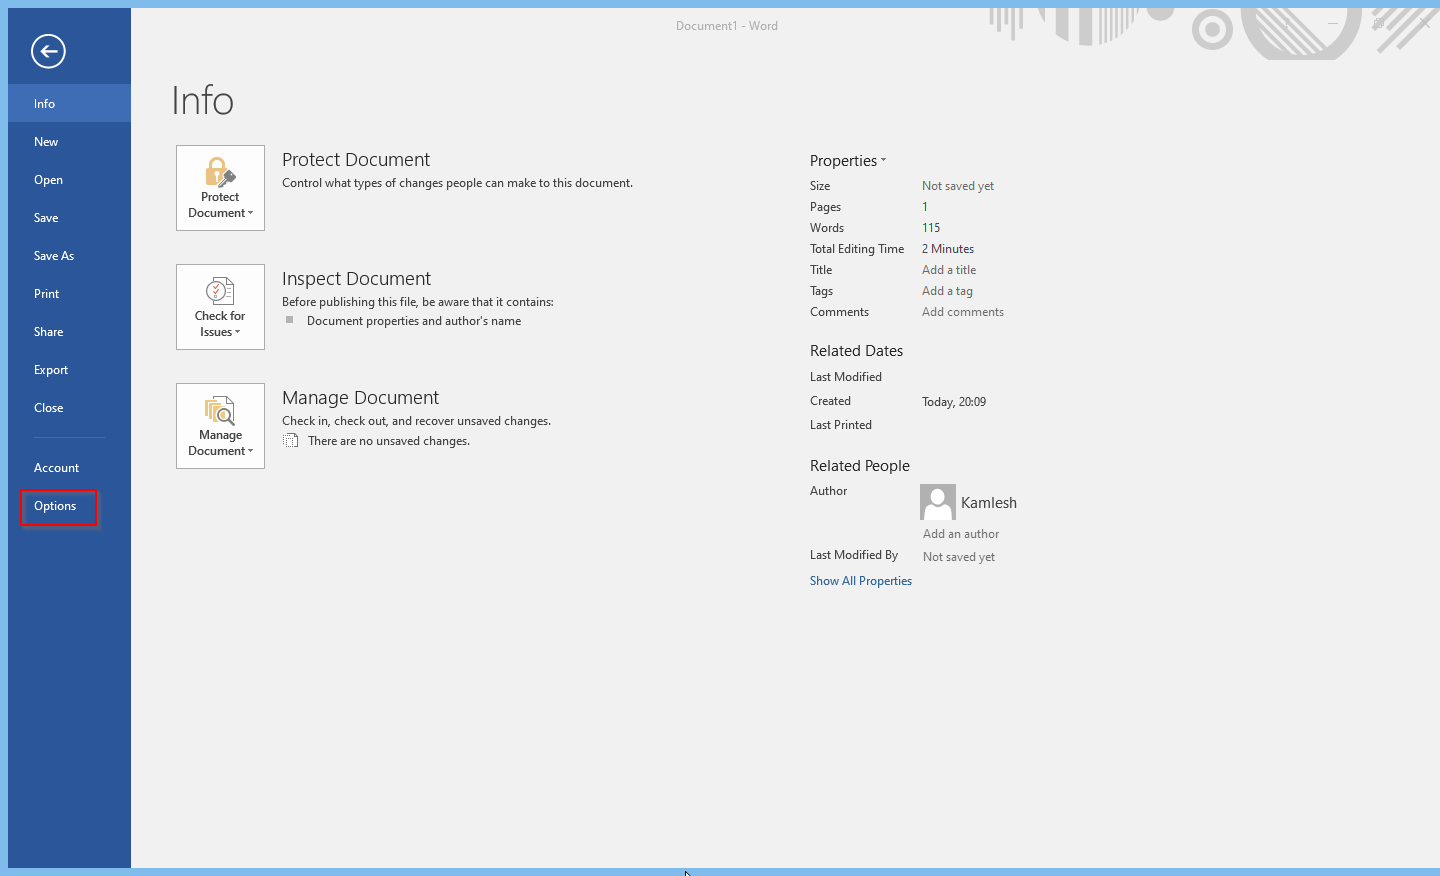
Step 2. After that, click Options.
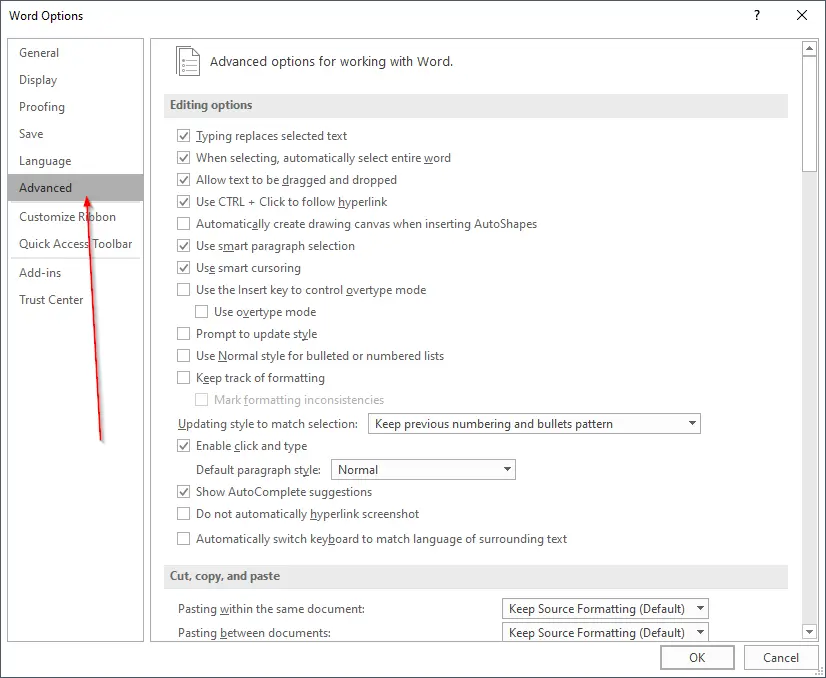
Step 3. When you’re done, the Word Options window will open. Switch to the Advanced tab.
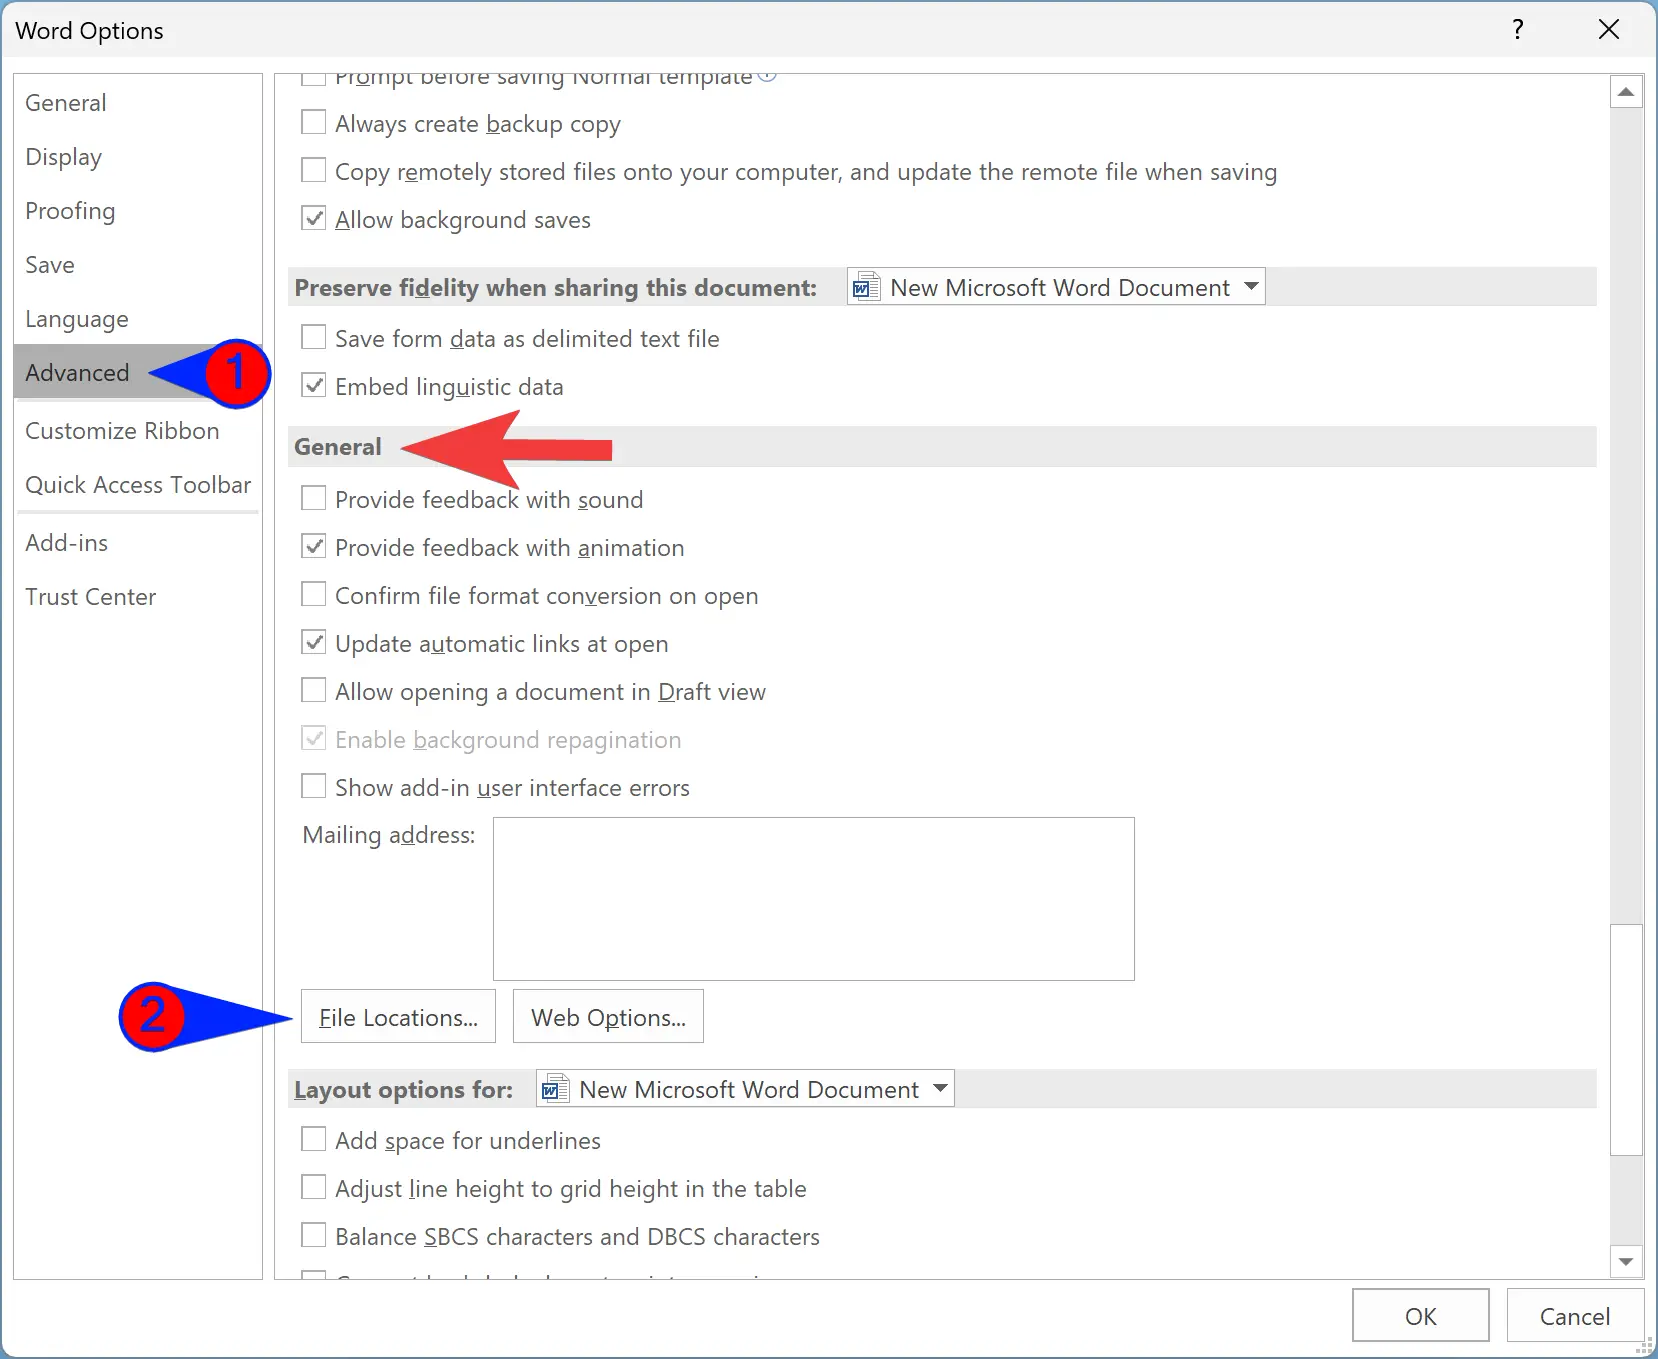
Step 4. Here, scroll down to find the General section and click the File Locations button.
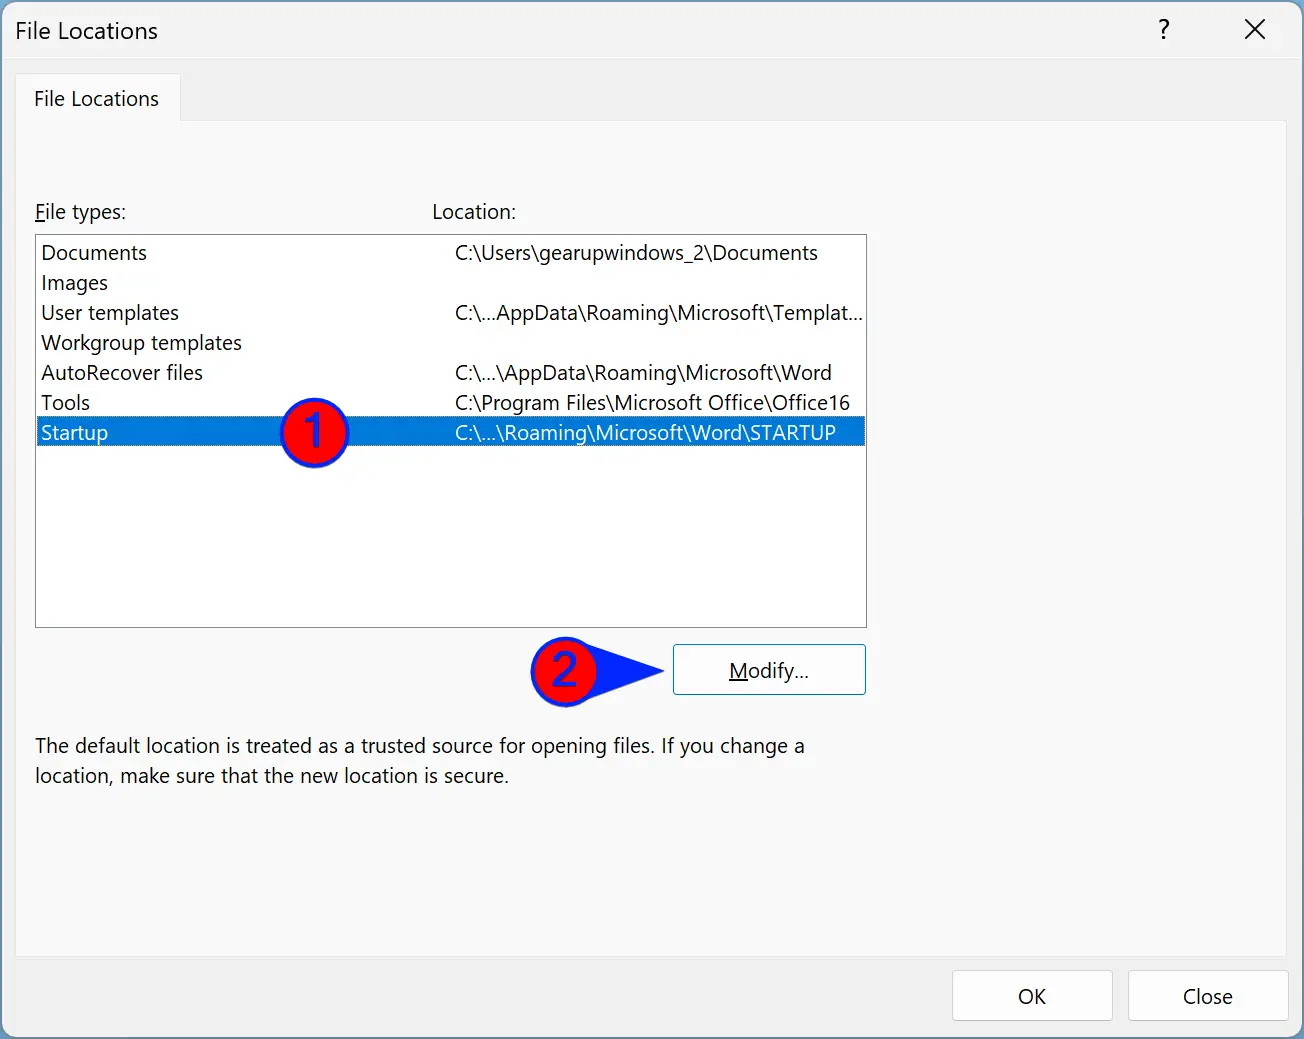
Step 5. On the pop-up “File Locations” window, select the Startup option and click the Modify button.
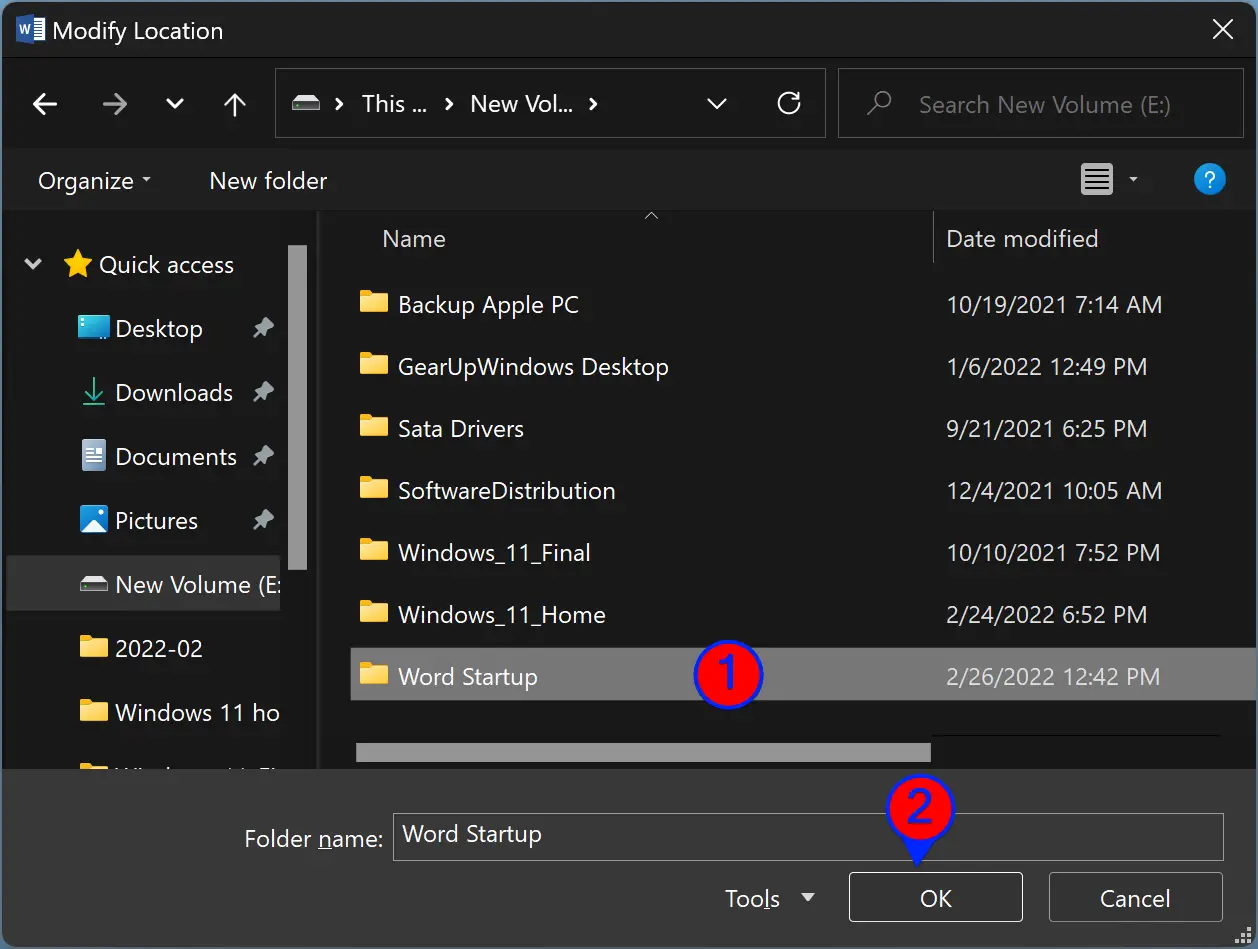
Step 6. In the File Explorer window that opens, select a folder you want to use as Word Startup and click the OK button.
Step 7. Click OK.
Step 8. Click OK.
That’s all! Now you have successfully changed the Word Startup path. However, you may need to move the data manually.
How to Change or Set the Startup folder of Word using Group Policy?
If you prefer to use Group Policy to apply the changes in the Startup folder of Word, you’ll first need to install the Office’s Group Policy template on your computer. After that, you can use this method.
Step 1. Open Local Group Policy Editor on your computer.
Step 2. When Local Group Policy Editor opens on your PC, navigate to the following path in the left sidebar:-
User Configuration > Administrative Templates > Microsoft Word 2016 > Word Options > Advanced > File Locations
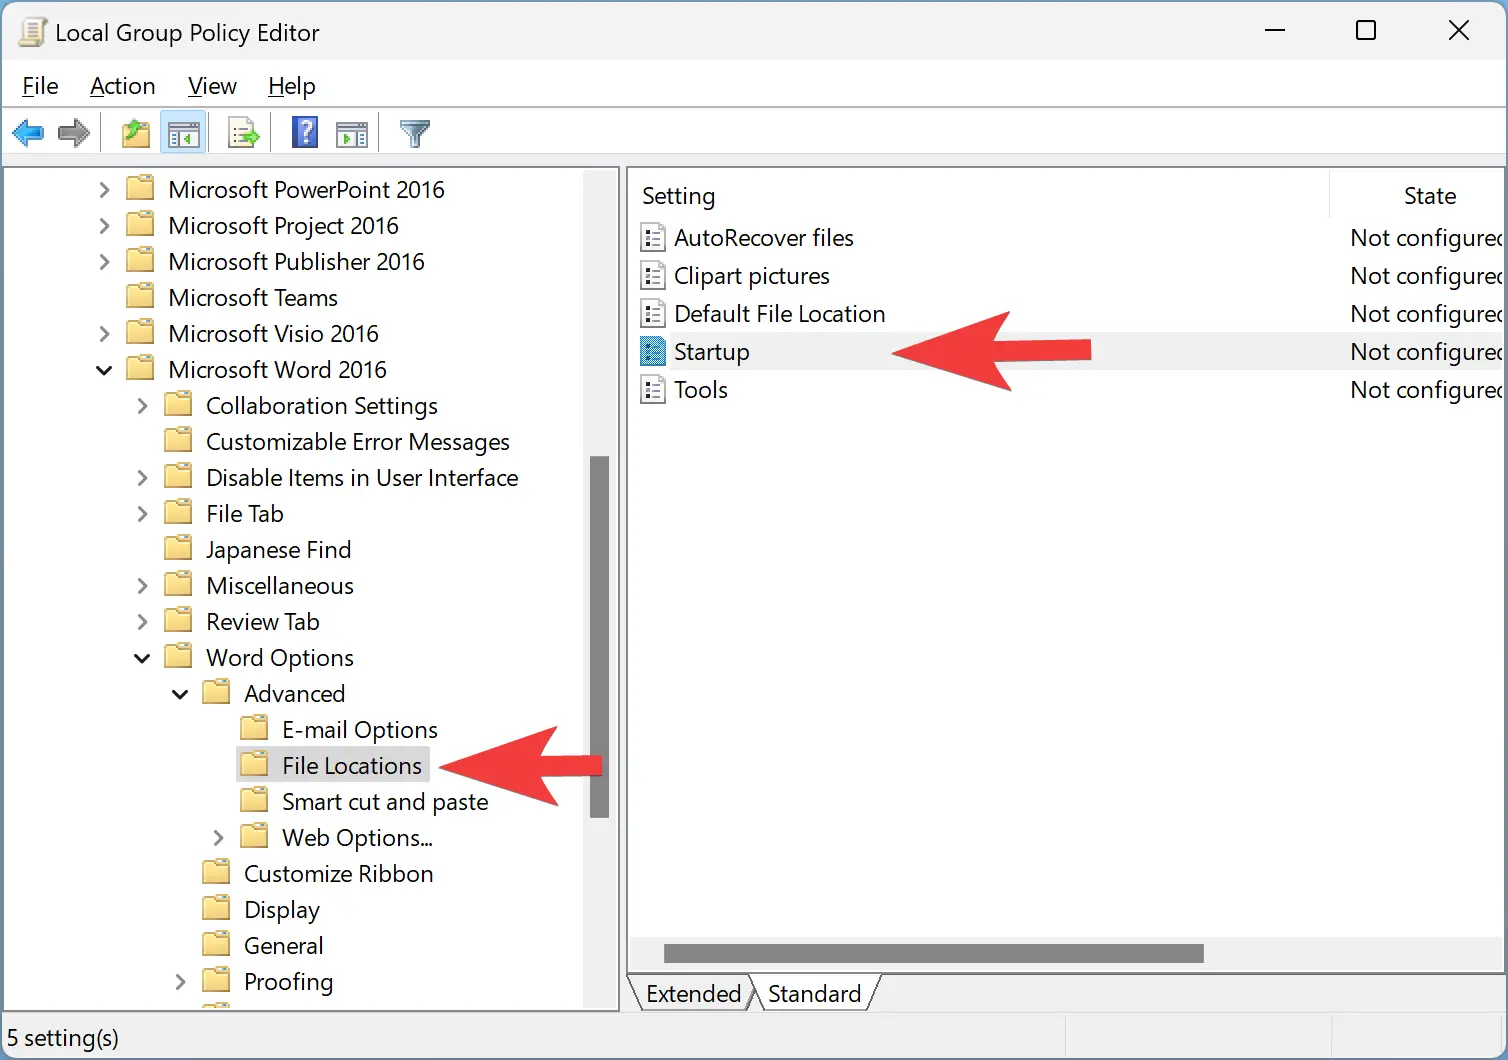
Step 3. On the opposite side of the “File Locations” folder, double-click on the Startup policy to configure it.
Step 4. Select the Enabled option.
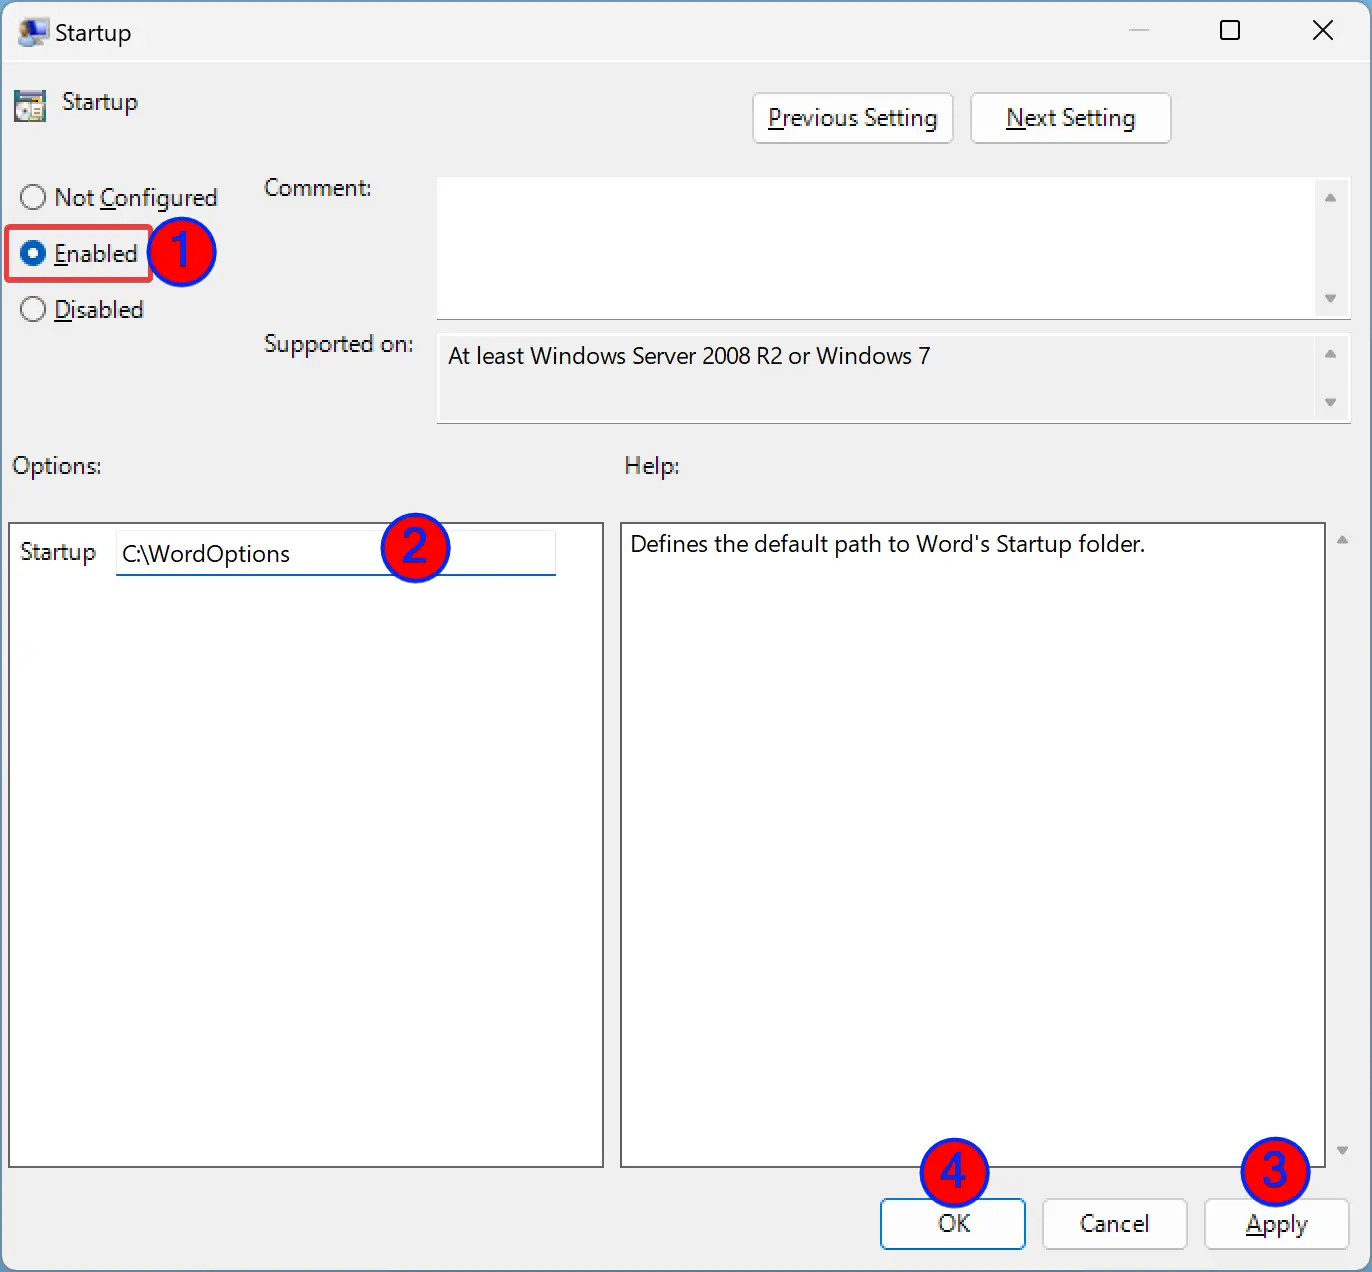
Step 5. Then, enter the new startup folder path in the empty box beside the “Startup” option.
Step 6. Click the Apply button.
Step 7. Finally, hit the OK button.
Once you complete the above steps, open a new MS Word document to see the changes.
How to Change the Word Startup folder using Windows Registry?
To change the Word Startup folder using Registry, make the following changes on your computer:-
Step 1. Open Registry Editor.
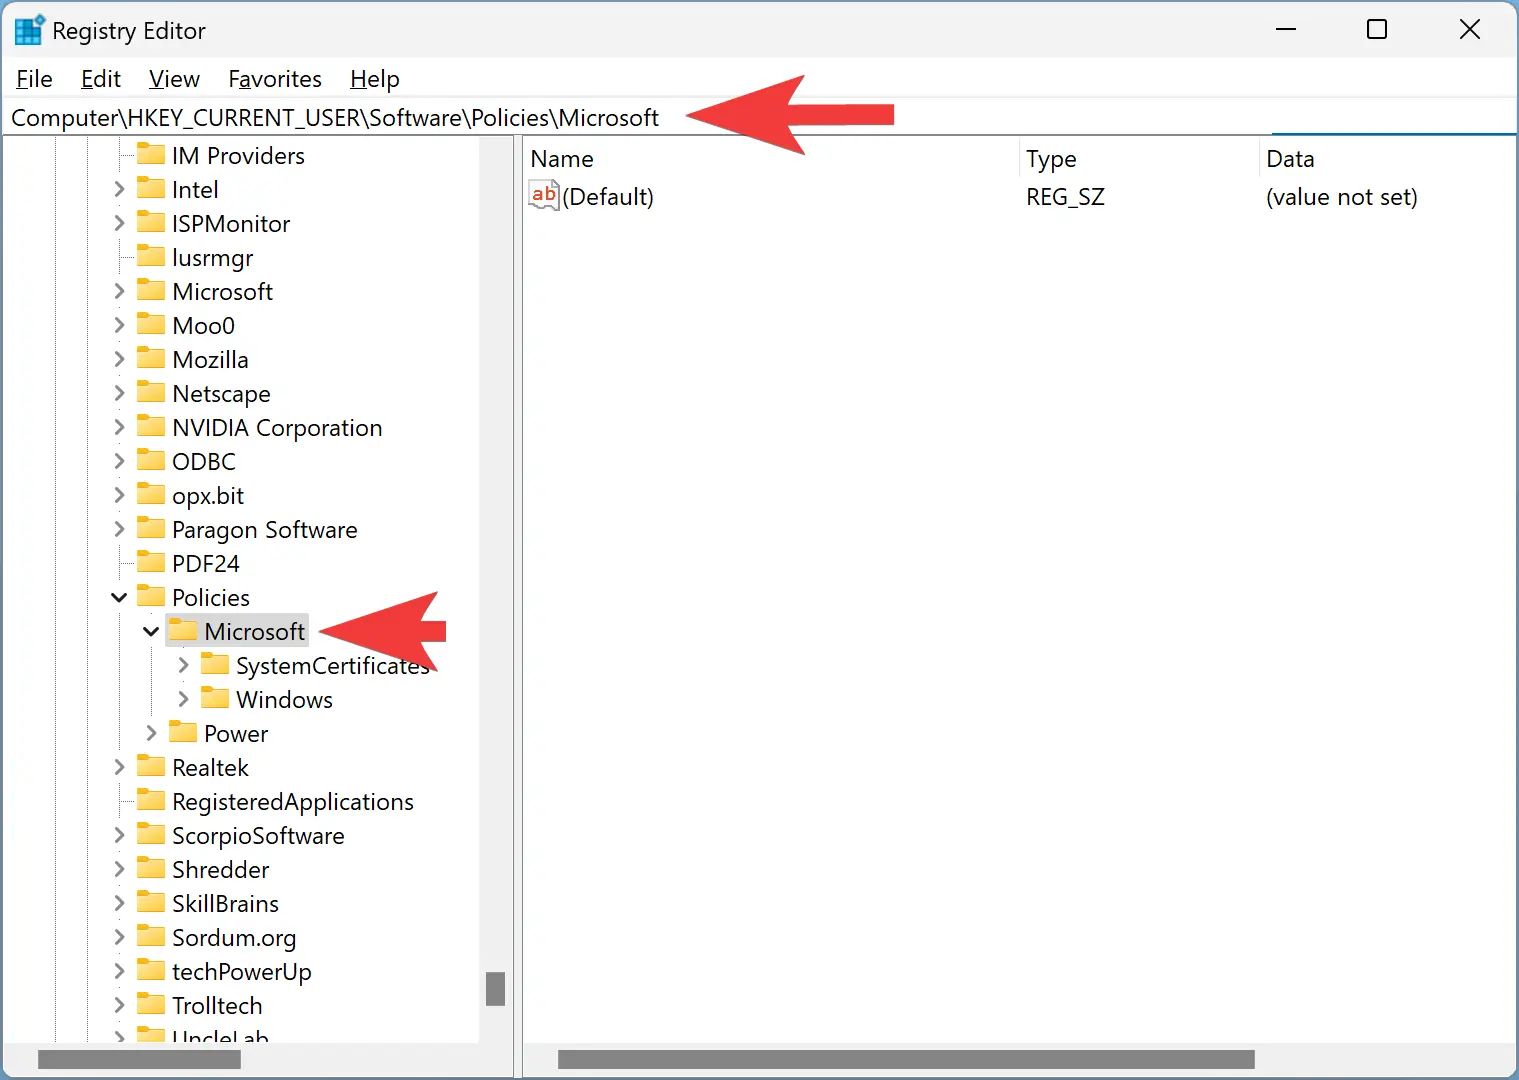
Step 2. Then, navigate to the following path in the left sidebar of Registry Editor:-
Computer\HKEY_CURRENT_USER\Software\Policies\Microsoft
Step 3. Now, right-click on the Microsoft folder and select New > Key.
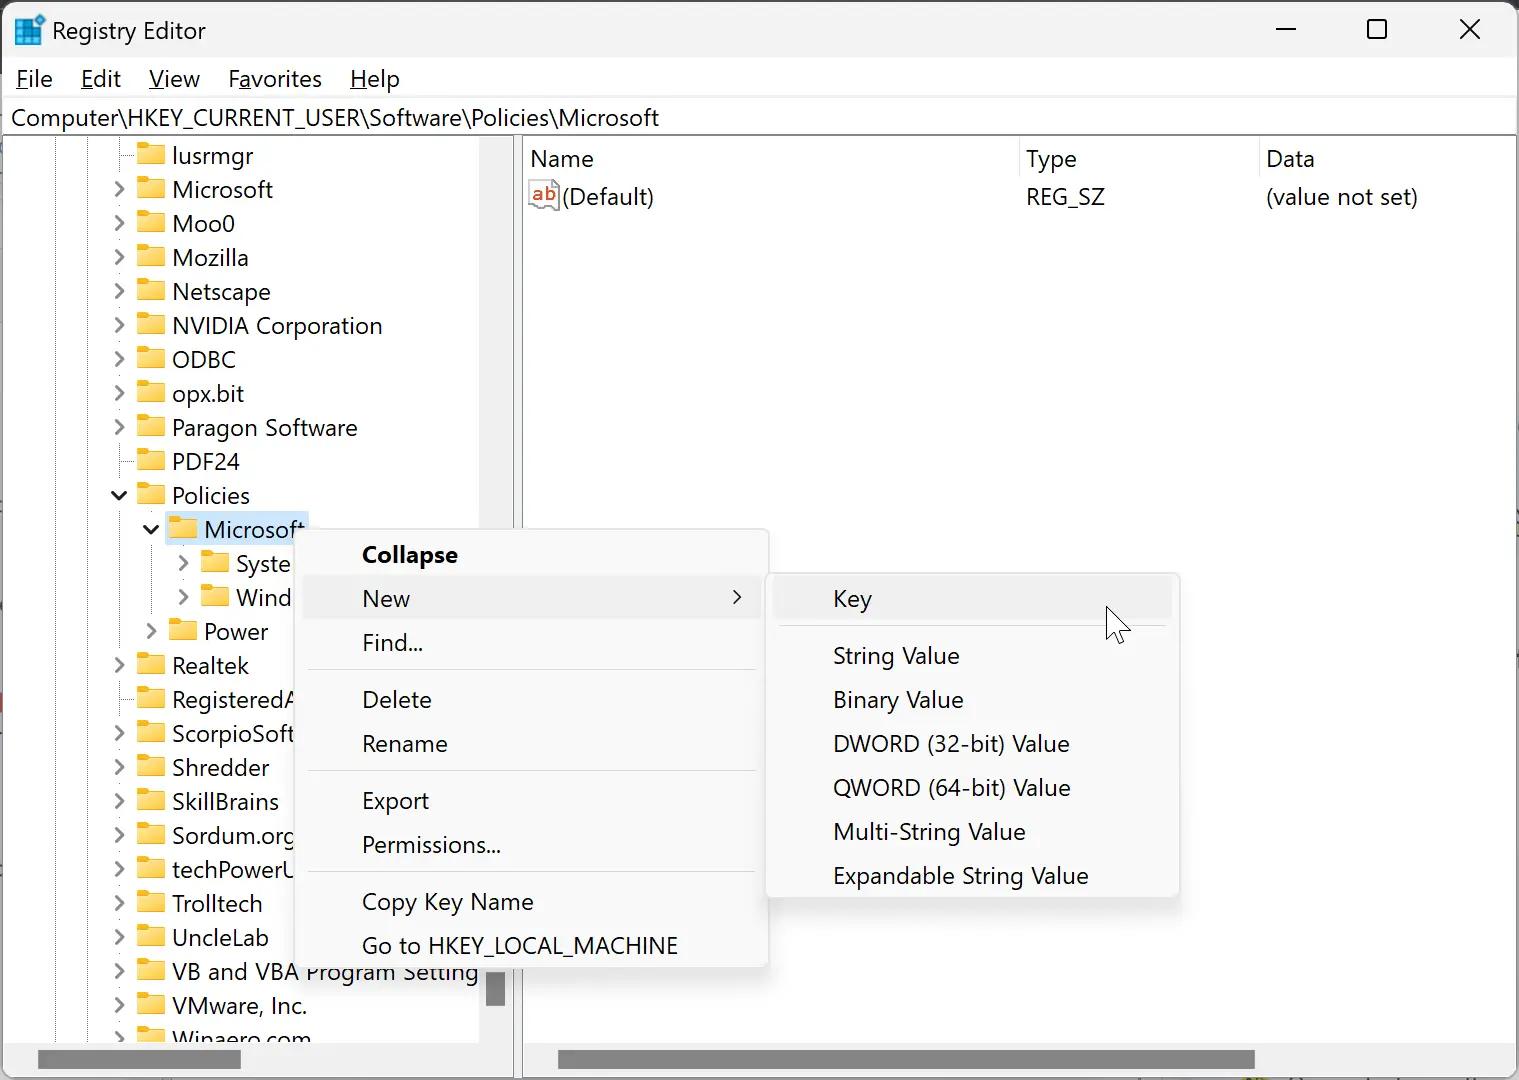
Step 4. Name the newly created key office.
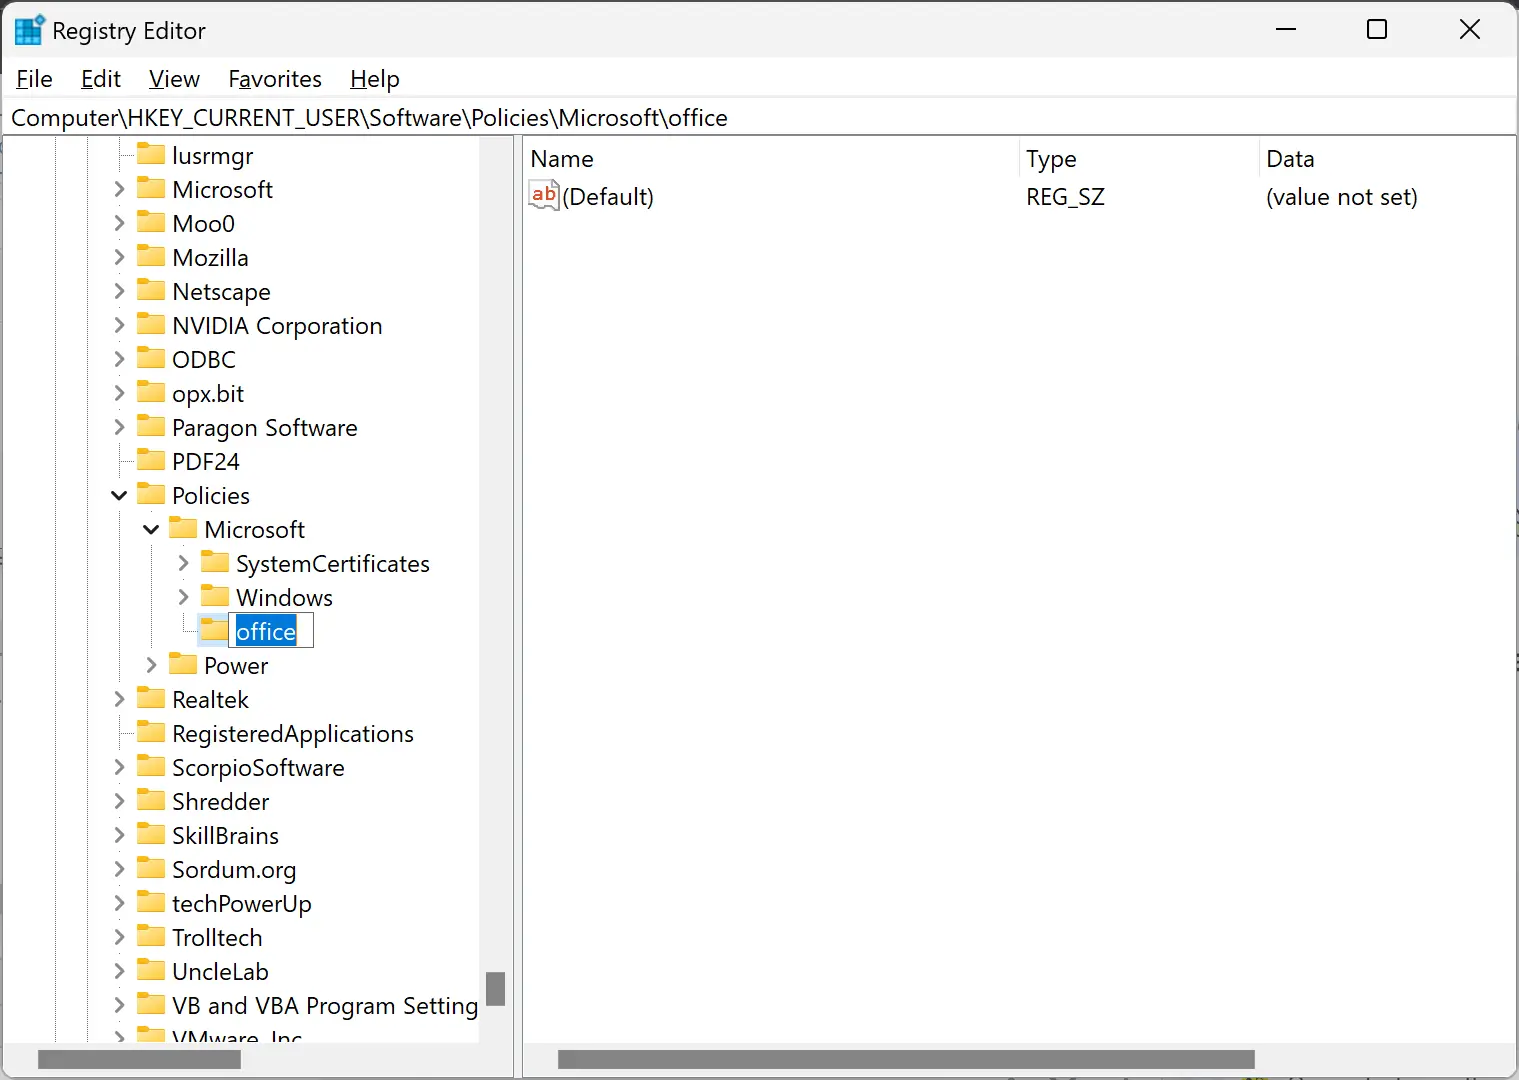
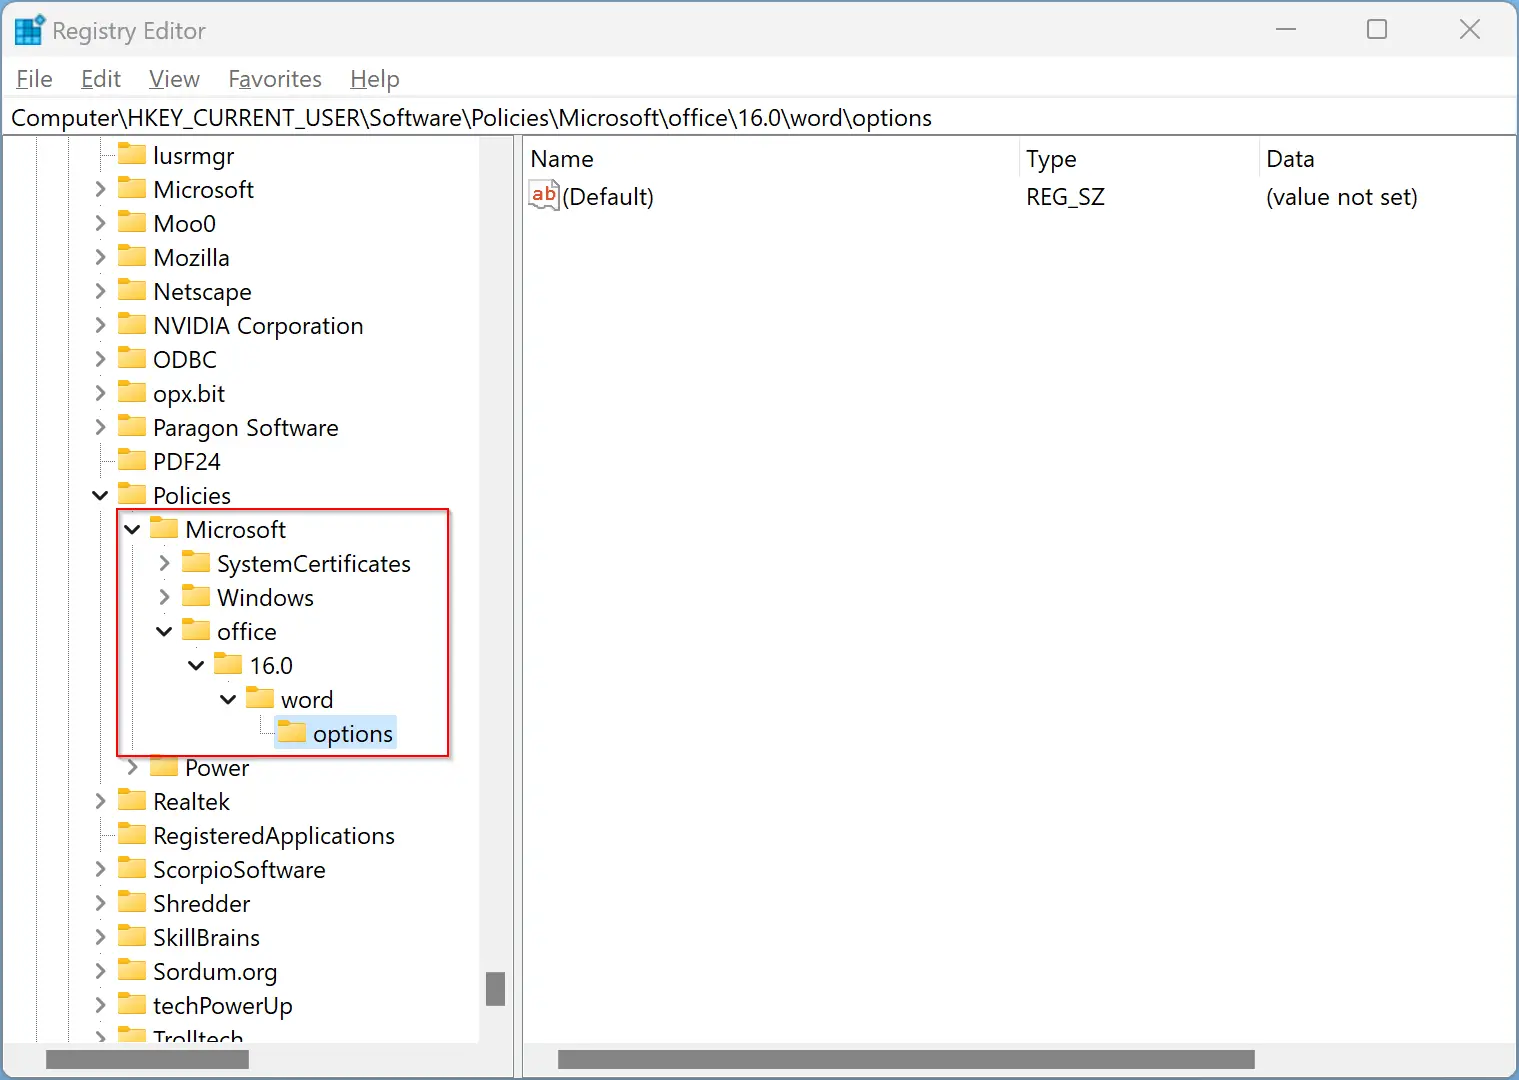
Step 5. After that, right-click on the office folder and select New > Key. Name it 16.0.
Step 6. Again, right-click the 16.0 folder and select New > Key. Name the newly created key word.
Step 7. Now, right-click the word folder and select New > Key. Name the newly created key as options.
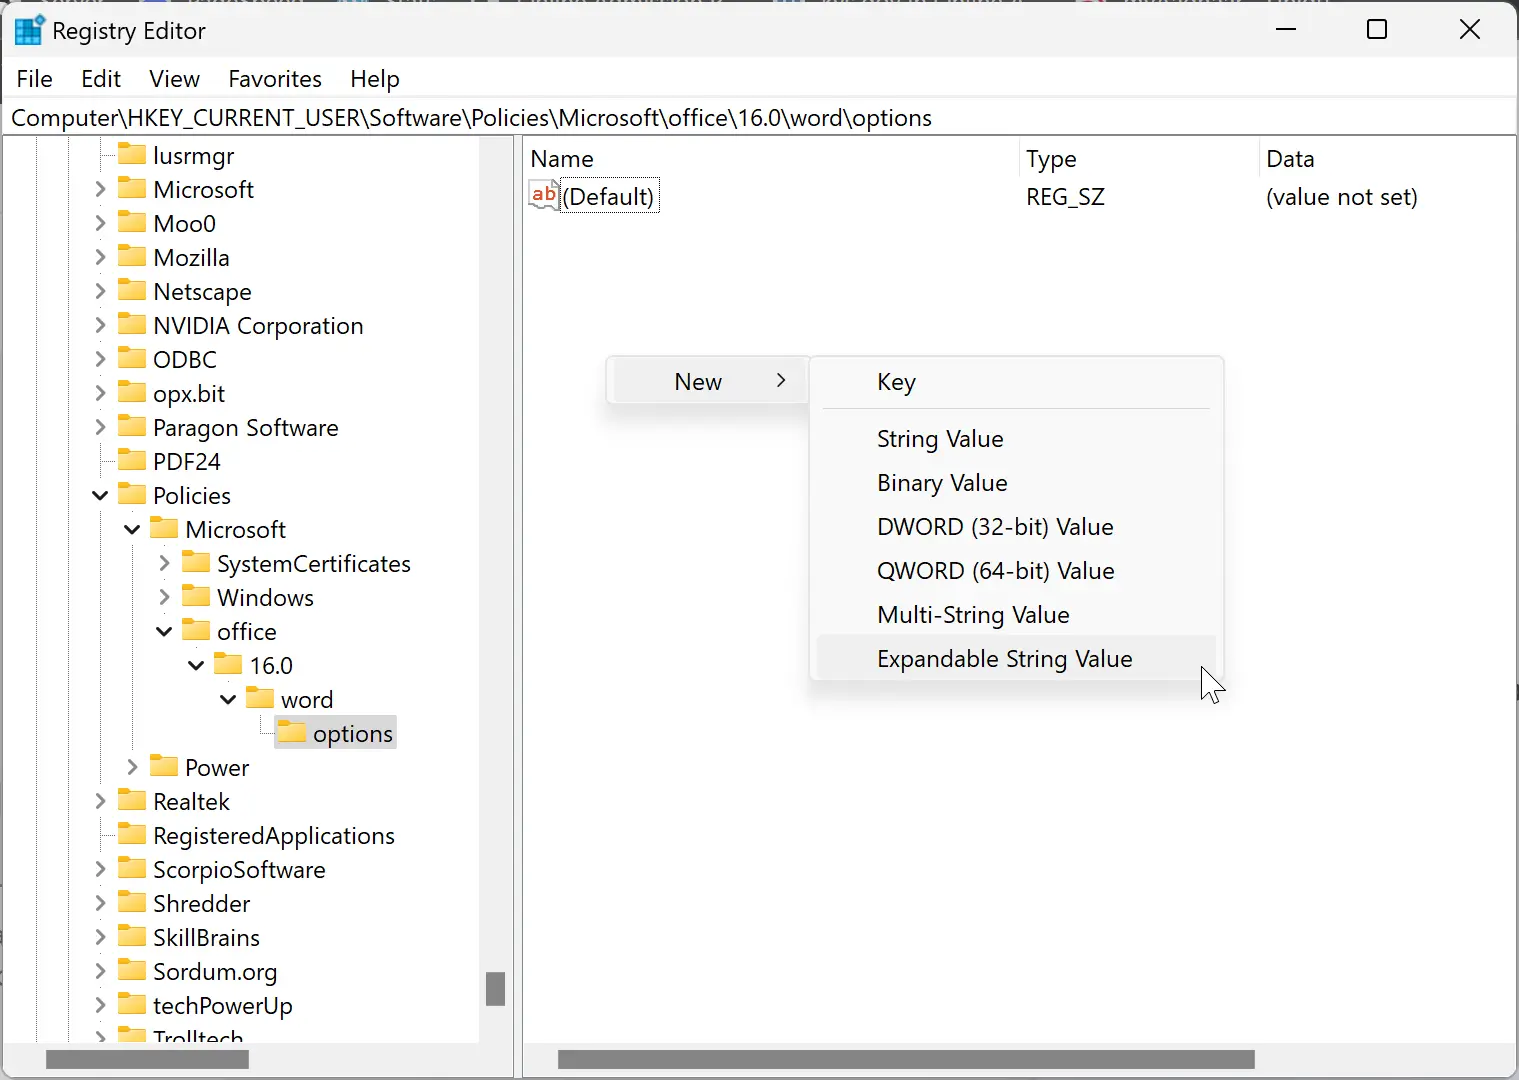
Step 8. Next, right-click on the free space on the opposite side of the options folder. Select New > Expandable String Value and name it as startup-path.
Step 9. Now, double-click on startup-path and enter the new startup folder path in the Value data field.
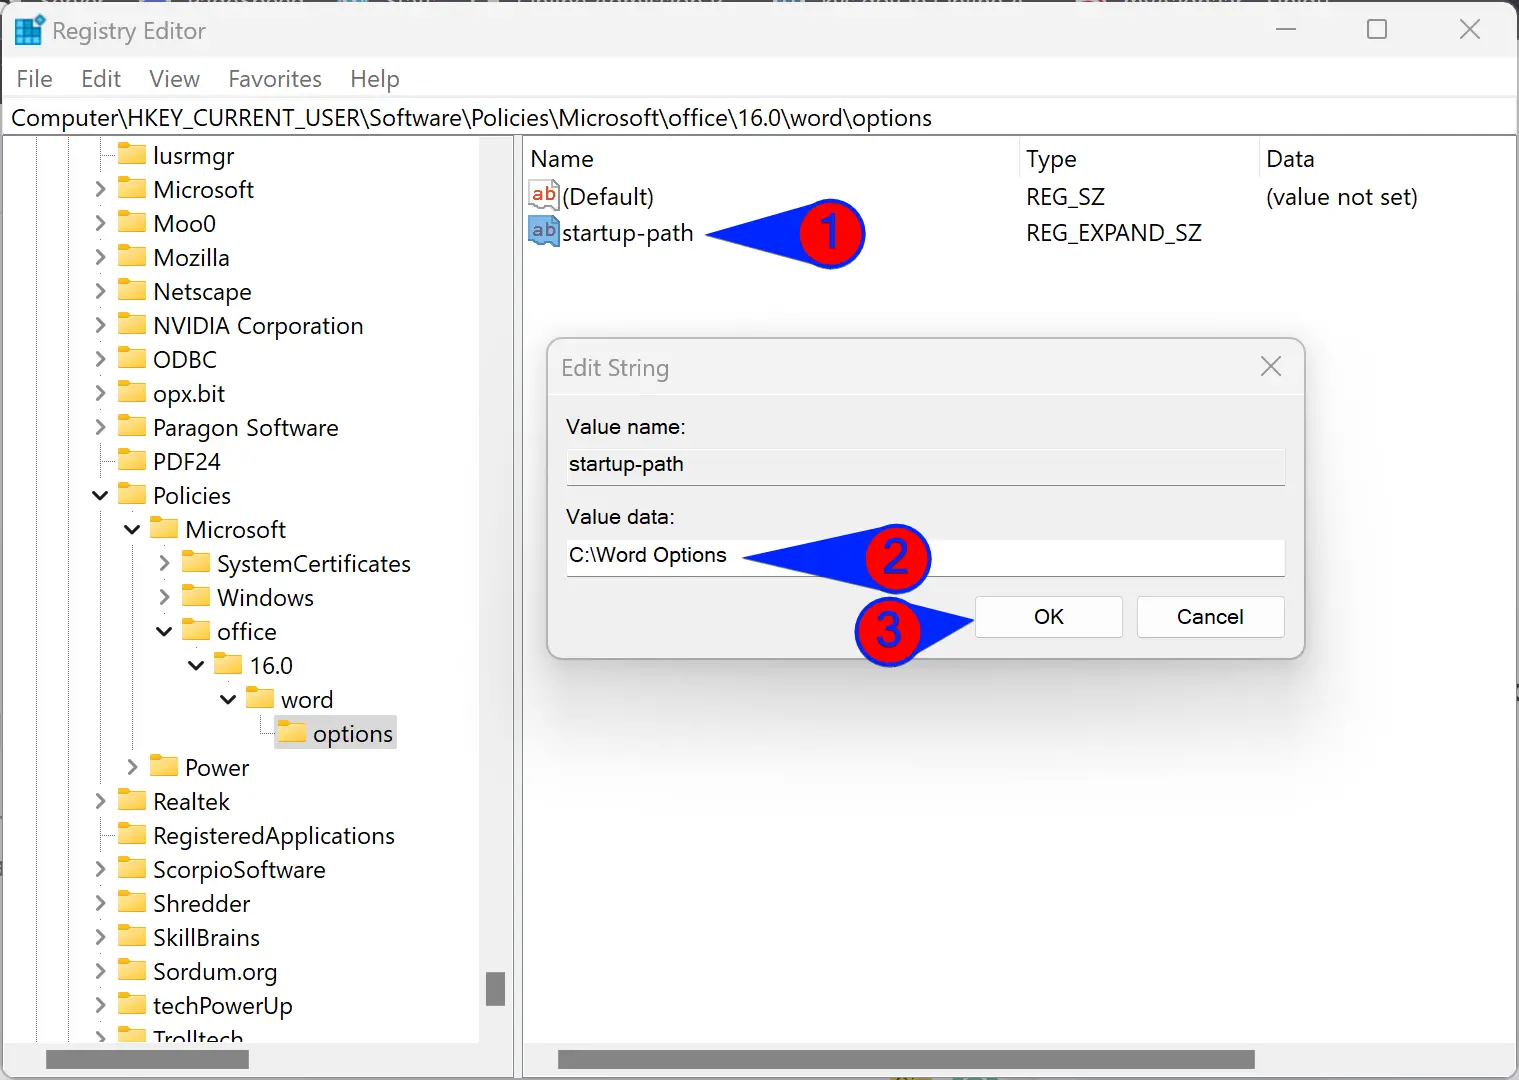
Step 10. Then, click the OK button.
Step 11. Finally, reboot your computer to apply the changes.
Conclusion
In conclusion, the Microsoft Word Startup folder is an essential component of the software that contains all the data files, add-ins, themes, or templates needed when starting a Word document. By default, the Startup folder location is set to “C:\Users\user-name\AppData\Roaming\Microsoft\Word\STARTUP” during installation, but users can change it according to their requirements. In this article, we have discussed three methods to change the Word Startup folder, including using the built-in settings panel, Local Group Policy Editor, and Registry Editor. These methods offer users the flexibility to change the Word Startup folder in Windows 11 or 10 to suit their preferences. Regardless of the chosen method, it is crucial to ensure that the changes are properly applied to prevent any issues or errors when using Word.