Microsoft has officially announced Windows 11 is expected to arrive in the public domain in Nov 2021. If you want to test Windows 11 as early as possible, you can register for Windows Insider. Microsoft has also released a tool to check if your PC will support Windows 11. You need to download the PC Health Check tool from the Microsoft website and run it on your PC. If your PC can run Windows 11, you will receive a message, “This PC can run Windows 11.” In case your PC does not support the upcoming Windows 11 OS, you can examine hardware requirements in detail by running a freeware tool, WhyNot11.
Once you have downloaded Windows 11 ISO and want to install it on your PC, it is better to create a bootable USB flash drive. Using a bootable USB flash drive or a Pen drive, you can easily boot into your PC and install Windows 11. We recommend installing the latest Windows 11 OS on a separate partition and not deleting old Windows 10 because Microsoft will take at least six months to release its final version. Till the final version arrives, you will find several bugs in the early released Windows 11 ISO.
In this gearupwindows article, we will show how to create a bootable USB flash drive. Several tools can create a bootable USB flash drive of Windows 11, but we will use the Rufus utility in this post.
How to Create a Bootable USB Flash Drive for Windows 11?
Follow these steps to create a bootable USB Flash Drive for Windows 11:-
Step 1. Download the latest version of the Rufus utility on Windows 10, 8, or 7 PC.
Step 2. Double-click on the downloaded executable file and launch this portable tool.
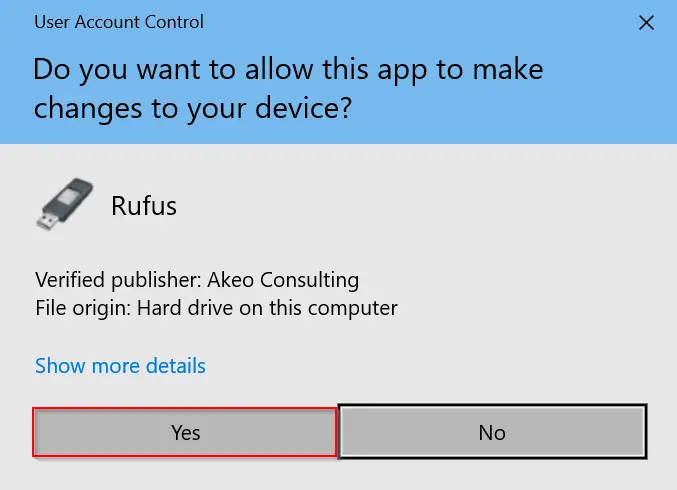
If User Account Control (UAC) dialog box appears, click the Yes button to continue.
Step 3. Now connect your USB flash drive to a PC with at least 16GB capacity. Rufus will automatically detect it.
Note: All the data stored on your USB flash drive will be erased while creating a bootable USB drive. Hence, you are requested to backup your important data to a hard disk or any other device.
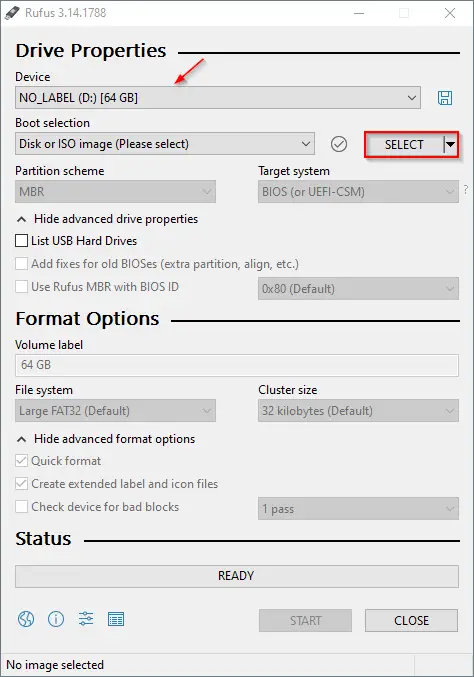
Step 4. Now, click the SELECT button under the Boot selection section.
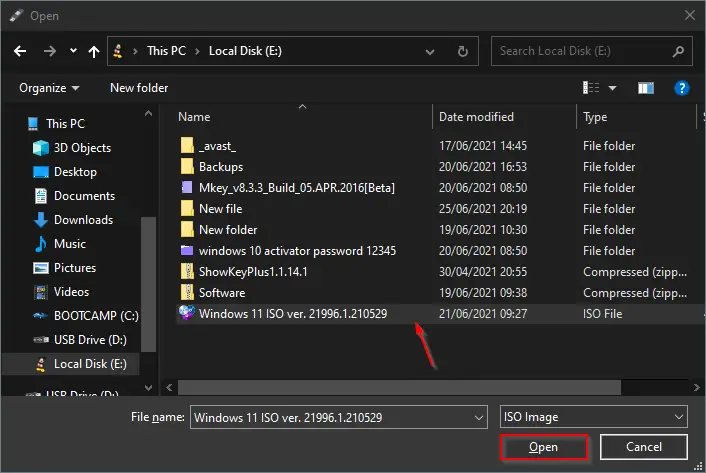
Step 5. In the next window that appears, select the Windows 11 bootable ISO file and then click the Open button.
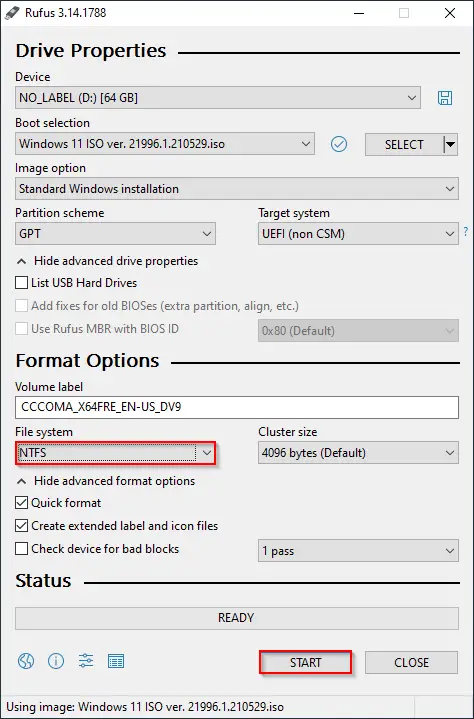
Step 6. Select “File system” as NTFS and leave all other settings as default (refer to below image). Finally, click the START button to begin copying files and making the bootable USB flash drive.
Step 7. A warning message will appear saying that all the data will be erased. Click the OK button to continue. Now, you will see files are getting copied into a USB flash drive. Wait to complete the copying of files.

Once you are ready with a bootable USB flash drive of Windows 11, make changes to the UEFI/BOOT of your PC and install it. There is no need to burn your ISO file to a DVD. This process is also useful if your PC does not include a DVD drive.
Good luck!
Conclusion
In conclusion, Windows 11 is expected to be available for public use in November 2021. Microsoft has provided a tool to check if your PC will support Windows 11, and users can register for Windows Insider to test the new OS. It is recommended to install Windows 11 on a separate partition and not delete Windows 10 as there may be bugs in the early released Windows 11 ISO. To create a bootable USB flash drive for Windows 11, users can use the Rufus utility and follow the steps provided in this article. This process is useful if your PC does not include a DVD drive. By following these steps, users can easily install Windows 11 on their PC and experience the latest features and improvements offered by Microsoft.
Also Read: How to Bypass TPM 2.0 and Secure Boot on Windows 11 Bootable USB Flash Drive?