Microsoft PowerPoint is a versatile software that offers a range of features to create engaging and dynamic presentations. One of the useful features is creating a photo album, which can be useful for creating presentations for various purposes such as business, education, or personal use. By creating a photo album, you can easily organize and display a collection of photos in an orderly and visually appealing manner.
Creating a photo album in Microsoft PowerPoint is a simple process that can be accomplished with a few steps. You can choose from a range of layout options, customize the appearance of your album, and add captions or descriptions to your photos. Whether you are a beginner or an experienced PowerPoint user, creating a photo album can be a valuable skill to have in your presentation toolkit.
How to create a Photo Album in Microsoft PowerPoint?
To create a Photo Album in PowerPoint, perform the following steps:-
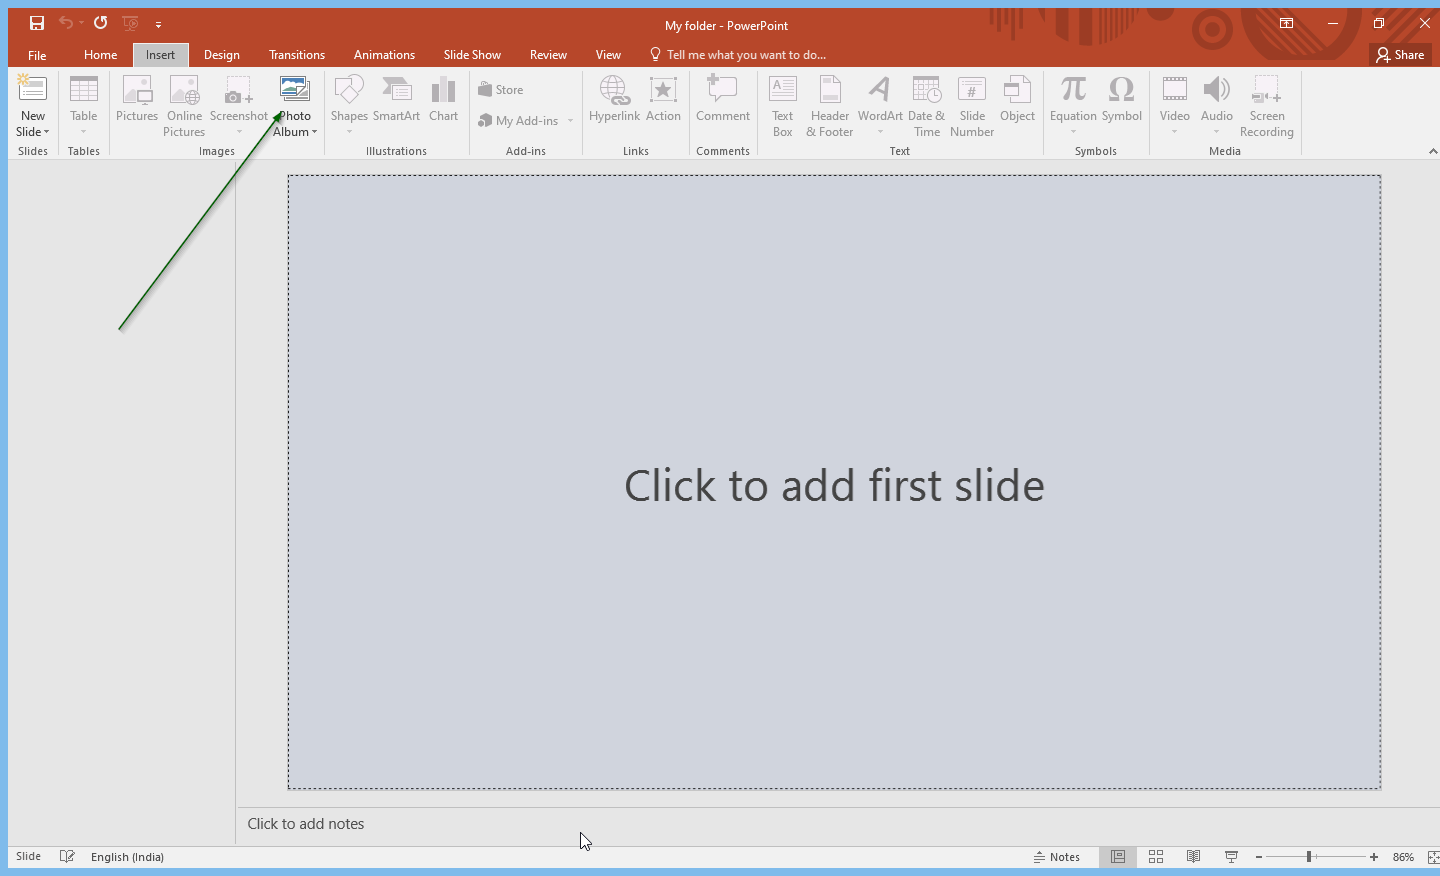
Step 1. Open a PowerPoint and click on the Insert tab.

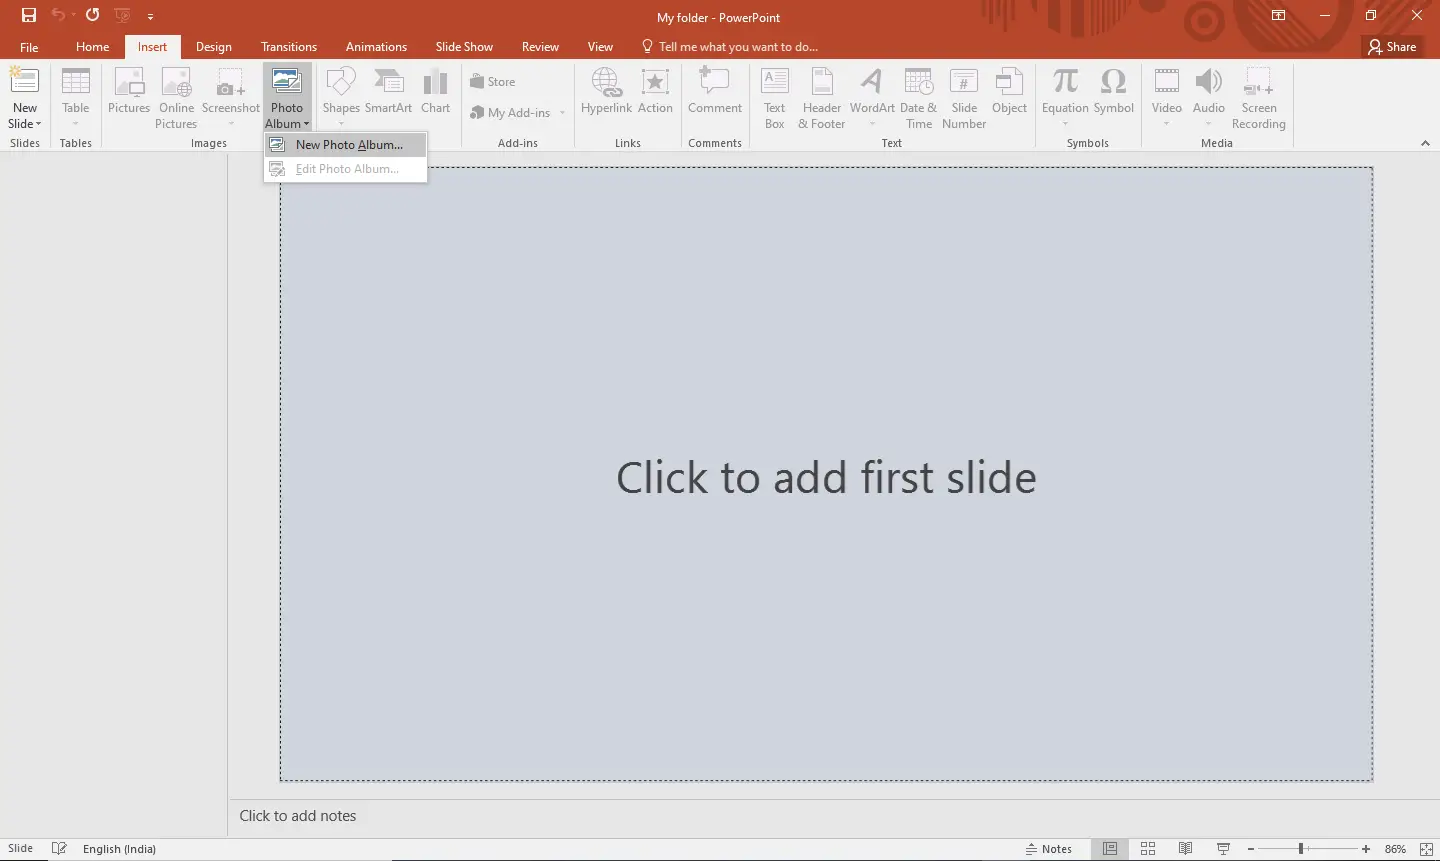
Step 2. In the Insert tab, in the Images group, click the Photo Album icon.
Step 3. From the drop-down list that appears, click the New Photo Album option.
Step 4. A Photo Album dialog box will appear.
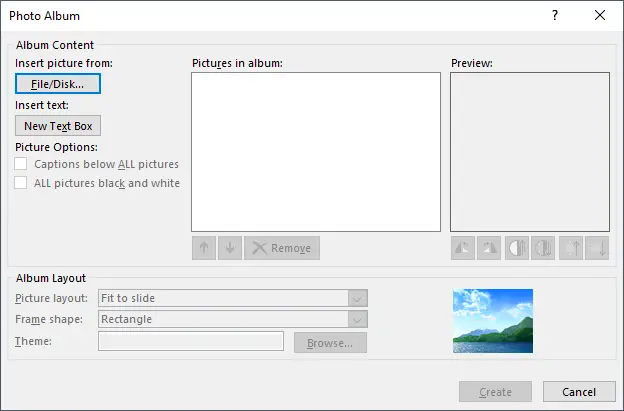
Step 5. Click the File/Disk button inside the Album Content section.
Step 6. An Insert New Picture dialog box will open.
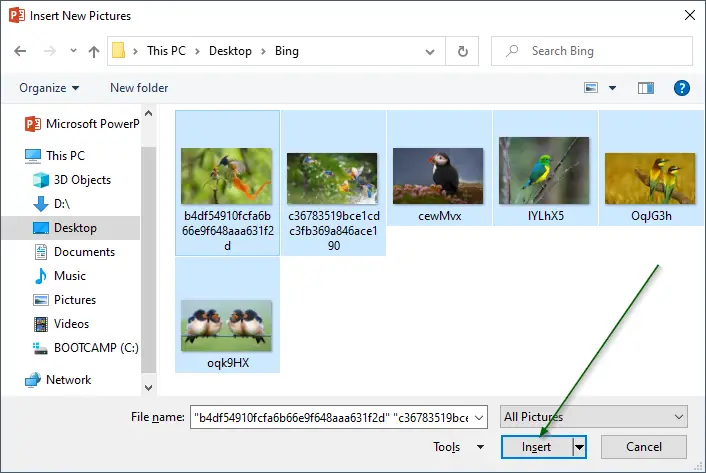
Step 7. Select the picture or images that you want in PowerPoint Photo Album.
Step 8. Click the Insert button.
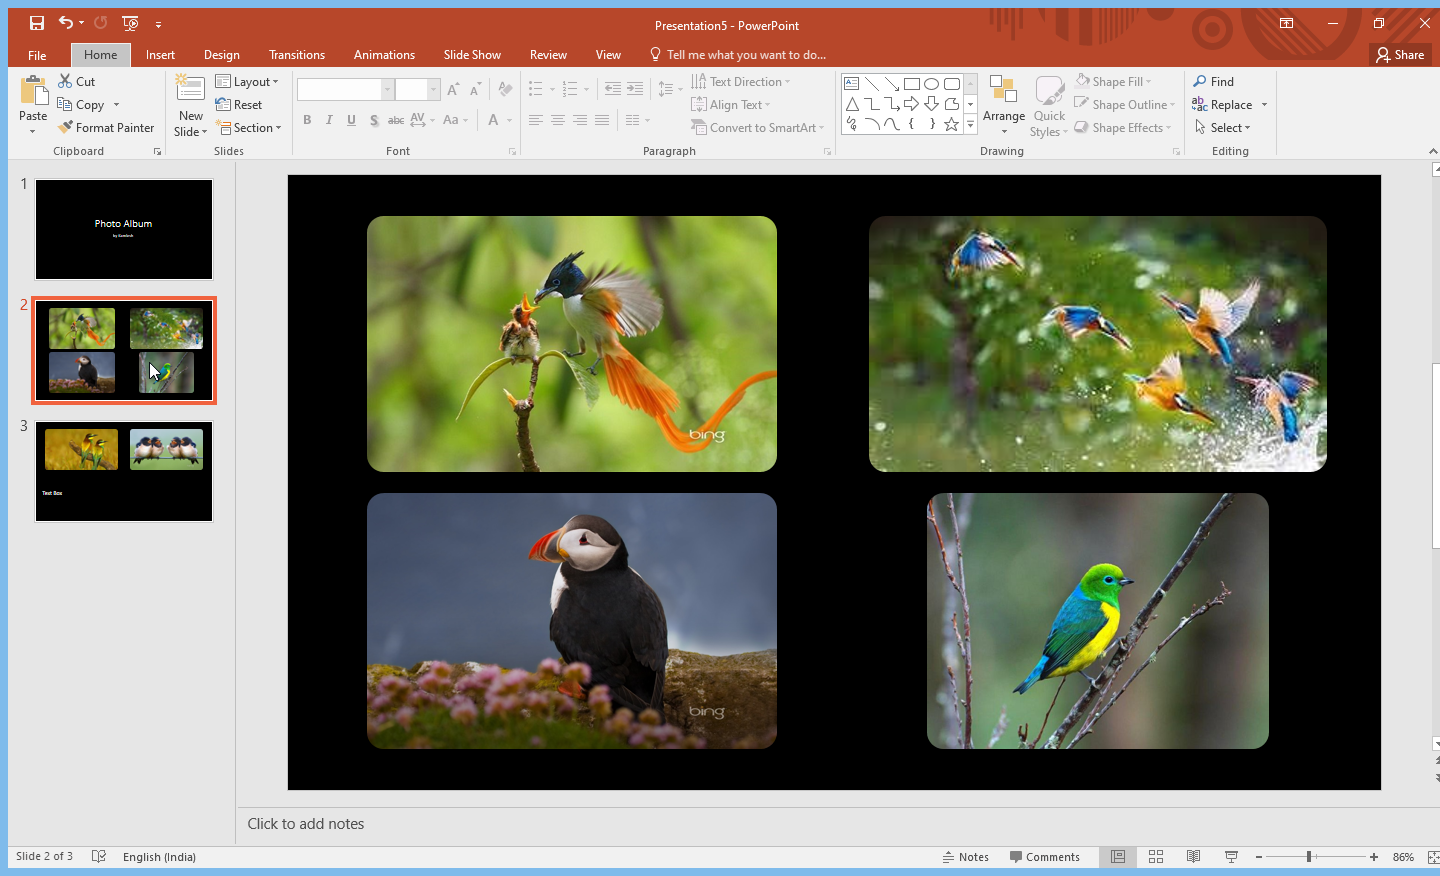
Step 9. All the selected pictures will be copied into the “Pictures in Album” box.
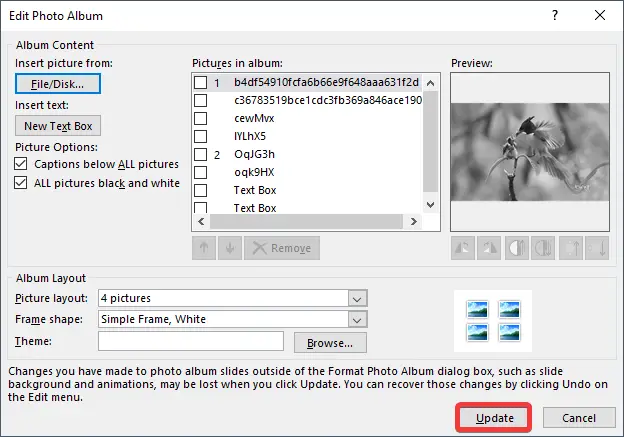
Step 10. To place a text box into the layout, click New Text Box in the Photo Album dialog box. To move the image up or down, select the image check box and use the up and down arrow. Select the Picture Layout and Frame Shape.
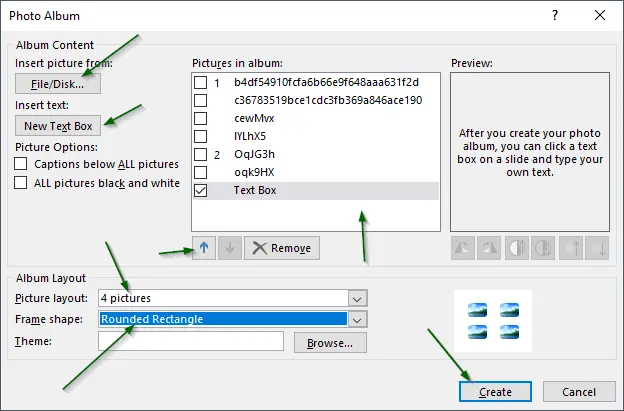
Step 11. Once all are set as per your requirement, click the Create button to create your selected images slide.
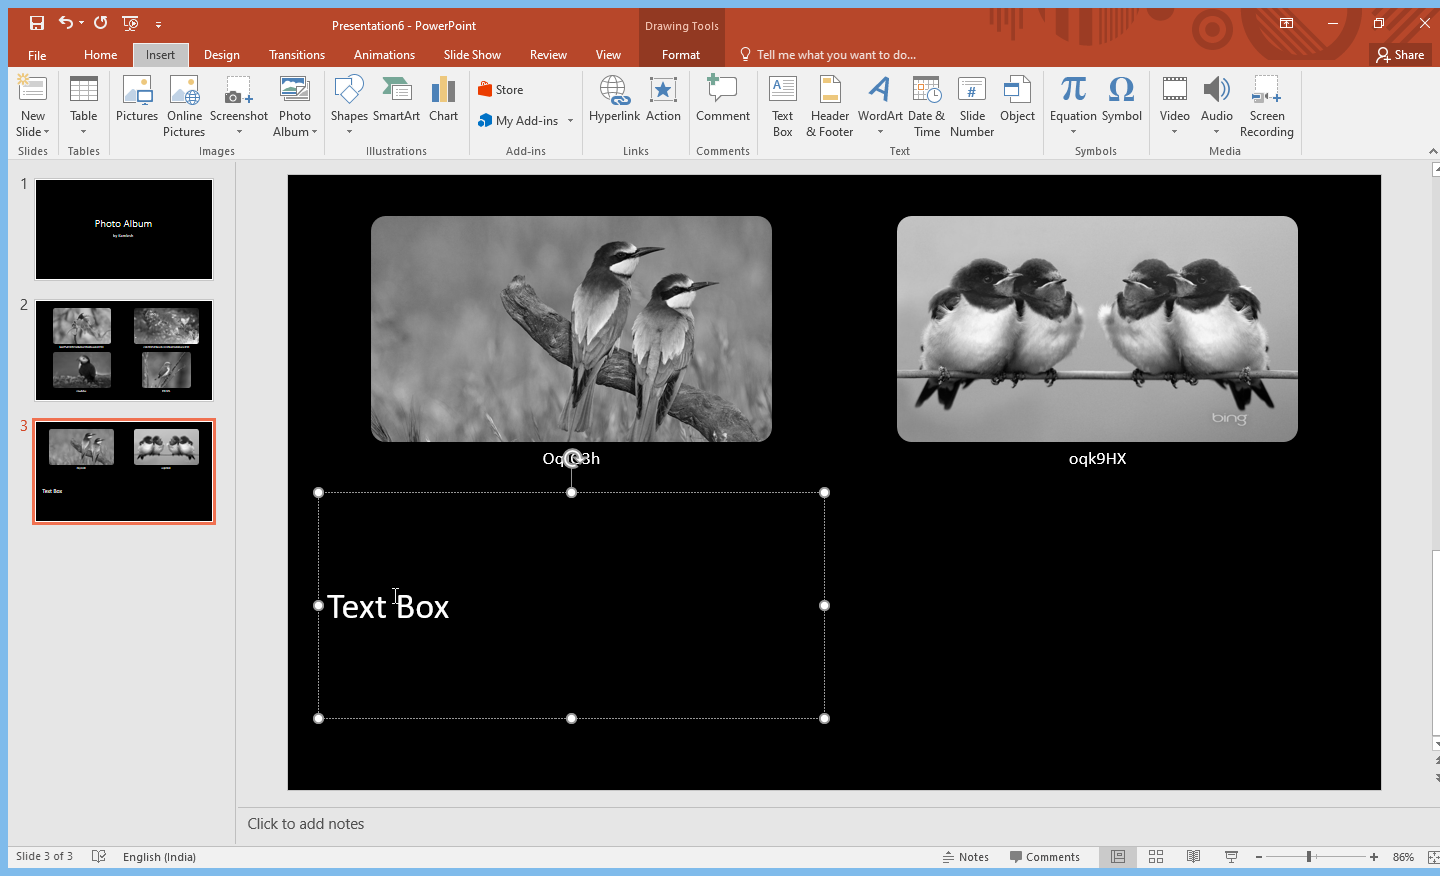
Step 12. If you want to use a caption for each image or set the pictures as black and white instead of colored, there are options available under the “Picture Options” section. You can choose “Captions below All pictures” or “All pictures black and white” or both at a time.
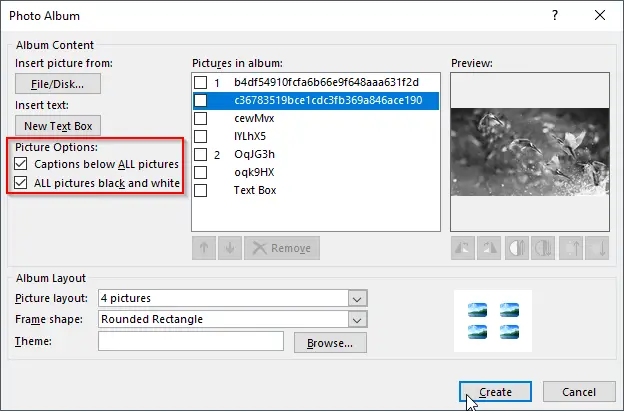
If you enable “Captions below All pictures,” you will notice the picture name below every image. If you have selected “New Text Box” while creating the Photo Album, a text box will appear on your slide once you create the Photo Album. Just click on that Text Box and write your content whatever you want.
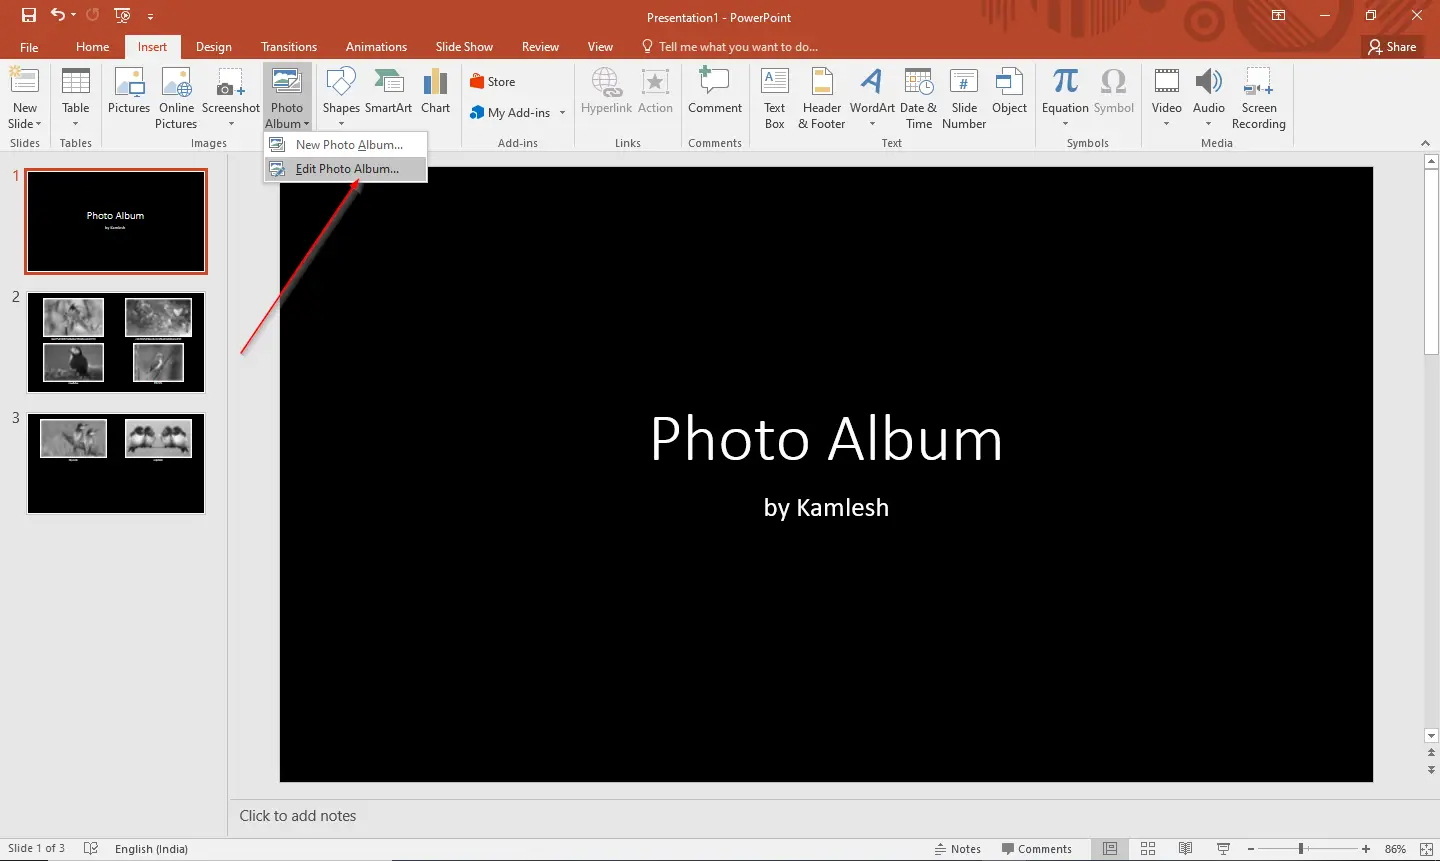
How to edit a Photo Album in Microsoft PowerPoint?
Once you have created a Photo Album in PowerPoint and want to edit it, do the following:-
Step 1. Open the PowerPoint and click the Insert tab.
Step 2. In the Insert tab, in the Images group, click on the Photo Album icon.
Step 3. From the drop-down list that appears, click the Edit Photo Album option.
Step 4. Edit Photo Album dialog box will appear. Make the desired changes, and finally, click the Update button to update the slide.
That’s all! Let me know if you have any difficulties in creating a Photo Album.
Conclusion
In conclusion, Microsoft PowerPoint offers a range of features that can be used to create engaging and dynamic presentations. One of the useful features is the ability to create a photo album. By following a few simple steps, you can easily organize and display a collection of photos in a visually appealing manner. The ability to create and edit a photo album in PowerPoint can be a valuable skill to have in your presentation toolkit, whether for business, education, or personal use. With this feature, you can showcase your creativity and make your presentations more visually appealing and memorable.