What is Windows 10 USB Recovery Drive? In simple words, we can say Windows 10 recovery disk is a bootable disk that contains Windows recovery options, which enables you to troubleshoot system errors and even reinstall Windows 10 from startup.
With the launch of Windows 8, Microsoft has added a new feature to create a recovery drive using USB. Due to its portability, all of us use it as a primary option when it comes to creating a recovery drive. Those who don’t own a USB flash drive can create a recovery disk using CDs or DVDs.
Once you have created a recovery disk before disaster strikes, you can boot into your Windows 10 and troubleshoot or repair from advanced startup options. In other words, creating a recovery drive allows you to boot from the USB drive and access the advanced startup options in Windows 10. You can troubleshoot issues by booting with the recovery disk and even recover your system and reinstall Windows 10. Hence, it’s recommended to create a recovery drive after installing a fresh Windows 10 operating system.
How to Create a Windows 10 USB Recovery Drive?
Creating a Recovery Drive for Windows 10 is similar to creating one for Windows 8.1. You need at least a 16 GB USB flash drive to create a Windows 10 USB recovery drive.
Step 1. Click on the Start button of Windows 10 and type the following:-
Recovery Drive

Step 2. In the search results, click on “Recovery Drive” or “Create a recovery drive” to open it.
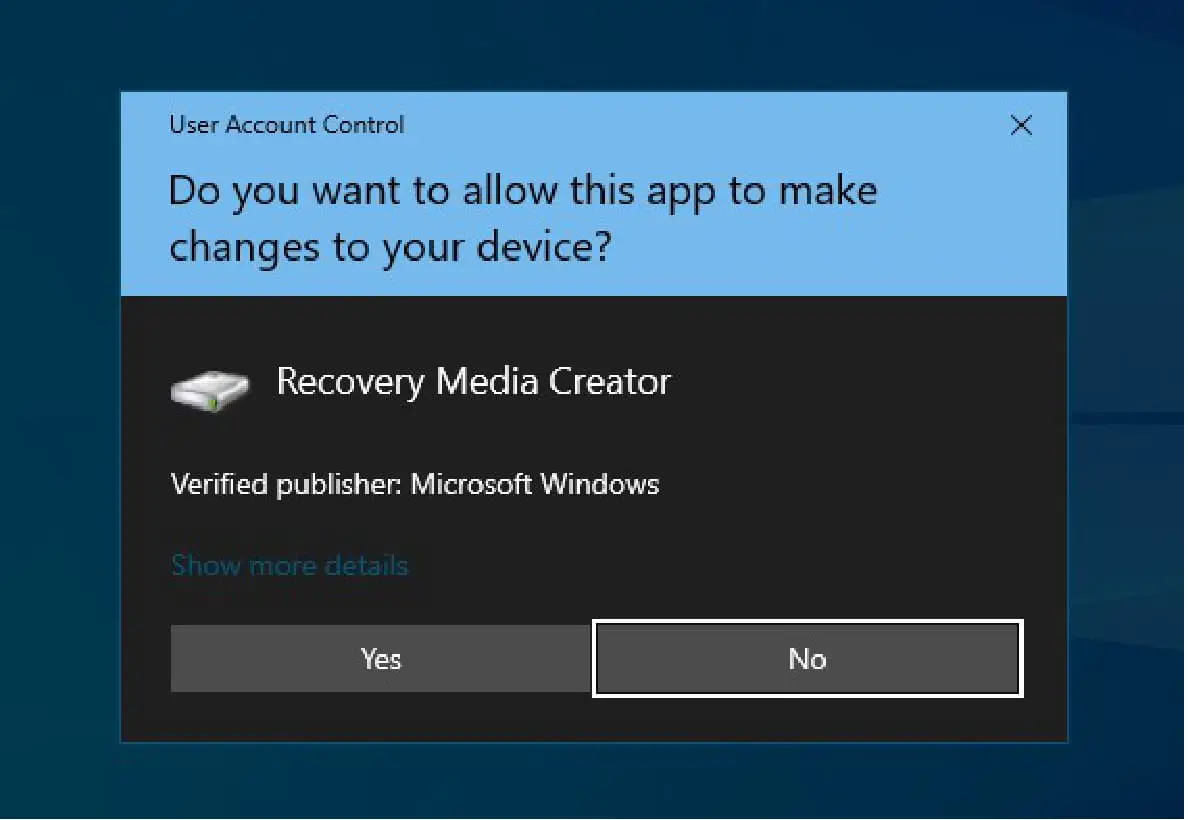
Step 3. If User Account Control prompts, click the Yes button.
Step 4. Make sure “Back up system files to the recovery drive” is checked, then click on the Next button.

Step 5. Now, the Recovery Drive tool will scan your PC for available USB drives. If you have not already connected the USB drive, you can insert it on your PC.
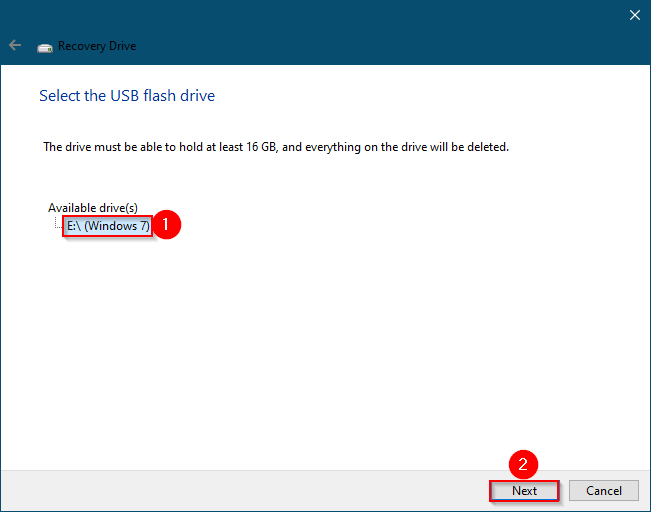
Step 6. Select the USB drive that you want to use and click the Next button.
Step 7. On the next screen, a warning message will appear stating that “Everything on the drive will be deleted. If you have any personal files on this drive, make sure you’ve backed up the files.” Click on the “Create” button.
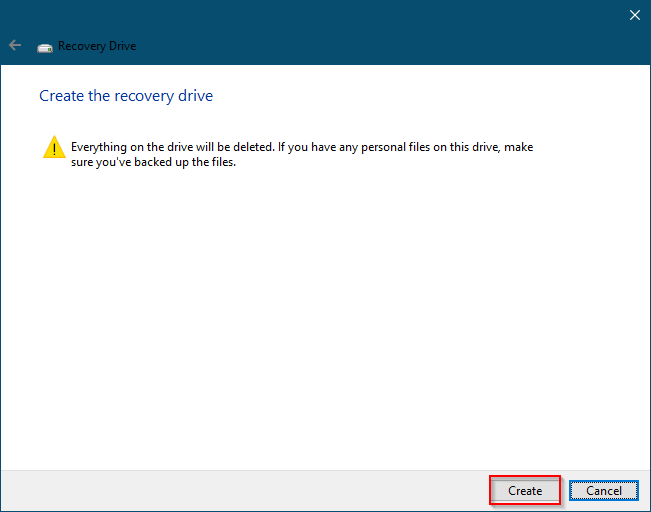
Note: During the process, all of the data on the drive will be destroyed.
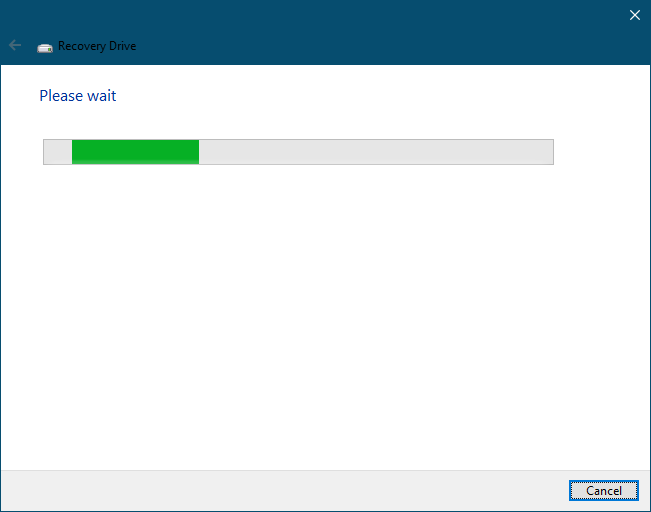
Step 8. Now, Windows 10 will erase data on the flash drive and start copying the files.

Notice the progress bar till it completes. It may take a few minutes, depending on the speed of your flash drive.
Step 9. When you see “The recovery drive is ready” on the screen, click the Finish button.
You can remove your USB drive from your PC now.
Booting from Recovery Drive and Reinstall Windows 10
Once you face any problem in the future where you cannot boot into Windows 10 machine, connect the Recovery USB drive to your computer and boot from it. The methods for booting from a thumb drive might vary depending on the model and make. You can see your computer documentation for instructions on boot from external media, or you can try pressing ESC, F2, F9, F10, F11, or DEL from the keyboard to boot into the BIOS and change boot options.
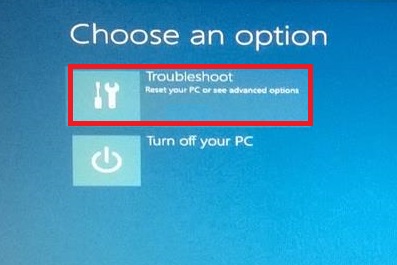
Click Troubleshoot.
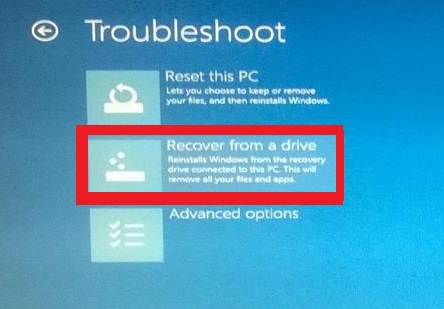
Click Recover from a drive.
Follow the on-screen instructions and wait till Windows 10 is reinstalled on your computer.
That’s all!!!
You might also be interested in creating and using System Restore on Windows 10.