Microsoft officially abandoned the project “Windows To Go” in 2019. It is no longer available starting with Windows 10 version 2004. But if you need it, you can use the Rufus tool to create a “Windows to Go” version of Windows 11 or 10.
Due to some reason, if you want to utilize the hard disk fully, for instance, your HDD crashed, and you want to recover your important data from that. To recover your data, you need to eject the hard disk from your computer and connect it to other working computers. Most of us use a single computer, and you need to borrow a PC to gain your data. Another cavity is that you might not be comfortable with removing your hard disk from your computer. You need to hire a technical and then pay him $$$.
Another benefit of having a “Windows to Go” version of Windows 11 is carrying your Windows 11 in your pocket. Whenever you need, connect to any computer and boot with a USB drive to access your data.
Due to those mentioned above and unmentioned reasons, we need to create a portable Windows 11. In this gearupwindows article, we will guide you on making a “Windows to Go” version of Windows 11.
How to Create a “Windows to Go” Version of Windows 11?
To make a portable USB of Windows 11, do the following:-
Step 1. Download the latest version of the Rufus utility.
Step 2. Then, download the Windows 11 ISO from the Microsoft website.
Step 3. When you are ready with the files mentioned above, launch the Rufus by double-clicking on its executable file.
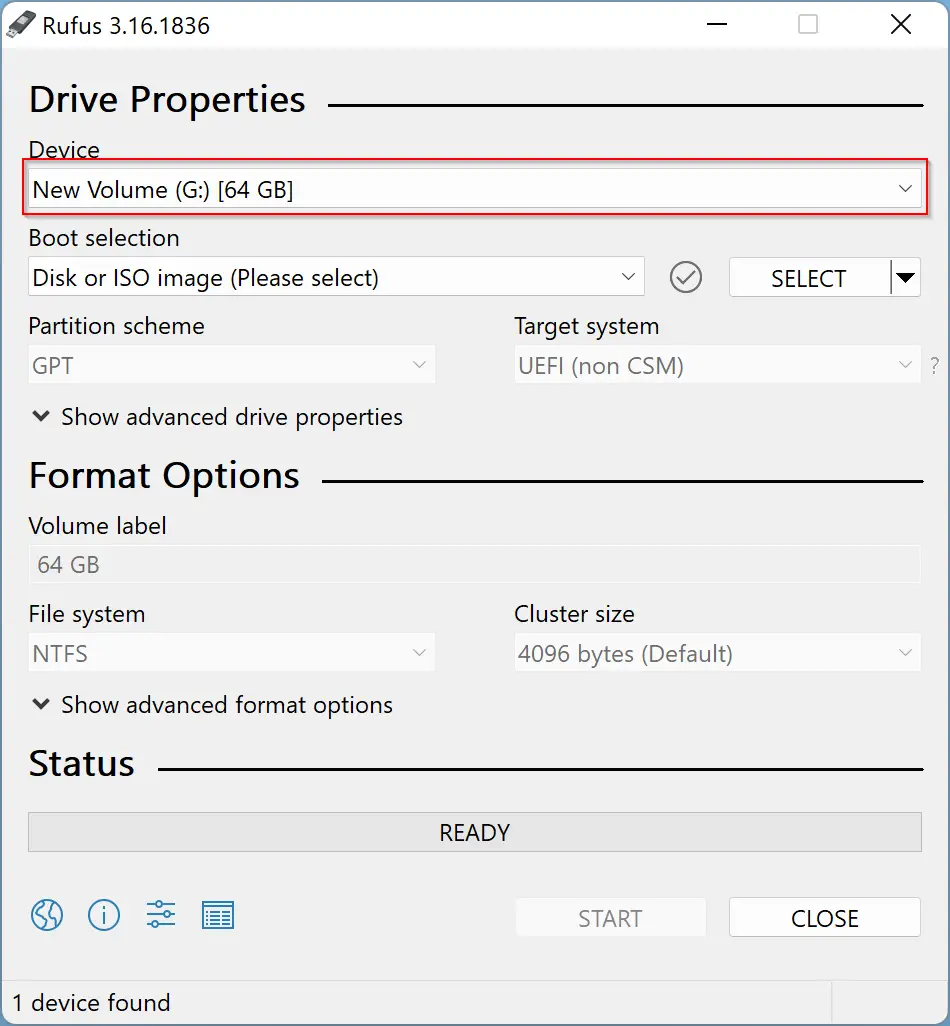
Step 4. After that, connect a USB flash drive to your computer with at least 64GB of capacity. It will automatically detect and select it. If not, then choose your USB drive from the drop-down menu of Device.
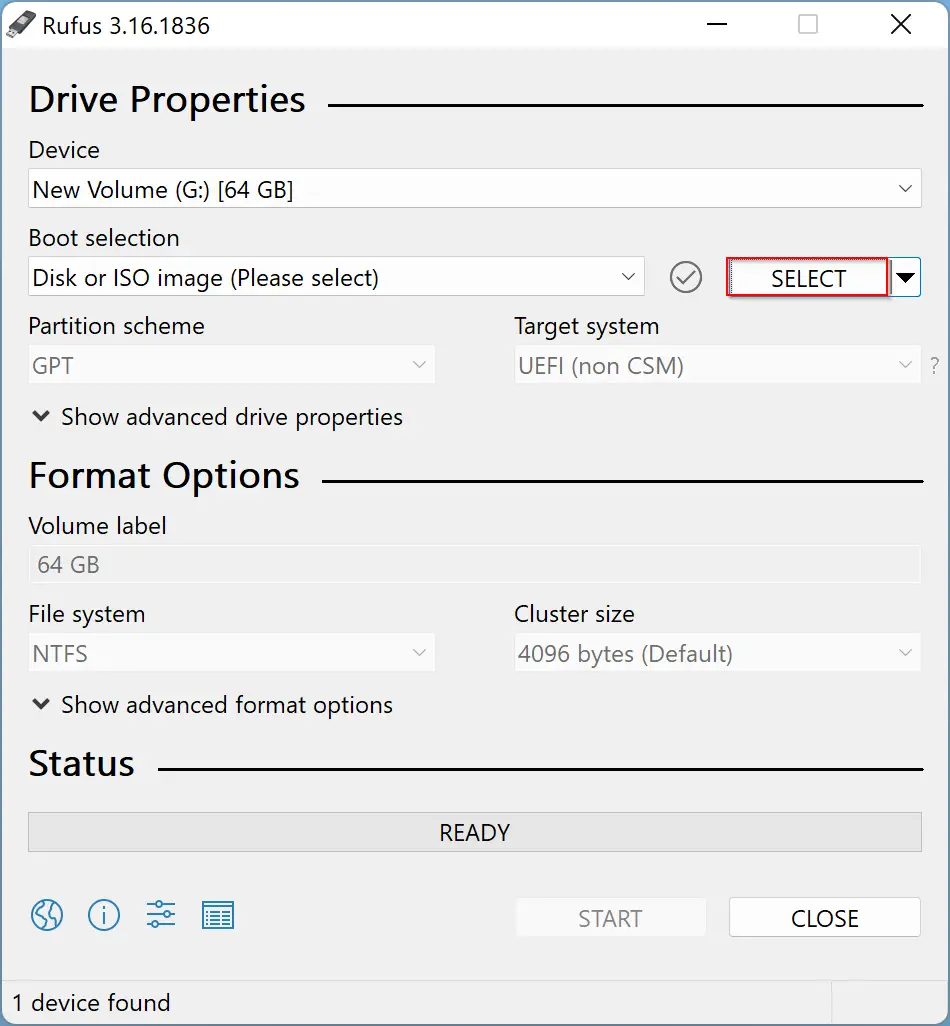
Step 5. Then click on the Select button to choose your ISO file from the hard disk.
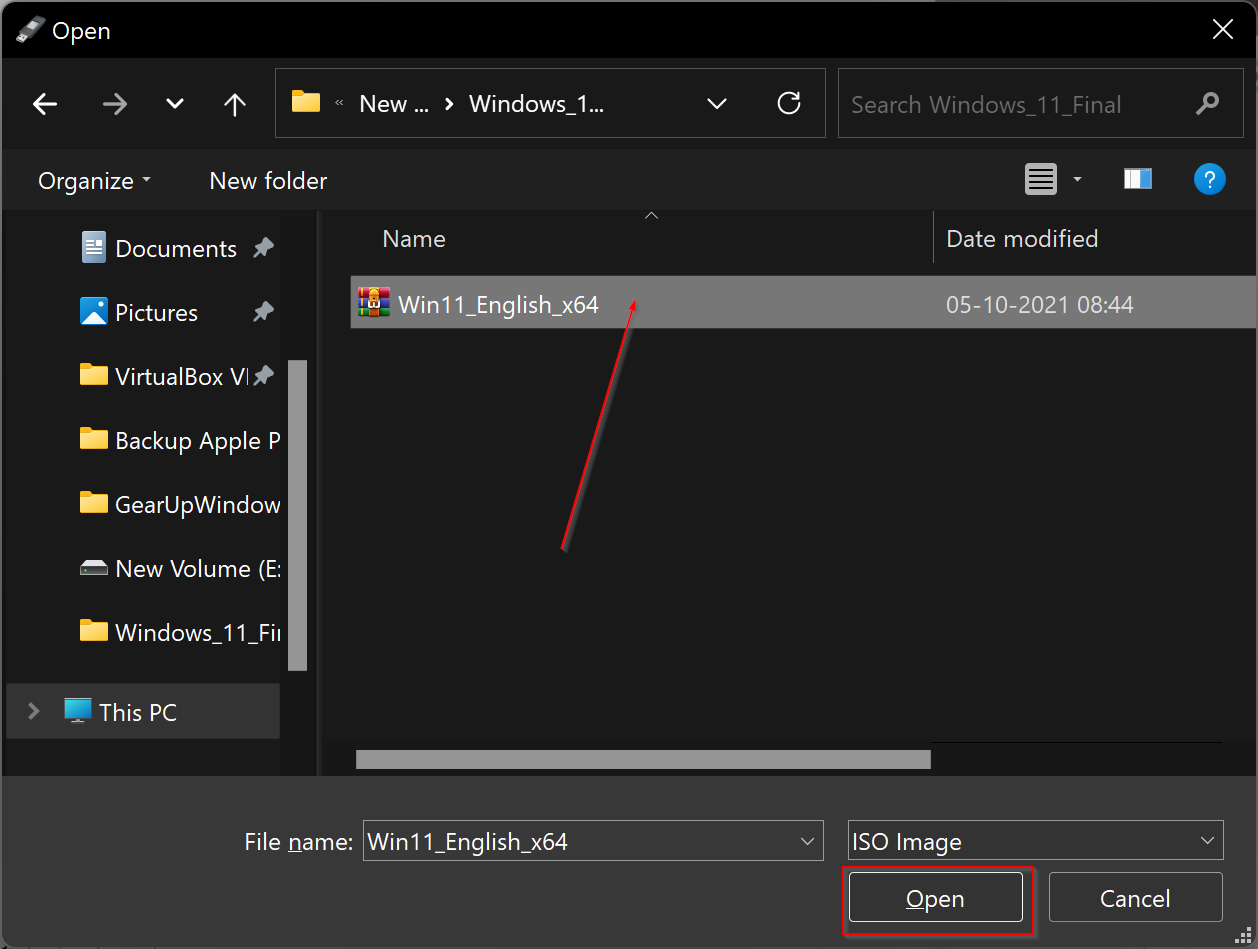
Step 6. When File Explorer opens, select Windows 11 ISO file and click the Open button.
Step 7. Then, select the Windows To Go option from the drop-down menu of the “Image option.” This is the most crucial part. If you miss it “Windows To Go” drive will not be created.
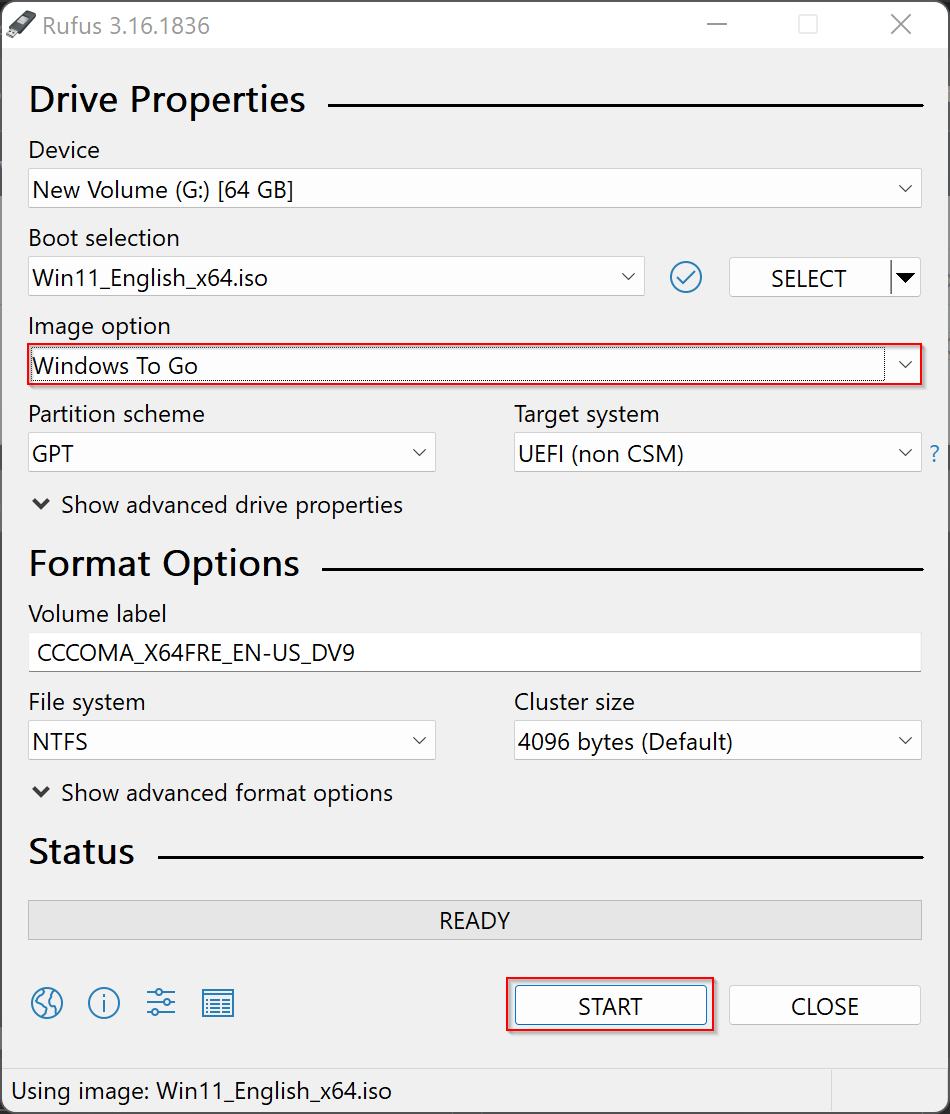
Step 8. Next, click on the START button to begin creating Windows To Go.
Step 9. When prompted to select the version of Windows you want to install, choose the desired Windows 11 version for which you have a valid license.
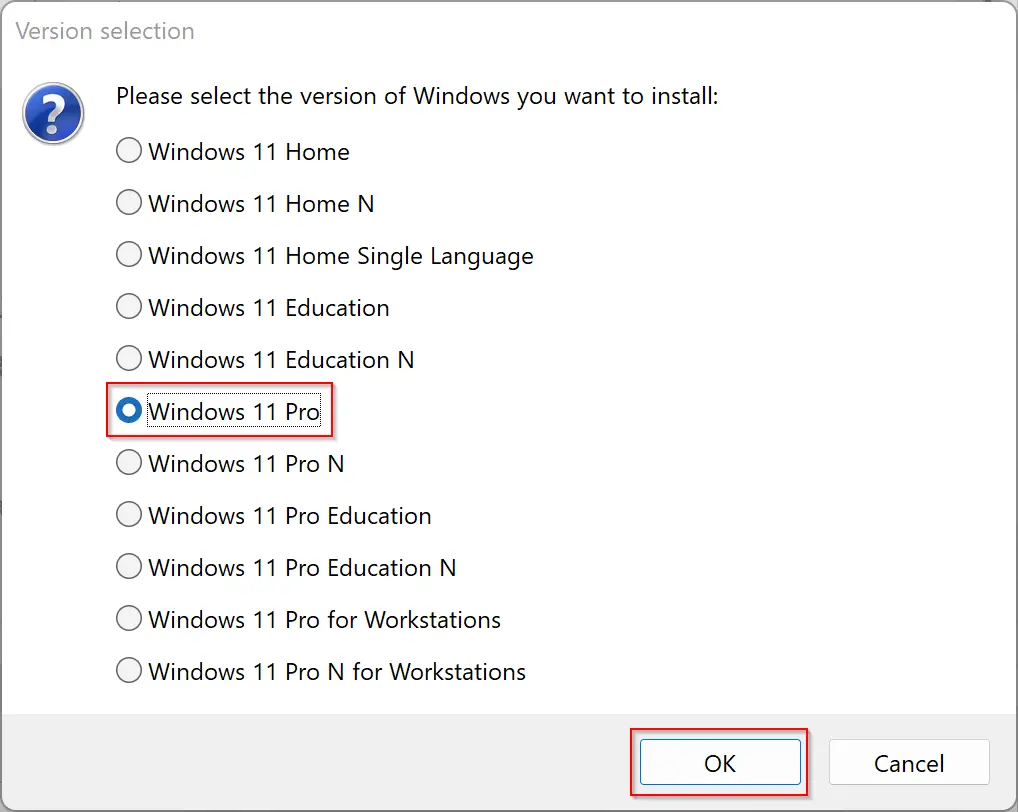
Step 10. Then click OK.
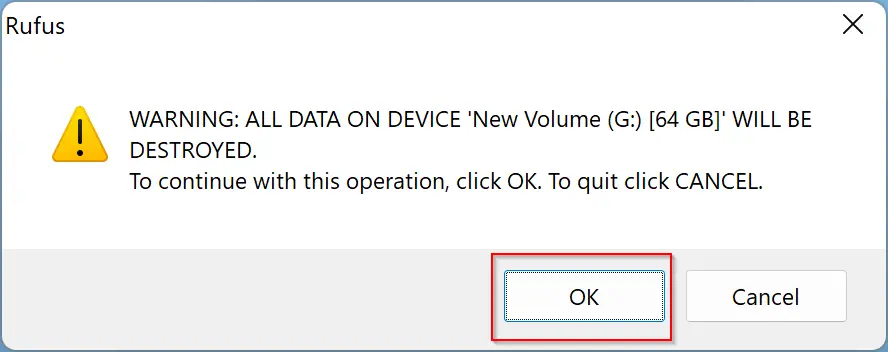
Step 11. In the warning window, click OK to continue. Rufus will erase all the stored data and start copying the required files.
When you’re done, you will see the progress bar. When the Status bar turns fully green, close the Rufus tool.
Now that you are ready with a bootable USB flash drive connect it to any PC where you want to open your portable Windows 11. Boot into your computer and select the USB drive.
How to Use Portable Windows 11?
Once you are ready with Windows 11 Windows To Go drive, you will be asked to do some verification when you plug it into any system. Use the following tips to do the same:-
Step 1. First, boot into any computer with a USB, and when ready, then click Set up my PIN.
Step 2. Then log in with your Microsoft Account’s credentials.
Step 3. Click Continue when Windows 11 asks to reset the PIN.
Step 4. Now, set up a new PIN and then click OK.
Please note that you need to repeat the above steps when you connect this USB to another computer.
Conclusion
In conclusion, creating a “Windows to Go” version of Windows 11 provides users with a portable and secure way to access their data and operating systems on any computer. While Microsoft discontinued the official “Windows to Go” project, creating a portable version of Windows 11 using the Rufus tool is still possible. By following the steps outlined in this article, users can create a bootable USB drive with their desired version of Windows 11 and easily access it on any computer. However, it’s important to remember to verify the USB drive when connecting it to a new system to ensure the security of your data.