If you prefer using the keyboard, creating your own run commands can be a helpful trick. In Windows 11/10, you can easily create your own run command for launching programs or folders. By default, you can launch programs by typing their names in the Run command box, but you can create shortcuts for installed programs as well. To do this, simply copy the program shortcut to the Windows directory, and it can be launched via the Run command box. This feature can be a convenient way to access your favorite programs or folders quickly.
How to Create your own Run Command Shortcuts in Windows 11/10/8/7?
Follow these steps to create your own Run Command Shortcuts in Windows 11/10/8/7:-
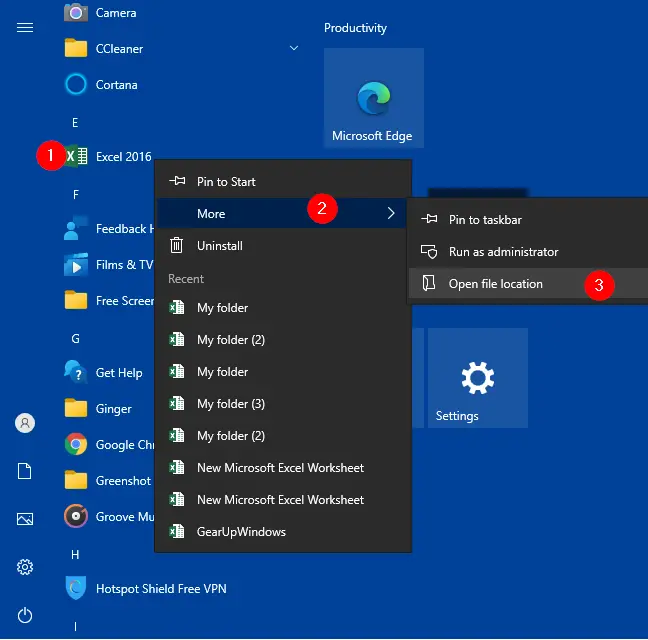
Step 2. The Programs shortcut folder opens.
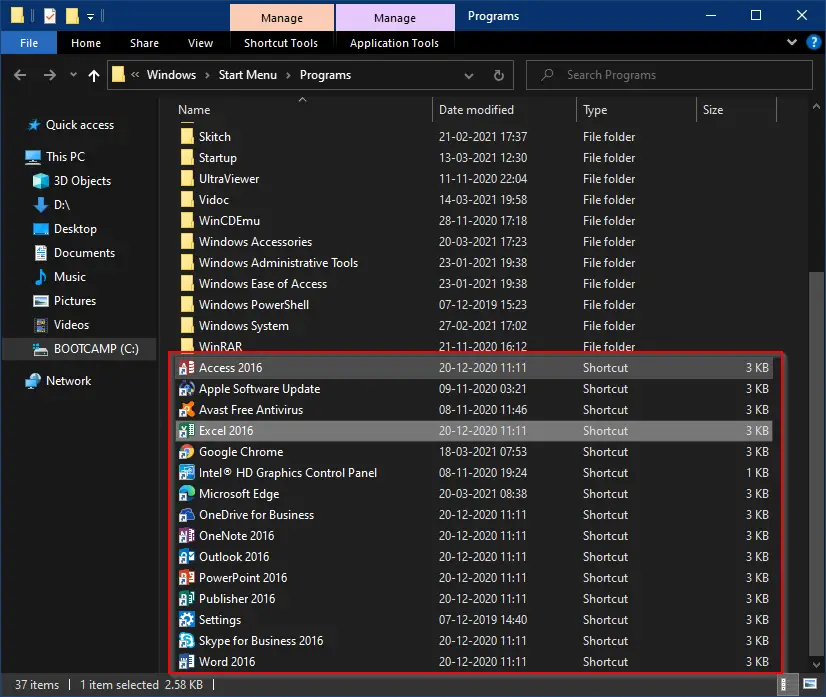
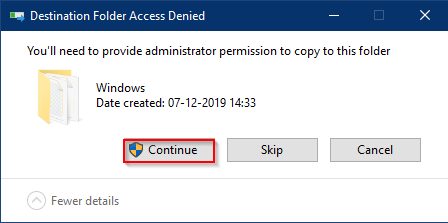
Step 3. Copy the program shortcut you would like to launch through the Run command box and paste it into the Windows directory (Usually, it is “C:\Windows“). You might get Destination Folder Access Denied dialog. Click the Continue button.
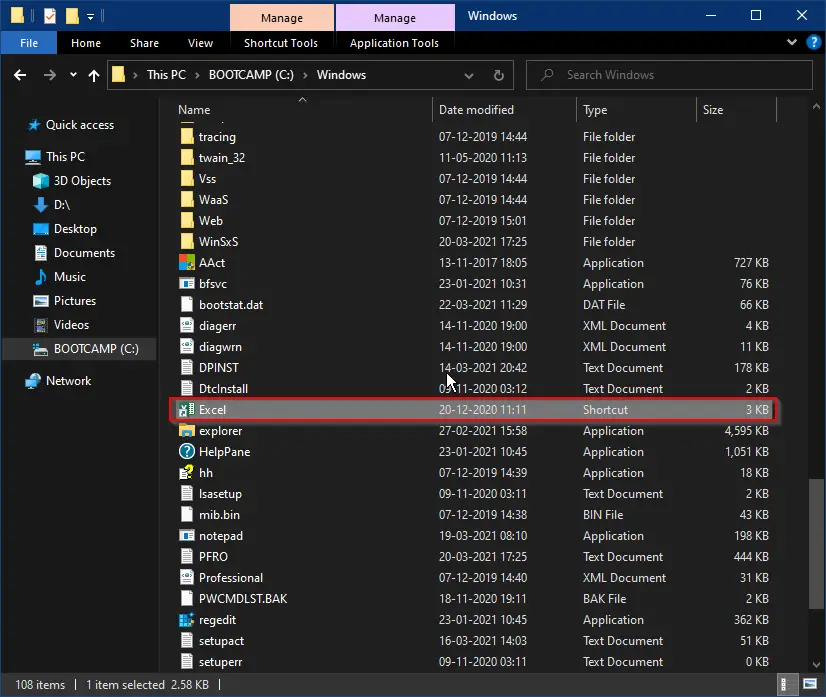
Step 4. You can see in the following image we have copied the Excel 2016 shortcut and pasted it into the Windows directory/folder. But there is a catch in this, we have pasted Excel 2016 shortcut, but we want to use Excel word in the Run dialog box to open the MS Excel spreadsheet. So, we rename it in Windows directly as Excel.
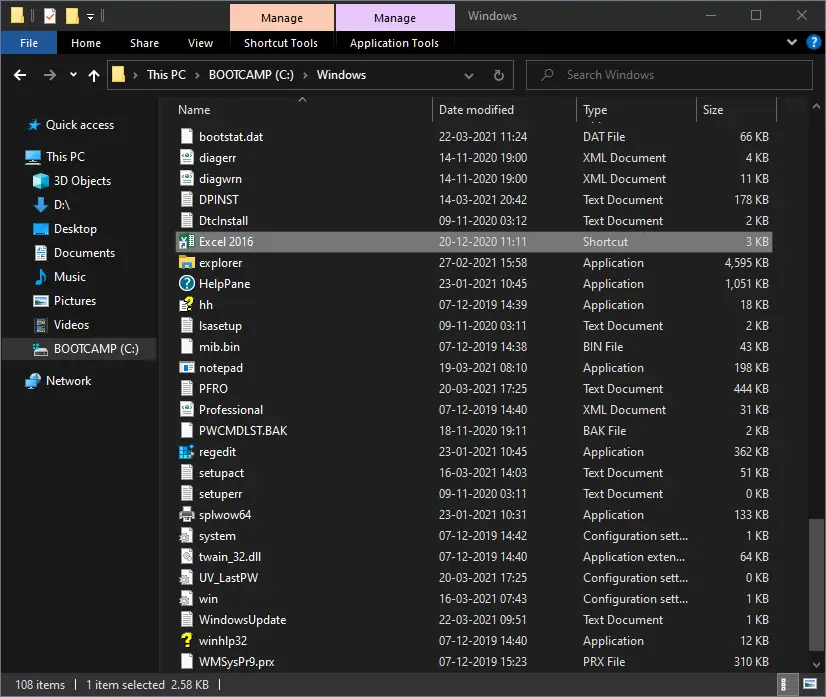
While renaming the file in the Windows directory, the User Account Control (UAC) window may prompt; click Yes to continue.
Step 5. Finally, open the Run dialog box using the Windows logo + R keys from the keyboard and type the name of the program in the dialog box to launch the program. For example, we want to launch the Microsoft Office Excel program by typing the string Excel in the Run dialog box. My Run command box should appear like the below image:-
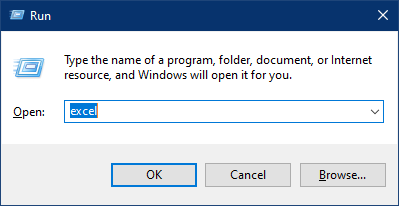
Step 6. Click the OK button or press Enter from the keyboard to open the MS Excel spreadsheet.
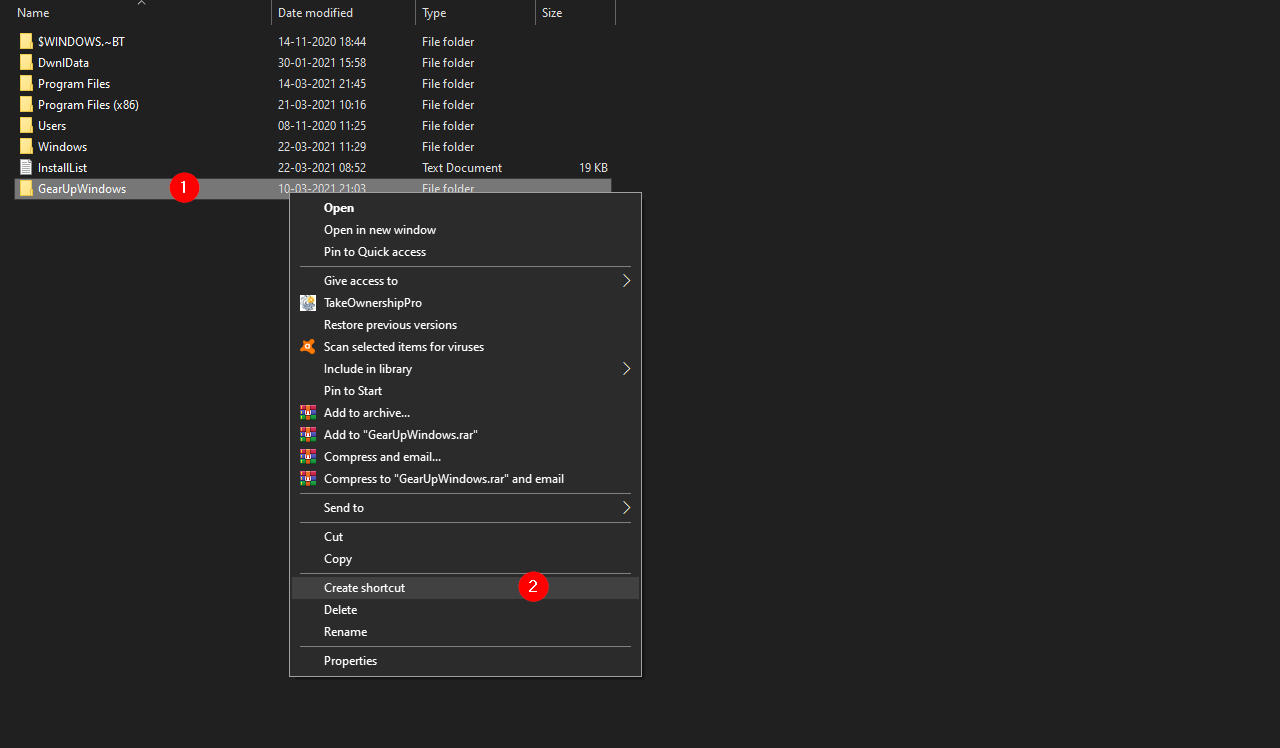
Step 7. Similar steps are applicable for a folder if you want to access it through the Run command box quickly. Suppose you have a folder with the name GearUpWindows somewhere on your PC, and you want to open it quickly through the Run dialog.
First, you need to create a shortcut for the Folder. To create a shortcut for any folder, right-click on the folder and select the “Create shortcut” option.
Step 8. A Shortcut dialog box may open stating that “Windows can’t create a shortcut here. Do you want the shortcut to be placed on the desktop instead?”
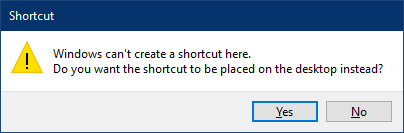
Step 9. Click Yes to confirm.
Step 10. The above action creates a shortcut to the folder on your PC’s Desktop.

Step 11. Copy and paste this newly created folder shortcut into the Windows directory (Usually C:\Windows).
Step 12. Click the Continue button if a Destination Folder Acess Denied dialog box appears.
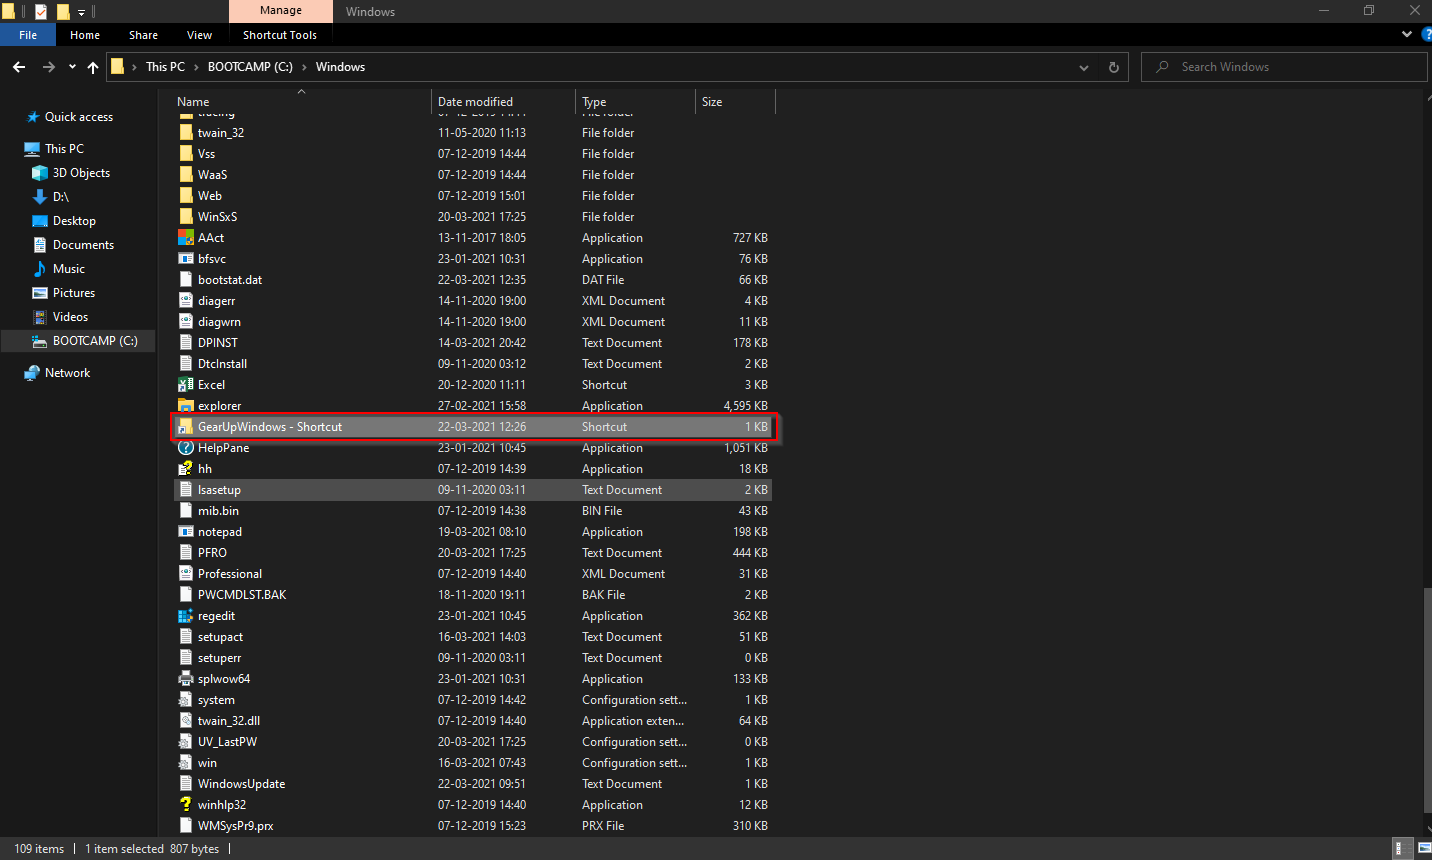
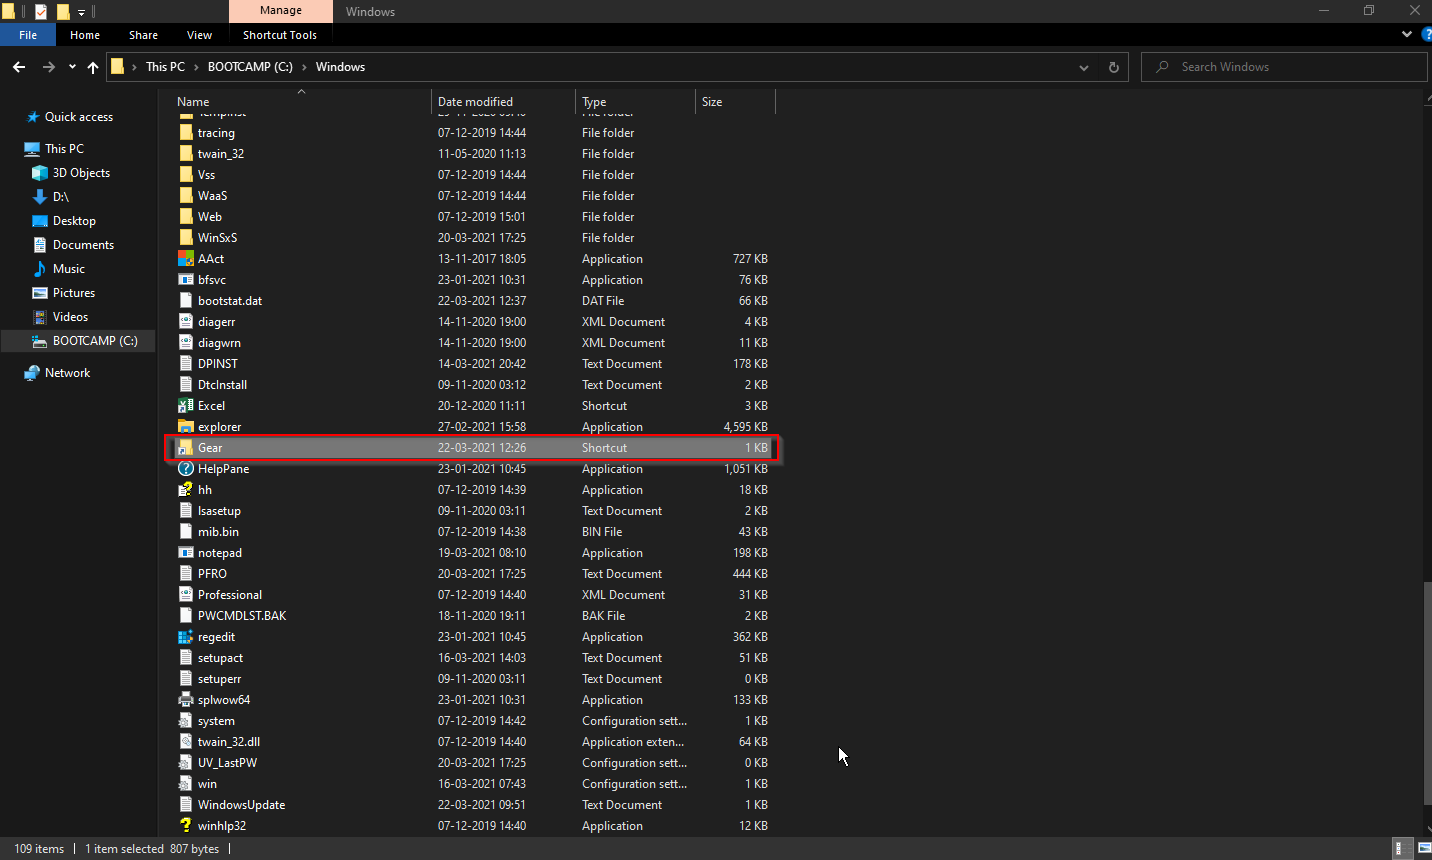
Step 13. Rename the folder shortcut in the Windows directory through which name you want to open it using the Run command box. For instance, if we want to open it with the name gear, we need to rename Gear.
Step 14. Now, open the Run dialog box by pressing the Windows logo + R keys—type gear in the Run box. Click the OK button or press Enter from the keyboard to open up the GearUpWindows folder.
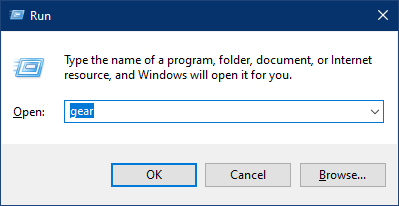
GearUpWindows folder opens.
The steps mentioned above to create your own Run command shortcuts apply to all Windows versions, including Win 11/10/8.1/8/7/Vista/XP.
Warning:- Don’t delete or rename any files in the Windows folder you didn’t create yourself.
Conclusion
In conclusion, creating your own Run commands in Windows 11/10/8/7 can be a convenient way to access your favorite programs or folders quickly. By following the simple steps outlined above, you can create shortcuts for installed programs and folders and launch them via the Run command box. However, it is essential to exercise caution while renaming or deleting any files in the Windows folder that you did not create yourself. Overall, this feature can save you time and effort and enhance your productivity while working on your PC.