Setting up a local Proxy Server can enhance your broadband connection’s performance and protect your computer from malware infections. Windows 10 provides an option to manually configure Proxy settings or enable automatic detection of Proxy settings. These settings allow your browser to communicate with an intermediary server used between your computer and the Internet on local networks.
Modern browsers like Internet Explorer, Microsoft Edge, Google Chrome, Mozilla Firefox, etc., are set to detect Proxy settings by default automatically. However, you can also set up these settings manually as per the instructions provided by your network administrator.
Reasons to Disable Proxy on Windows 10
Here are some reasons why you might want to disable the proxy settings on Windows 10:-
- Internet speed: Sometimes, the proxy server can slow down your internet speed, especially if it’s a shared proxy or located far away from your geographical location.
- Network connectivity issues: If the proxy server is misconfigured or down, it can cause connectivity issues and prevent you from accessing the internet.
- Security concerns: Proxy servers can be used for malicious activities such as stealing sensitive information, injecting malware, or redirecting traffic to fake websites. If you suspect that the proxy server is compromised or not trustworthy, it’s better to disable it.
- Accessing local resources: If you need to access local resources such as printers, shared folders, or network drives, disabling the proxy settings can help you connect to them directly.
- Troubleshooting: If you’re facing issues with your internet connection, disabling the proxy settings can help you isolate the problem and see if it’s related to the proxy server or not.
How to configure a proxy on Windows 10 PC?
Follow these steps to configure a proxy on Windows 10:-
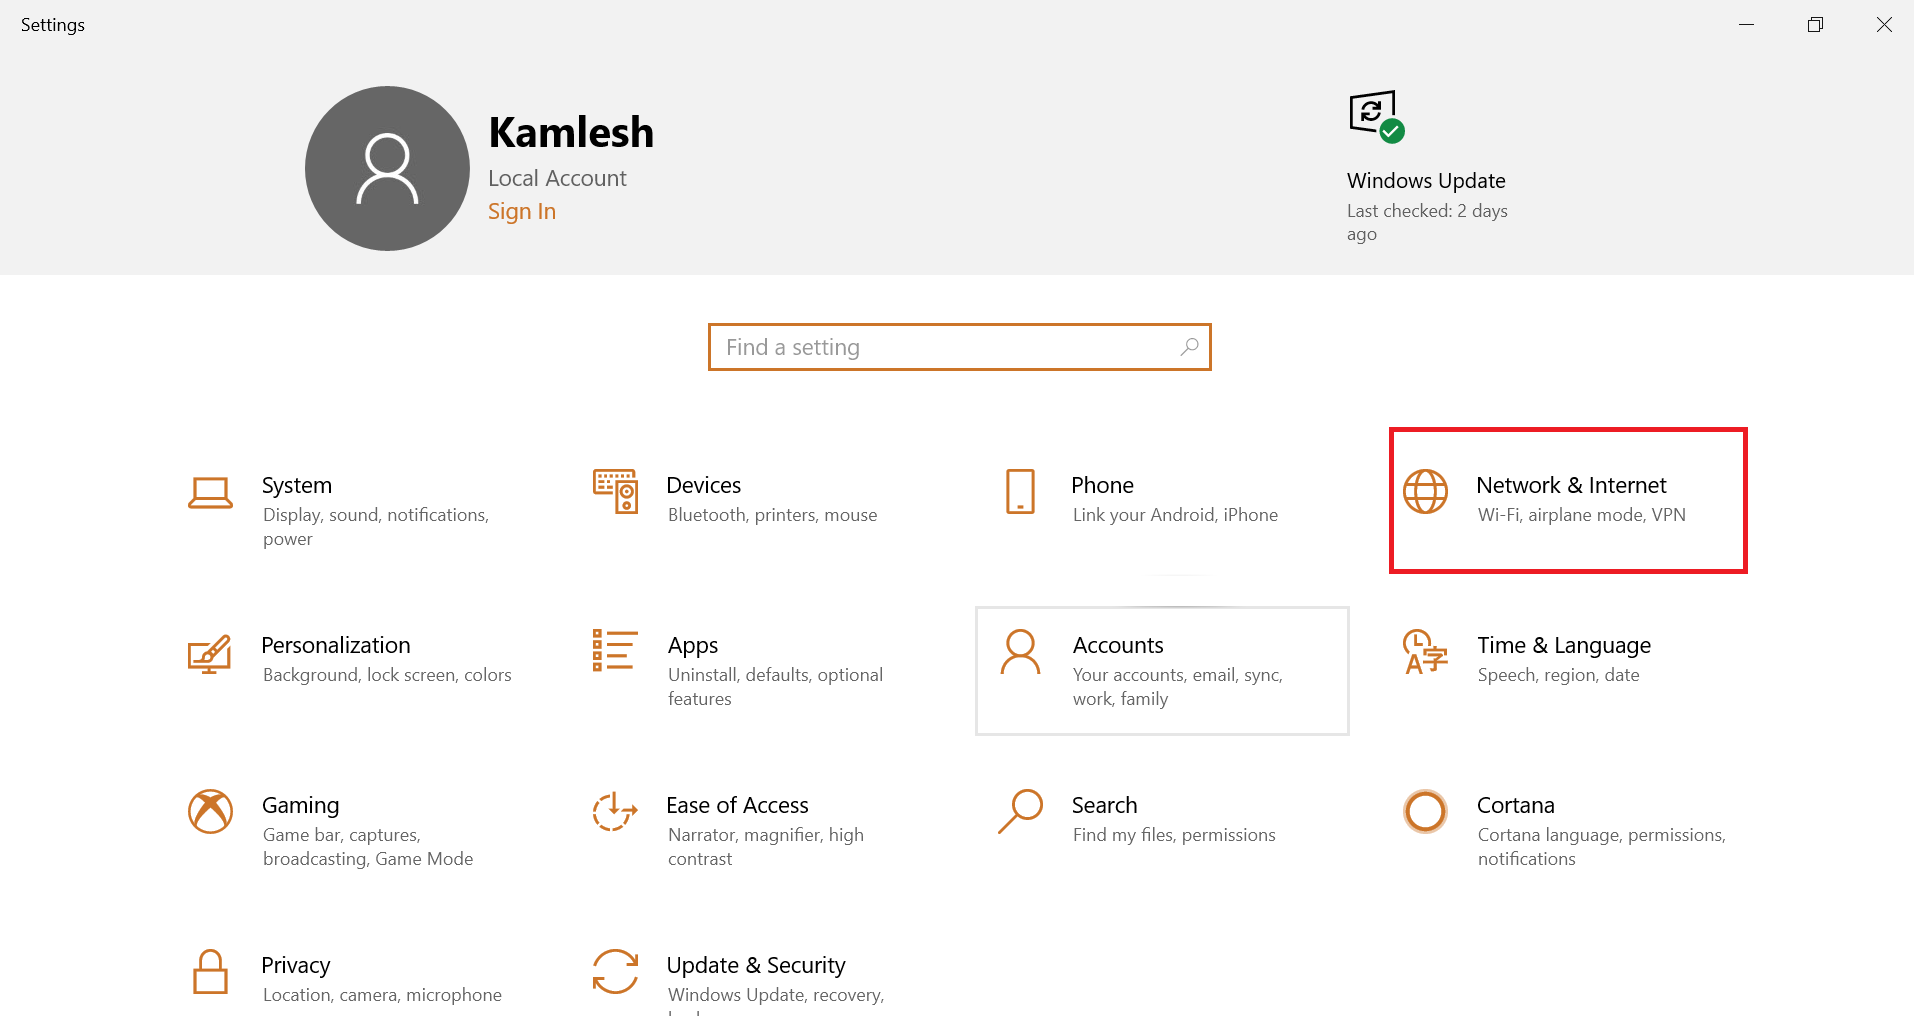
Step 1. Click on the Start button, then the Settings icon.
Step 2. Click “Network & Internet.”
Step 3. Click on Proxy.
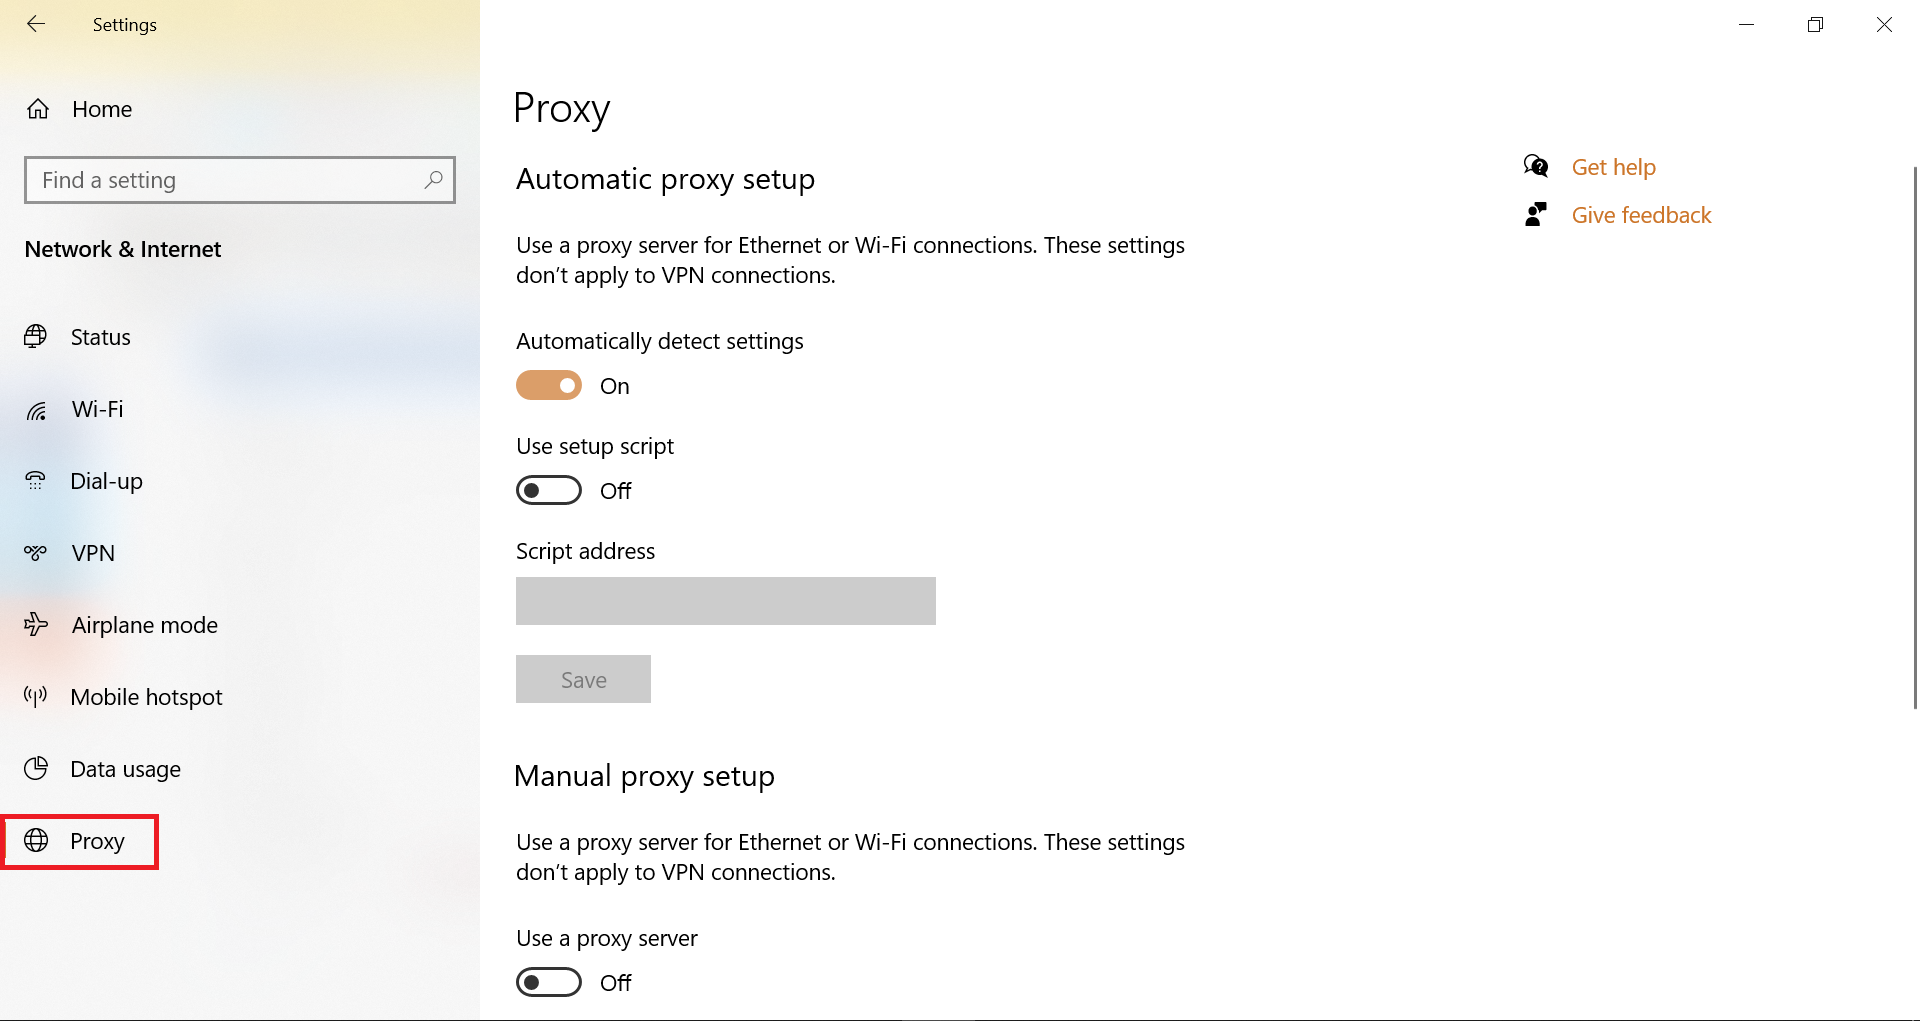
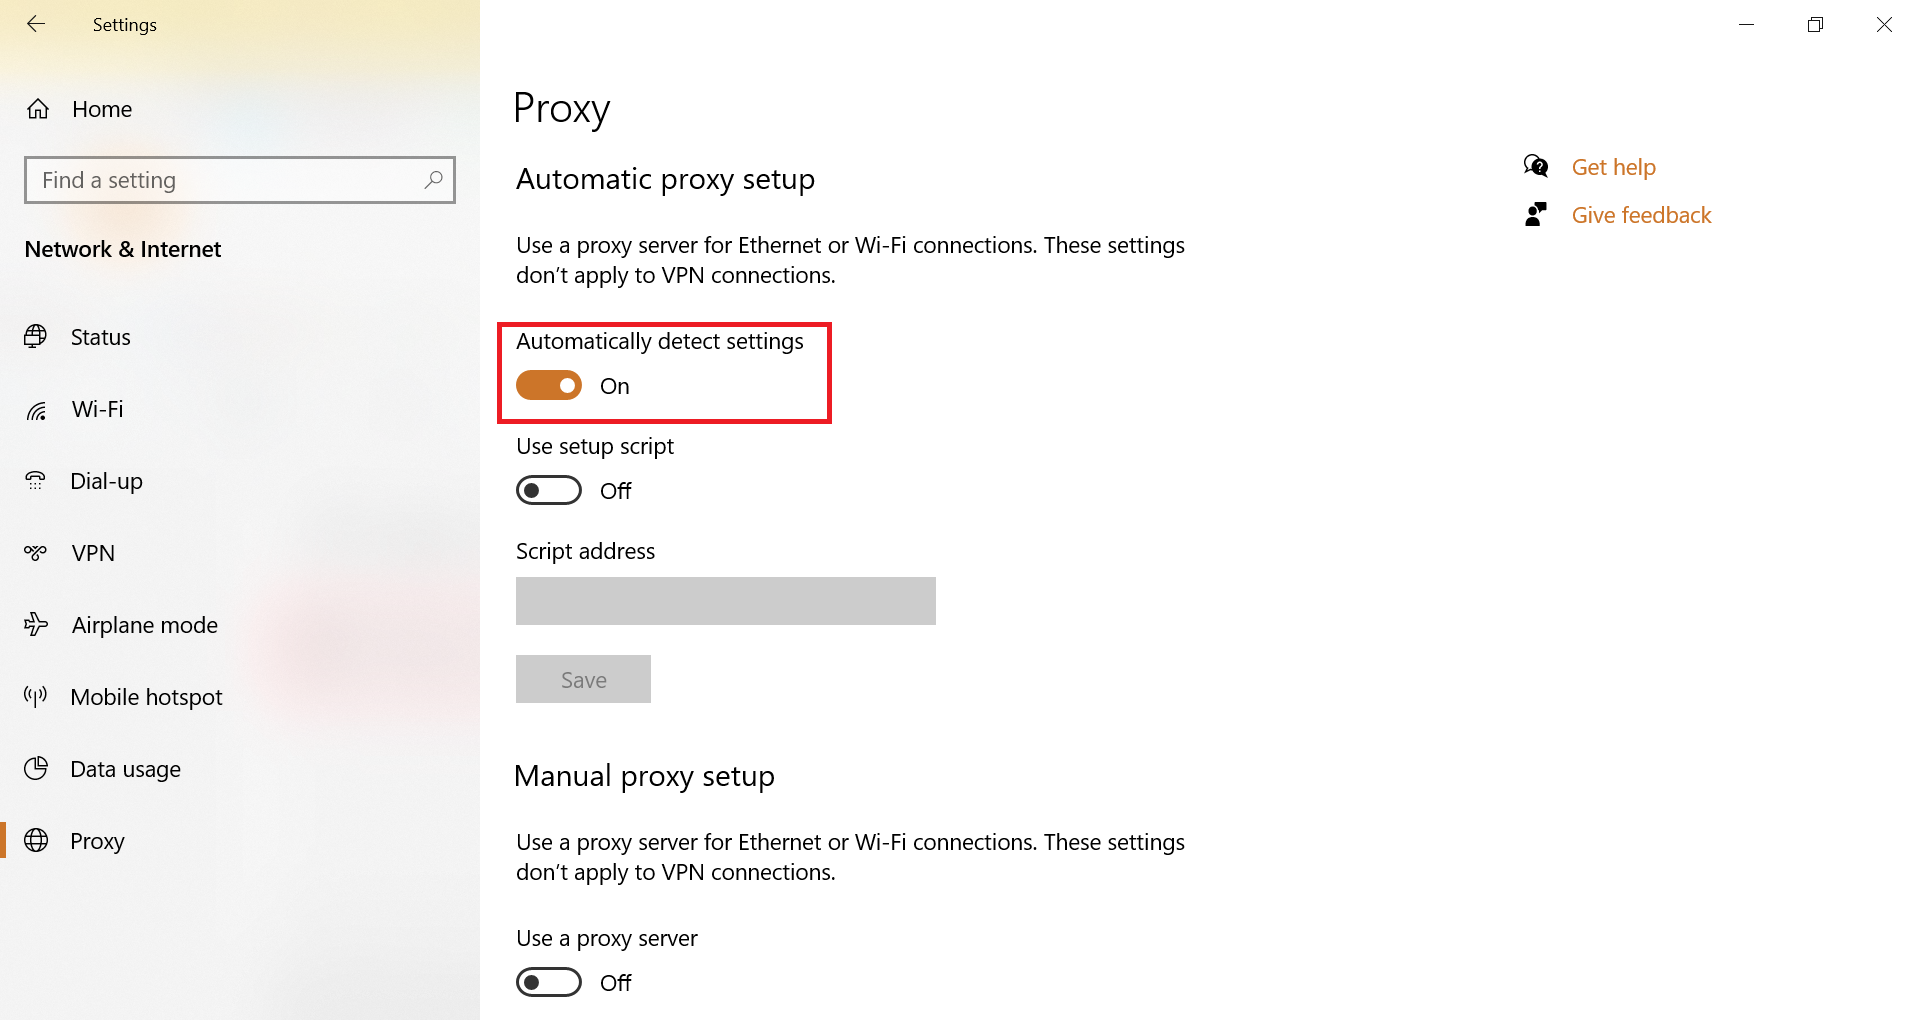
Step 4. Turn the slider on next to “Automatically detect settings” to use an automatic proxy.
Step 5. To configure the proxy settings manually, scroll down; under “Manual proxy setup,” turn on the slider next to “Use a proxy server.”
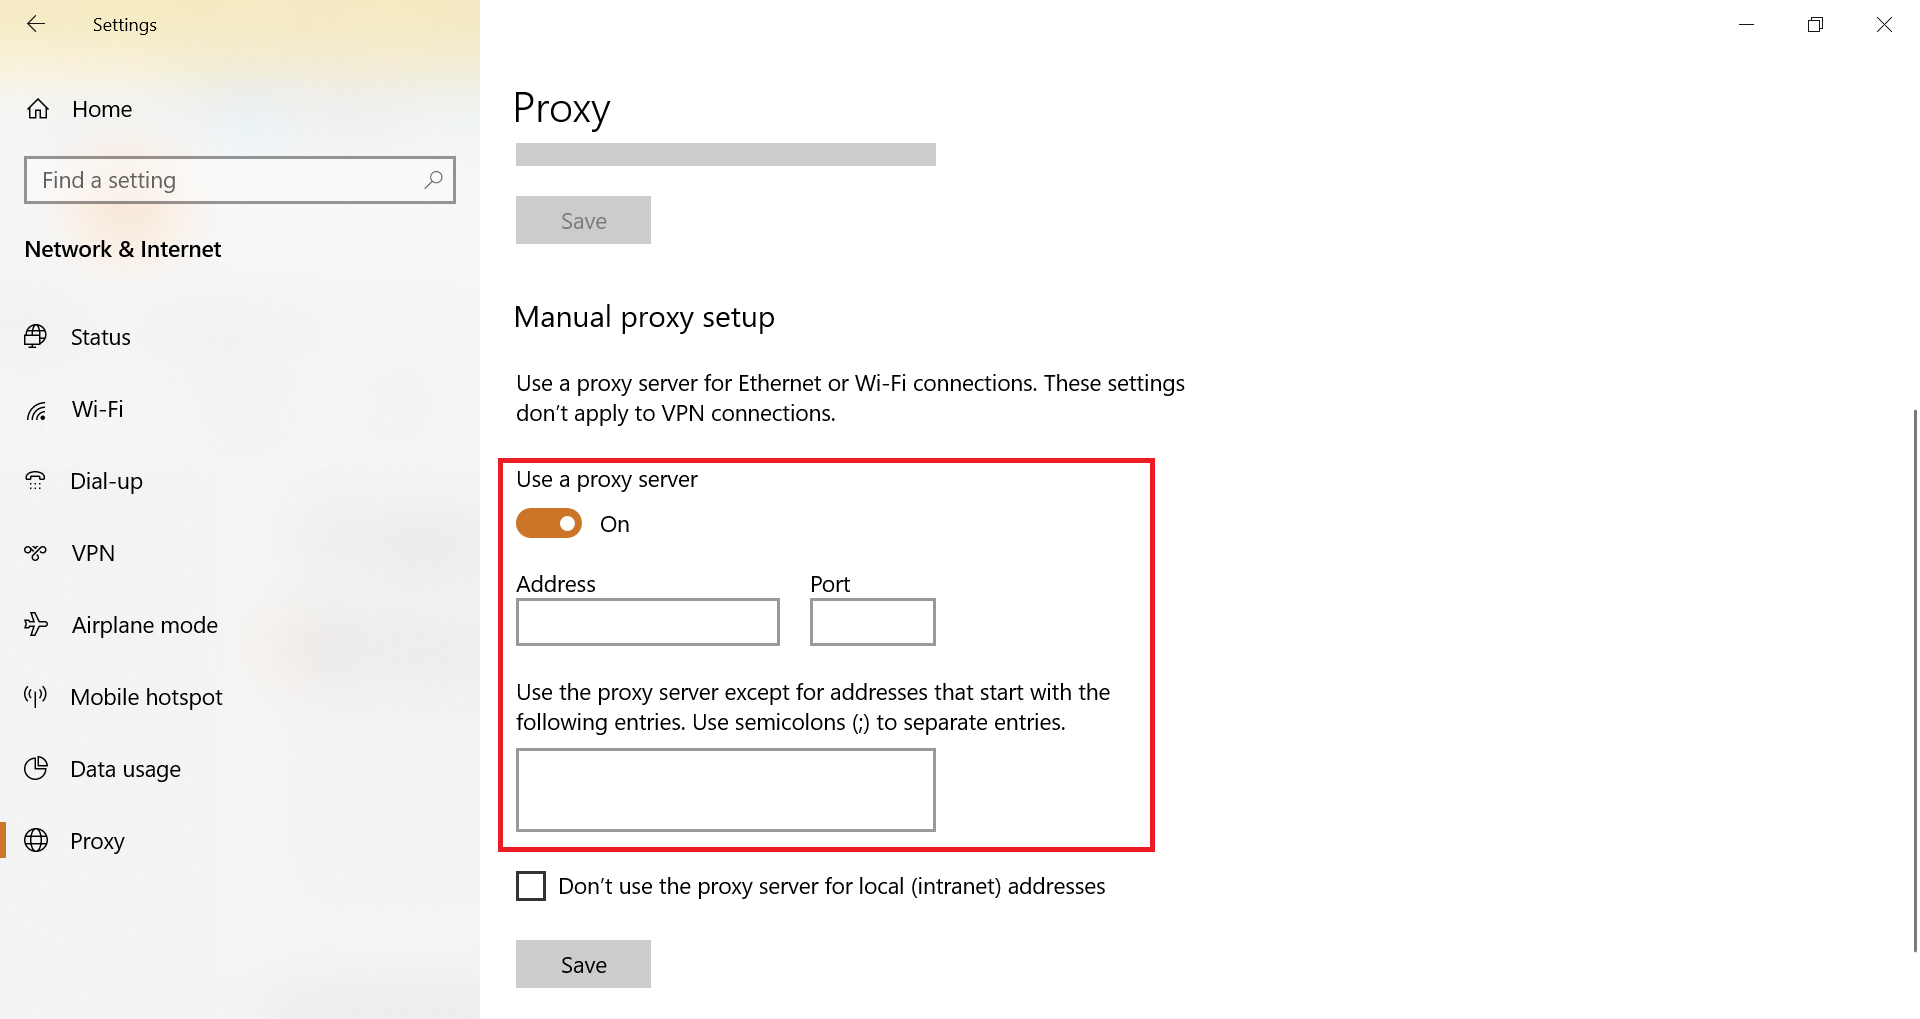
Step 6. Fill in the proxy settings which your local network administrator provides.
Depending on the selection, proxy settings will be enabled or disabled for your installed browsers.
Conclusion
In conclusion, configuring a proxy on your Windows 10 PC can bring several benefits, including faster internet speed and protection against malware infections. However, there may be situations where disabling the proxy settings is necessary, such as connectivity issues or security concerns. By following the steps outlined in this post, you can easily configure or disable the proxy settings on your Windows 10 PC. As always, it’s important to work with your network administrator to ensure that the proxy settings are properly configured and secure.