If you have several audio output devices connected to your Windows 11 PC, for instance, headphones, headsets, and speakers, and due to some reason, if you want to stop output sound, it is possible to disable them using the Settings app. That means there is no need to uninstall if not in use and reinstall them when you want to use them.
Windows 11 settings is a powerful app that lets you disable or disallow all output devices without actually uninstalling them.
How to Disable Sound Devices on Windows 11?
First Method:
Step 1. Open the Settings app by pressing Windows + I keys from the keyboard.

Step 2. When Windows Settings opens, select the System category from the left sidebar.
Step 3. On the right-sidebar of System, click the Sound tab.
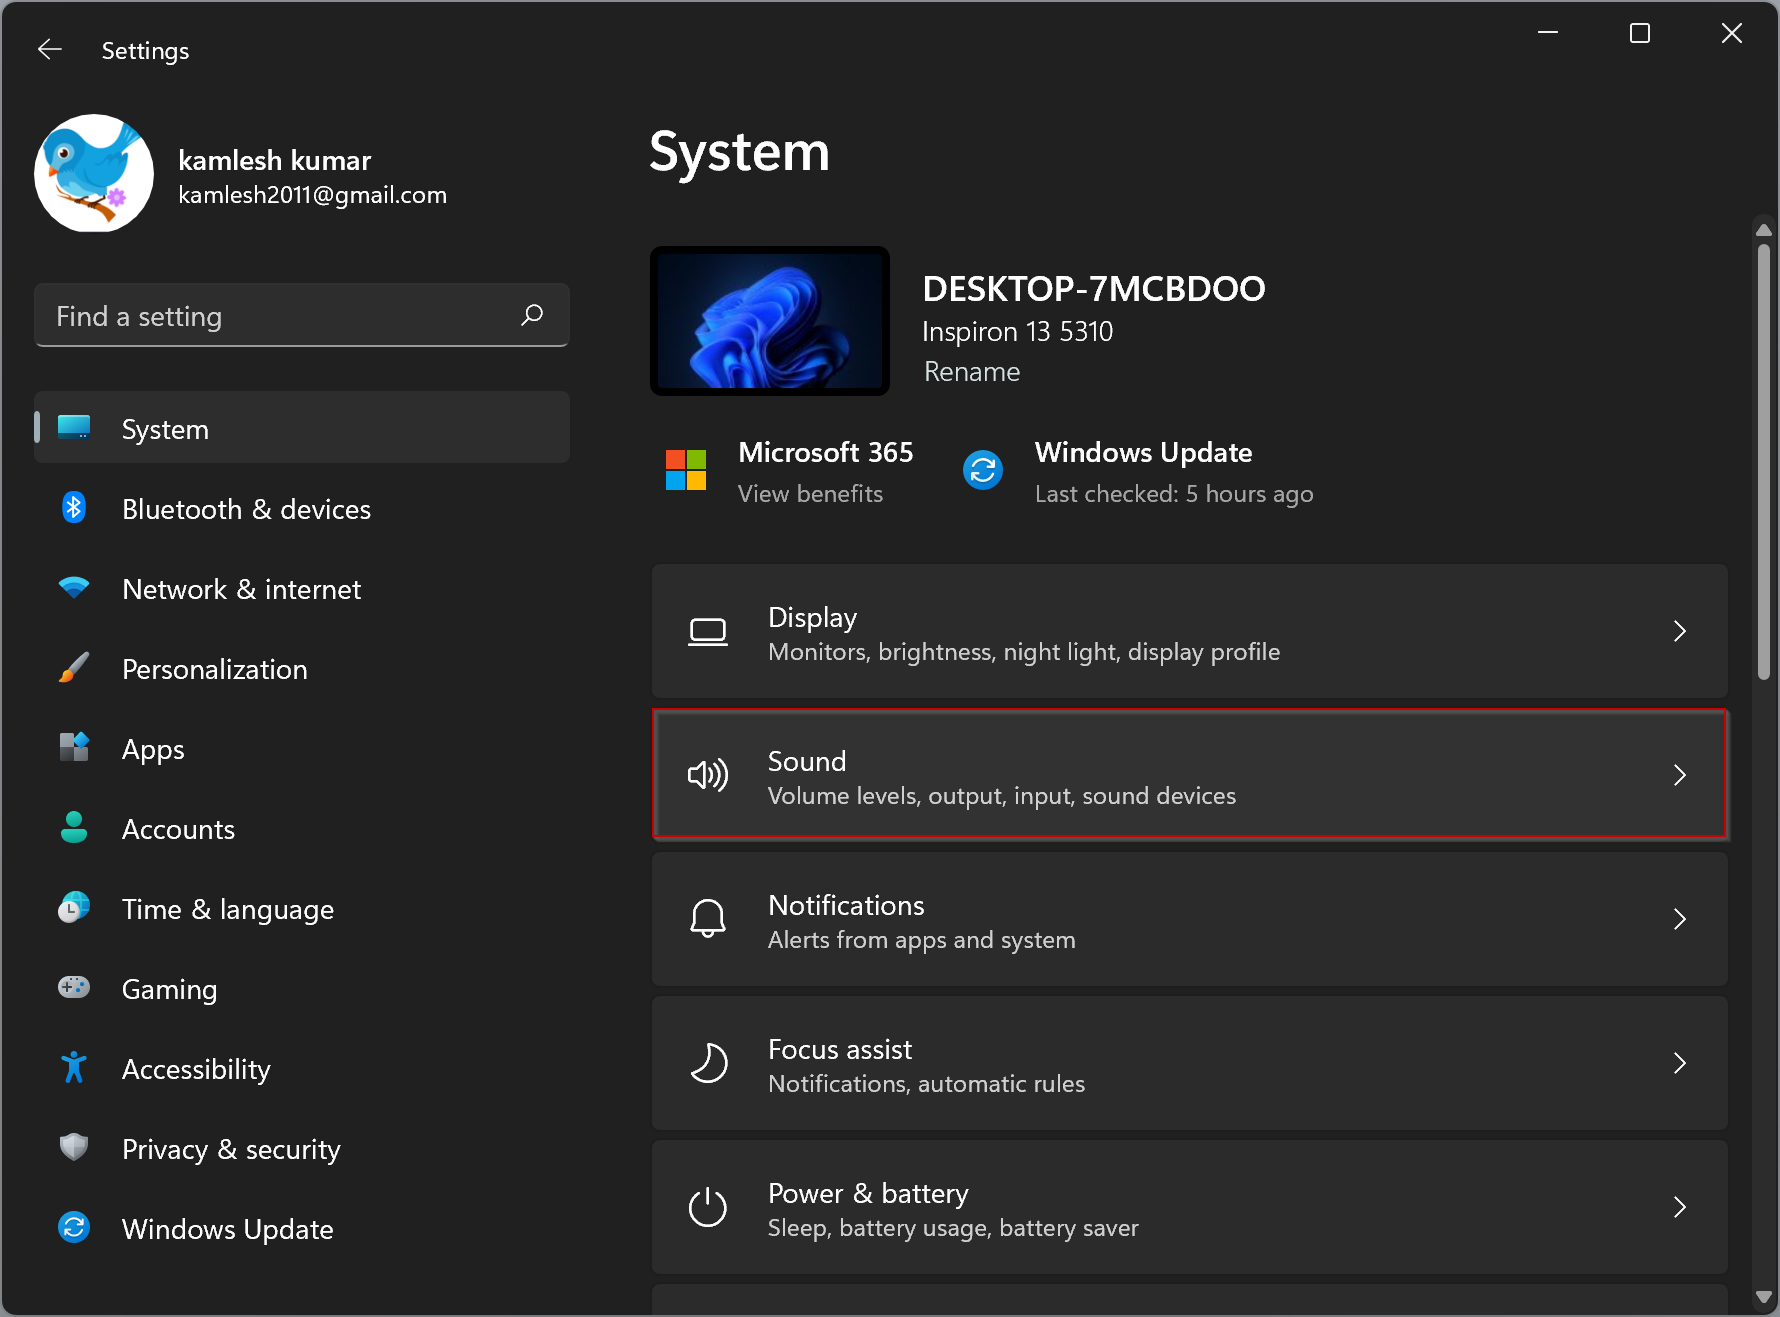
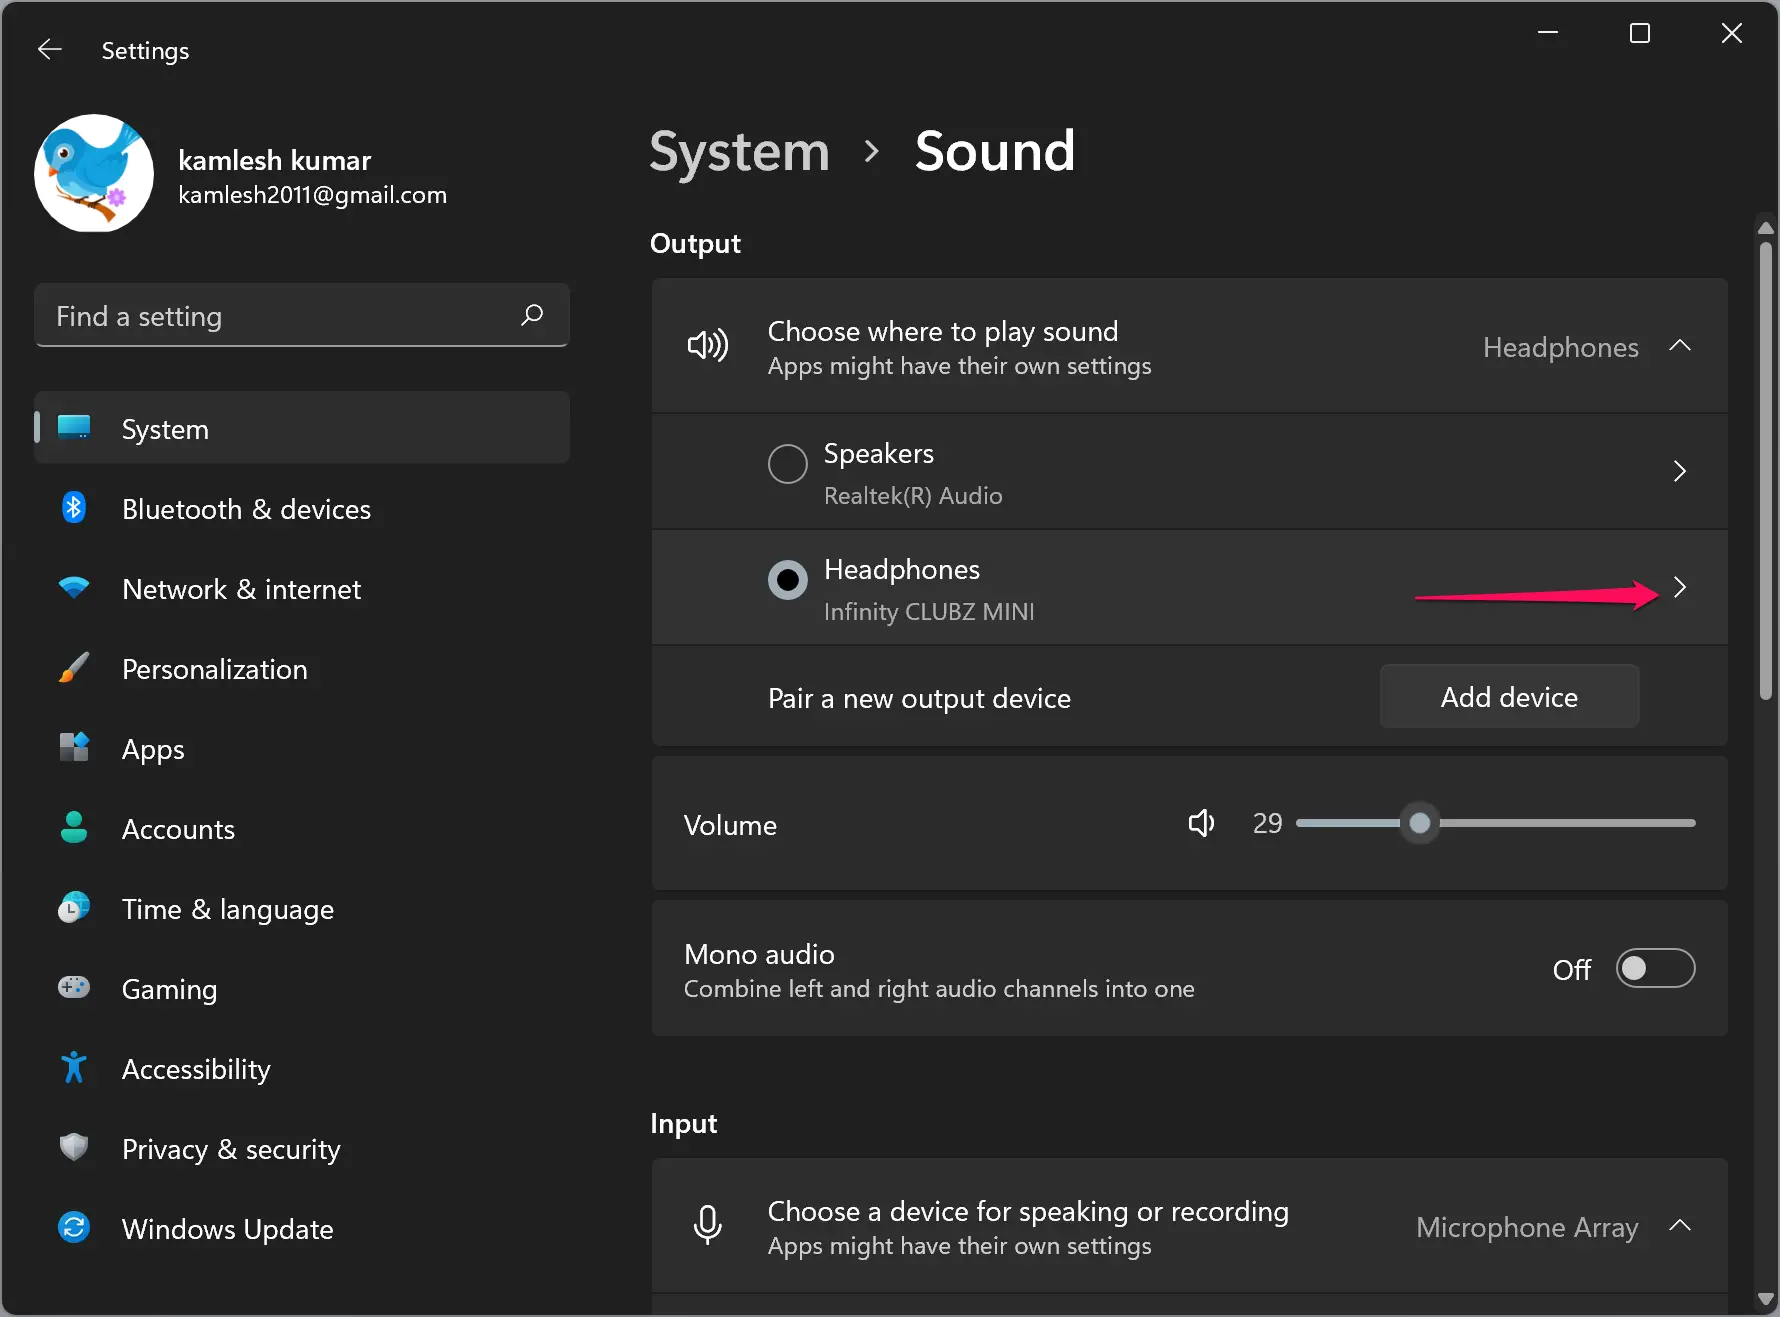
Step 4. Under the Output section, you will see a list of all the audio devices connected to your PC.

Step 5. Now, click the sideways caret (arrow) beside the audio output device you want to disable.
Step 6. On the Properties page for the sound device, under the General section, click the Don’t Allow button beside the Audio option.
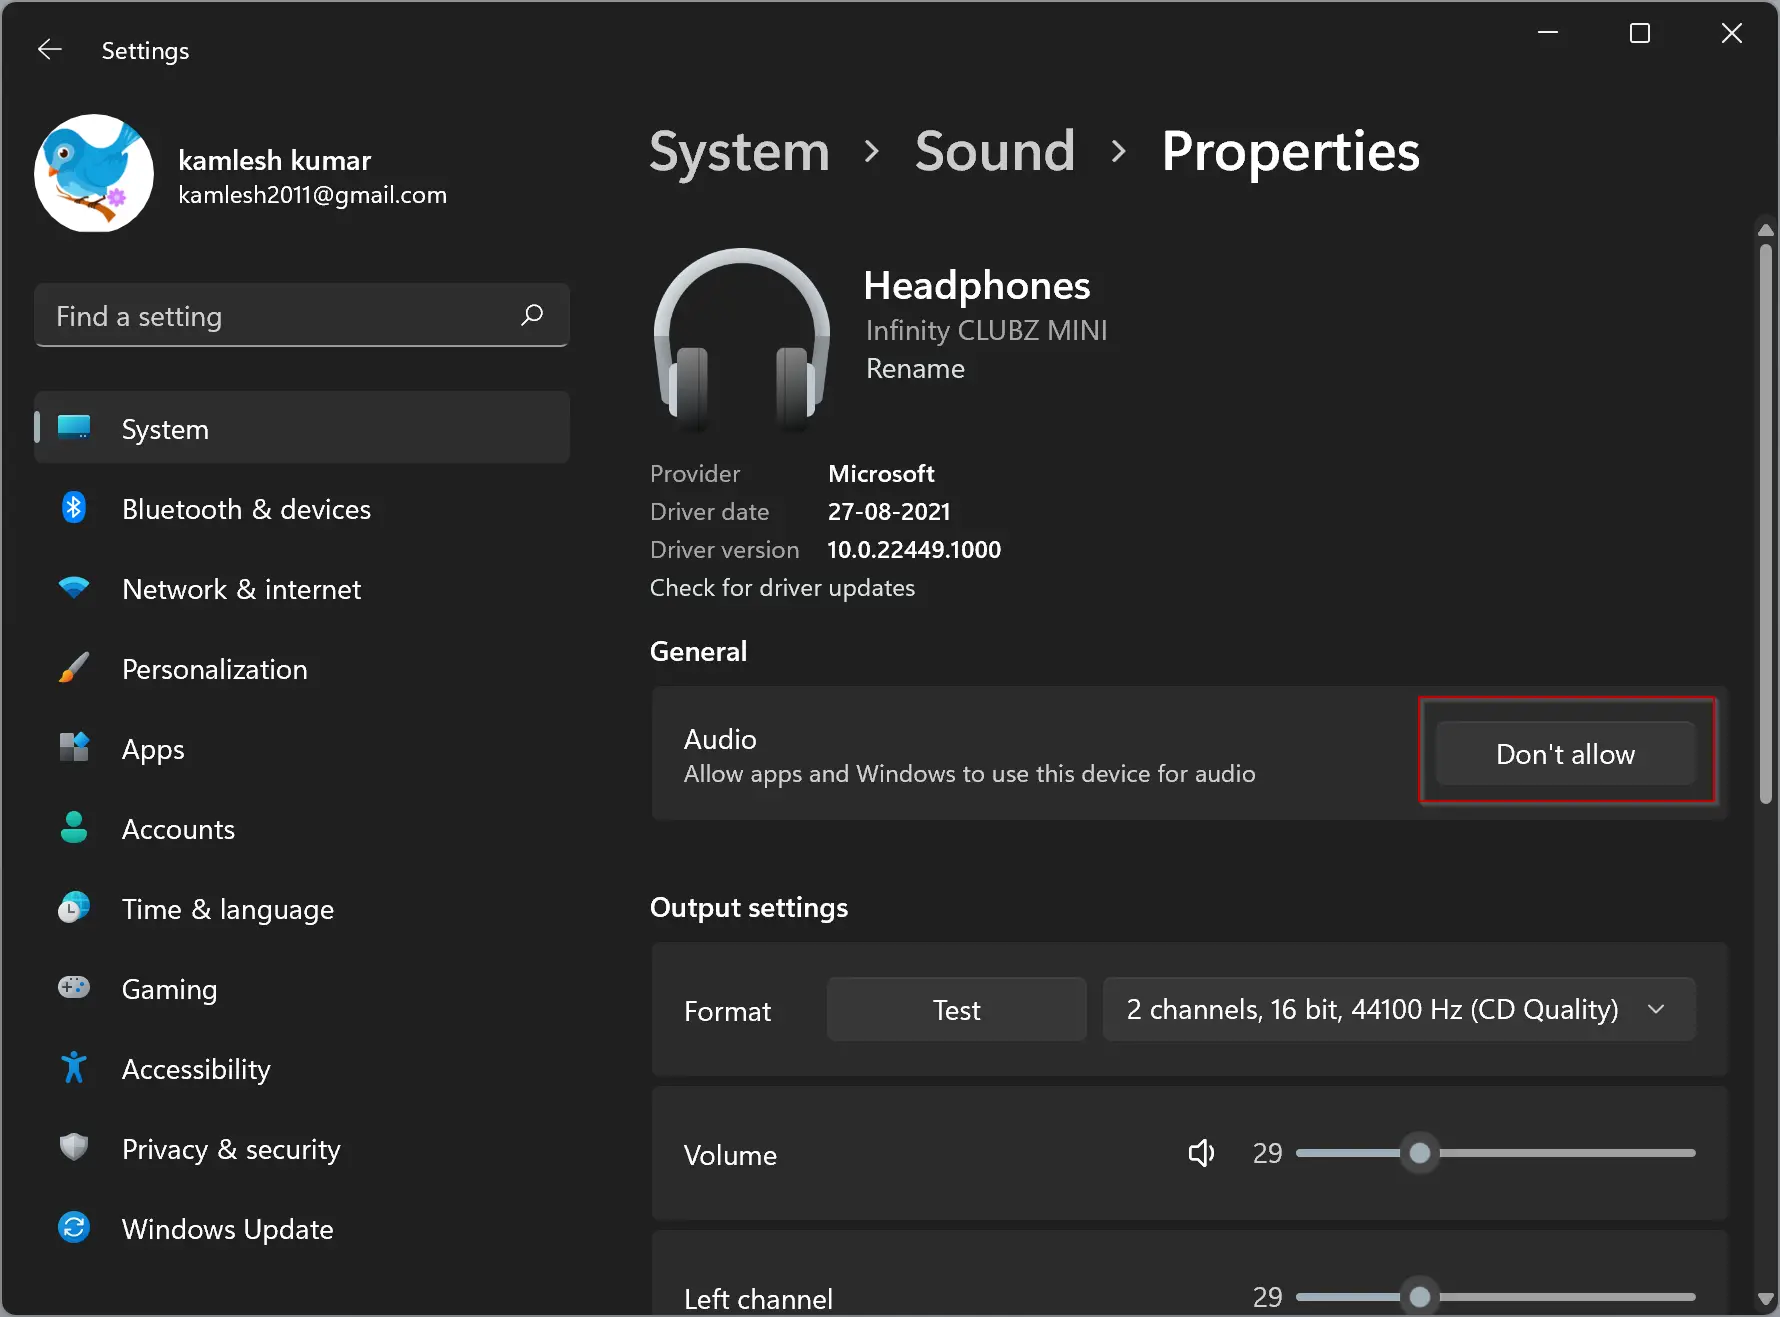
The sound device is now disabled. If you reopen the Settings app again, you’ll notice that the disabled device is no longer listed in the “Output” section of the System > Sound page. To re-access it, you need to reenable the audio device.
Second Method:
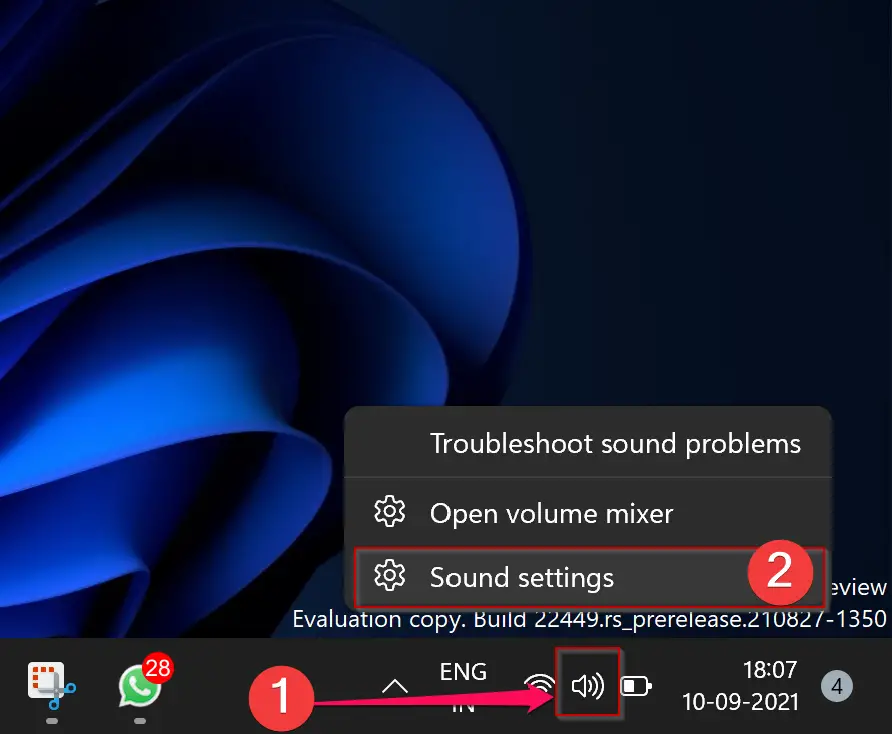
Step 1. Right-click the speaker icon in the taskbar and select Sound settings.
Step 2. Under the Output section, you will see a list of all the audio devices connected to your PC.
Step 3. Now, click the sideways caret (arrow) beside the audio output device you want to disable.
Step 4. On the Properties page for the sound device, under the General section, click the Don’t Allow button beside the Audio option.
The sound device is now disabled. If you reopen the Settings app again, you’ll notice that the disabled device is no longer listed in the “Output” section of the System > Sound page. To re-access it, you need to reenable the audio device.
How to Re-enable Sound Device in Windows 11?
If you want to reenable a sound device you’ve disabled before, you need to perform the following steps under the Settings app:-
First Method:
Step 1. Open the Settings app by pressing Windows + I keys from the keyboard.
Step 2. When Windows Settings opens, select the System category from the left sidebar.
Step 3. On the right-sidebar of System, click the Sound tab.
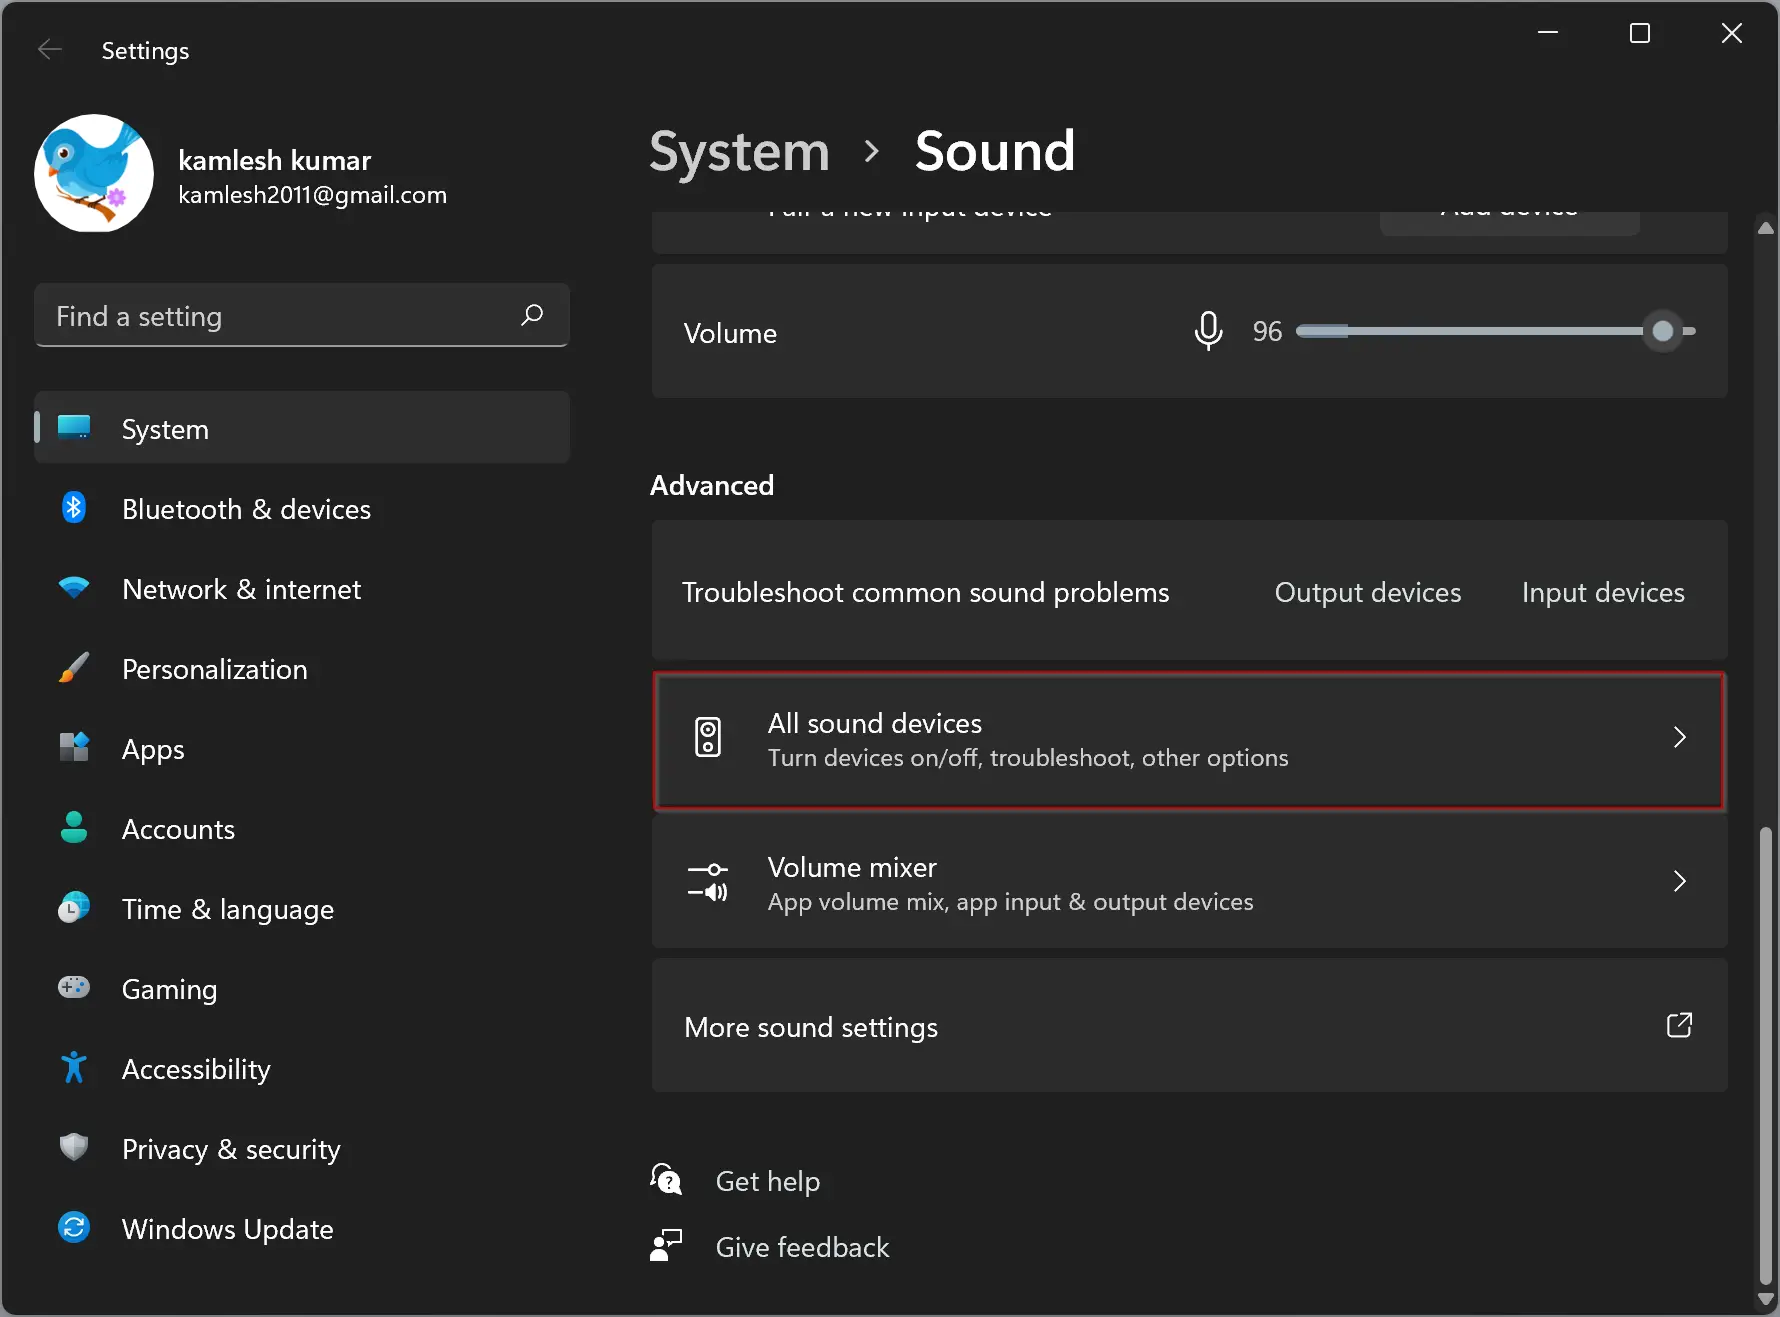
Step 4. Now, scroll down on the right side and look for the Advanced section. Under the Advanced section, click the All sound devices option.
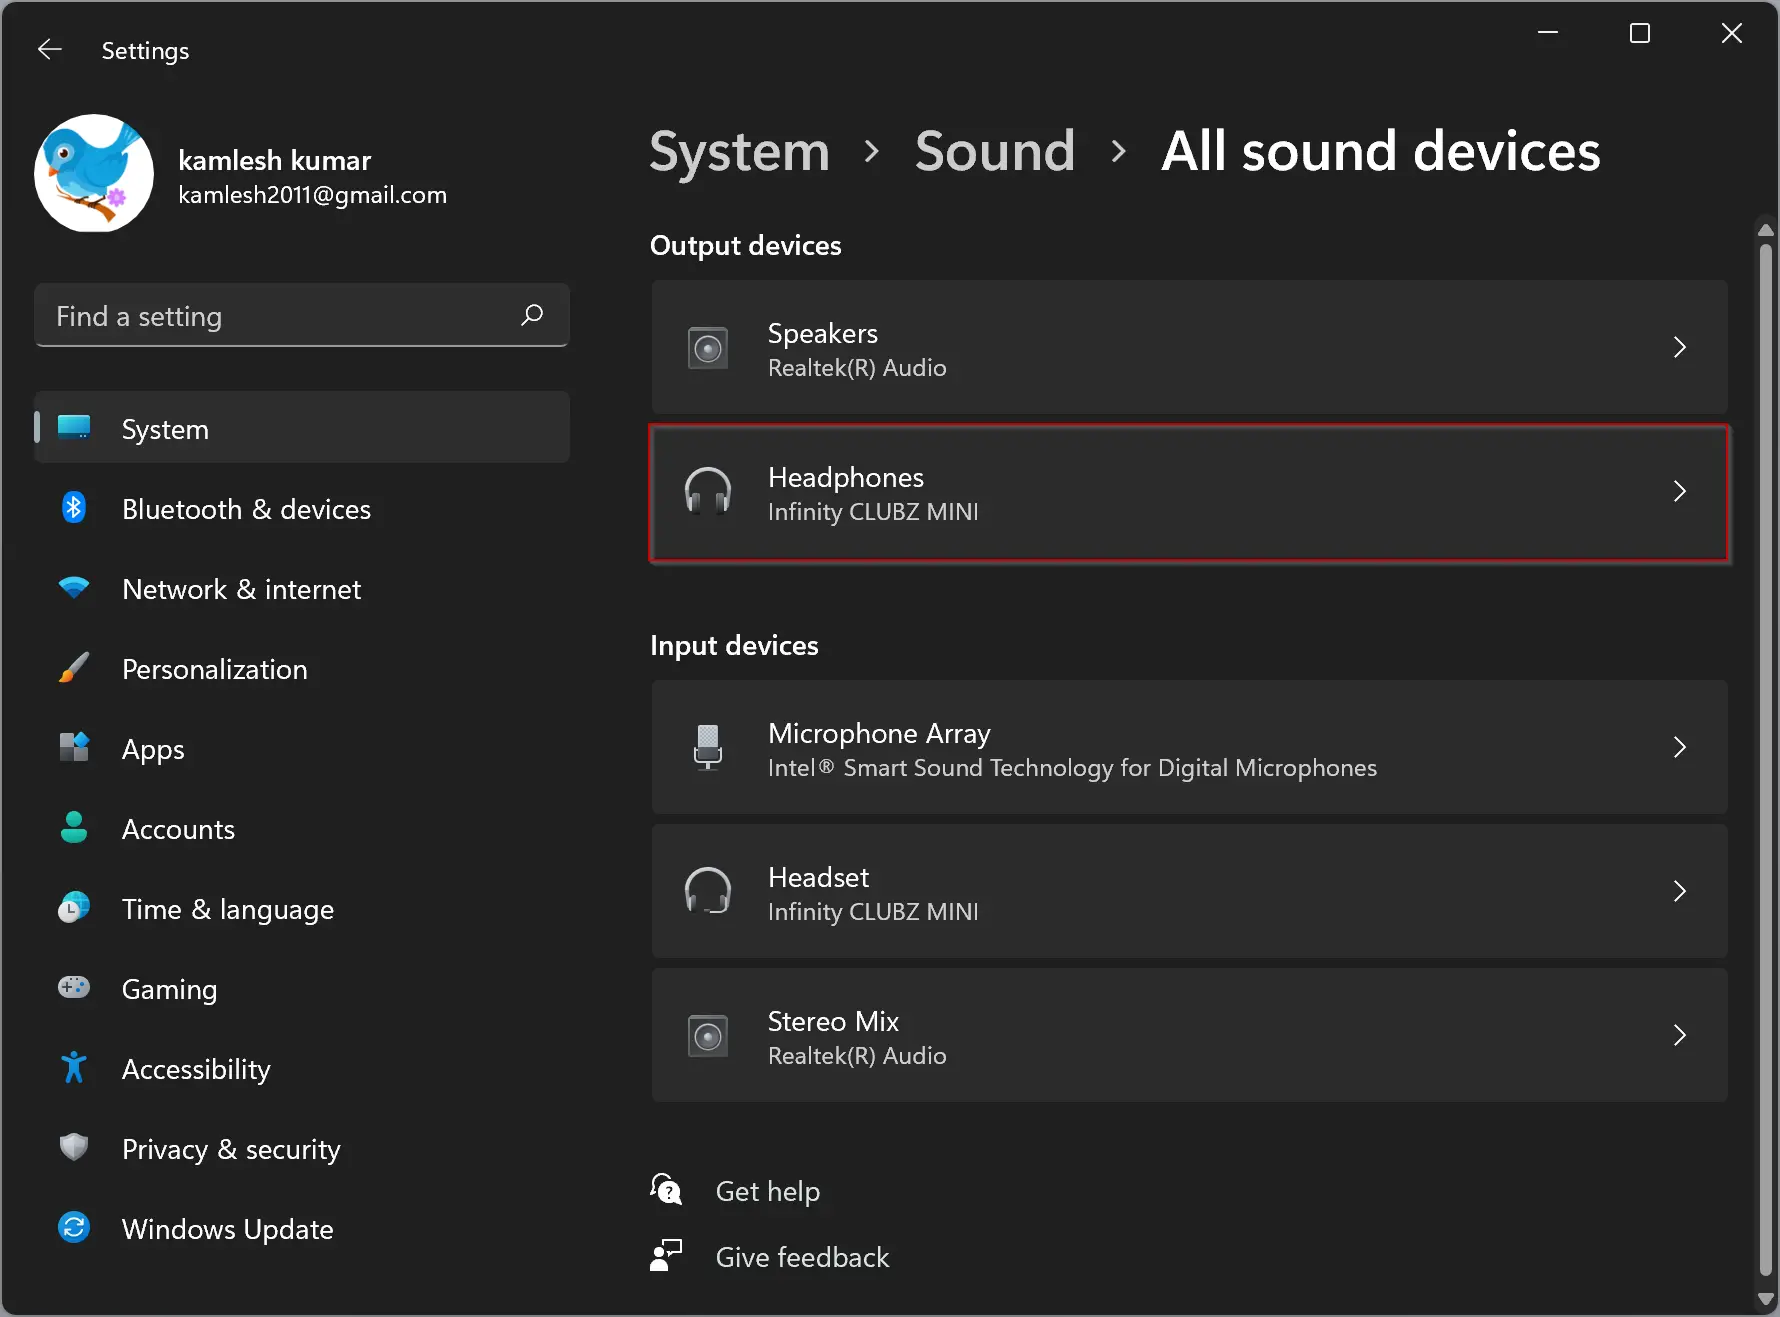
Step 5. Double-click on the sound device under the Output devices section that you want to re-enable.
Step 6. On the device’s Properties page, click the Allow button under the General section.
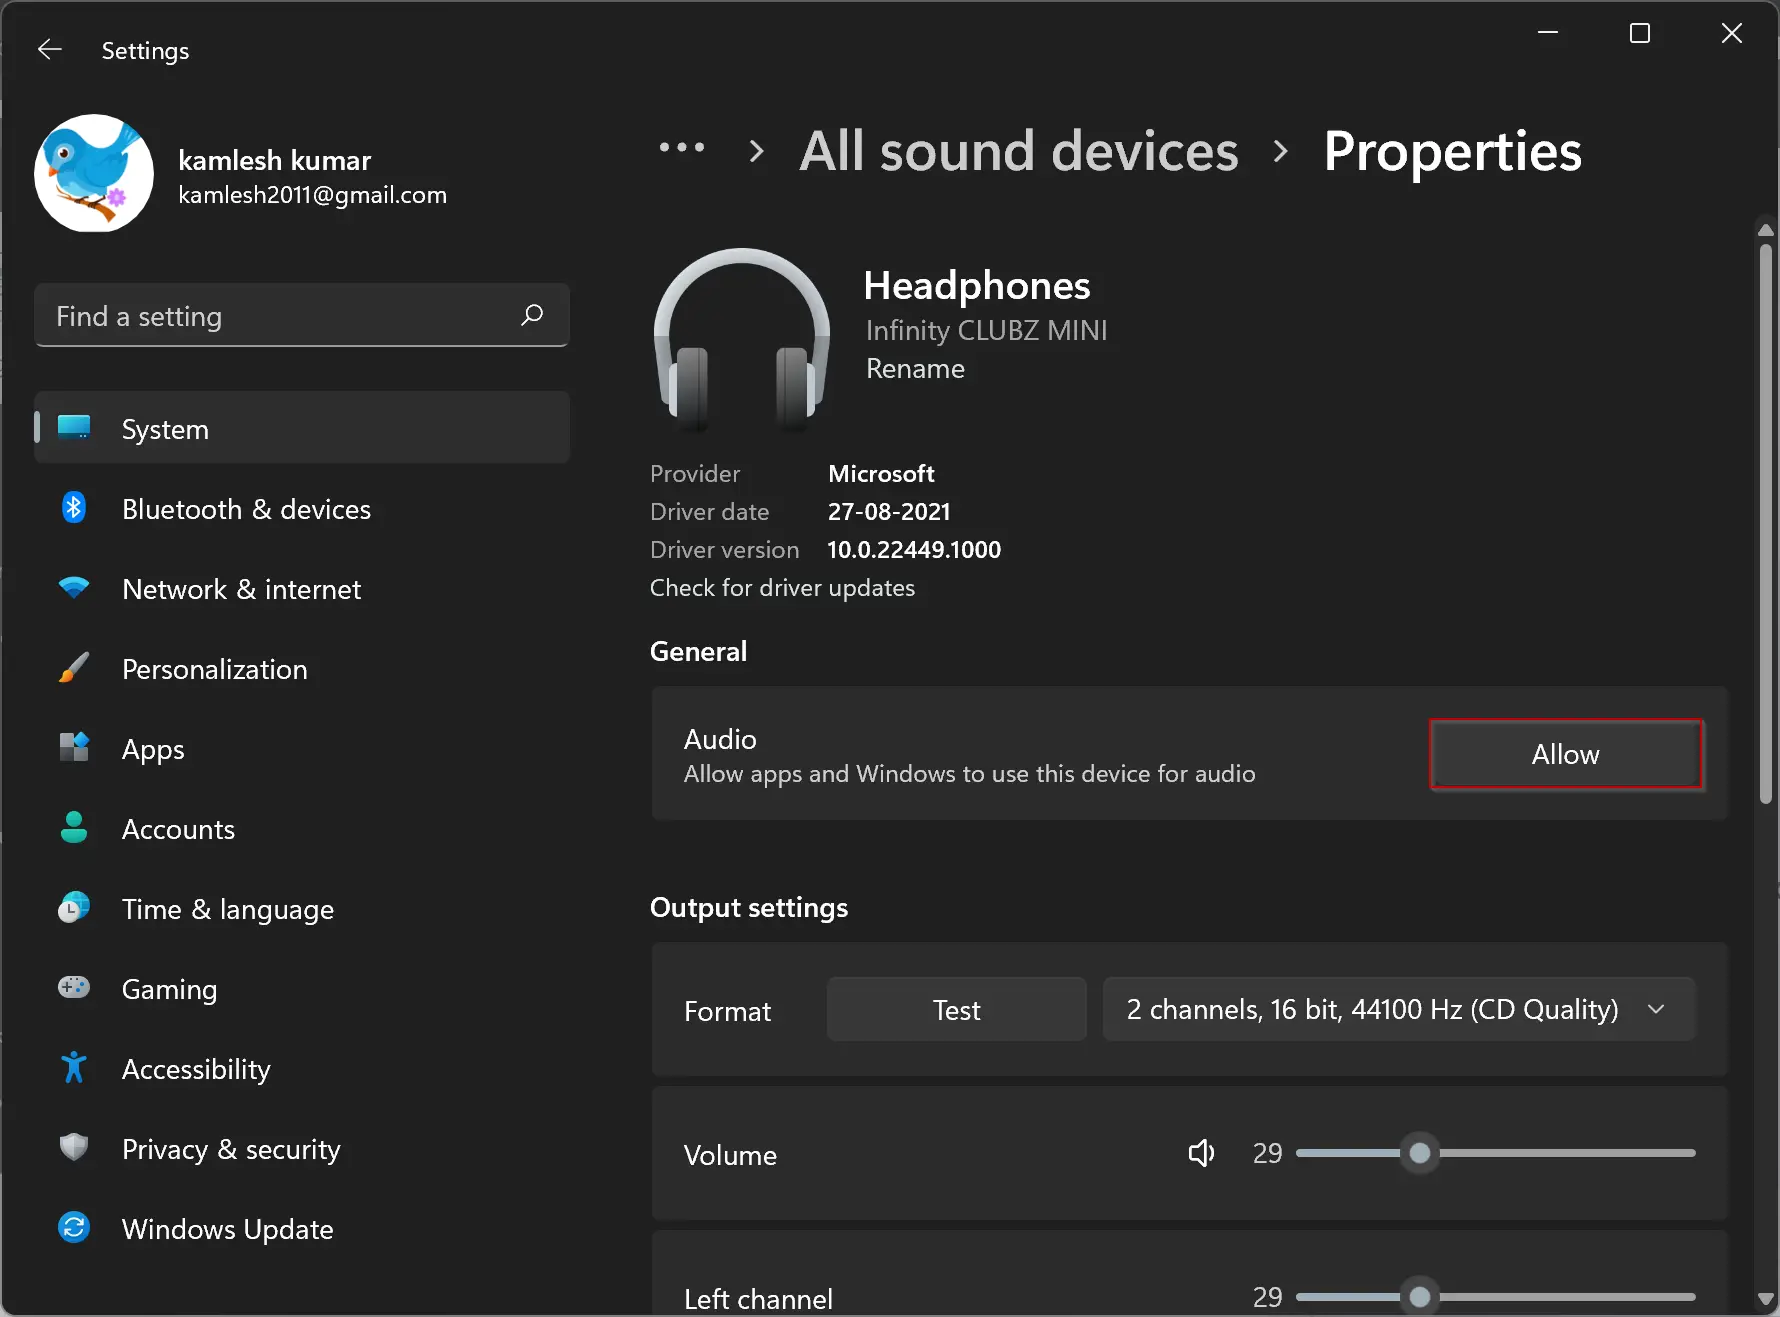
That’s it. The sound device is re-enabled. You can see the list of output devices on the System > Sound page.
Second Method:
Step 1. Right-click the speaker icon in the taskbar and select Sound settings.
Step 2. Now, scroll down on the right side and look for the Advanced section. Under the Advanced section, click the All sound devices option.
Step 3. Double-click on the sound device under the Output devices section that you want to re-enable.
Step 4. On the device’s Properties page, click the Allow button under the General section.
That’s it. The sound device is re-enabled. You can see the list of output devices on the System > Sound page.
Conclusion
In conclusion, disabling audio output devices on Windows 11 is a straightforward process that can be done using the Settings app or by accessing the Sound settings from the taskbar. Disabling devices through the Settings app can be done by navigating to the Sound tab under the System category and clicking on the device to disable it. Re-enabling a disabled device can be done by accessing the Advanced section under the Sound tab and clicking on the device to allow it. With these simple steps, there’s no need to uninstall and reinstall devices when not in use, making it a convenient feature for Windows 11 users. To learn more about managing sound settings on Windows 11, you can also read our guide on how to disable the startup sound on Windows 11.