If you love to display internet speed on Windows 10 Taskbar, this gearupwindows article will guide you. By default, Windows does not have the option to show the Internet speed on the taskbar, which means you’ll need to download a third-party tool.
How to Display Internet Speed on the Taskbar of Windows 10?
To display internet speed on the taskbar of Windows 11 or 10, do the following:-
Step 1. First, download a third-party app called NetSpeedMonitor (Ensure to download the correct program, the file’s name should end in x64).
Step 2. Then install it in compatibility mode.
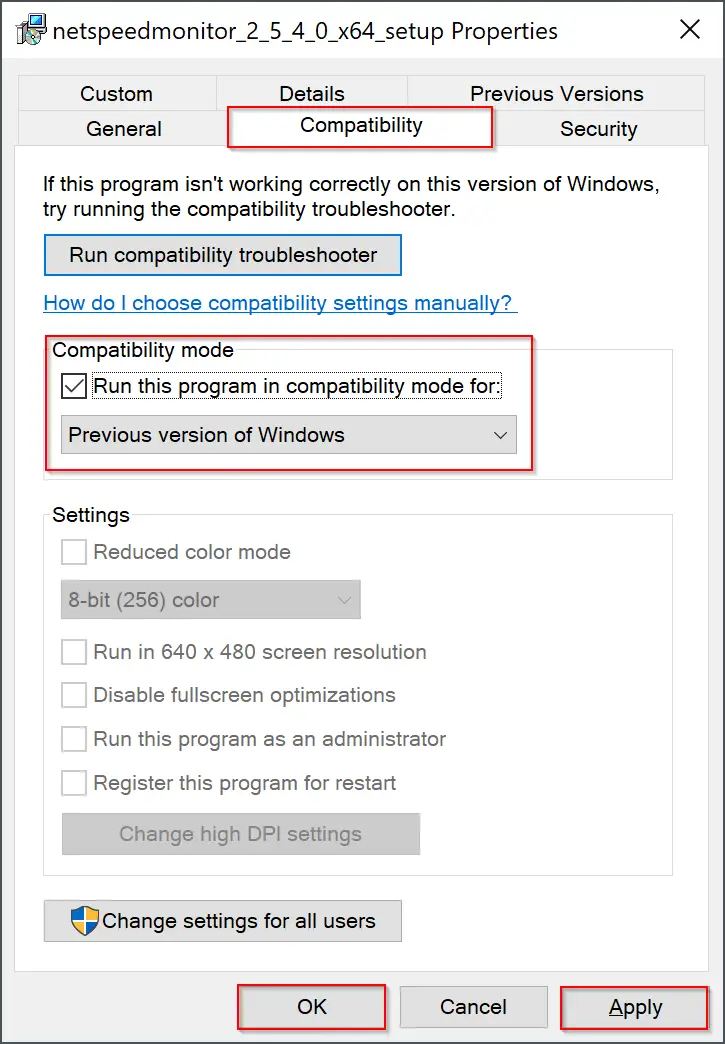
For that, right-click on the downloaded setup file and select the Properties option. Then navigate to the Compatibility tab. Check the option “Run this program in compatibility mode for.” Finally, click the Apply and then the OK button. Then try to install it as regular software.
Step 3. Once the installation is completed, browse the Program Files folder and open the NetSpeedMonitor folder there.
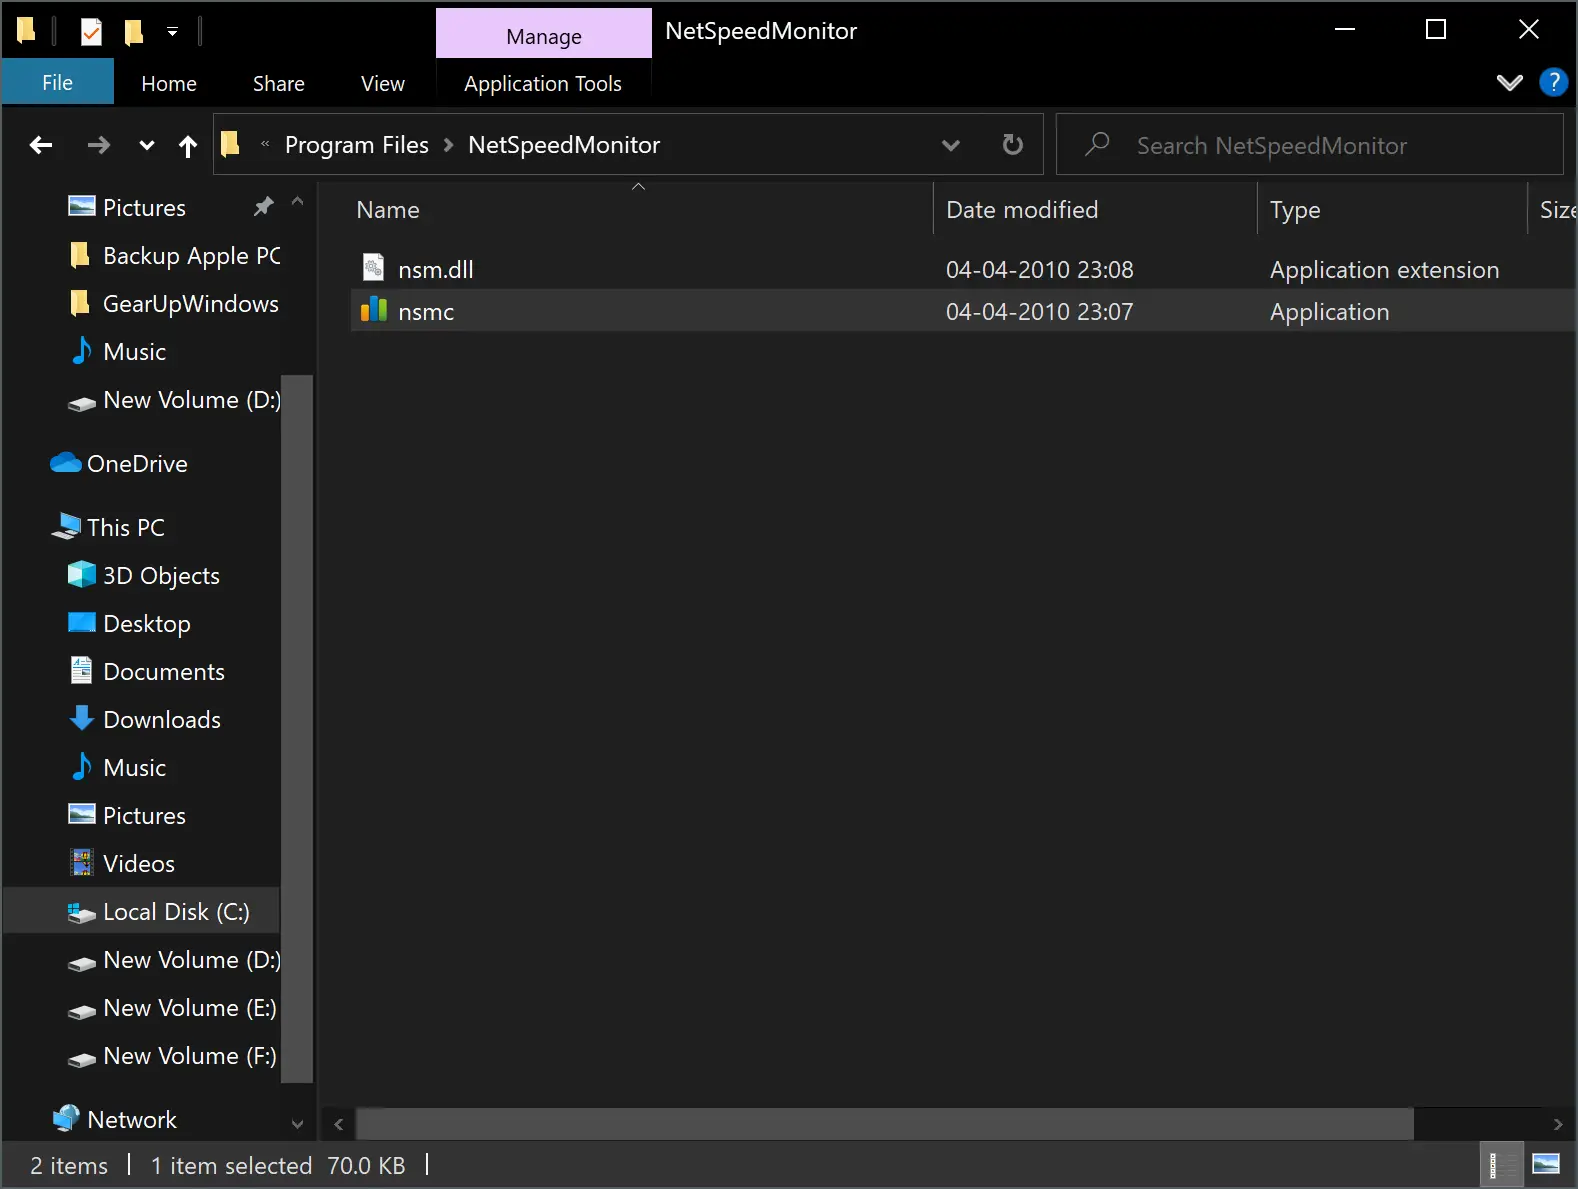
Step 4. Right-click on the nsmc executable file and select the Properties option.
Step 5. Select the Compatibility tab.
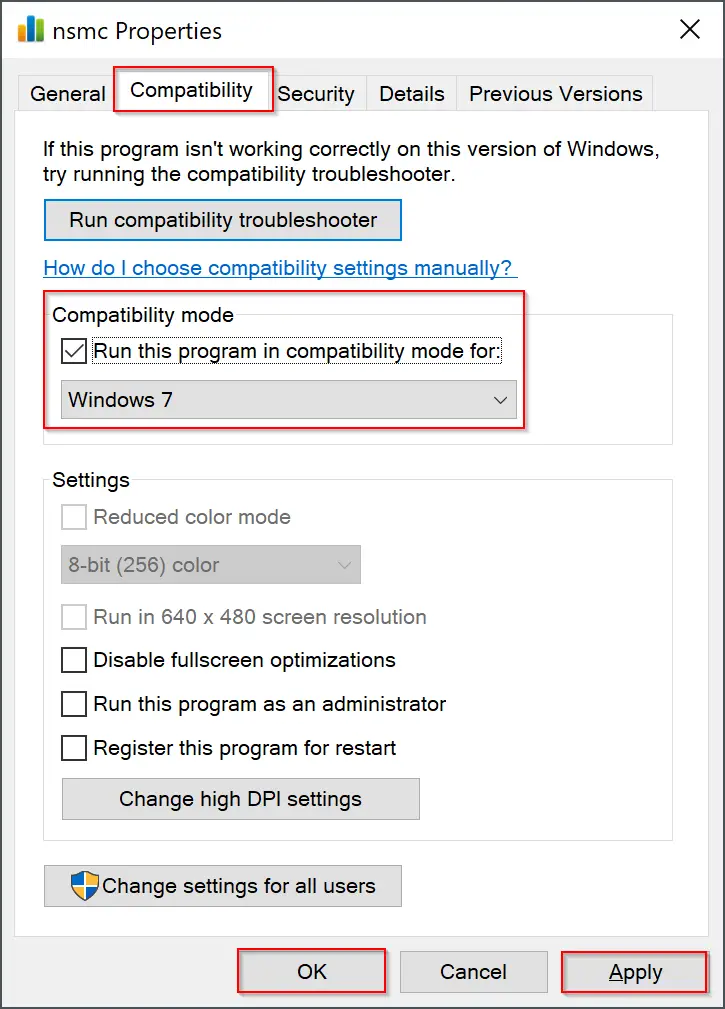
Step 6. Under the “Compatibility mode” section, check the option “Run this program in compatibility mode for” and select Windows 7 in the drop-down menu. Finally, click the Apply and then the OK button.
Step 7. Once you set the compatibility mode, perform a double-click on nsmc executable file to launch NetSpeedMonitor.
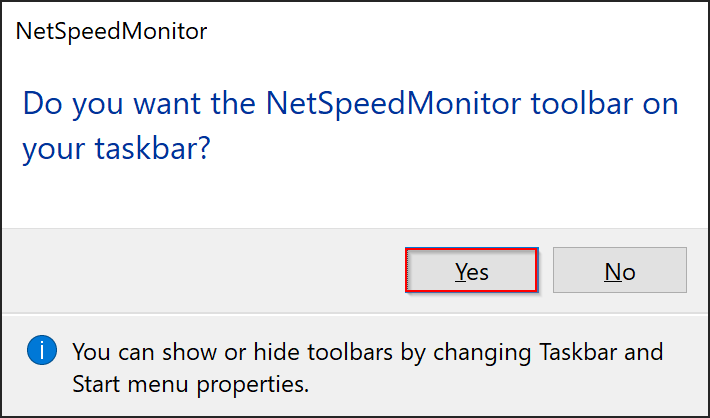
Step 8. You will be prompted with a dialog box; click Yes to add NetSpeedMonitor to the taskbar.
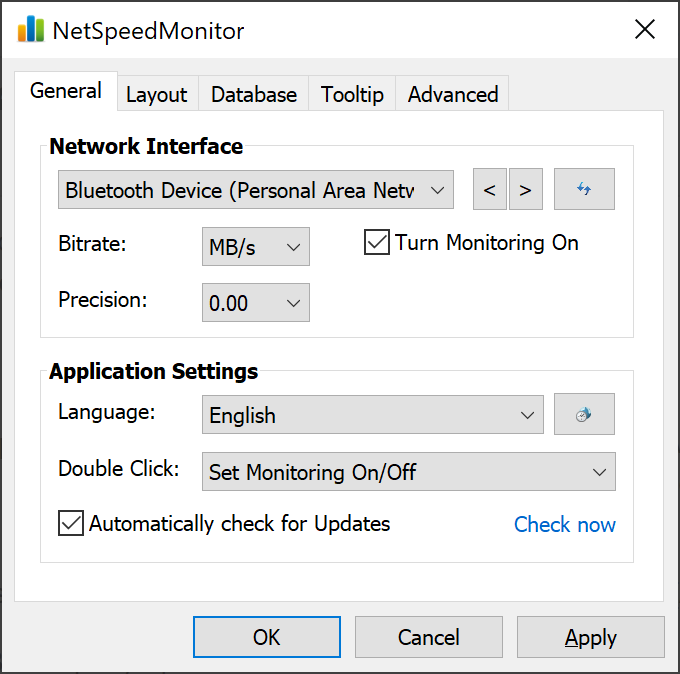
Step 8. Now, a configuration window will open to make any changes to your language and network adapter if you wish. Click Save when they are correct.
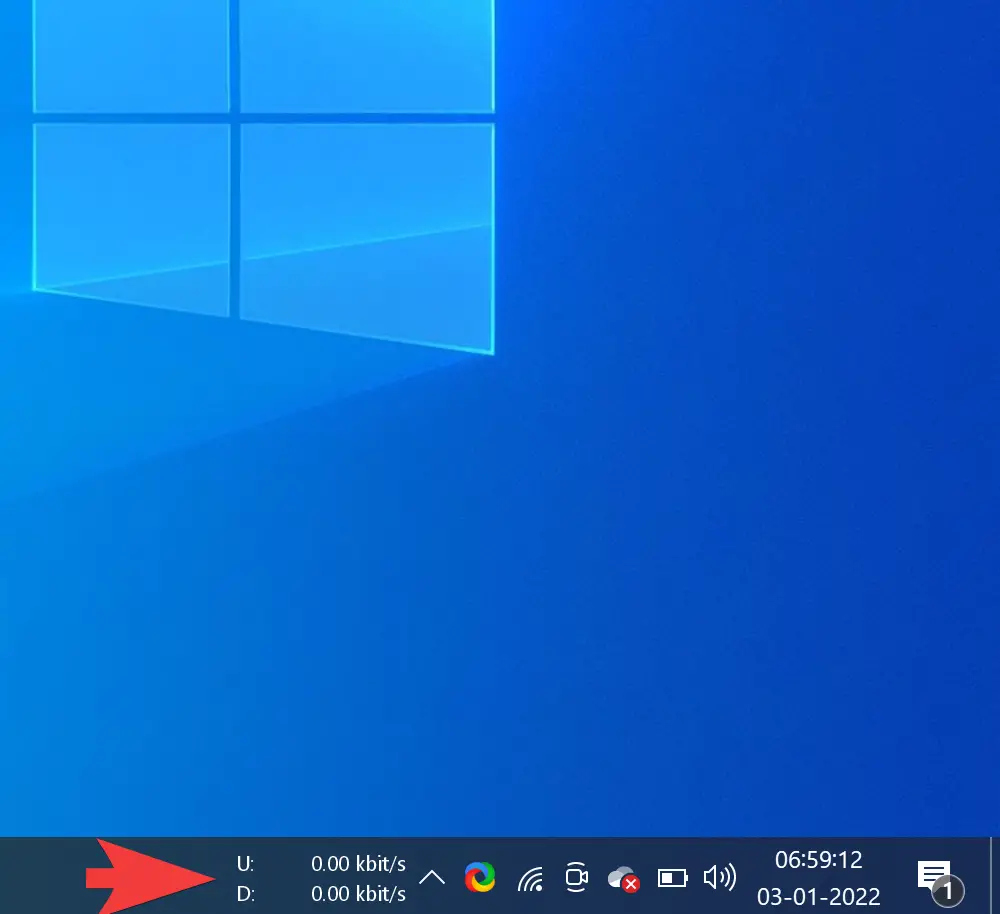
After hitting the Save button, the download and upload speed toolbar will appear on the right side of the taskbar, just before the system tray/notification area.
How to use NetSpeedMonitor?
By default, NetSpeedMonitor estimates the Internet speed in Kbit (Kilobits). You may change that to Mbit (Megabits) since most Internet Service Providers report speeds in Megabits per second. To change this setting, do the following:-
Step 1. Right-click on the NetSpeedMonitor speed display on the taskbar and select Configuration.
Step 2. Click on the drop-down menu beside Bitrate and select Mbit/s.
Step 3. Click Apply/OK if you don’t want to change other options in this tool.
If you wish, you can make other adjustments, such as the font family, size, language, toolbar alignment, selecting network device, etc.
Download NetSpeedMonitor
You can download NetSpeedMonitor from Softpedia.
Conclusion
In conclusion, displaying internet speed on the taskbar of Windows 10 or 11 is a useful feature that can help users monitor their internet speed without having to open a separate app or browser window. Although Windows doesn’t offer this feature by default, it can be easily achieved by downloading and installing third-party software like NetSpeedMonitor. By following the steps mentioned in this article, users can easily set up and configure NetSpeedMonitor to display their internet speed on the taskbar. With this tool, users can also change the units of measurement and customize other settings to suit their preferences. So, if you’re looking to display your internet speed on the taskbar, give NetSpeedMonitor a try.