Have you recently upgraded from Windows 10 to Windows 11? Do you want to reinstall Windows 10 and delete Windows 11 OS? If you have upgraded your PC to Windows 11 and are not happy and want to go back to Windows 10, there are at least two ways to do it. You can easily switch from the new Windows 11 to the stable old Windows 10.
How to Downgrade from Windows 11 to Windows 10 using the Settings app?
Using the Settings app, you can erase Windows 11 and go back to the previous stable build of Windows 10. Here is how to do it.
Note: This option is valid only if you upgraded to Windows 11 in the last 10 days. You can easily and quickly "Roll Back" to previous Windows 10 installations. Because Windows only keeps your old operating system files for 10 days only. After 10 days, the previous Windows installation is deleted automatically. It is also possible to delete it manually using a tool like Disk Cleanup or any third-party cleaning app.
Ensure to back the important files on an external hard disk or USB flash drive and then do the following:-
First Way:
Step 1. Open the Settings app by pressing Windows + I keys from the keyboard.
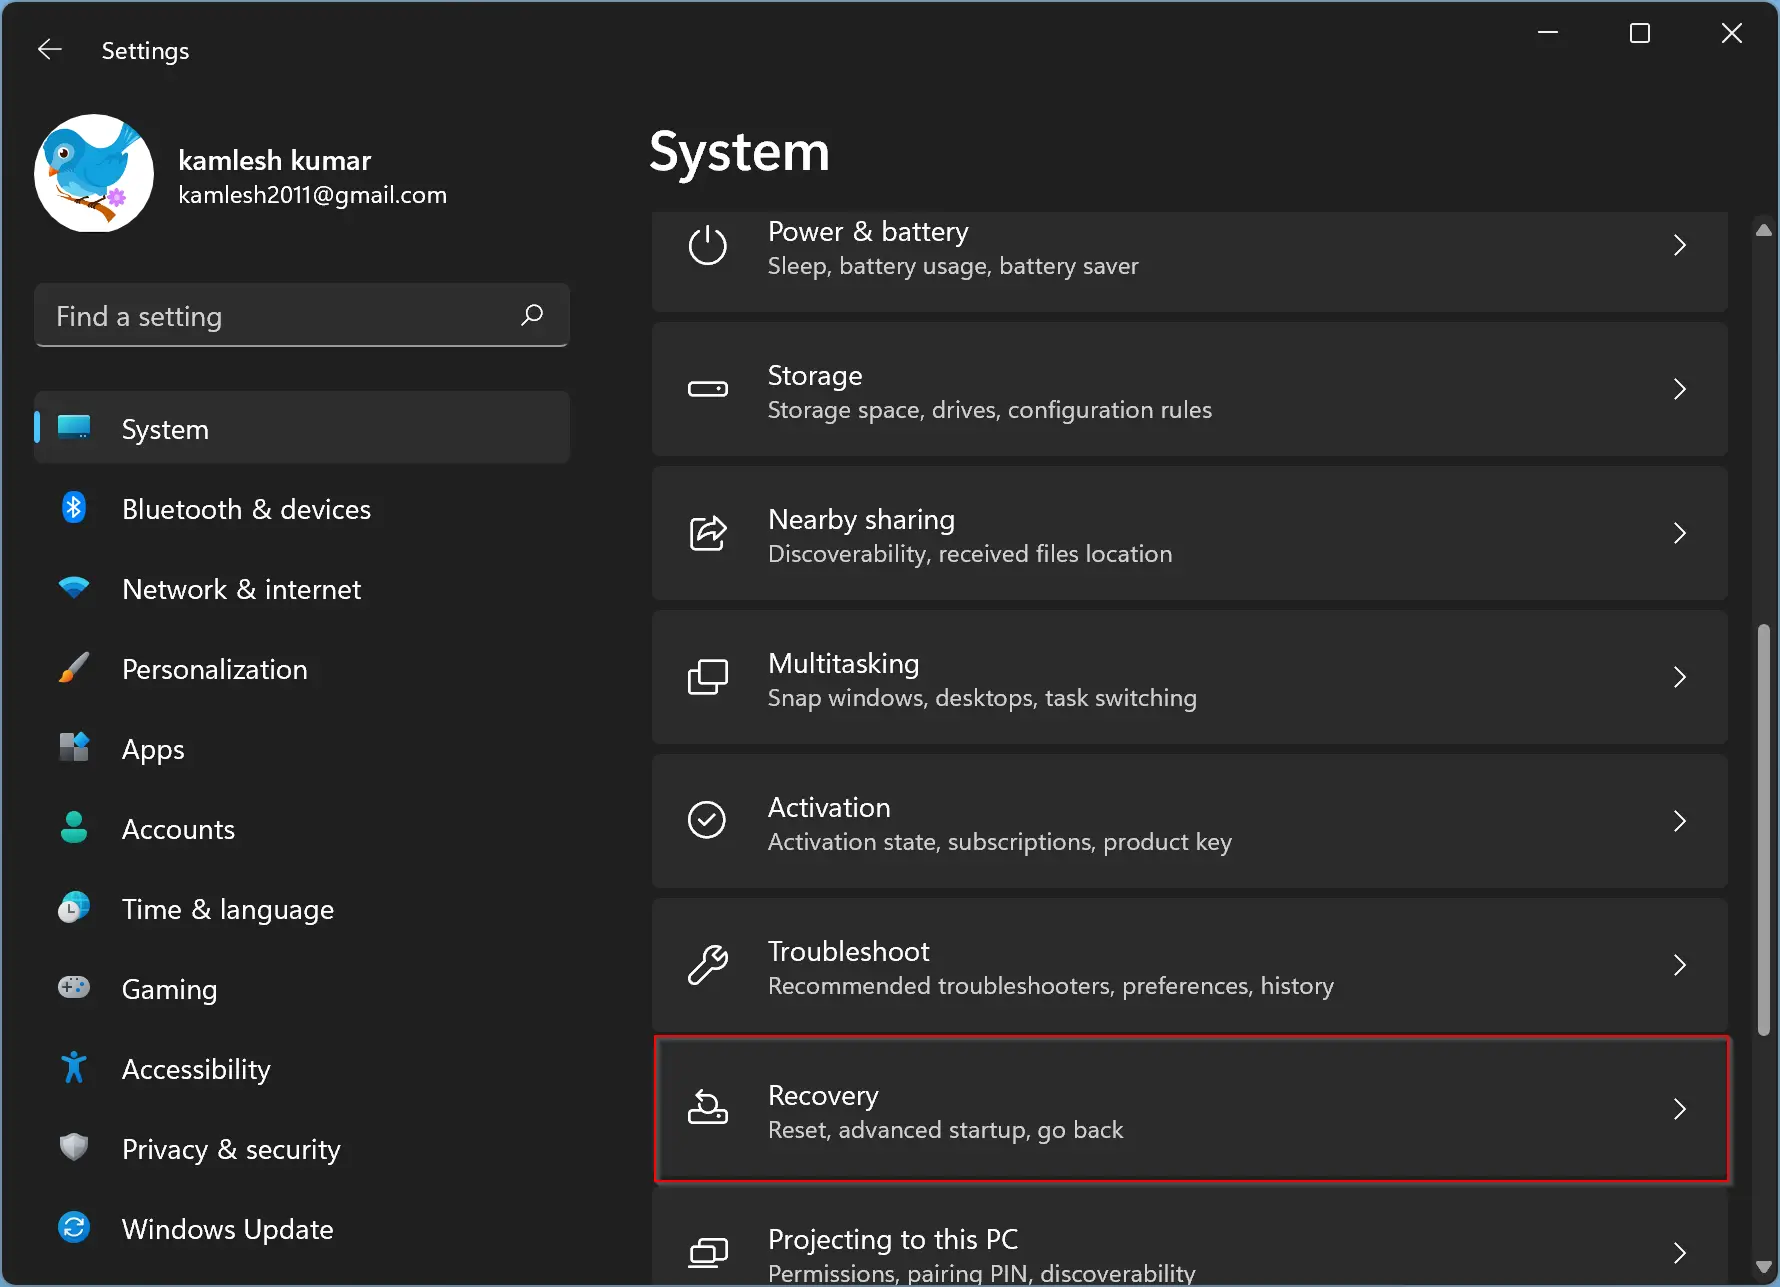
Step 2. In the Windows Settings, navigate to the System category.

Step 3. On the right-side pane of the System, click on the Recovery option.
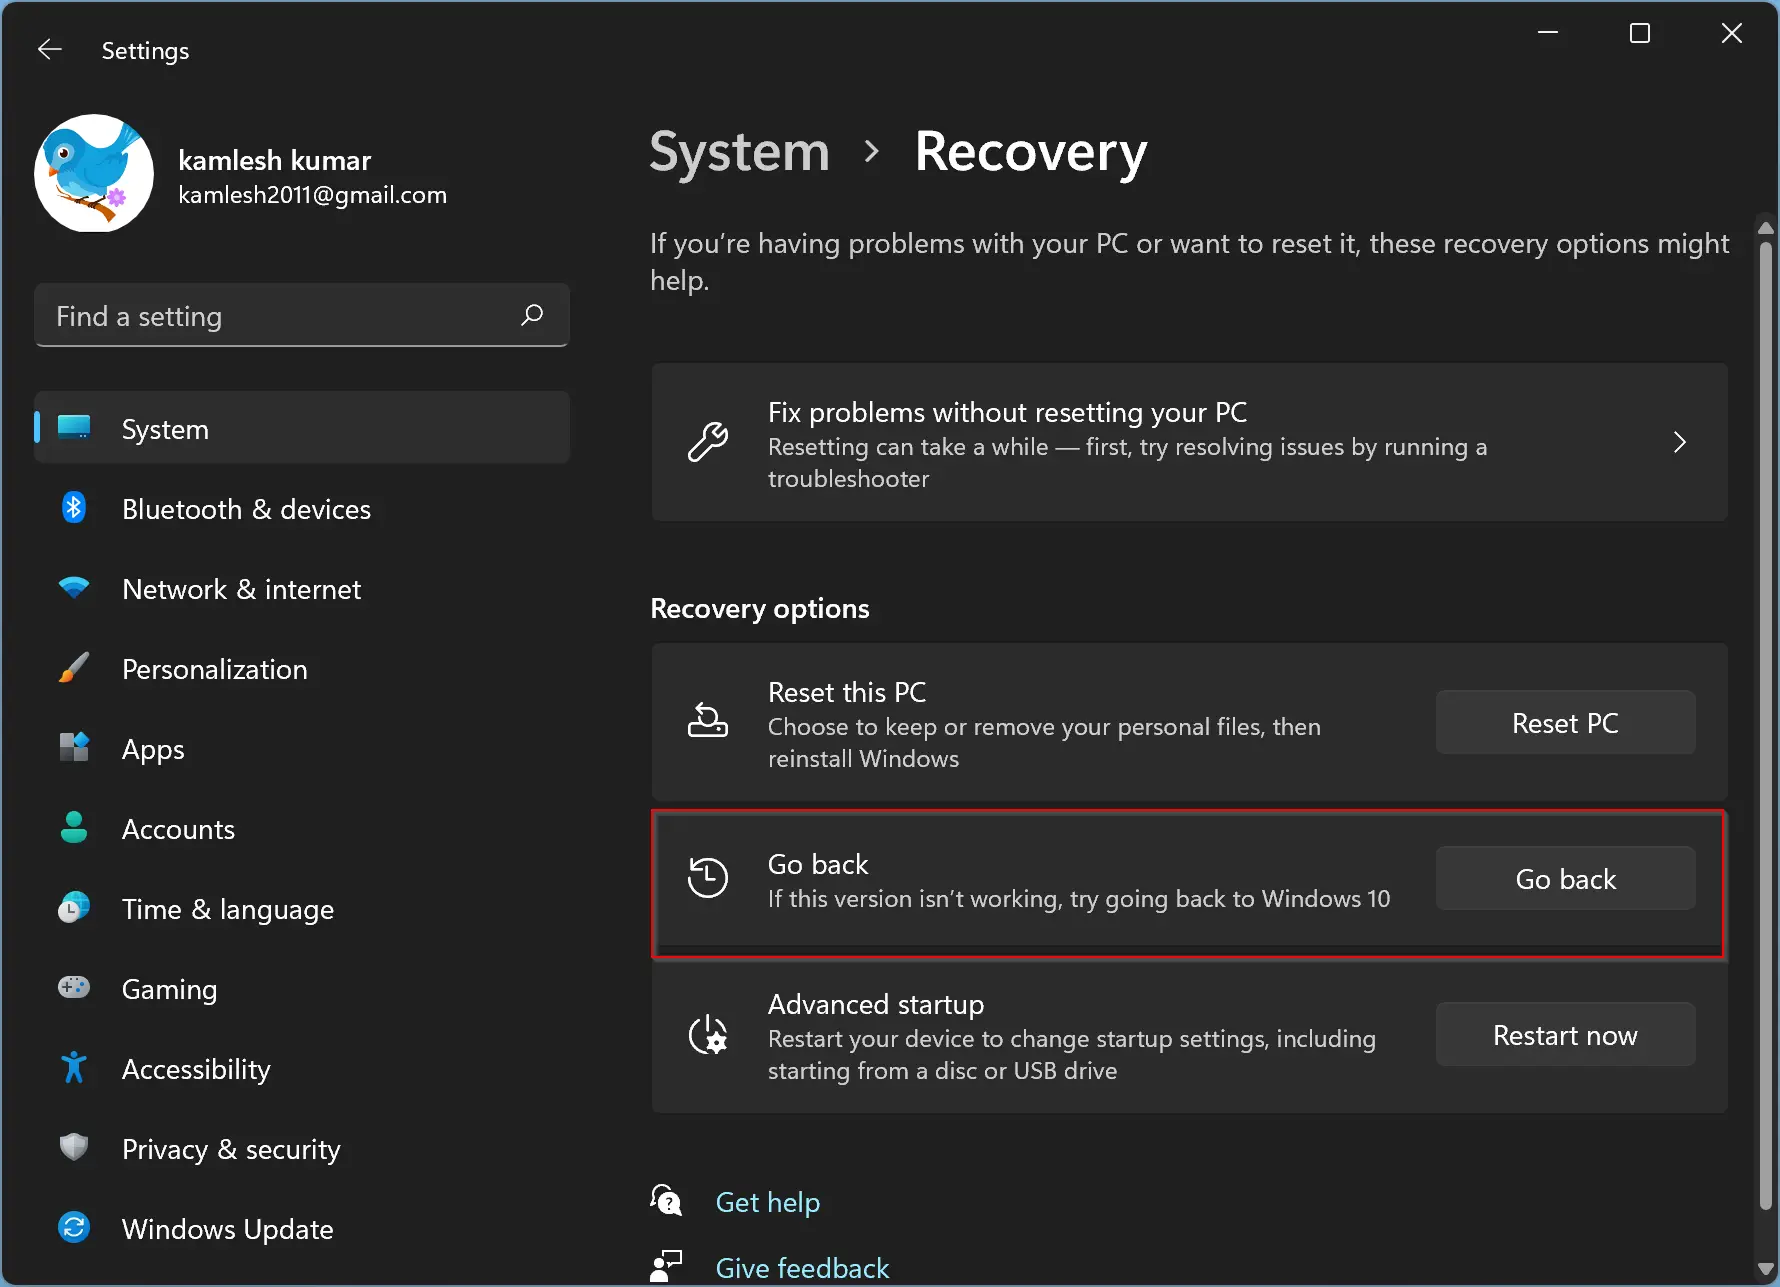
Step 4. Under the Recovery options section, you’ll see a “Go back” button. Click the Go back button, and your computer will roll back to Windows 10. This option will completely replace your current Windows 11 system with your old Windows 10 system.
Second Way:
Step 1. Open the Settings app by pressing Windows + I keys from the keyboard.
Step 2. In the Windows Settings, click the Windows Update category from the left side pane.
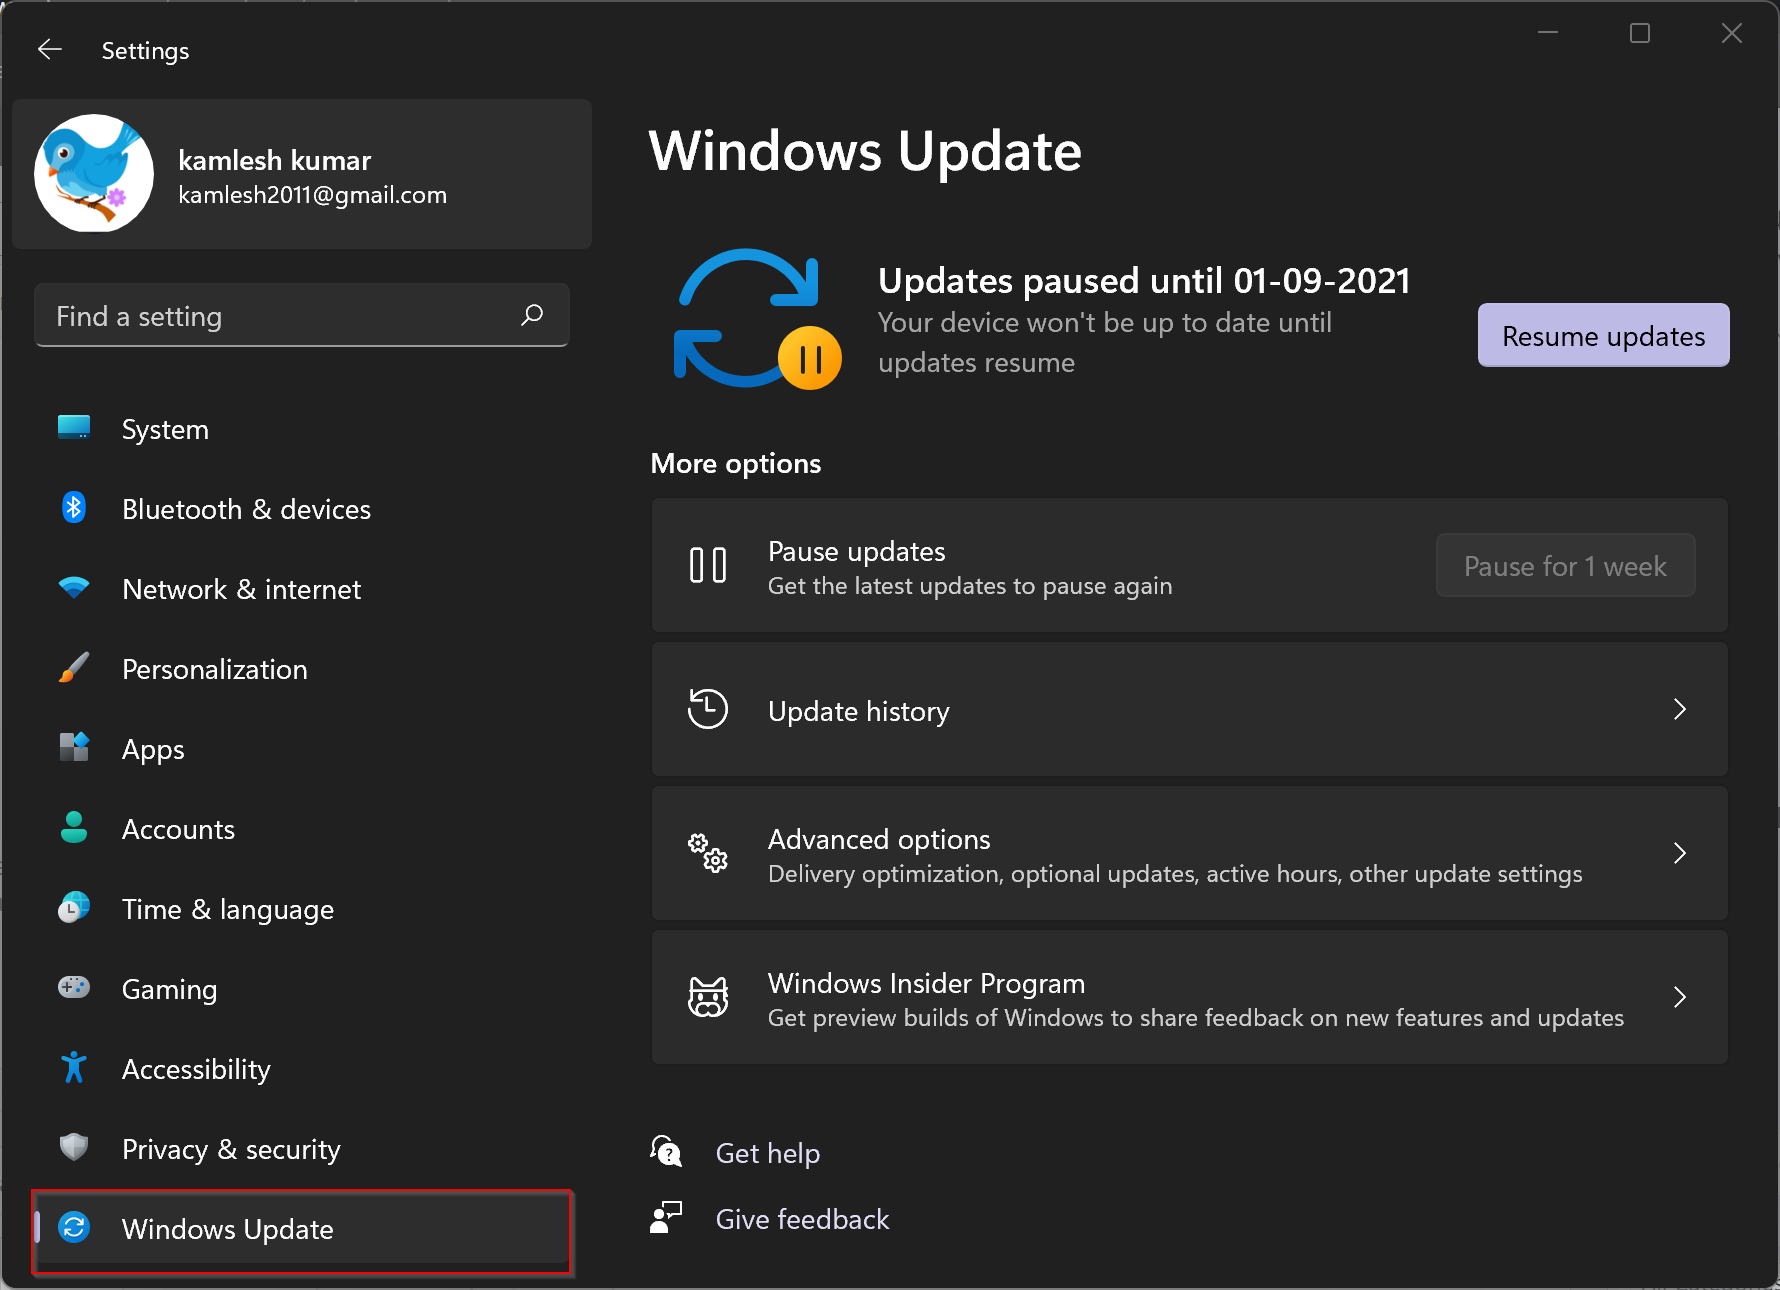
Step 3. On the right-side pane of the Windows Update, click on the Advanced options.
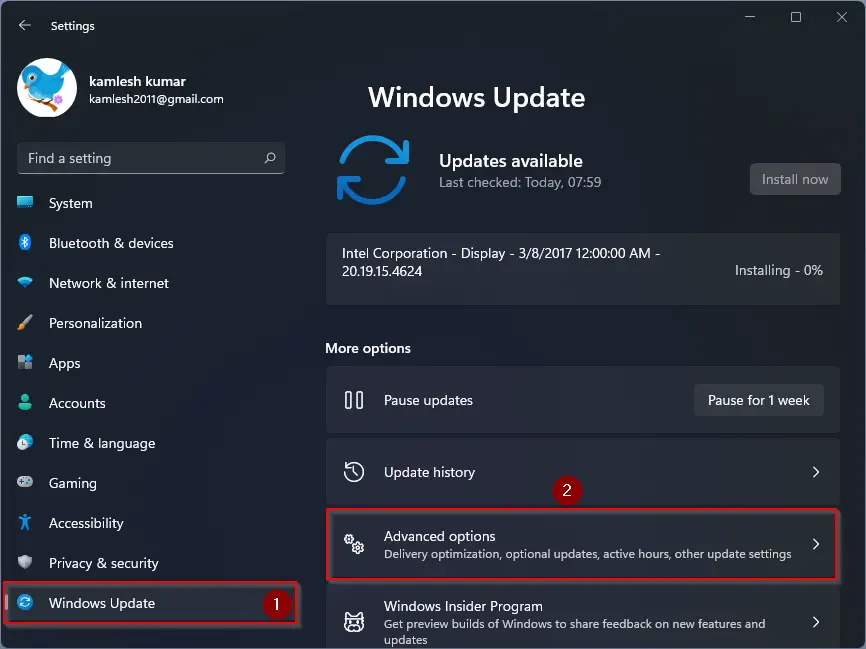
Step 4. Click Recovery.
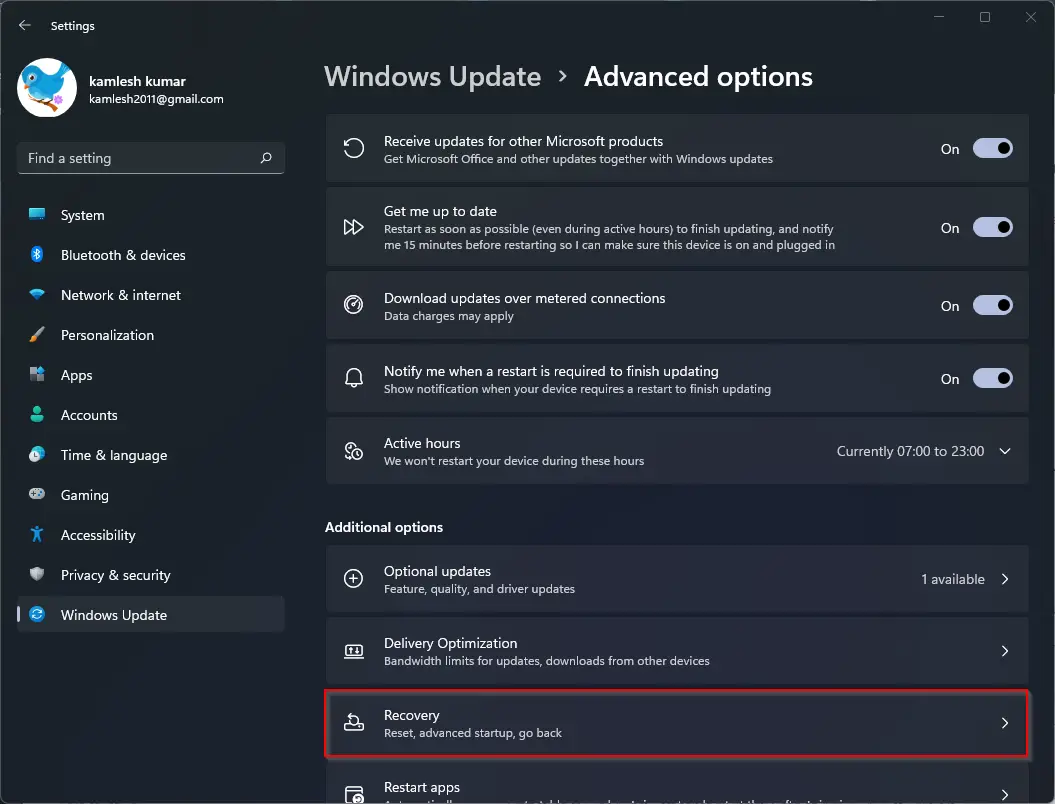
Step 5. Now, the above option will take you to the Settings > System > Recovery page. Click the Go back button.
How to Remove Windows 11 and Install Windows 10?
If your Windows 11 is more than 10 days old, you will see the “Go back” button is greyed out in the Windows Settings. That means you need to reinstall Windows 10. Once you have done the backup of the important file, proceed with the following steps:-
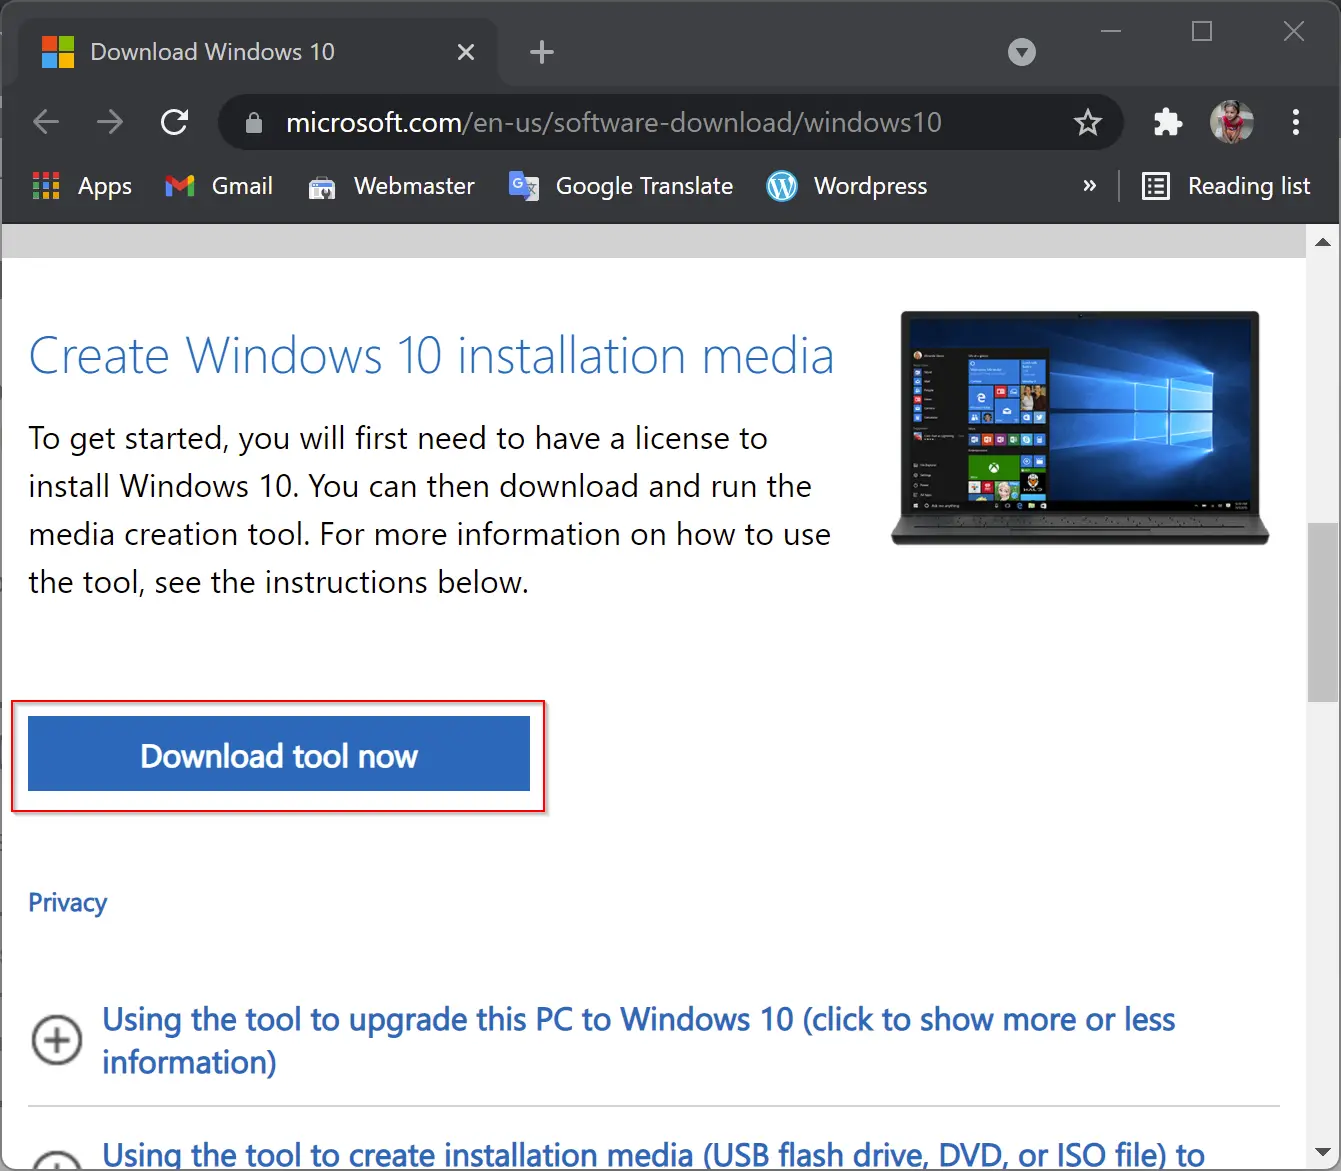
Step 1. Navigate to Microsoft’s Download Windows 10 page.
Step 2. Scroll down and click Download Tool Now under Create Installation Media to download Microsoft’s Windows 10 setup tool (Size is around 18.30 MB).
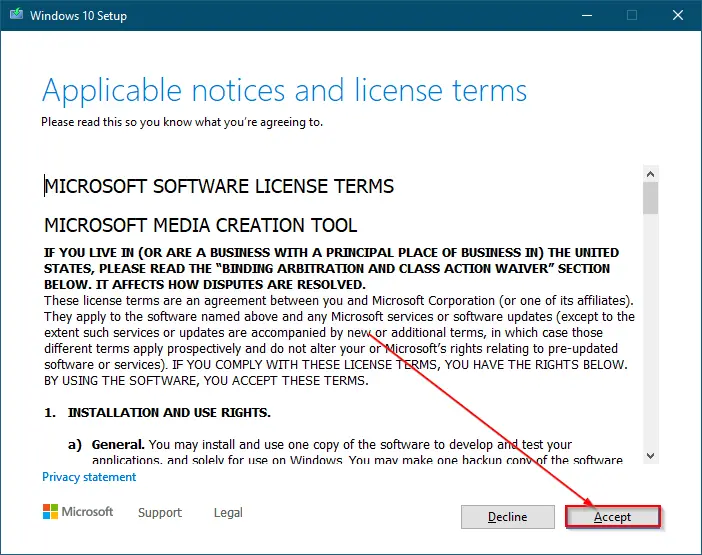
Step 3. Double-click on the downloaded MediaCreationTool.exe file to run it.
Step 4. Click the Accept button.
Step 5. To reinstall Windows 10 on your machine, select Upgrade this PC Now on the “What Do You Want to Do?” screen.
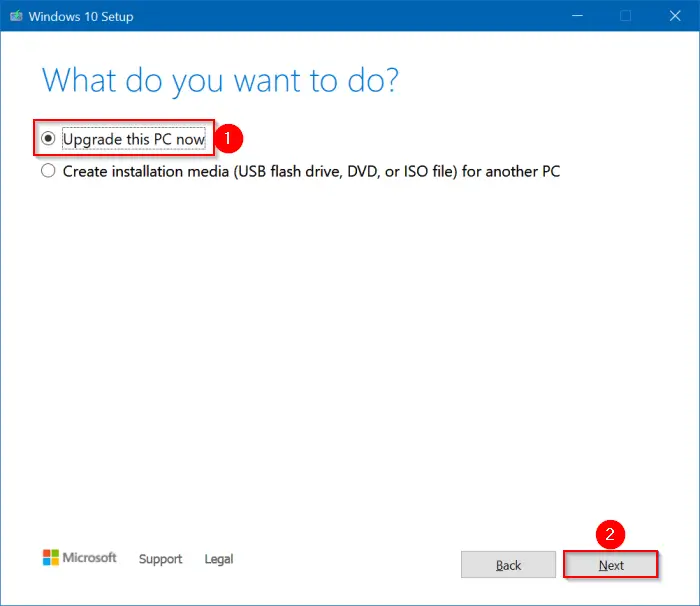
Step 6. Click Next.
Step 7. The Media Creation Tool will start downloading the files from Microsoft servers.
Step 8. Once the downloading of files is completed, you will see the license screen again. Click on the Accept button.
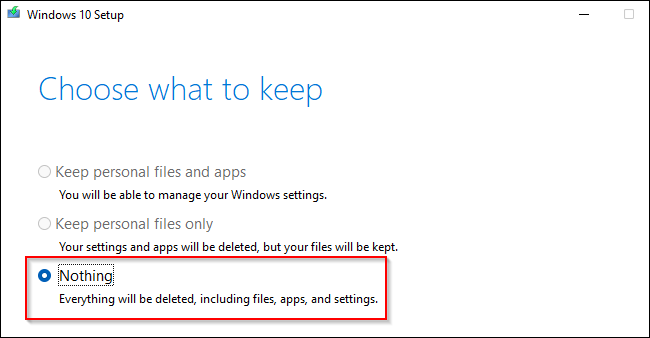
Step 9. The Windows 10 Setup program will download Windows 10 from Microsoft’s server and get things ready. Wait till the download is completed up to 100%. Next, select Nothing on the “Choose what to keep” screen. During the installation of Windows 10, everything will be erased from your system drive, including your personal files.
Now, Windows will reboot and continue with the setup process.
Conclusion
In conclusion, if you recently upgraded to Windows 11 and want to go back to Windows 10, it is possible to do so within 10 days using the “Go back” option in the Settings app. However, if more than 10 days have passed, the option will be greyed out, and you will need to reinstall Windows 10 using the Media Creation Tool. It is important to back up all important files before downgrading or reinstalling the operating system. By following the steps mentioned above, you can easily switch back to the stable old Windows 10 from the new Windows 11.