Windows 11 comes with a lot of fonts, and they are stored in the C:\Windows\Fonts folder. Still, if you are unhappy with these fonts, you can download and install more fonts. Further, you can use newly installed fonts in system and office applications.
You can find a lot of fonts online, including the Google Fonts website. Generally, these fonts remain packaged in a zip file. That means you need to unzip the downloaded zip file to install it on your computer. Since Windows applications access the fonts from the C:\Windows\Fonts folder, you can also add fonts on your Windows 11 PC by dragging them to this folder after unzipping.
How do I Install or Uninstall Fonts on Windows 11?
Follow these steps to install and uninstall Fonts on Windows 11:-
Step 1. To install a font on your Windows 11 PC, download it from any website. For example, we will use the fonts.google.com website, where a lot of custom fonts are available.
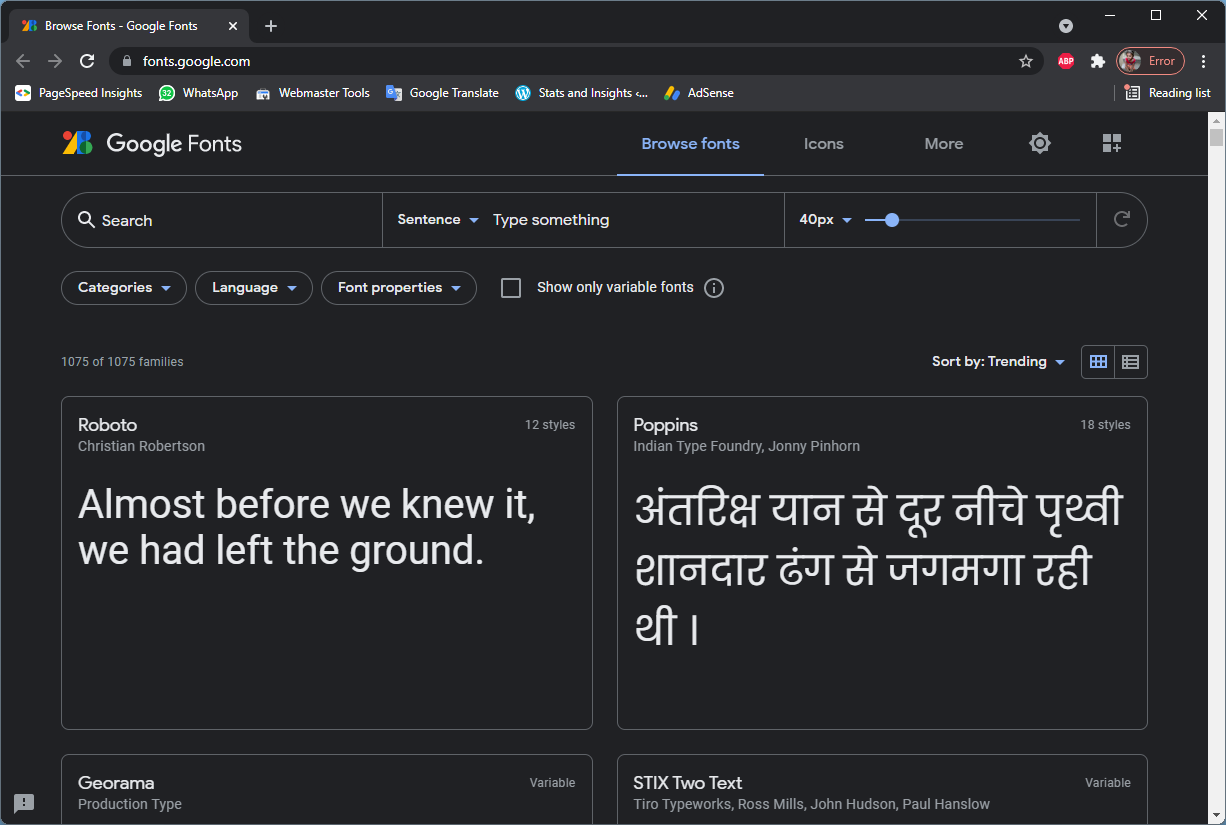
Step 2. Download a font of your choice that you want to use on your computer.
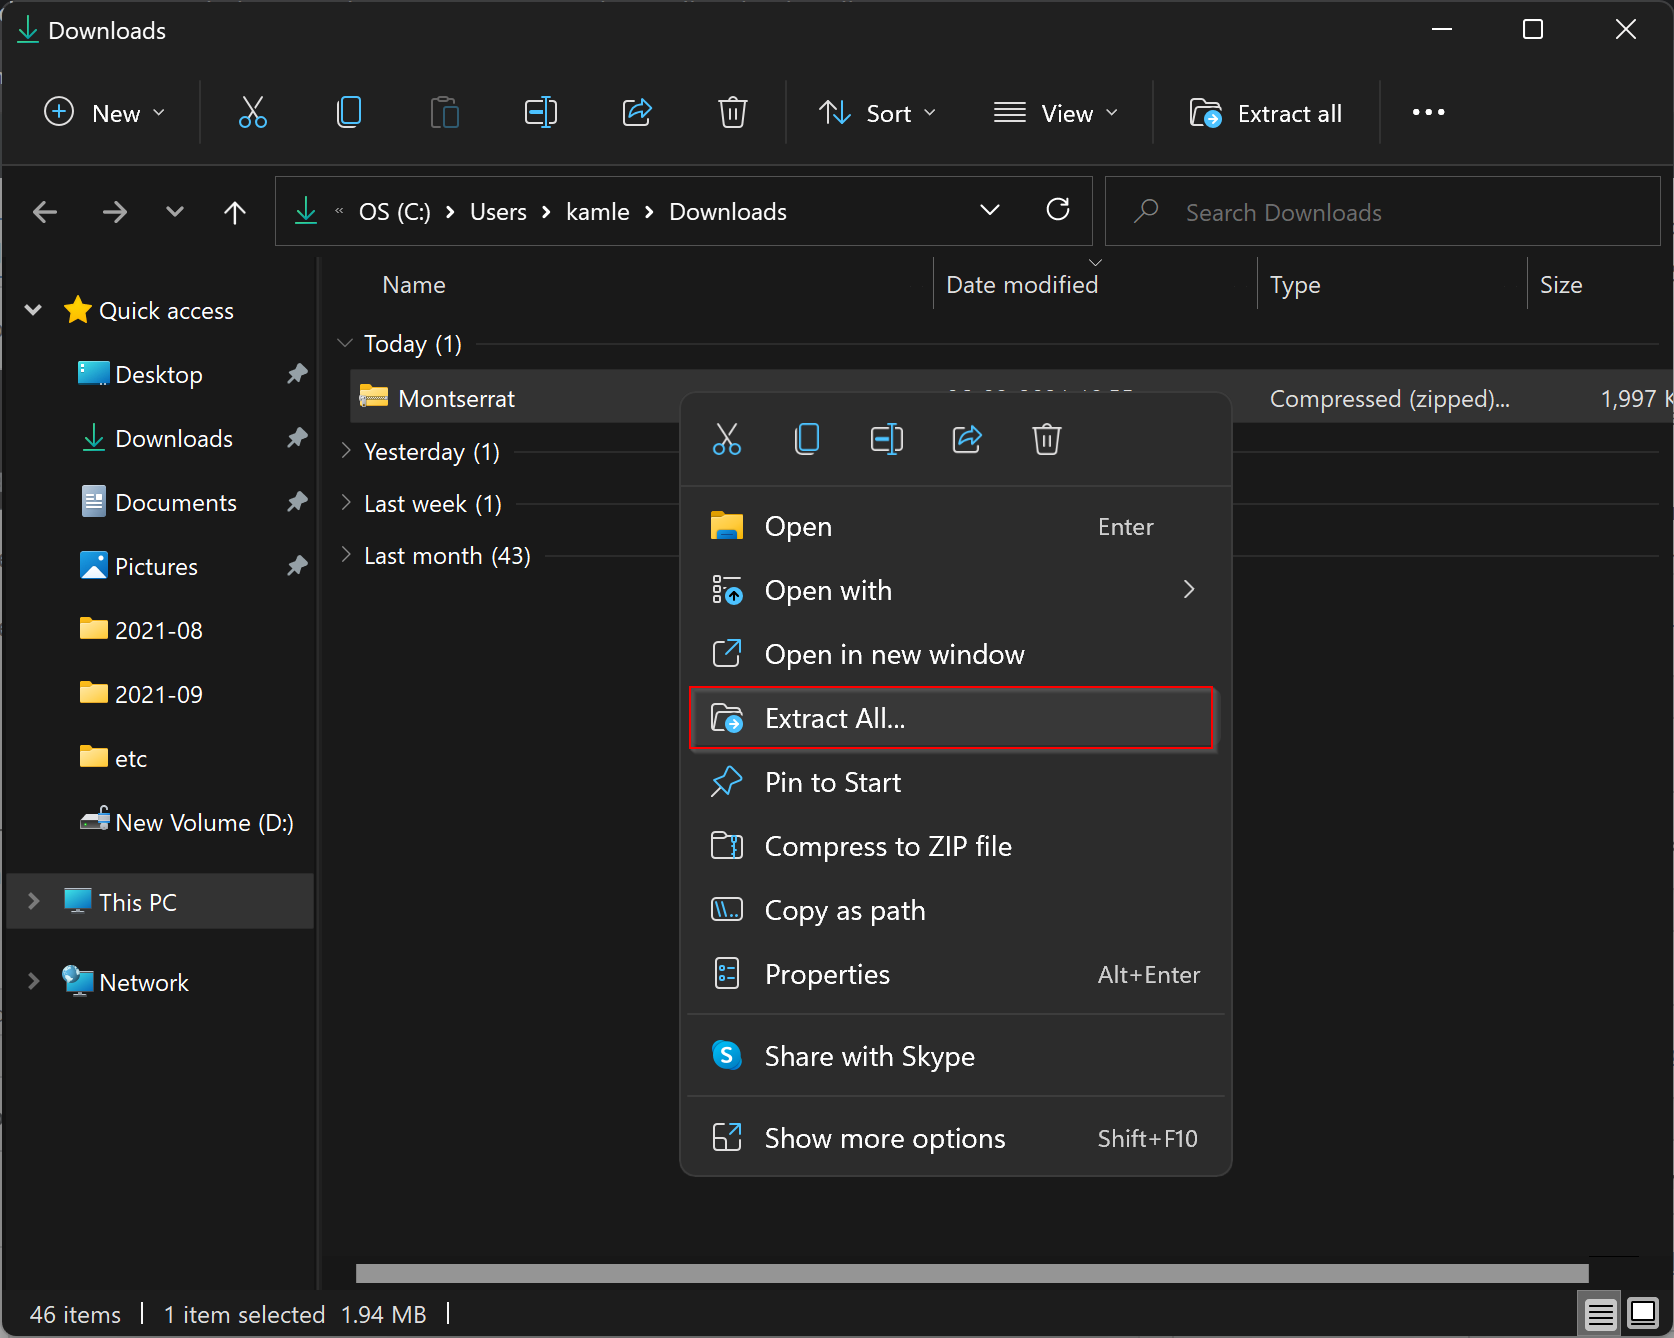
Step 3. Right-click on the downloaded font file and select the Extract all option.
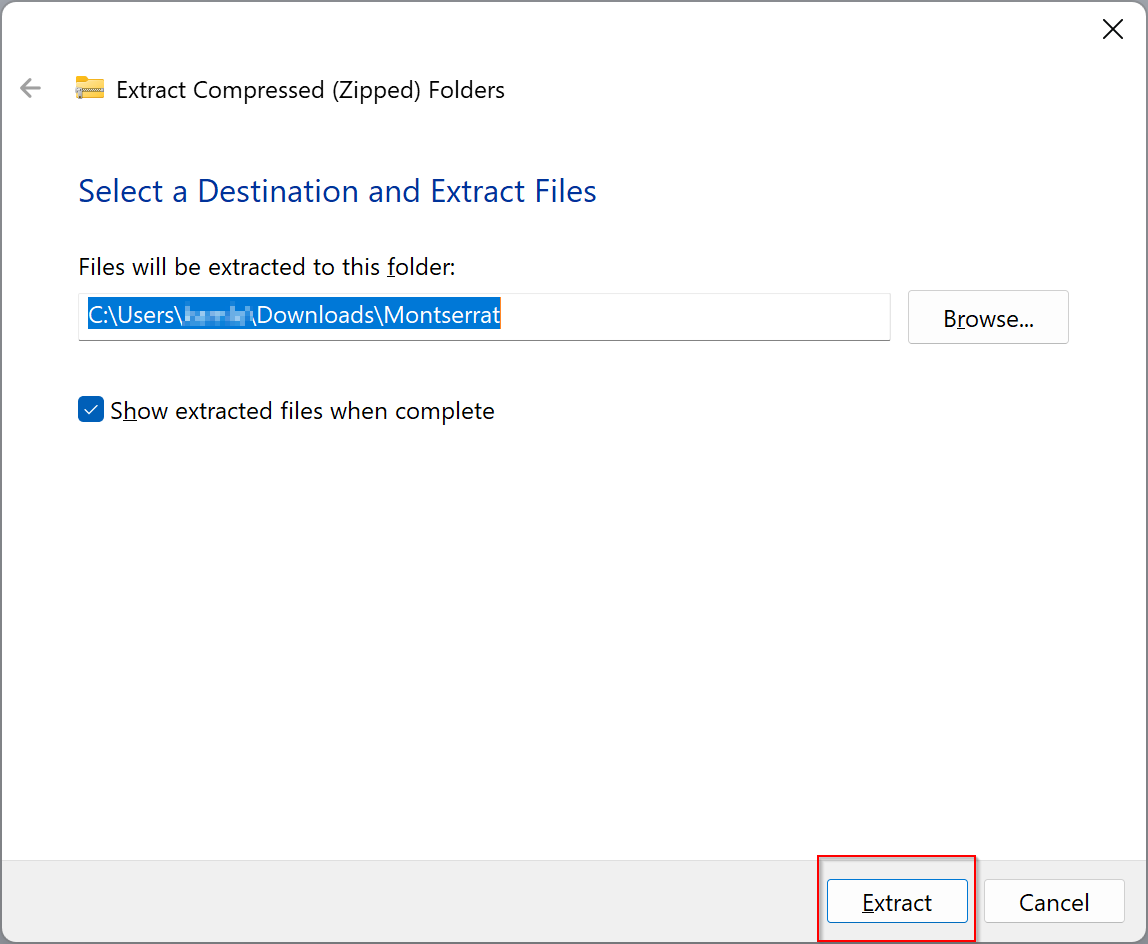
Step 4. Click the Extract button when the pop-up window opens.
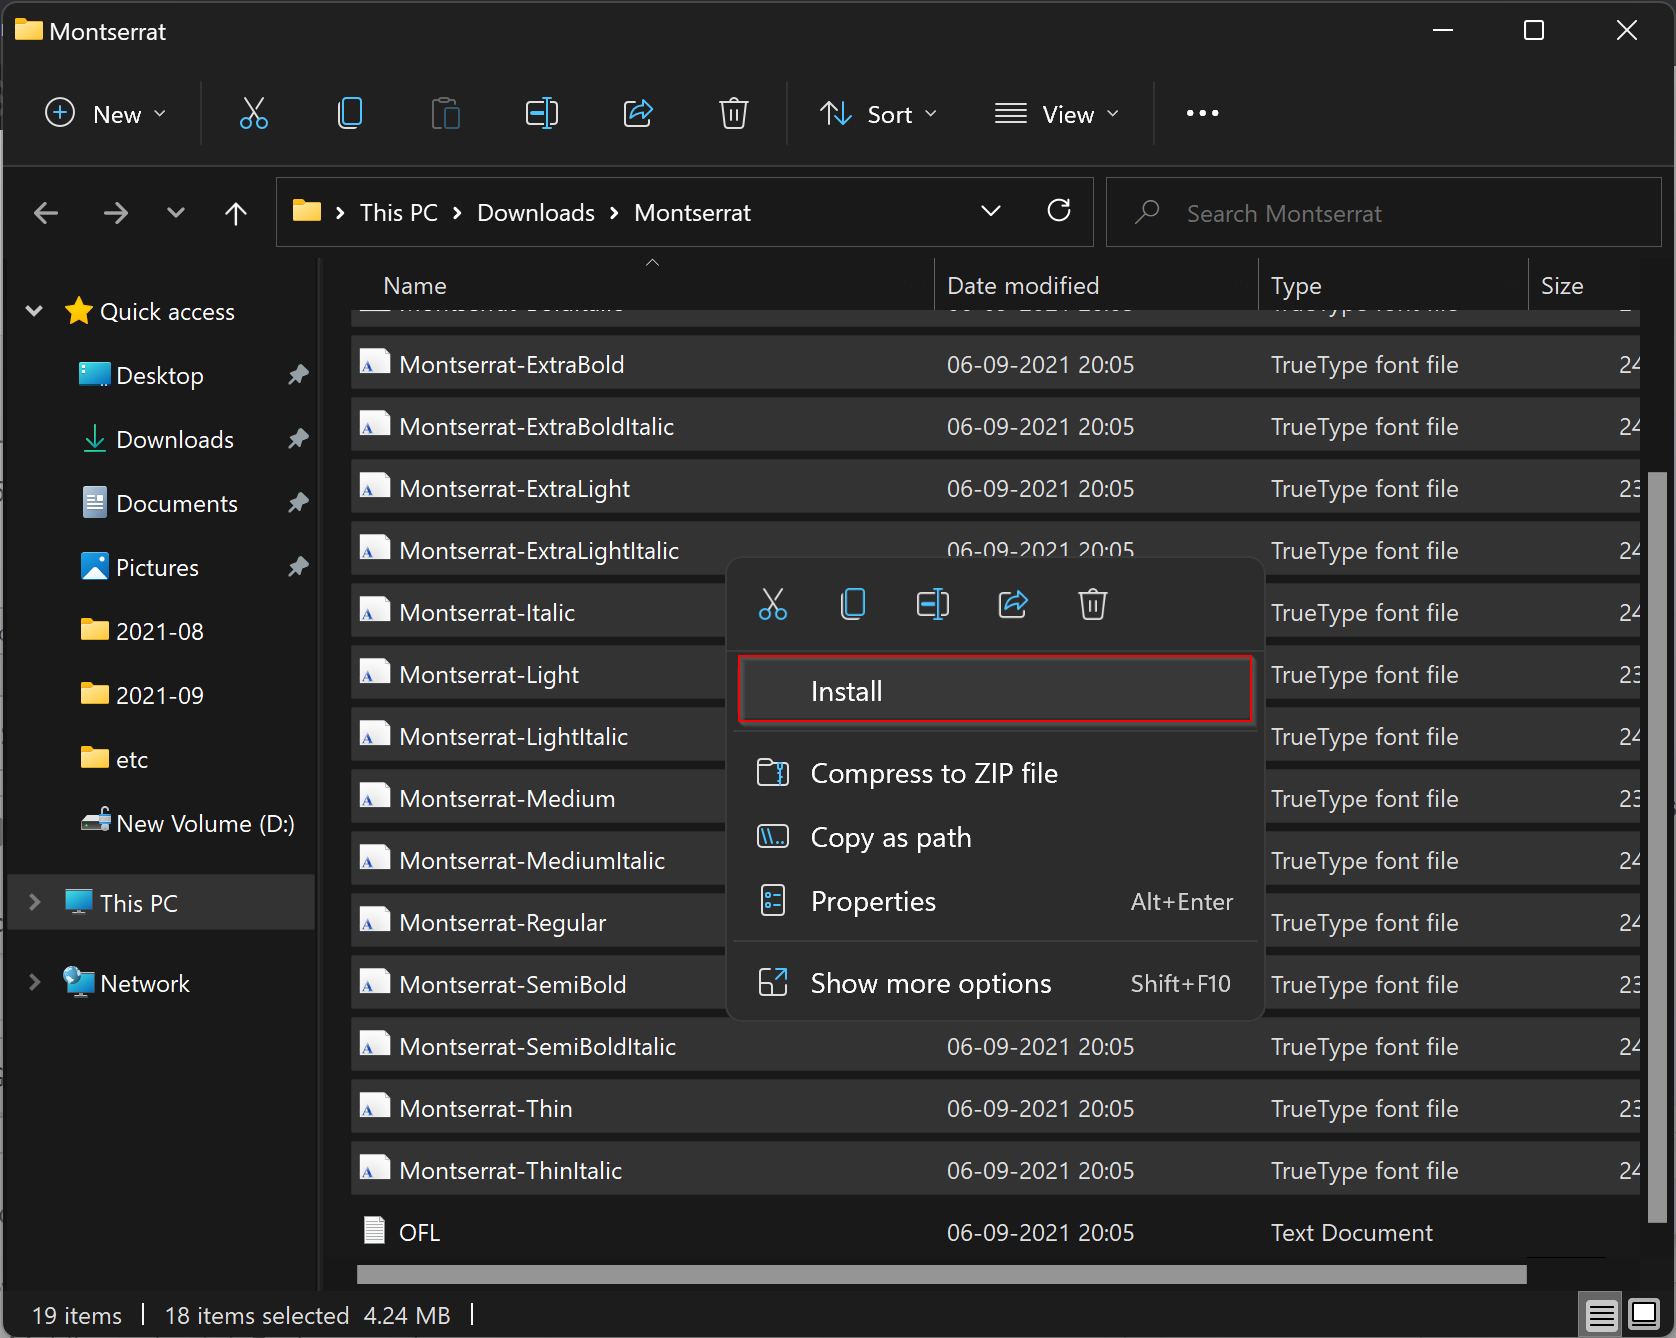
Step 5. Here, select all Font files and then perform a right-click and select the Install option in the pop-up menu.
That’s it. Now you have installed a new font on your Windows 11 PC. To test this font, open a notepad or any other application and check in Font’s place. You can see and use the newly installed font.

How to Manage and Delete Fonts on Windows 11?
Now that you have installed a custom font on your Windows 11, it will appear under the C:\Windows\Fonts folder. If you wish, you can always delete it from here. The deleted font will be completely removed from your computer.
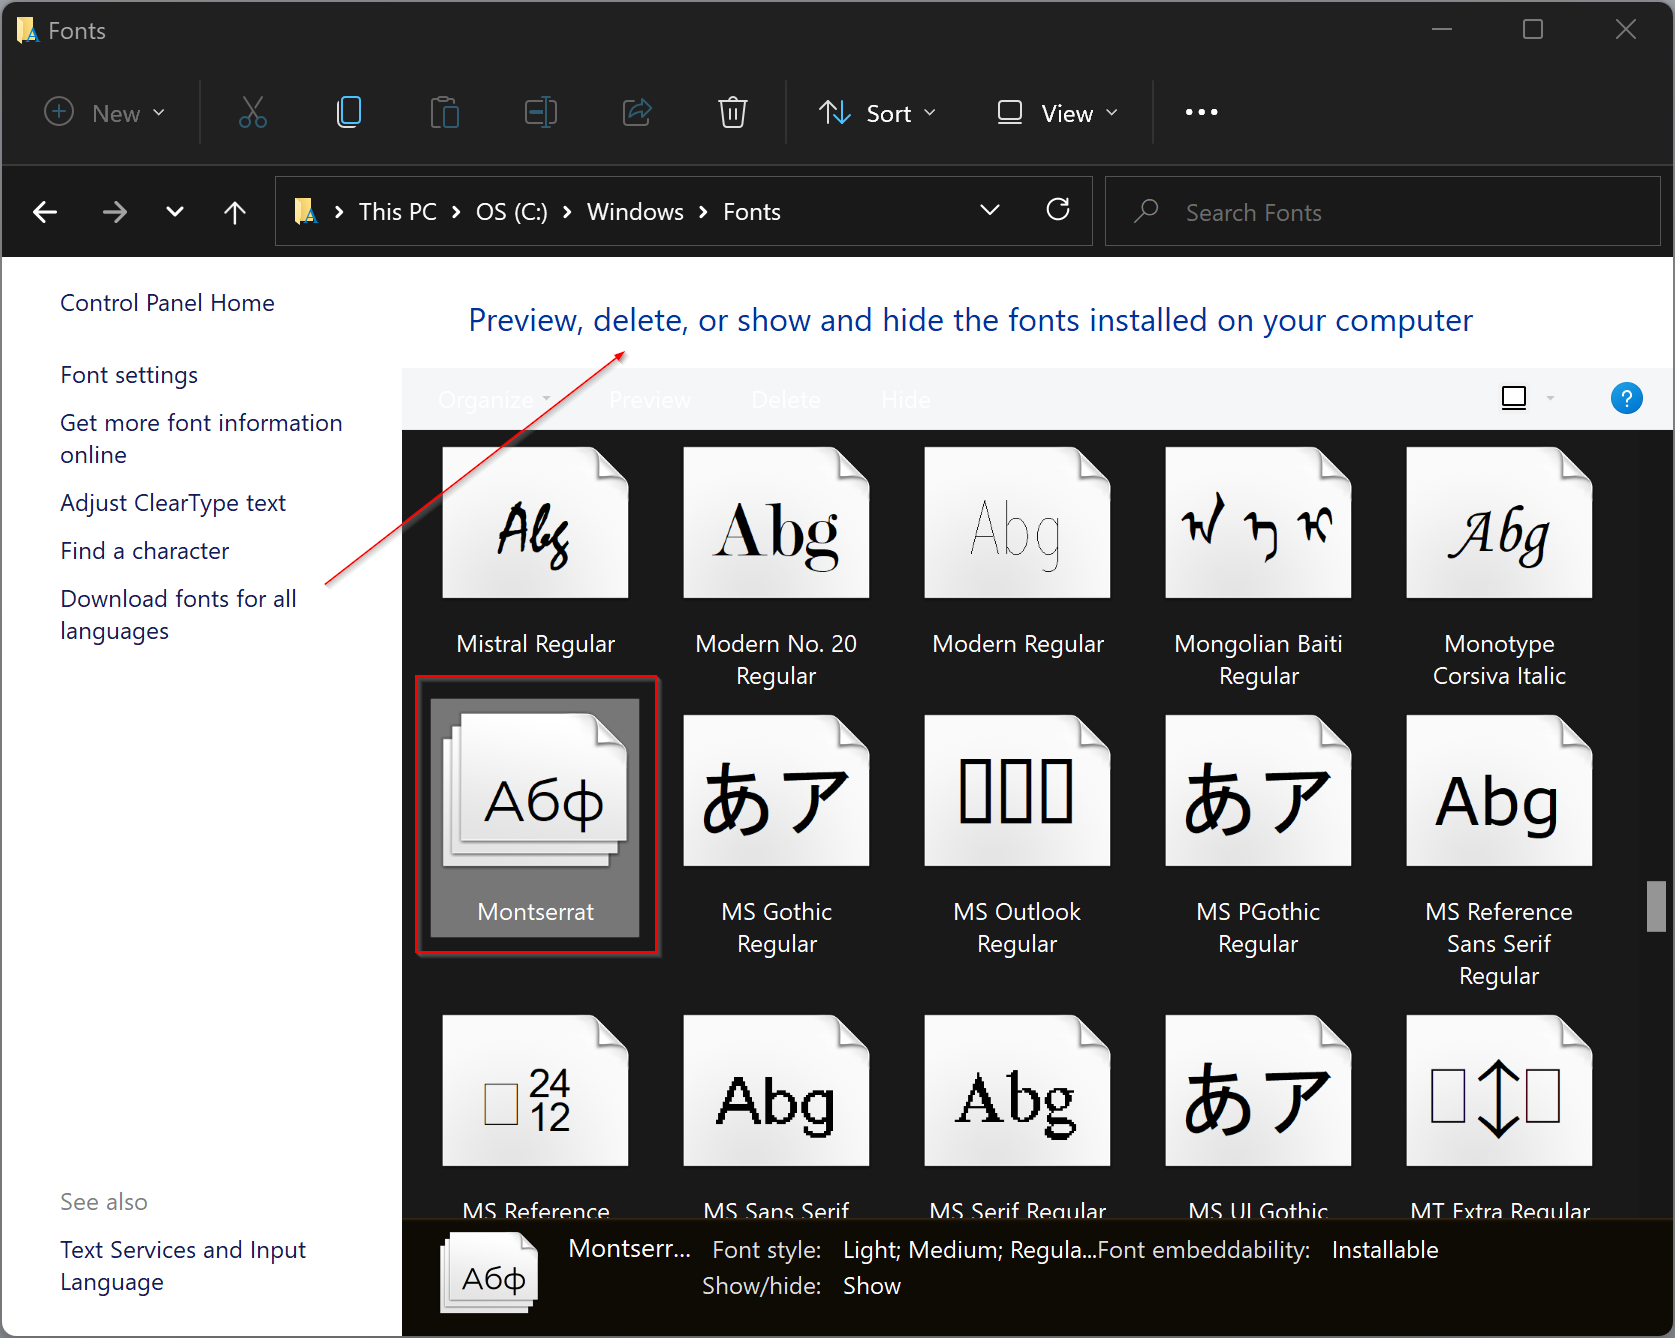
However, if you wish, you can manage fonts from the settings app, also. Using the settings app of Windows 11 allows you can uninstall a custom font from your PC. To do that, perform the following steps:-
Step 1. Open the Settings app by pressing the Windows + I keyboard shortcut.
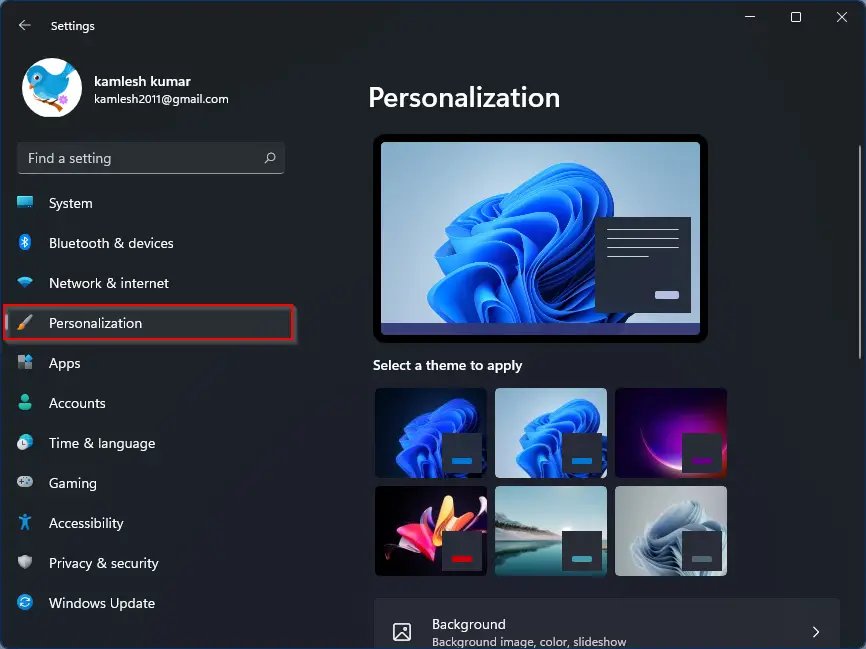
Step 2. Select Personalization from the left sidebar when the Settings page opens.
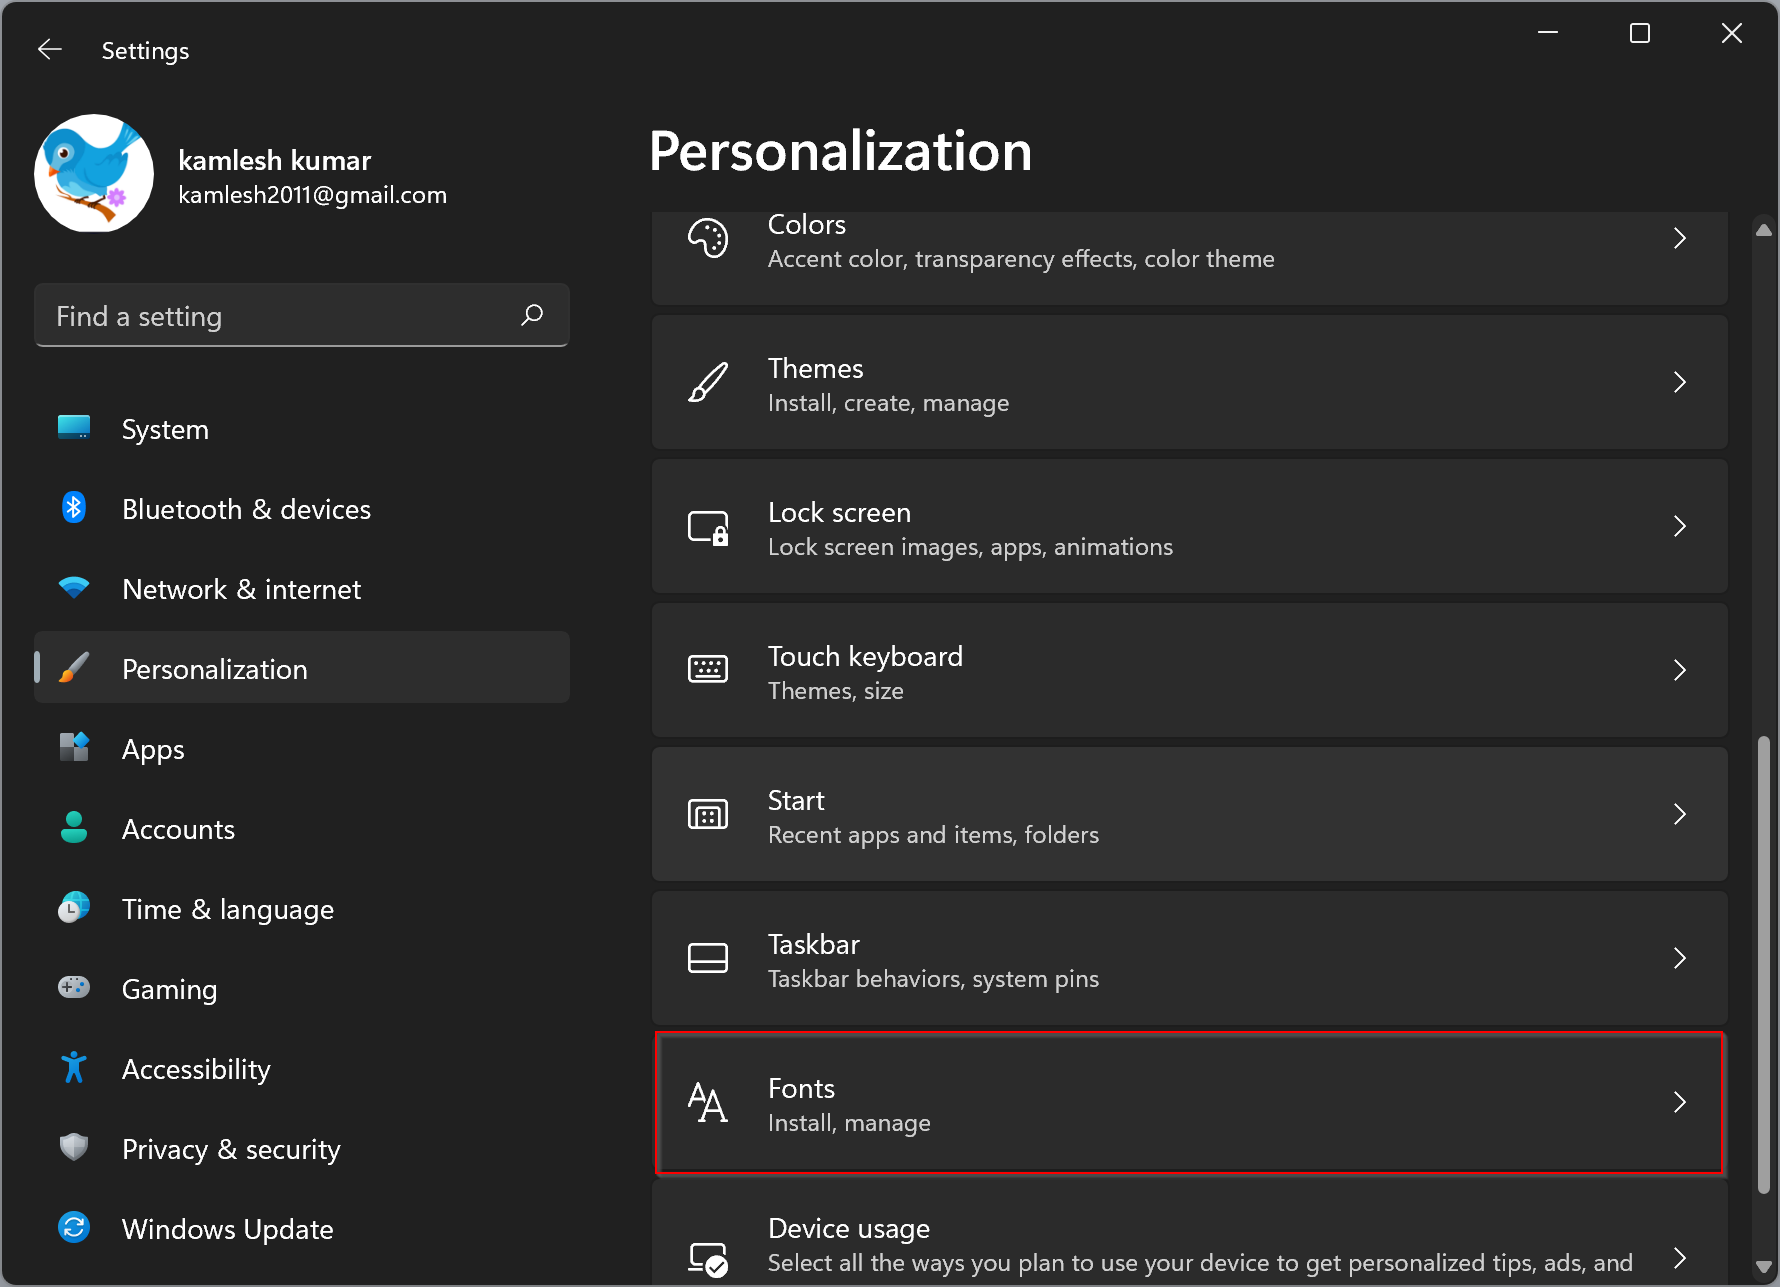
Step 3. Please scroll down to find Fonts and then click on that to open it on the right-sidebar.
Step 4. On the Fonts settings page, search for the font that you want to uninstall.
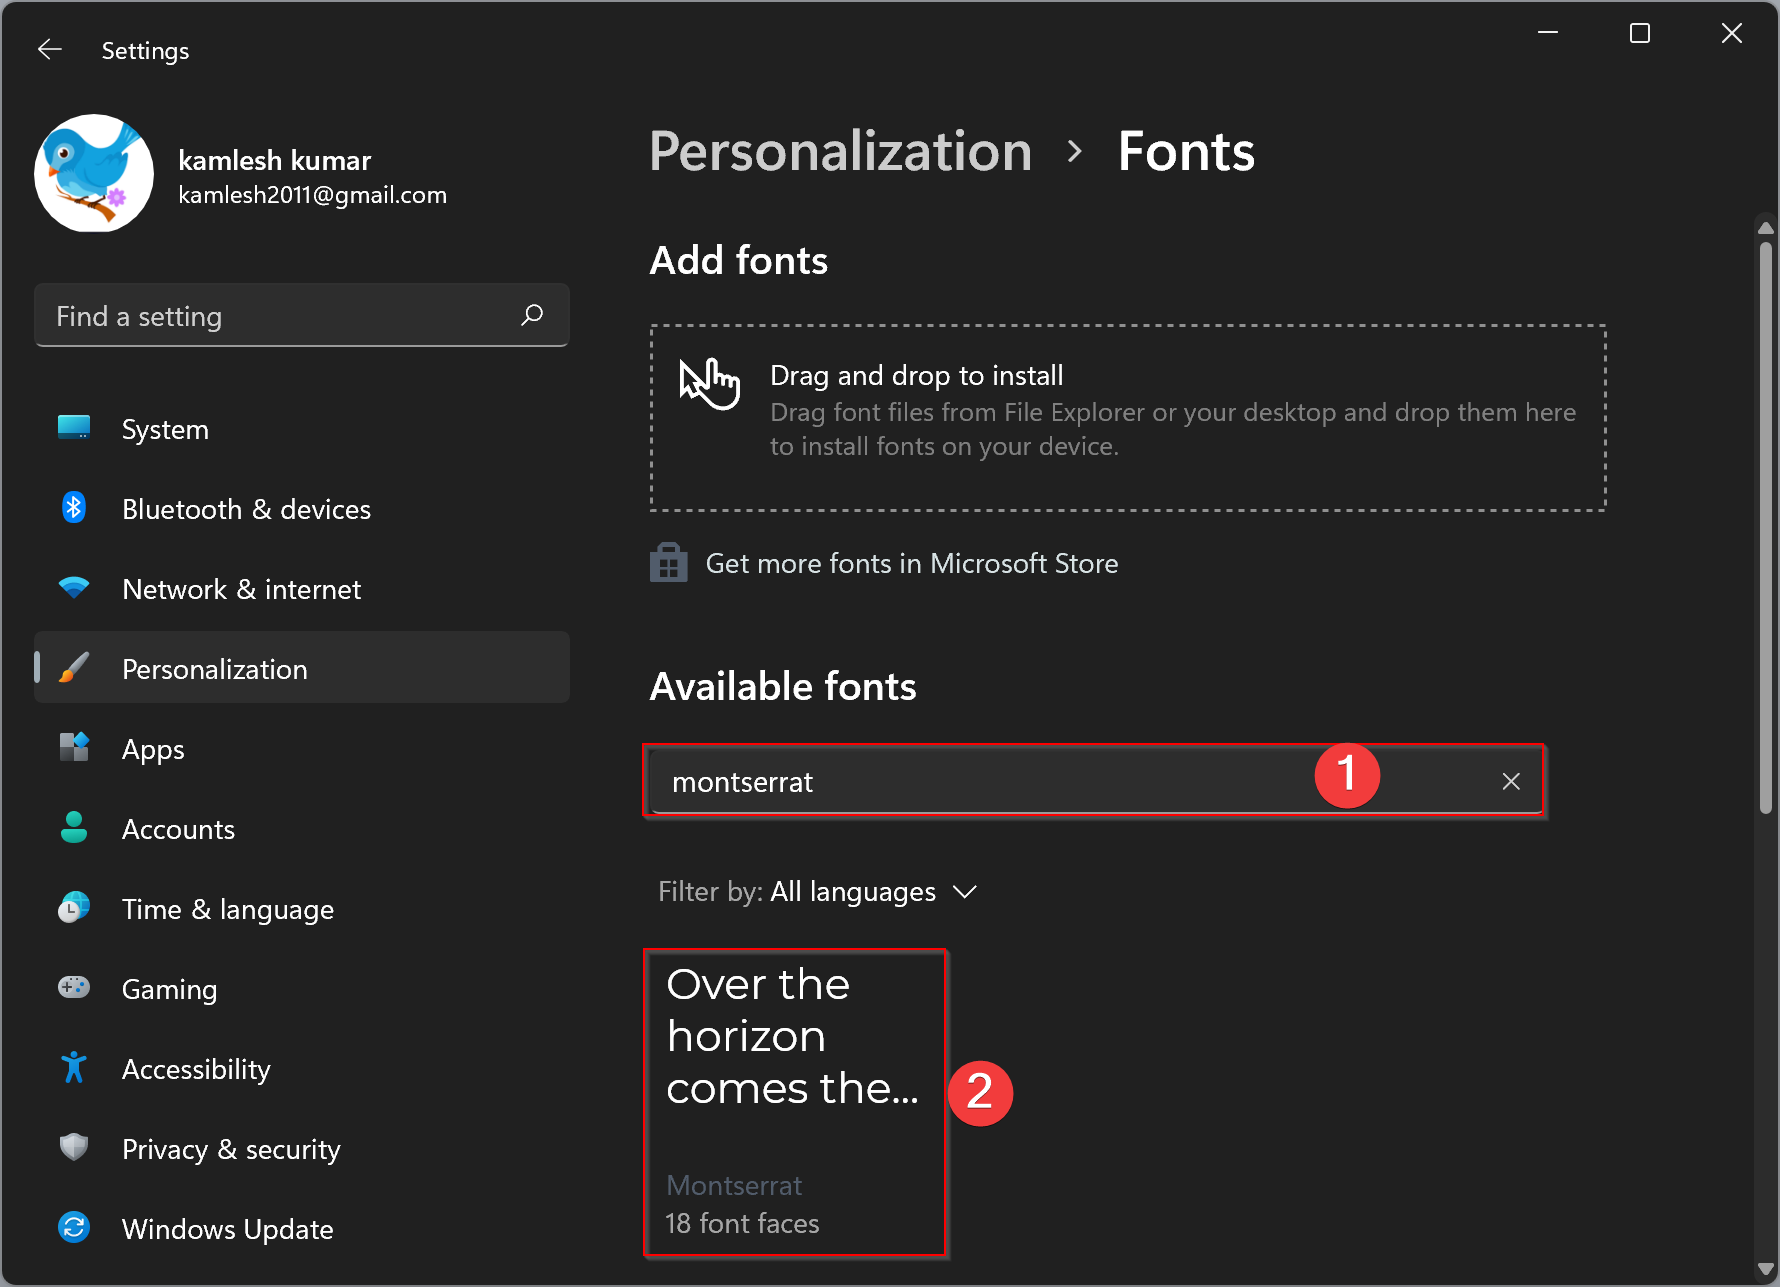
Step 5. Now, click on the Font name in the search results.

Here, you can preview the font, increase the font size, or can even uninstall it.
Conclusion
In conclusion, custom fonts can be easily installed and managed on Windows 11. You can download fonts from various websites and unzip them to install them on your computer. Once installed, you can use these fonts in system and office applications. To manage fonts, you can access the Fonts settings page in the Settings app and uninstall any custom font that you don’t need. With these simple steps, you can customize your Windows 11 PC with your favorite fonts.