With the rise of touchscreen devices, Windows 11 and 10 have introduced a convenient feature for users to control their mouse pointer without the need for a physical touchpad or mouse. The virtual touchpad is a built-in feature that functions similar to the physical touchpad, but it is displayed on-screen. Once enabled, this feature allows you to control the mouse pointer with your touchscreen by using the virtual touchpad. In this article, we will walk you through the simple steps required to enable and use the virtual touchpad on Windows 11 and 10, making your touchscreen experience more seamless and efficient.
How to Enable Virtual Touchpad on Windows 11?
To turn on the virtual touchpad on Windows 11, use these steps:-
Step 1. Open Windows 11 Settings.
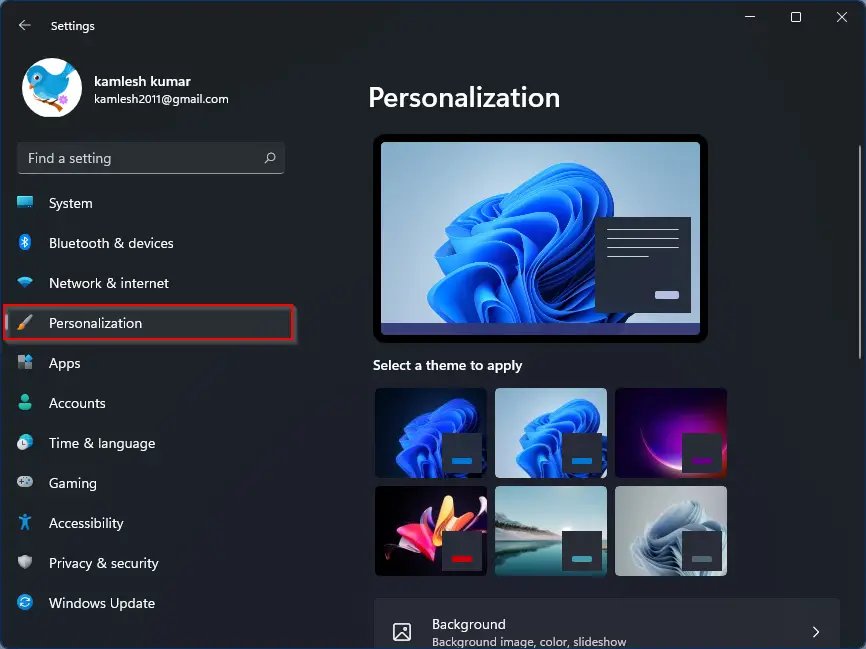
Step 2. Select Personalization in the left sidebar of the Settings window.
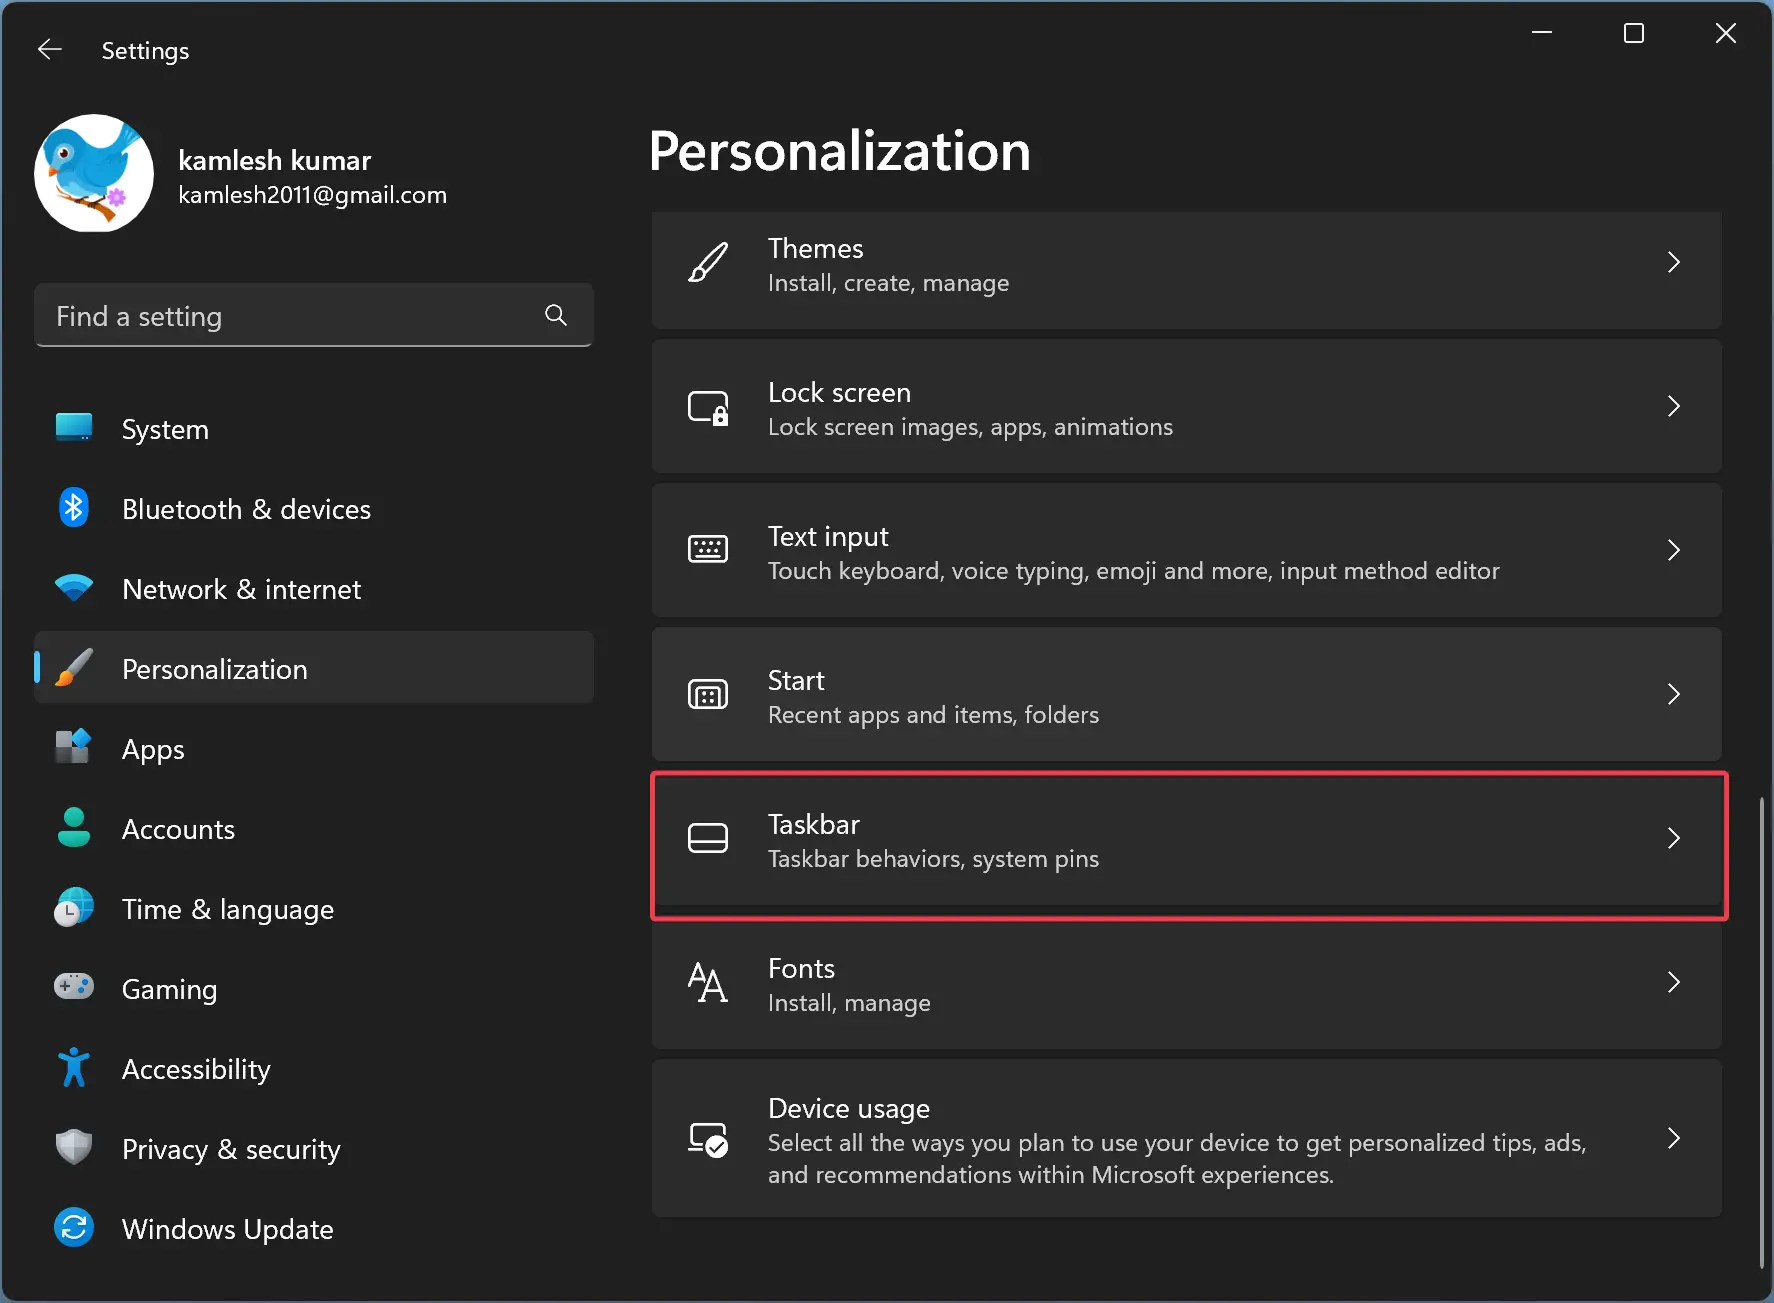
Step 3. On the right sidebar, click on the Taskbar tab.
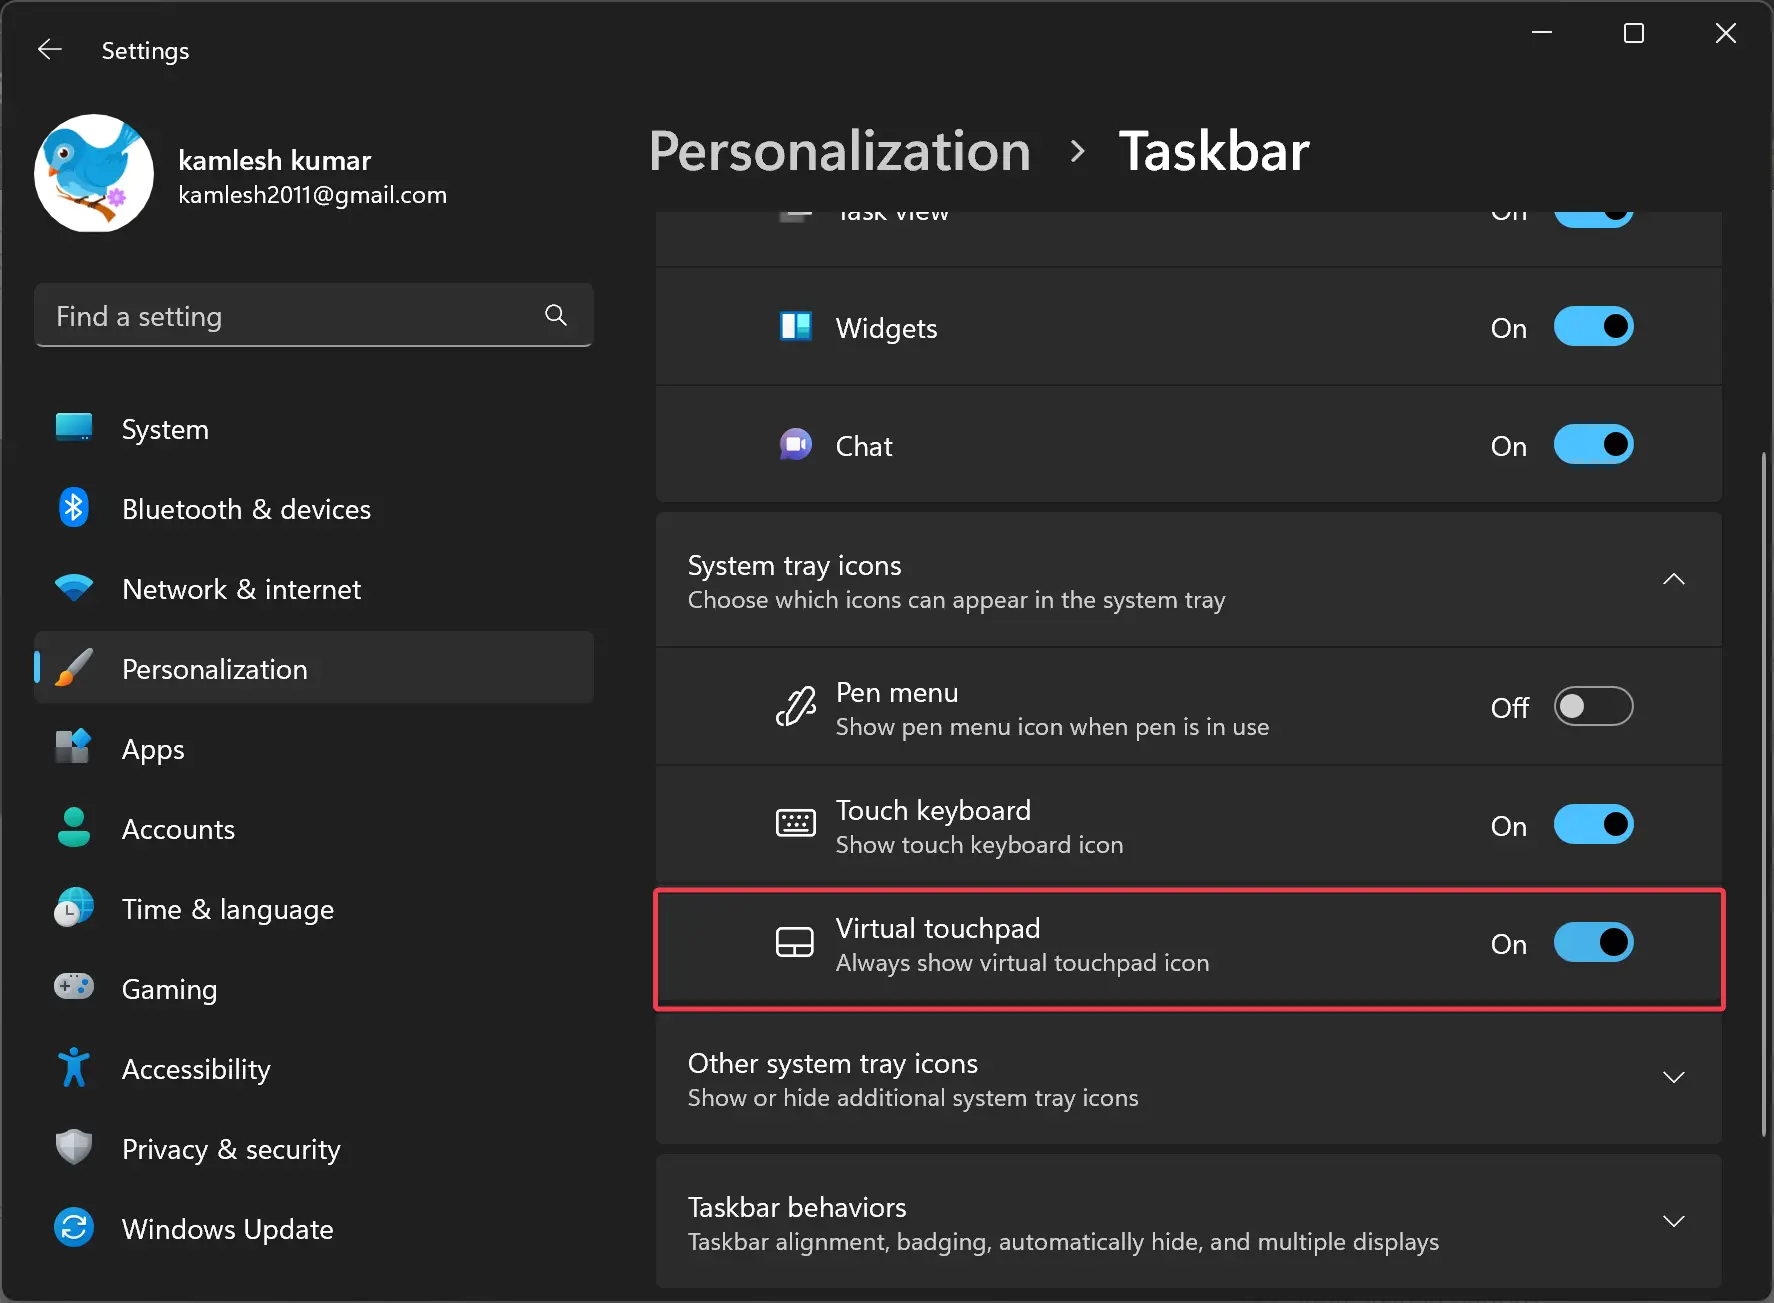
Step 4. Toggle on the Virtual touchpad switch under the ‘System tray icons‘ option.
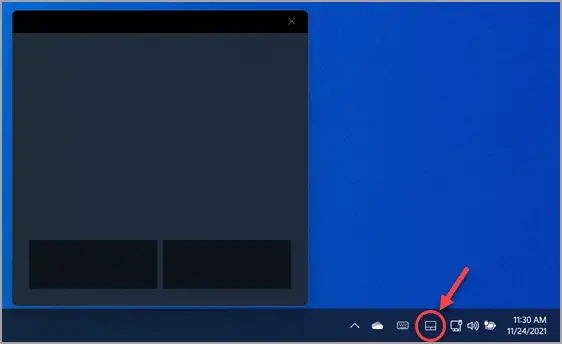
Once you complete the above steps, the Virtual touchpad will be enabled on your Windows 11 machine, and you will see a new icon in the notification area. Clicking this icon, you can open and use the Virtual touchpad on your PC.
To disable the “Virtual touchpad,” repeat the above steps, and in step 4 above, touch off the toggle switch Virtual touchpad.
How to Turn On Virtual Touchpad on Windows 10?
To enable the virtual touchpad on Windows 10, either long-press or right-click on the taskbar and select/check the Show touchpad button in the pop-up menu. Please note that you’ll not find this option if you use a Windows 10 machine without a touch screen.
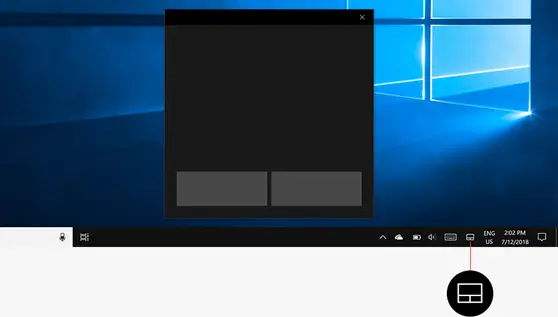
Once you complete the above steps, the Virtual touchpad will be enabled on your Windows 10 machine, and you will see a new icon in the notification area. Clicking this icon, you can open and use the Virtual touchpad on your PC.
The virtual touchpad works exactly like a physical touchpad. You can use every touchpad function as you can in a physical touchpad. You can left-click or right-click by tapping the left or right mouse buttons at the bottom of the window. You can also perform a single-finger tap to left-click and a two-finger tap to right-click.
Placing three fingers on the virtual touchpad and swiping them upwards will open the Task View interface for switching windows, for instance. You can place three fingers on the touchpad and swipe downwards to show your desktop.
For moving the cursor around the screen, just place your finger on the touchpad and move it around just like a standard touchpad. The mouse cursor will move around the screen as you move your finger.
Moreover, you can move the virtual touchpad window on the screen according to your convenience. Just touch the title bar of the window and move your finger to move the window.
Conclusion
To sum up, the virtual touchpad is a useful feature that provides an alternative to physical touchpads or mice for controlling the mouse pointer on touchscreen devices. Whether you are using Windows 10 or 11, enabling and using the virtual touchpad is a straightforward process that can significantly improve your touchscreen experience. With the virtual touchpad, you can easily perform all the functions of a physical touchpad and utilize gestures to switch between windows and display your desktop. Give it a try and see how it can boost your productivity and efficiency.