The built-in Administrator account in Windows 11 is a powerful tool that grants users full access to all system resources and privileges. However, by default, this account is disabled in Windows 11 to prevent unauthorized access and potential security risks. If you need to use this account for troubleshooting, system maintenance, or other purposes, you can enable it easily using the command prompt or the Computer Management tool.
Enabling the built-in Administrator account in Windows 11 can be particularly useful when you encounter issues with your user account or need to perform administrative tasks that require higher privileges than your current user account has. In this guide, we will show you how to enable the built-in Administrator account in Windows 11 using several methods. Whether you are an IT professional or a home user, you can follow these steps to gain access to the powerful built-in Administrator account in Windows 11.
Before enabling the built-in administrator account, you should check the status of the administrator account. Here is how to check.
How to check the Administrator Account status on Windows 11?
Follow these steps to check the Administrator Account status on Windows 11:-
Step 1. Click on the Search button from the taskbar and type CMD in the search box.

Step 2. From the available search results, click on the “Command Prompt” to open it.
Step 3. In the Command Prompt window, type the following and hit Enter from the keyboard to see the current status of the Administrator account:-
net user administrator
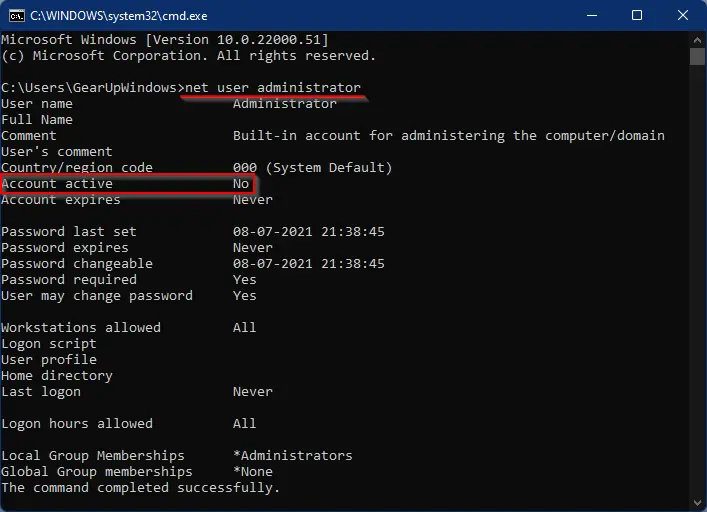
In the output, find the Account active. If next to it, you see No, then the built-in administrator is disabled or inactive, and you need to enable or activate it.
How to Enable Administrator Account in Windows 11 using Command Prompt?
Follow these steps to enable an administrator account in Windows 11 using Command Prompt:-
Step 1. Open the Command Prompt with administrator privileges.
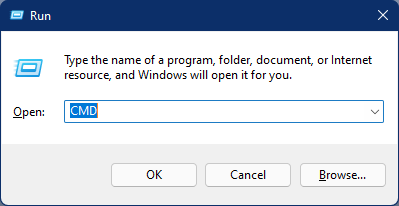
To open the Command Prompt with admin rights on Windows 11 PC, press the Windows + R keys to launch the Run dialog box. In the Run box, type CMD and press CTRL + SHIFT +ENTER from the keyboard to open the Command Prompt window with elevated rights. If the User Account Control dialog box opens, click the Yes button.
Step 2. In the Command Prompt window, type the following and hit Enter from the keyboard to activate the administrator account:-
net user administrator /active:yes
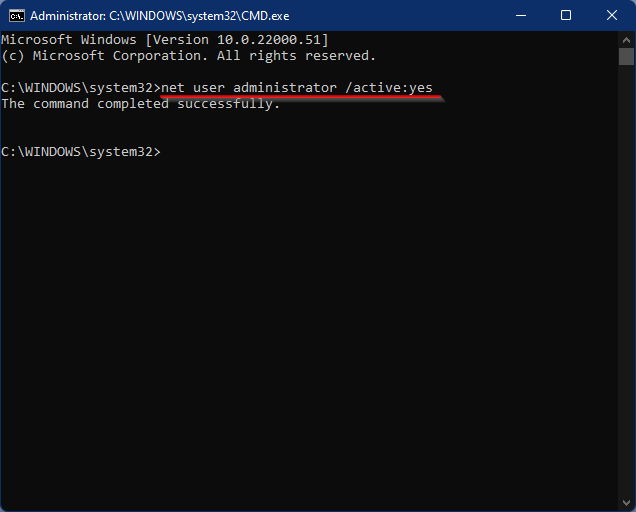
After executing the above steps, you should get the output, “The command completed successfully.” Now, the built-in administrator is active on your Windows 11, and you can log in to that like any other normal user account.
It is not recommended to enable the built-in administrator account, so once you finish troubleshooting or any other specific task, disable it. To disable the built-in admin account, in the above steps, in step 2, execute the following command:-
net user administrator /active:no
How to Enable the Administrator Account on Windows 11 using Local Users and Groups?
Follow these steps to enable the administrator account on Windows 11 using Local Users and Groups:-
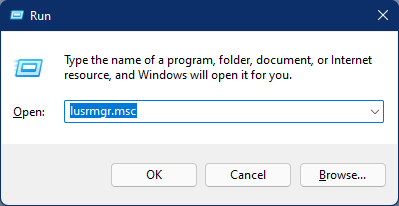
Step 1. Press Windows + R keys to open the Run dialog box.
Step 2. In the Run dialog box, type the following and hit Enter from the keyboard:-
lusrmgr.msc
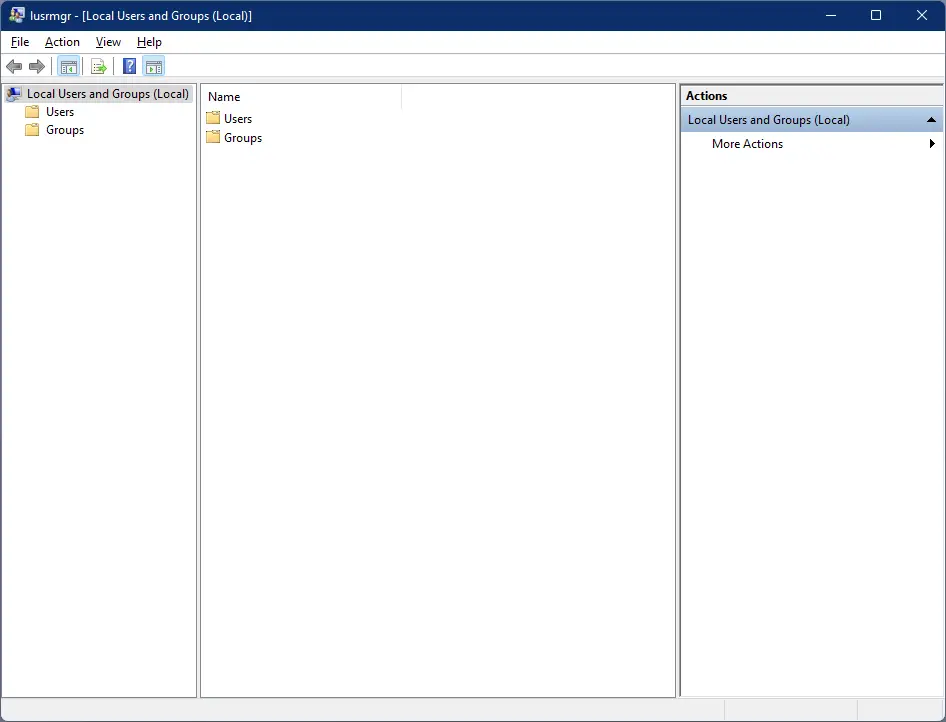
Step 3. Double-click on the Users folder to see the Administrator account. If you see a down arrow on the Administrator account icon, that means it is disabled, and you need to enable it to use.
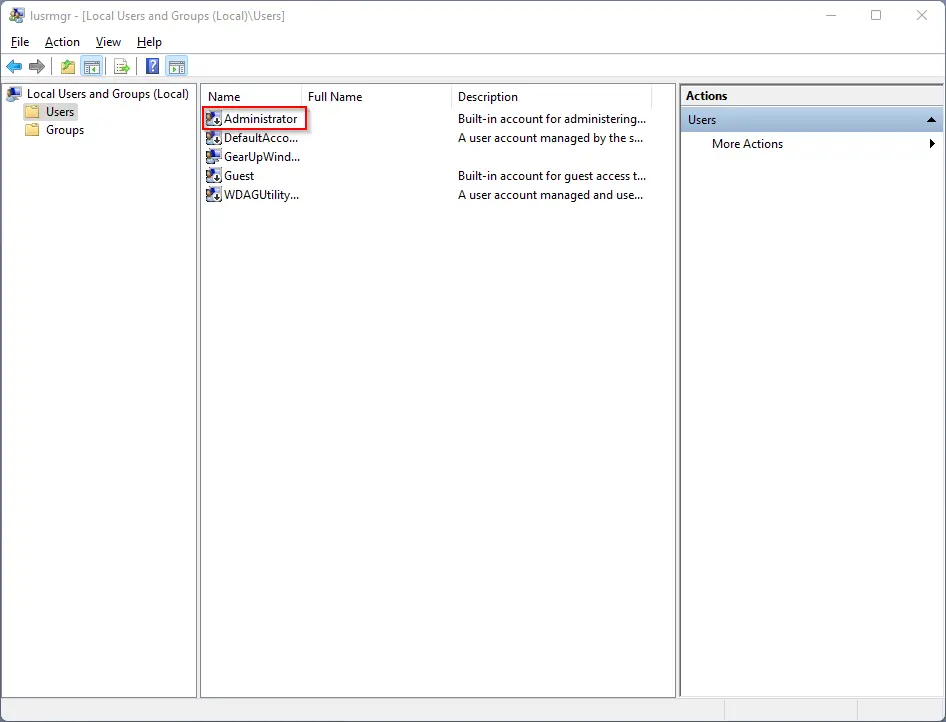
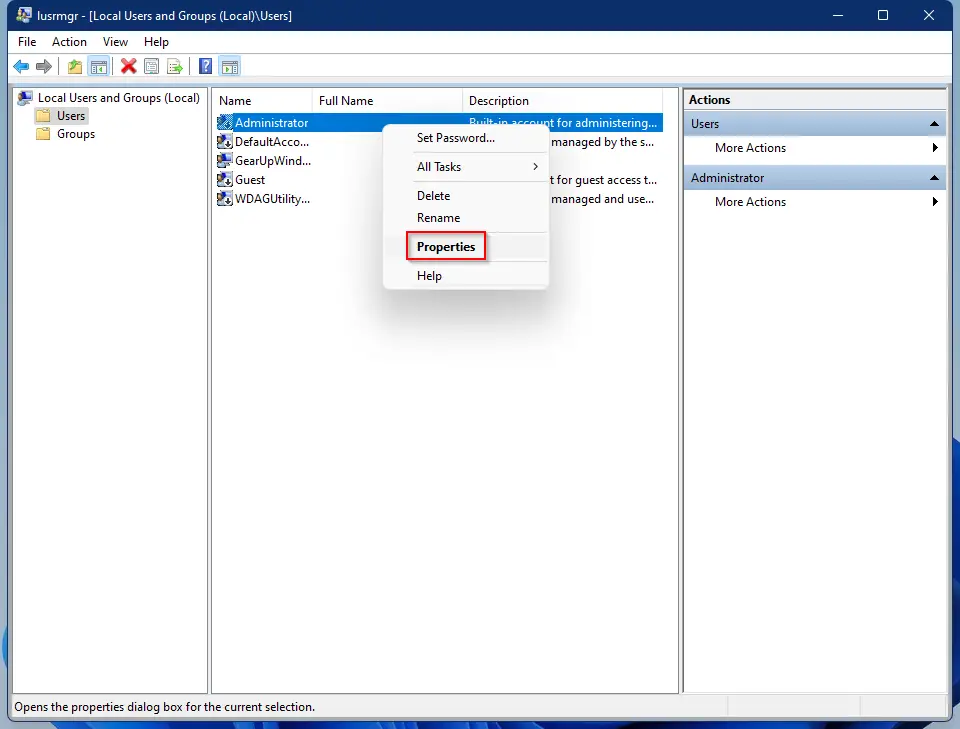
Step 4. Now, right-click on the Administrator and select the Properties option from the drop-down menu.
Step 5. In the General tab of the “Administrator Properties” dialog, uncheck the checkbox “Account is disabled.”
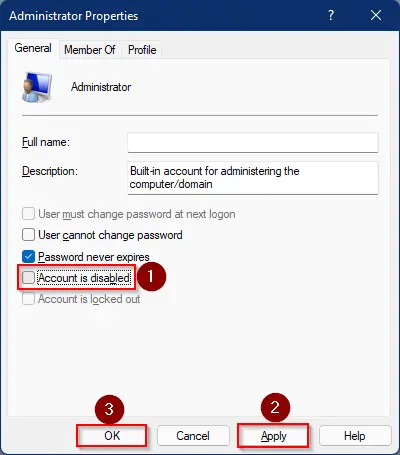
Step 6. Click Apply.
Step 7. Click OK.
If you want to disable the Administrator account on your Windows 11 PC, repeat the above steps, and in step 5, check the option “Account is disabled.”
Once you complete the above steps, you will enable or disable the built-in administrator account.
How to Enable Built-in Administrator Account in Windows 11 Local Security Policy app (secpol.msc)?
Follow these steps to enable a built-in administrator account using the Local Security Policy app (secpol.msc):-
Step 1. Open the Run dialog box by pressing Win + R keys altogether.
Step 2. In the Run box, type the following and hit Enter from the keyboard:-
secpol.msc
Step 3. Navigate to the following path from the left side pane under the Local Security Policy window:-
Security Settings > Local Policies > Security Options
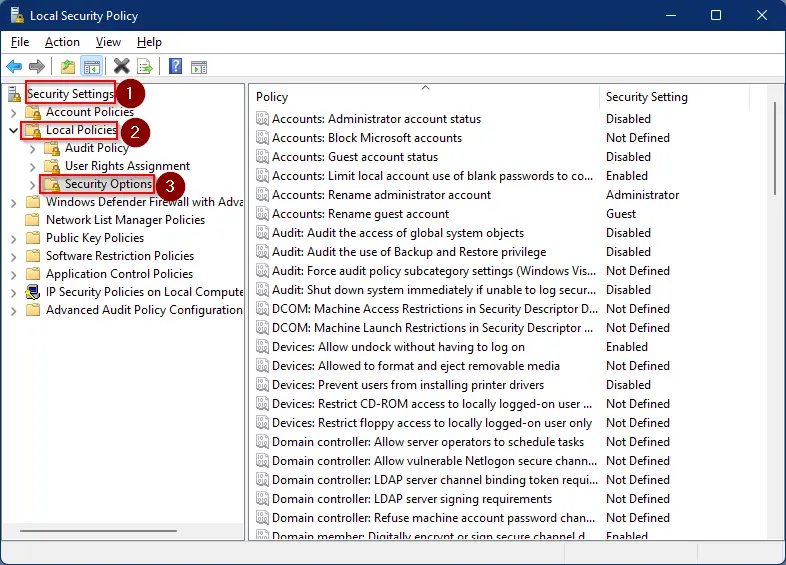
Step 4. In the right pane, find the policy “Accounts: Administrator account status” and double-click on it to open.
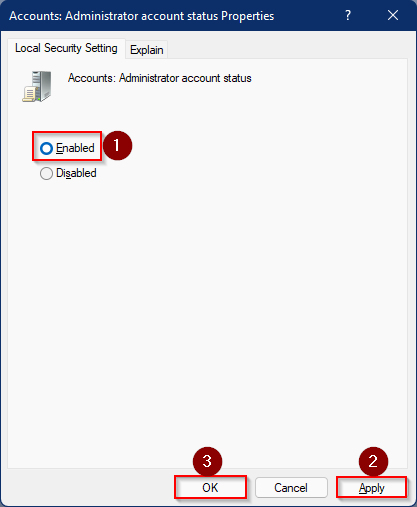
Step 5. Select the Enabled option.
Step 6. Click Apply.
Step 7. Click OK.
After executing the above steps, the built-in administrator is enabled on your Windows 11 PC. If you change your mind and want to disable it, repeat the above steps, and in step 4, select the Disabled option.
How to Enable Built-in Administrator Account in Windows 11 with Powershell?
Enabling the built-in Administrator account in Windows 11 with PowerShell is a straightforward process that requires just a few simple steps. Here’s how to do it:-
Step 1. Click on the Start button and type PowerShell. In the search results, right-click the Windows PowerShell entry and select the Run as Administration option. This will launch the PowerShell console with administrator privileges.
Step 2. In the PowerShell console, type the following command and press Enter on the keyboard:-
Enable-LocalUser -Name "Administrator"
Note: To disable the built-in administrator account, type the following and press Enter on the keyboard:-
Disable-LocalUser -Name "Administrator"
Using the above commands, you can enable or disable the built-in Administrator account in Windows 11.
How to Enable Built-in Administrator Account in Windows 11 with Computer Management?
Follow these steps to enable a built-in administrator account in Windows 11 with Computer Management:-
Step 1. First, right-click the Start button and select Computer Management from the context menu.
Step 2. In the Computer Management window, expand the Local Users and Groups option from the left panel.
Step 3. Click on Users and locate the Administrator account.
Step 4. Right-click on the Administrator account and select Properties.
Step 5. Uncheck the “Account is disabled” option and click OK to enable the built-in Administrator account.
How to Enable Built-in Administrator Account in Windows 11 using Group Policy Editor?
Follow these steps to enable a built-in Administrator account in Windows 11 using Group Policy Editor:-
Step 1. First, press the Windows key + R to open the Run dialog box.
Step 2. Then, type “gpedit.msc” and press Enter to open the Group Policy Editor.
Step 3. Now, navigate to the following path in the left sidebar:-
Computer Configuration > Windows Settings > Security Settings > Local Policies > Security Options
Step 4. Locate the “Accounts: Administrator account status” policy in the right pane and double-click it.
Step 5. Select the Enabled option and click OK to enable the built-in Administrator account.
How to Enable Built-in Administrator Account in Windows 11 using Registry Editor?
Follow these steps to enable a built-in Administrator account in Windows 11 using Registry Editor:-
Step 1. First, open the Registry Editor.
For that, press the Windows key + R to open the Run dialog box. Then, type “regedit” and press Enter to open the Registry Editor.
Step 2. Now, navigate to the following key in the left sidebar of Registry Editor:-
HKEY_LOCAL_MACHINE\SOFTWARE\Microsoft\Windows NT\CurrentVersion\Winlogon\SpecialAccounts\UserList
Step 3. Right-click on an empty area in the right pane and select New > DWORD (32-bit) Value.
Step 4. Name the new value “Administrator” and set its value data to “1” to enable the built-in Administrator account.
Note: In case, you want to remove or disable the built-in administrator account on your Windows 11 machine then right-click on the “Administrator” REG_DWORD and select the Delete option. When prompted, click on the Yes button to agree.
Note: It’s important to remember that the built-in Administrator account is a powerful tool that grants users full access to all system resources and privileges. Therefore, it’s recommended to use this account only for troubleshooting or administrative tasks and not for everyday use. When you are finished using the built-in Administrator account, be sure to disable it again to minimize security risks.
That’s all.
Conclusion
To sum up, the built-in Administrator account in Windows 11 is a powerful tool that can be useful for troubleshooting, system maintenance, or other purposes that require higher privileges than your current user account has. However, it is disabled by default in Windows 11 to prevent unauthorized access and potential security risks. In this guide, we have shown you how to check the status of the Administrator account and enable it using Command Prompt, Local Users and Groups, Local Security Policy app, and PowerShell. Remember, it is not recommended to enable the built-in Administrator account for regular use, and once you finish using it, disable it to keep your system secure. With the help of this guide, whether you are an IT professional or a home user, you can easily gain access to the powerful built-in Administrator account in Windows 11.