System Restore is a feature of Windows operating systems that help avoid annoying PC issues, thus saving time. Although Windows 11 boats with all new advanced options such as built-in troubleshooters and Reset this PC feature (which allows you to fix your PC without erasing personal data), the System Restore feature can quickly resolve issues.
Once you create a system restore point, you can quickly restore your PC to an earlier date in the event of system failure. It also lets you convert your PC to an earlier point if your Windows 11 is not booting up properly. Moreover, restoring your PC to an earlier restore point will not delete your files and folder. After creating that specific restore point, when you restore your PC to that point, only installed applications will be erased from the computer that you have installed after that particular restore point. That’s the beauty of system restoration.
Hence, we always recommend creating a restore point before making any significant changes to your Windows 11 installation. For example, always create a restore point before updating device drivers. If something goes wrong, you can restore your PC to an earlier point.
Also Read: How to delete old system restore points in Windows 11?
In this gearupwindows article, we will guide you on enabling and creating a restore point in Windows 11.
How to Enable System Restore in Windows 11?
Before creating a system restore point, you need to turn on the System Restore feature. Here is how to do that.
Step 1. First, click on the Start or Search button on the taskbar and then type sysdm.cpl in the search box at the top.

Step 2. In the search results, click on sysdm.cpl (Control panel item) to open the System Properties dialog.
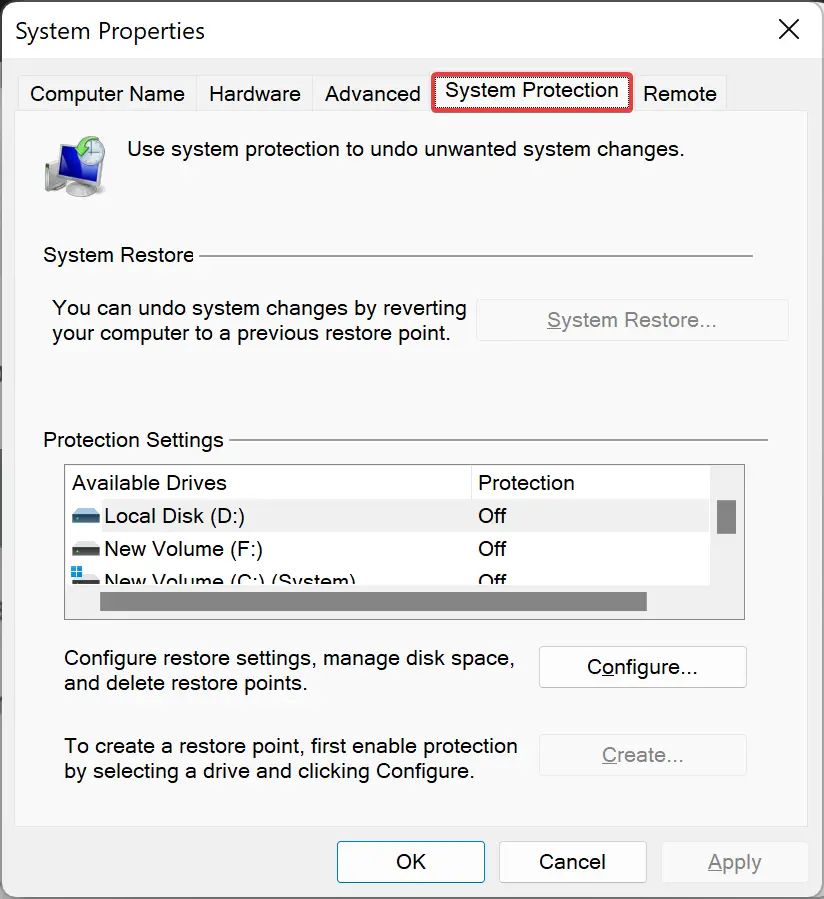
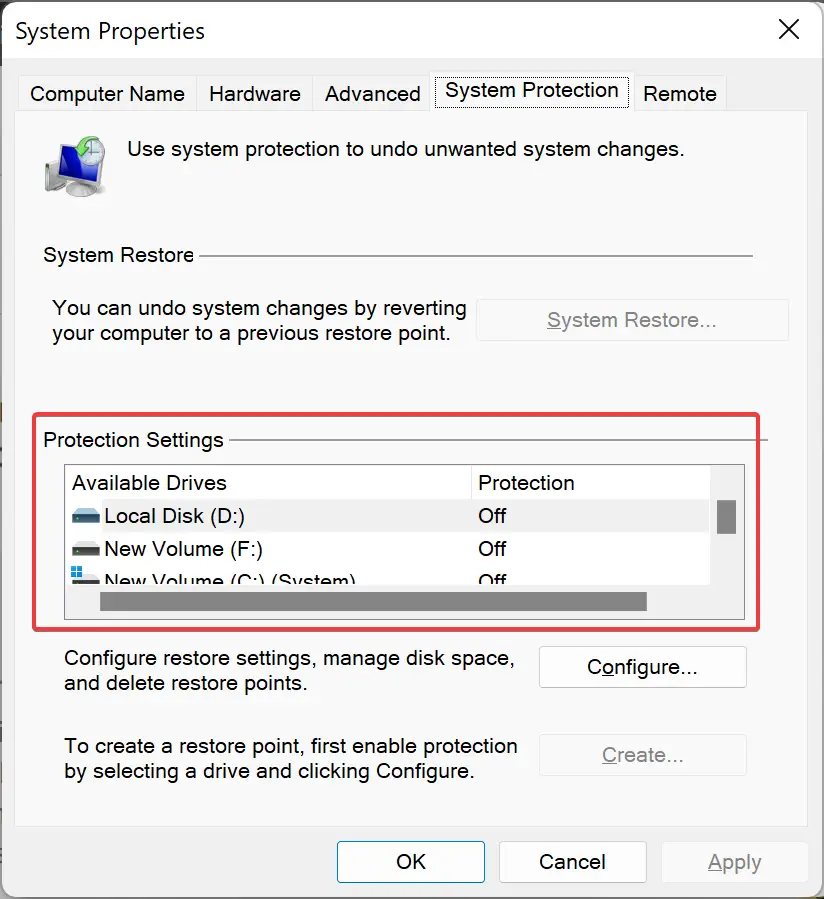
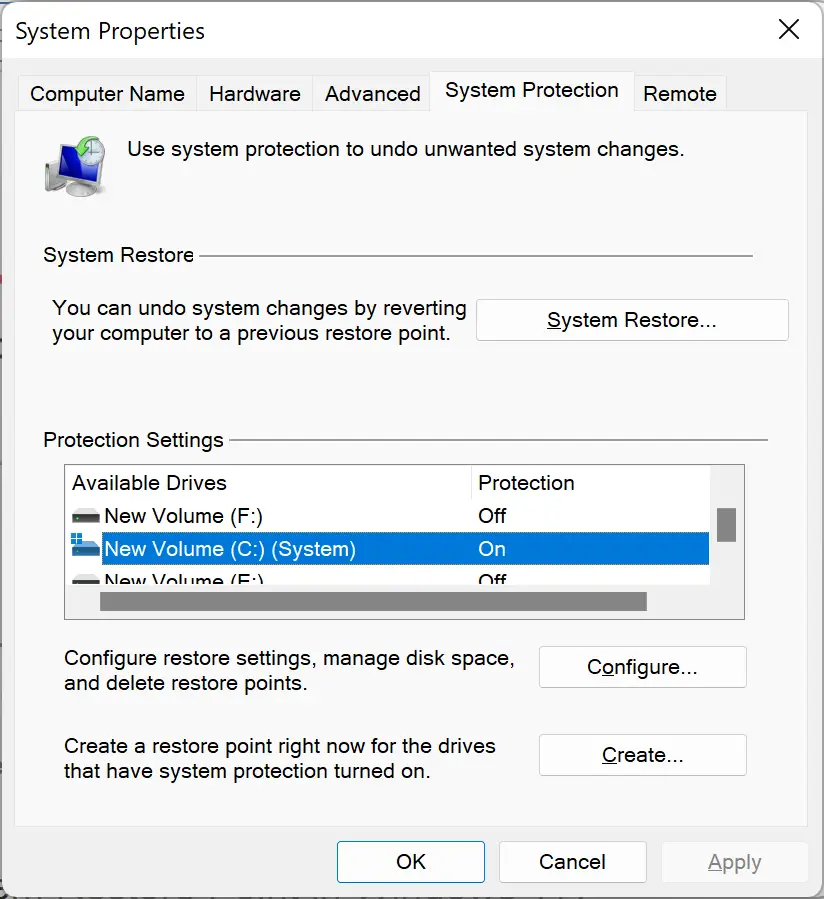
Step 3. When “System Properties” opens, click on the System Protection tab. Here, under the “Protection Settings” section, you will see a list of local drives on your PC along with their Protection status. If you see protection is “On,” the System Restore feature is enabled on that drive. However, if you notice protection is “Off,” you need to turn on the System Restore feature for that drive.
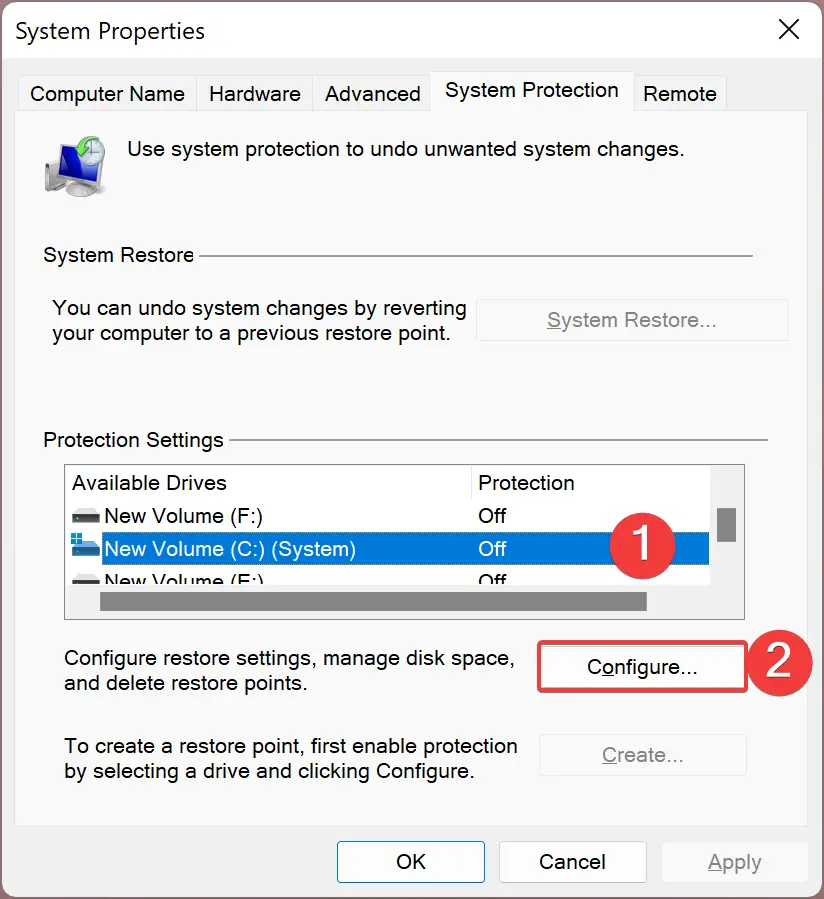
Step 4. To turn on the System Restore feature for a drive, select the drive in the list under the “Protection Settings” section and then click the Configure button.
Step 5. After that, select the Turn on system protection option in the resulting window.
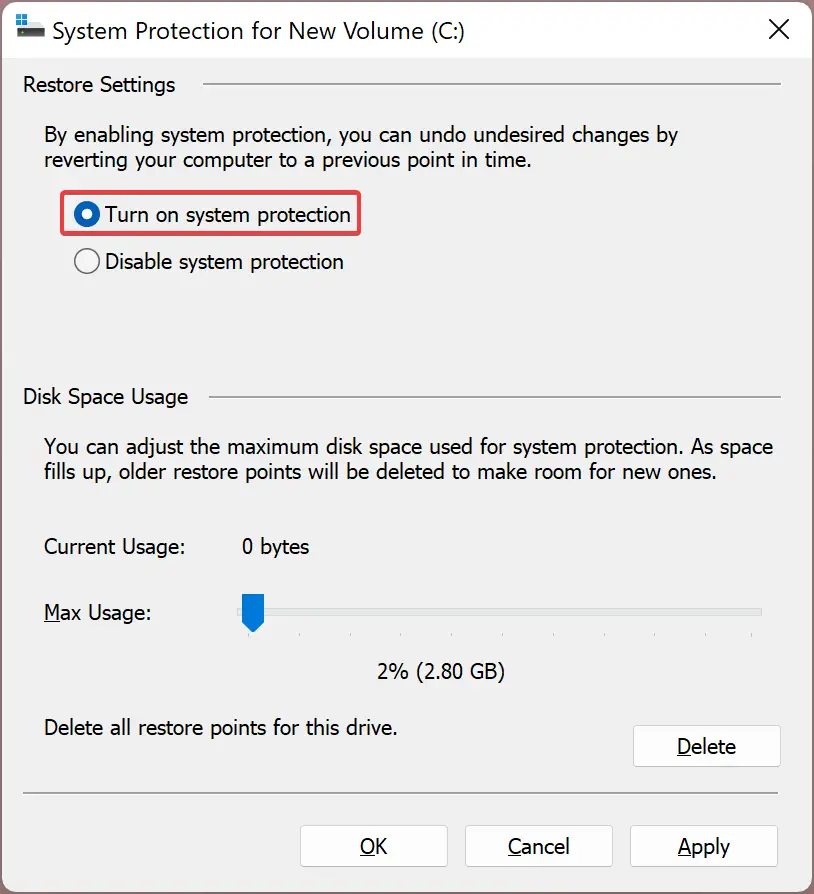
Step 6. Next, allocate the disk space by moving the slider if you wish. Then click the Apply button. That’s all!
Please note that Windows 11 automatically assigns about 2% of the drive space to the System Restore feature.
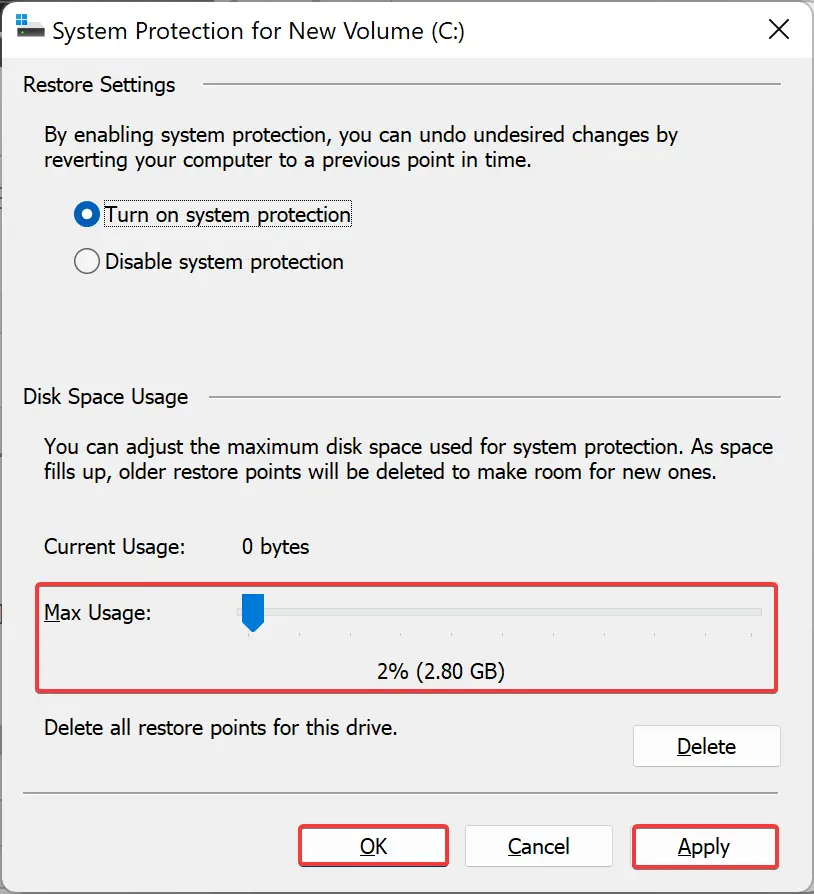
Step 7. Finally, click the OK button to exit.
Now that you have enabled the System Restore feature on your PC, you’re ready to create a system restore point on your Windows 11 computer.
How to Create a System Restore Point in Windows 11?
Once you have enabled the System Restore feature on Windows 11, use the following steps to create a system restore point:-
Step 1. Very first, click on the Start or Search button on the taskbar and then type Create a restore point in the search box at the top.
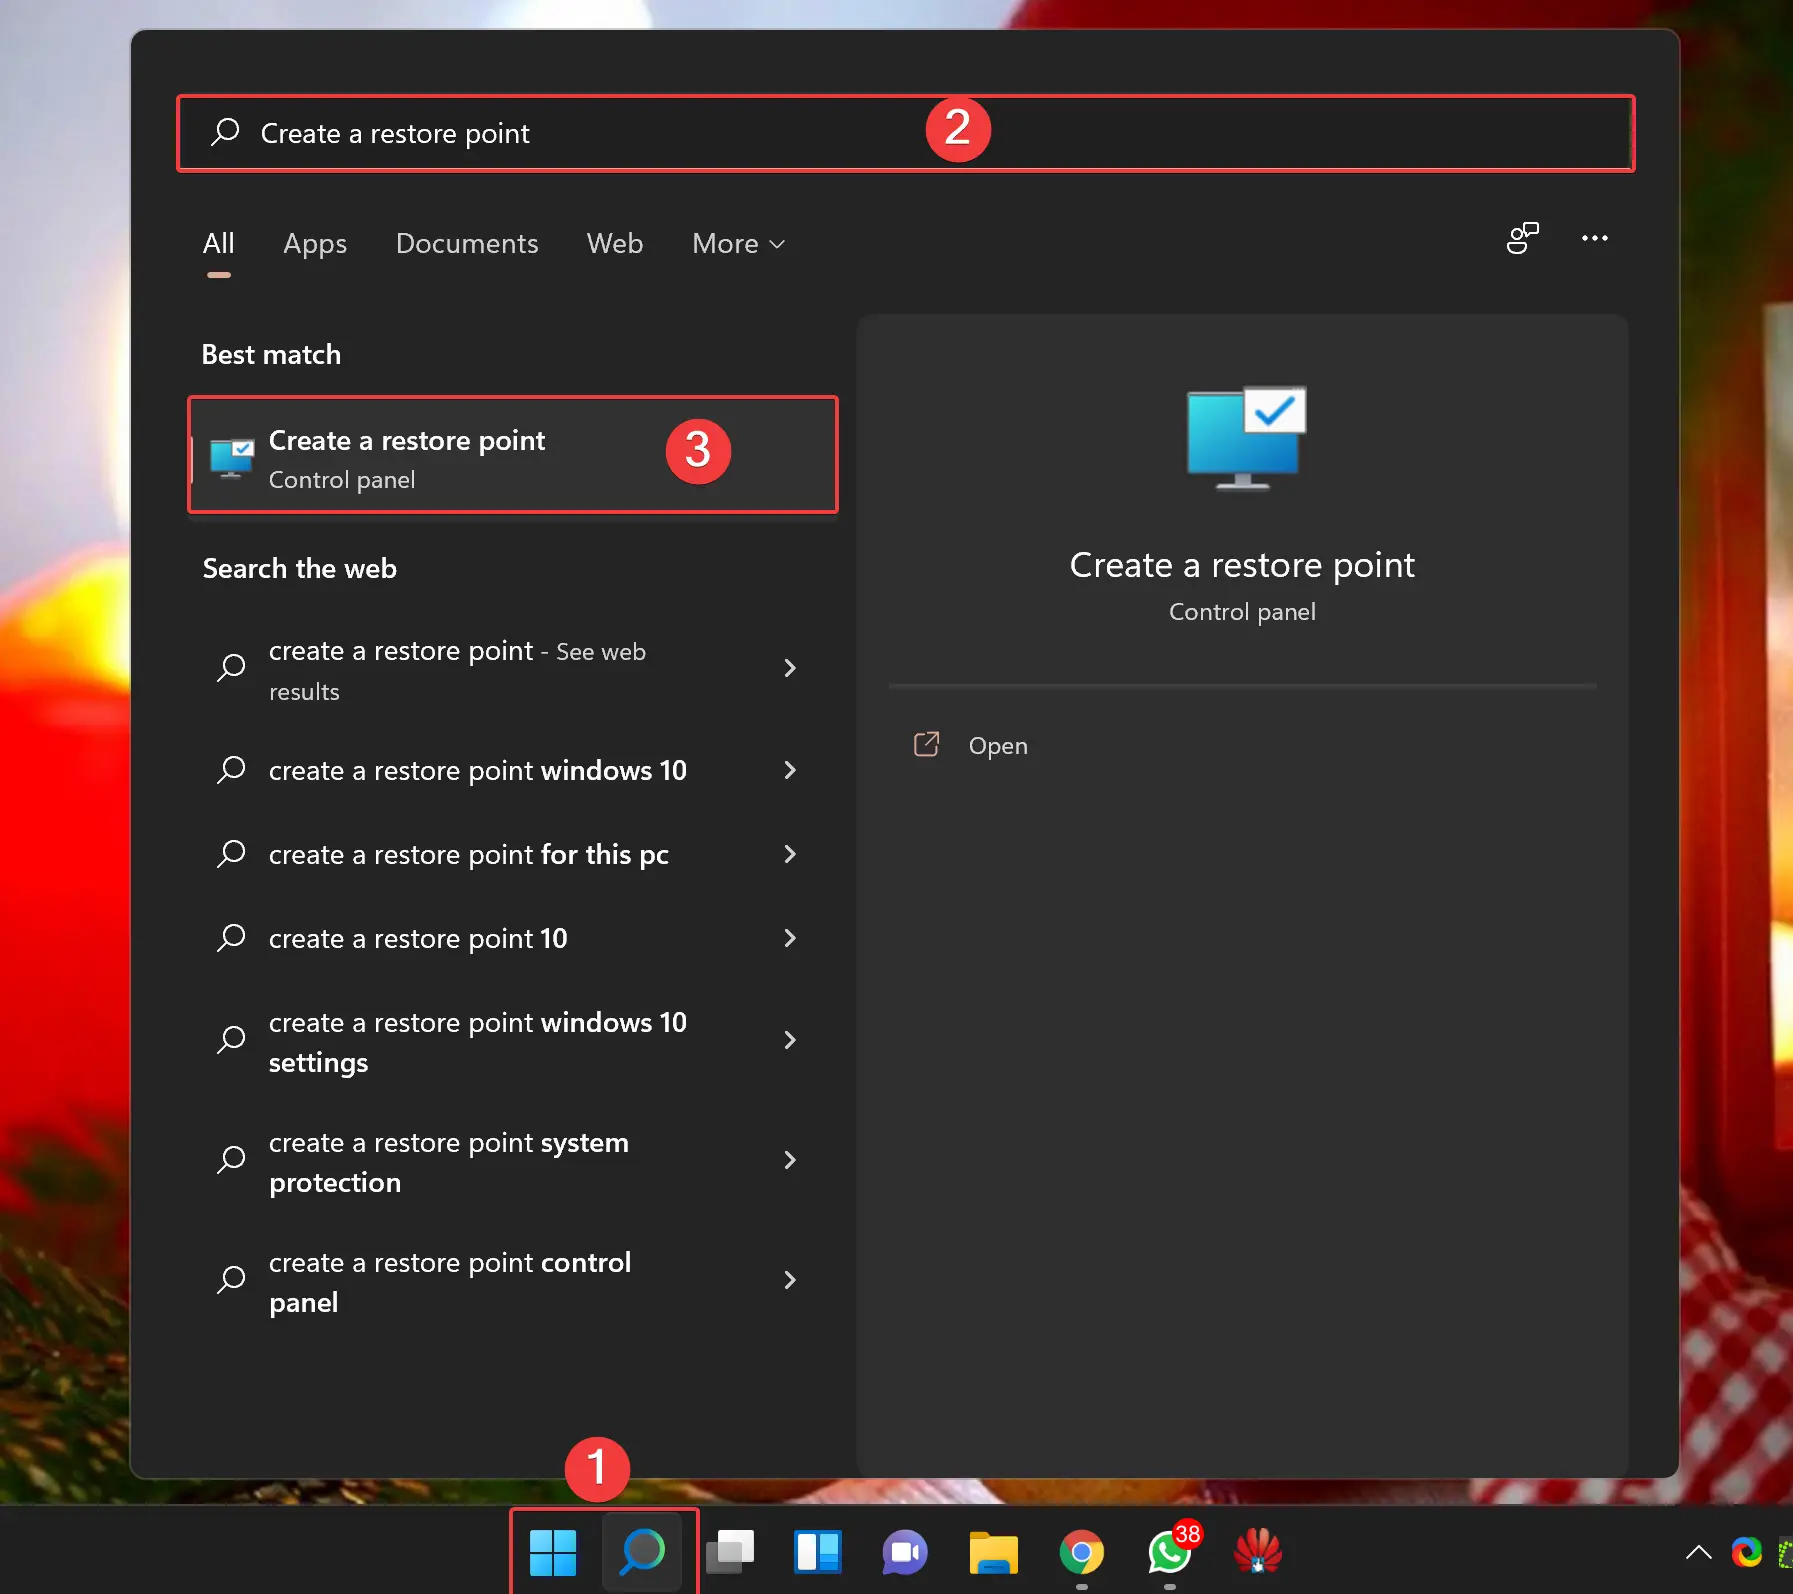
Step 2. Then, click on Create a restore point to open the System Properties dialog in the search results.
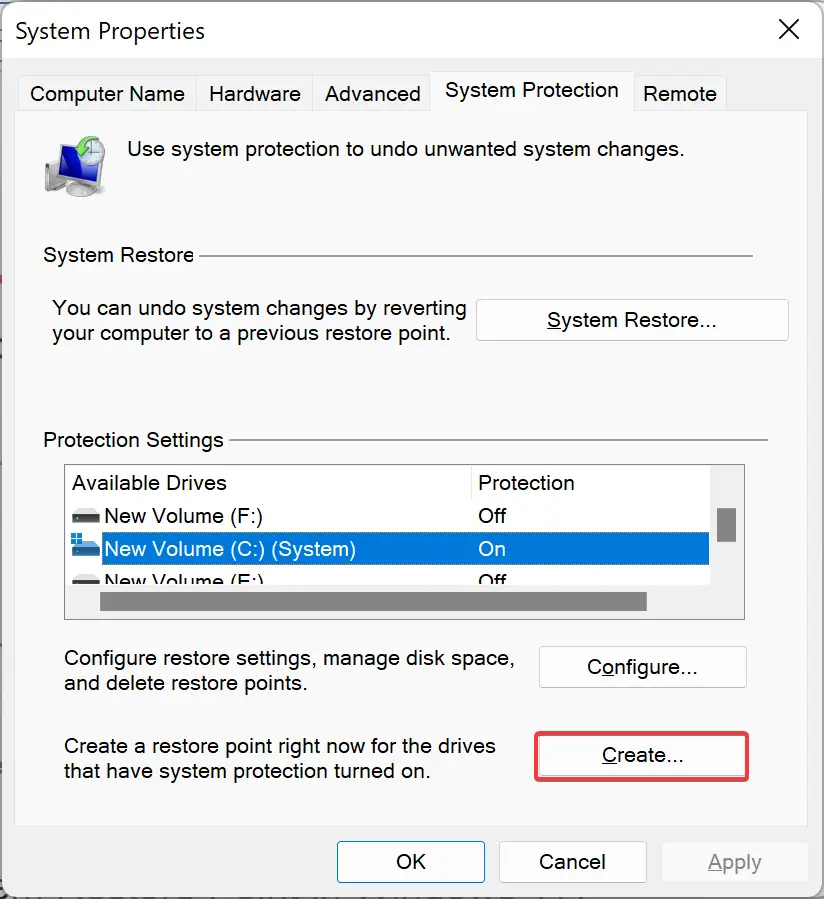
Step 3. When “System Properties” opens, click on the System Protection tab. Here, under the “Protection Settings” section, you will see a list of local drives on your PC along with their Protection status. If you see protection is “On,” the System Restore feature is enabled on that drive. However, if you notice protection is “Off,” you need to enable the System Restore feature for that drive. You cannot create a restore point for a drive if it is disabled.
Step 4. To create a system restore point, select the drive in the list under the “Protection Settings” section and click the Create button.
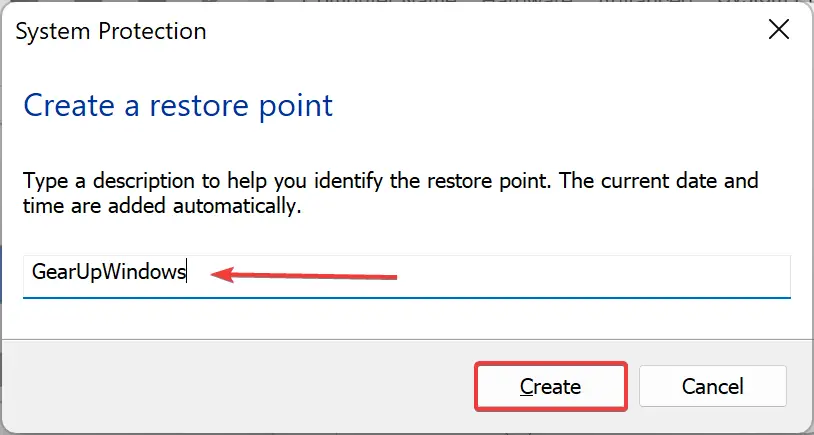
Step 5. When you’re done, a new window will appear. Type a descriptive name for the system restore point and then click on the Create button.
Step 6. Once you complete the above steps, Windows 11 might take a few minutes to finish making the restore point. When done, you will see the “The restore point was created successfully” message.

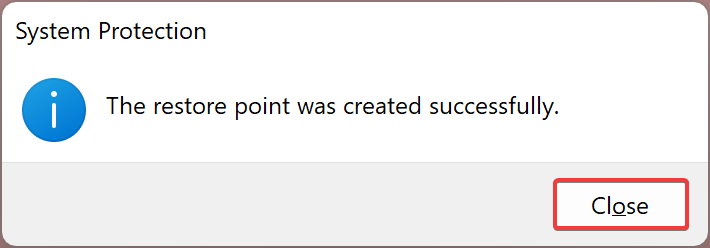
That’s it. You can click on the Close button to exit.
Conclusion
In conclusion, System Restore is a powerful tool that helps Windows 11 users avoid annoying PC issues and saves them time. Although Windows 11 comes with new advanced options such as built-in troubleshooters and Reset this PC feature, the System Restore feature can quickly resolve issues. By creating a system restore point, users can quickly restore their PC to an earlier date in the event of system failure without losing their personal data. It is recommended to always create a restore point before making any significant changes to Windows 11 installation. In this article, we have provided step-by-step instructions on how to enable and create a system restore point in Windows 11, making it easier for users to keep their PCs running smoothly.