By default, the Nearby sharing feature remains turned off, and you need to turn it on. The Nearby Sharing functionality of Windows 11 enables you to share documents, photos, links to websites, and more with nearby devices by using Bluetooth or Wi-Fi. However, you can transfer files from one PC to another by uploading the same to a web server. But it will cost your bandwidth. If you want to share some data with other PCs near you, there is no need to upload a document to a web server to transfer it to another PC.
If Wi-Fi or Bluetooth is available on both PCs, you can transfer documents, photos, etc., without using any other media, for example, a USB drive. This feature is handy if you have to move a lot of files from one PC to another.
In this gearupwindows article, we will guide you on different ways to enable nearby sharing on Windows 11. For your information, this feature is much similar to Apple’s AirDrop.
How to Turn on Nearby Sharing via Quick Settings on Windows 11?
Follow these steps to enable Nearby Sharing via Quick Settings on Windows 11:-
Step 1. Open Quick Settings by pressing Windows + A keyboard shortcut on click on the Quick Settings area on the taskbar.
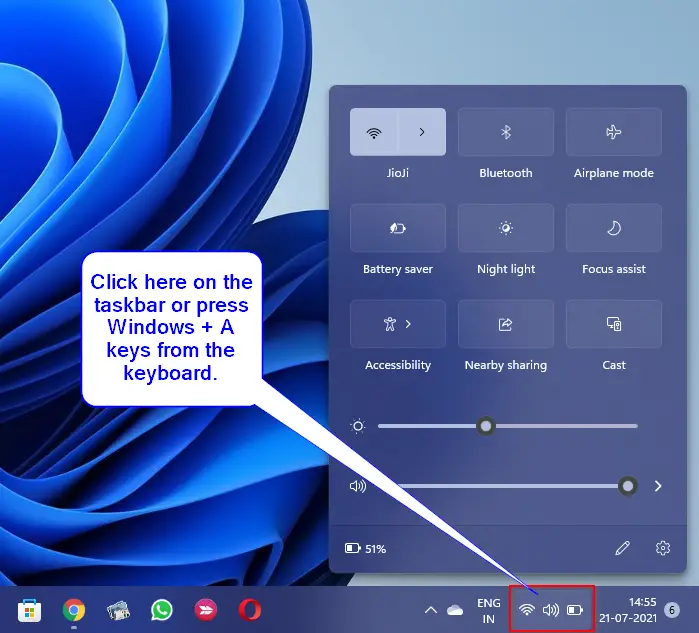
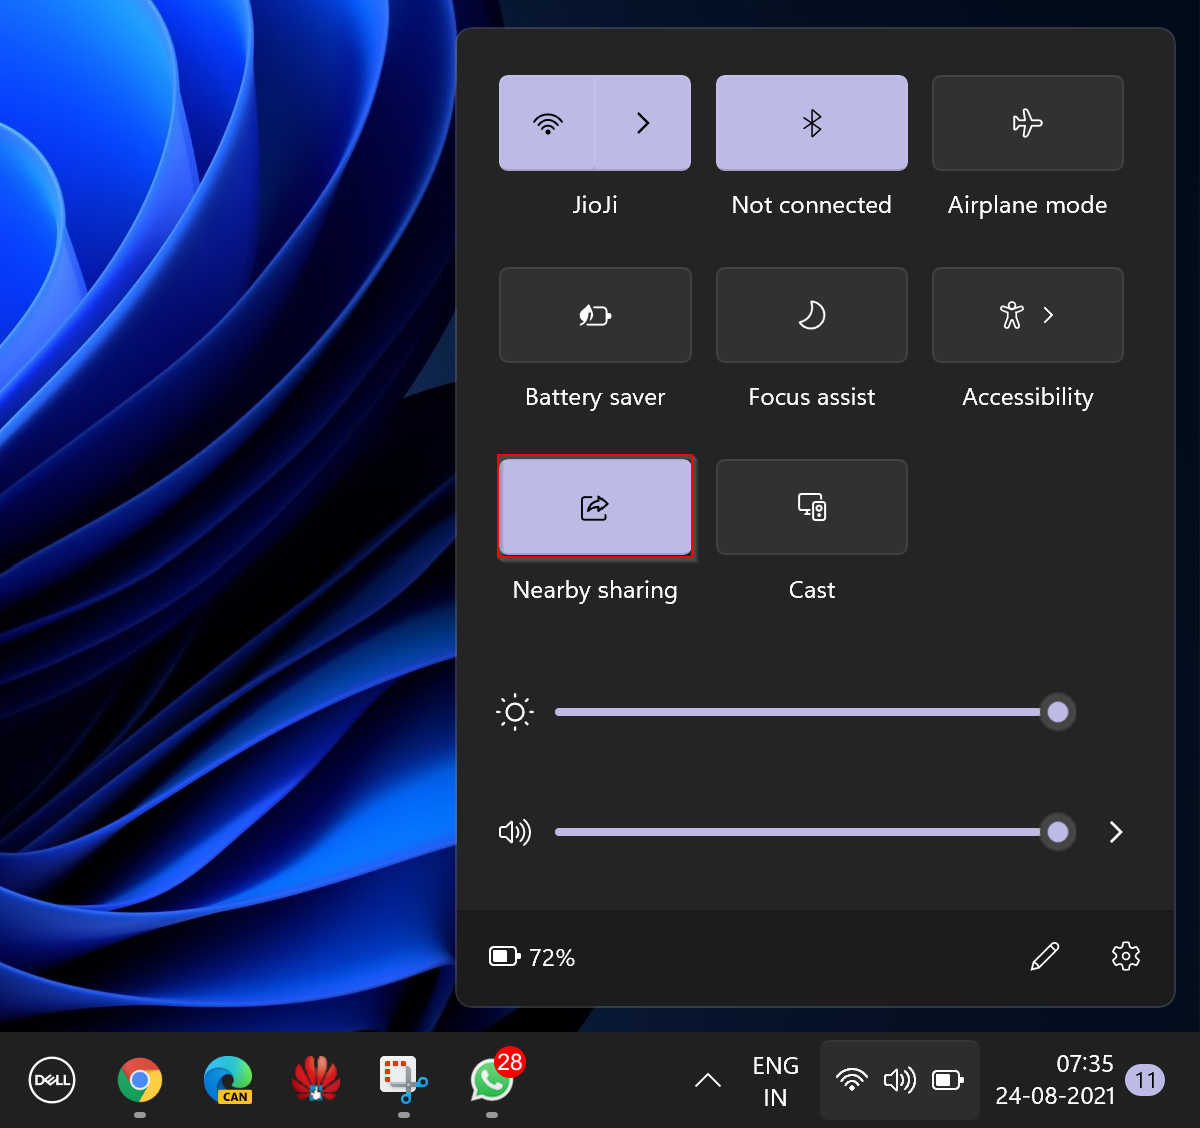
Step 2. Now, click the Nearby sharing tile to toggle it on.
How to Enable Nearby Sharing via Settings App?
Follow these steps to turn on Nearby Sharing via Settings App:-
Step 1. Open the Settings app by pressing the keyboard shortcut Windows + I.
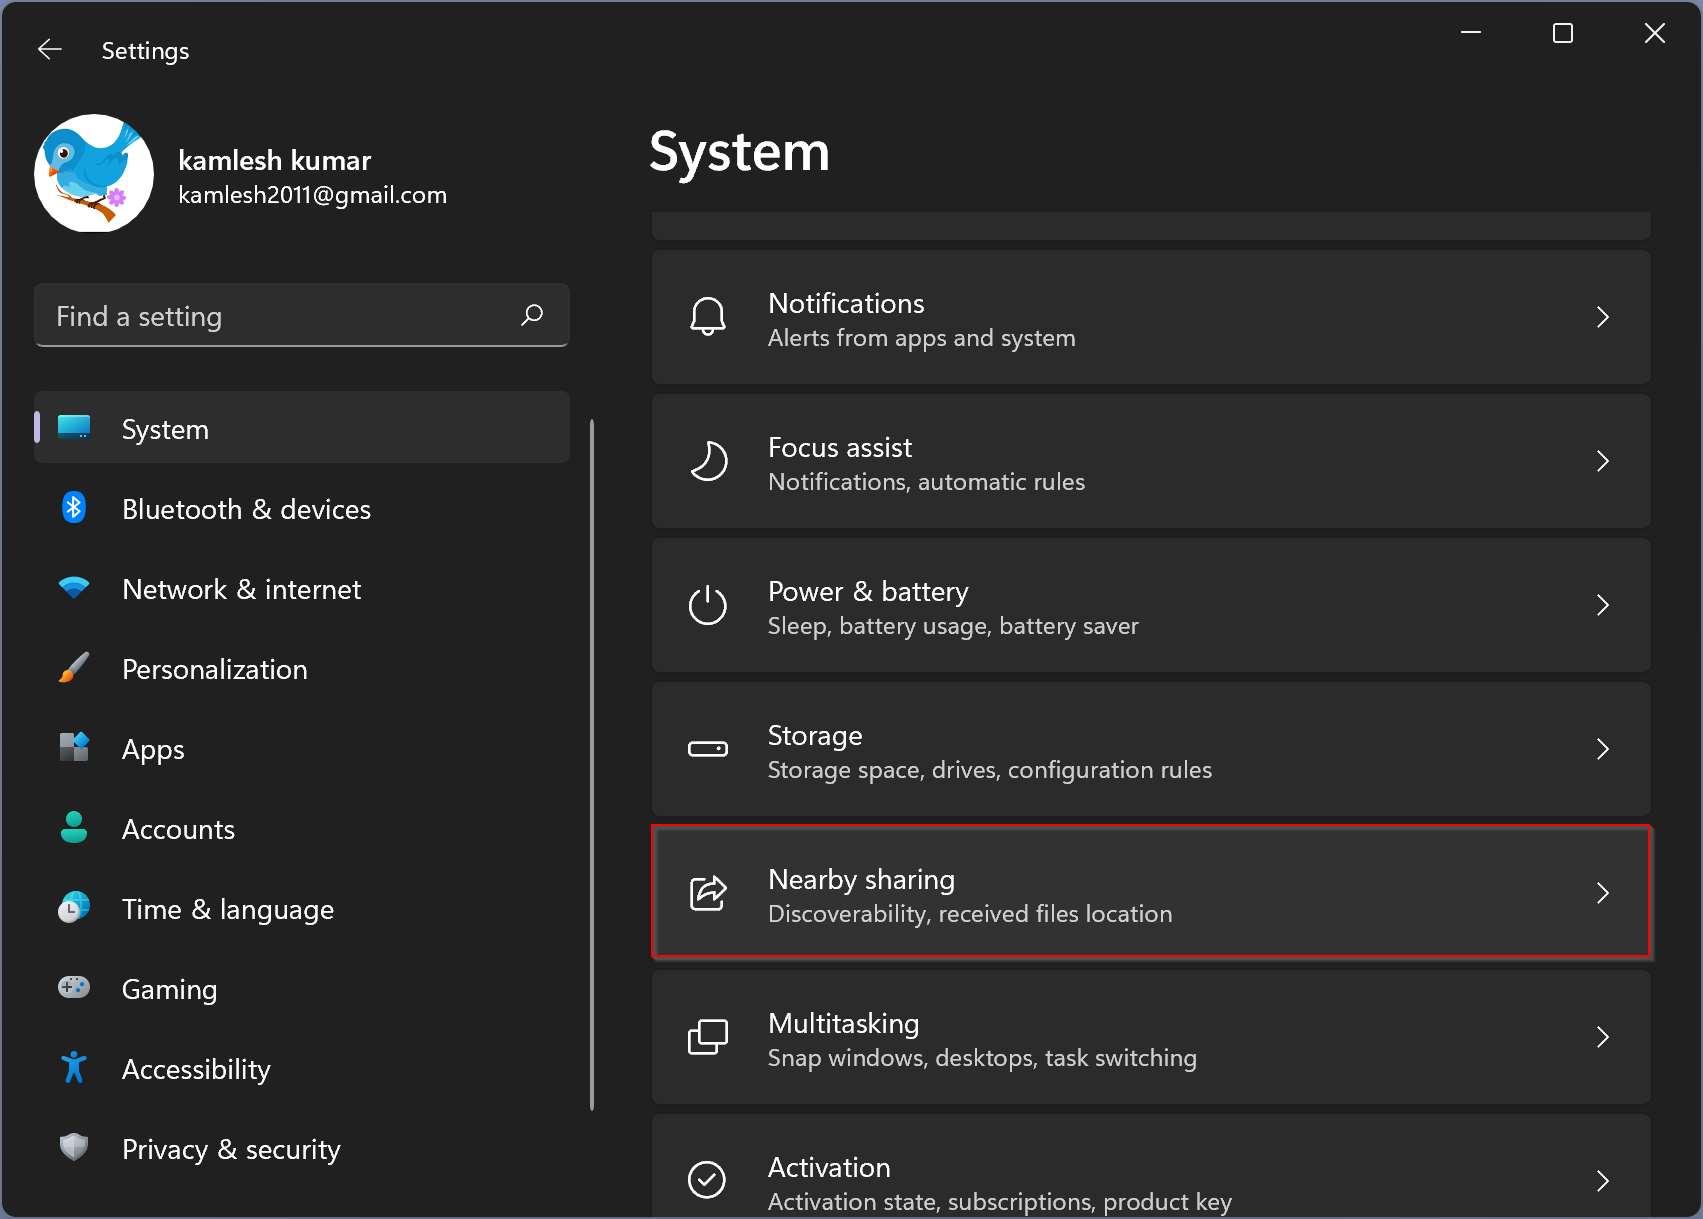
Step 2. In Windows Settings, click on the System category from the left sidebar.

Step 3. On the right side pane of the System, click on the Nearby sharing option.
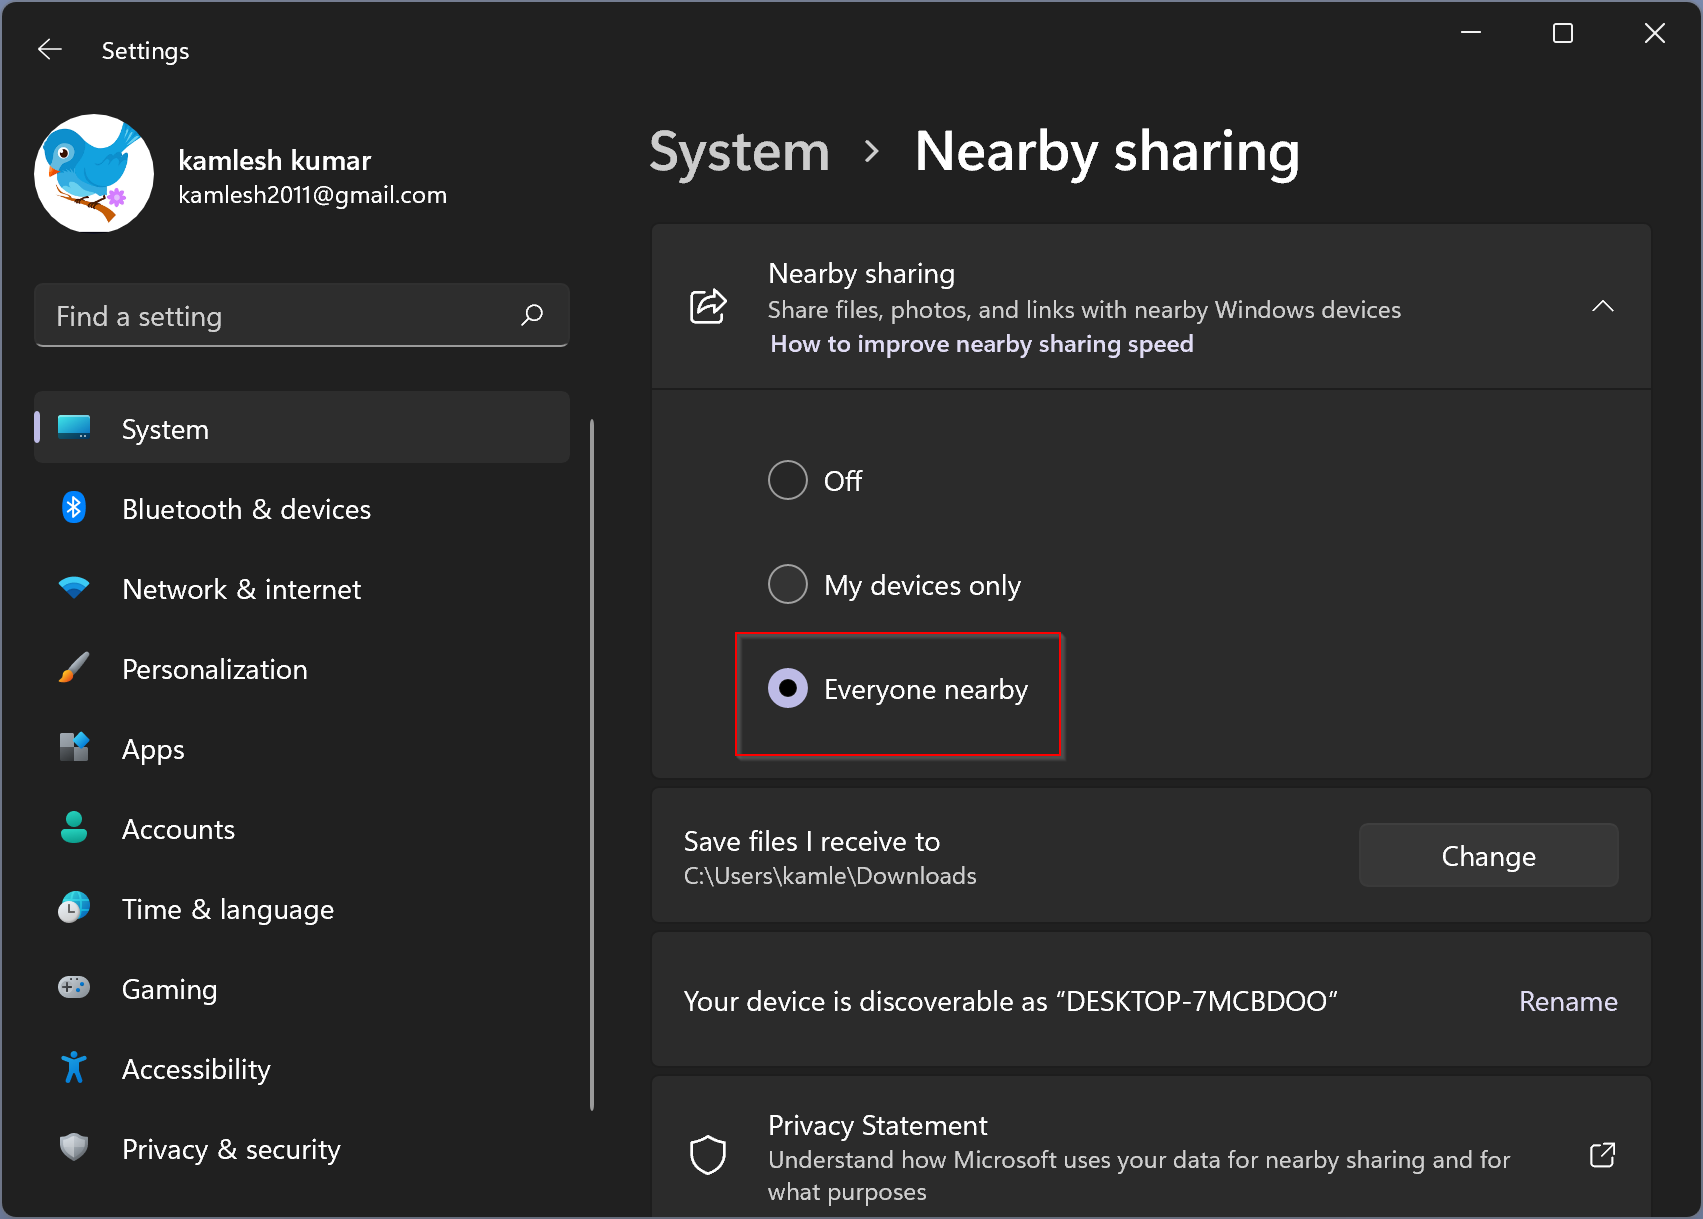
Step 4. Finally, click on the Everyone nearby option under the Nearby sharing section.
How to Turn on Nearby Sharing via File Explorer’s Context Menu?
Follow these steps to enable Nearby Sharing via File Explorer’s Context Menu:-
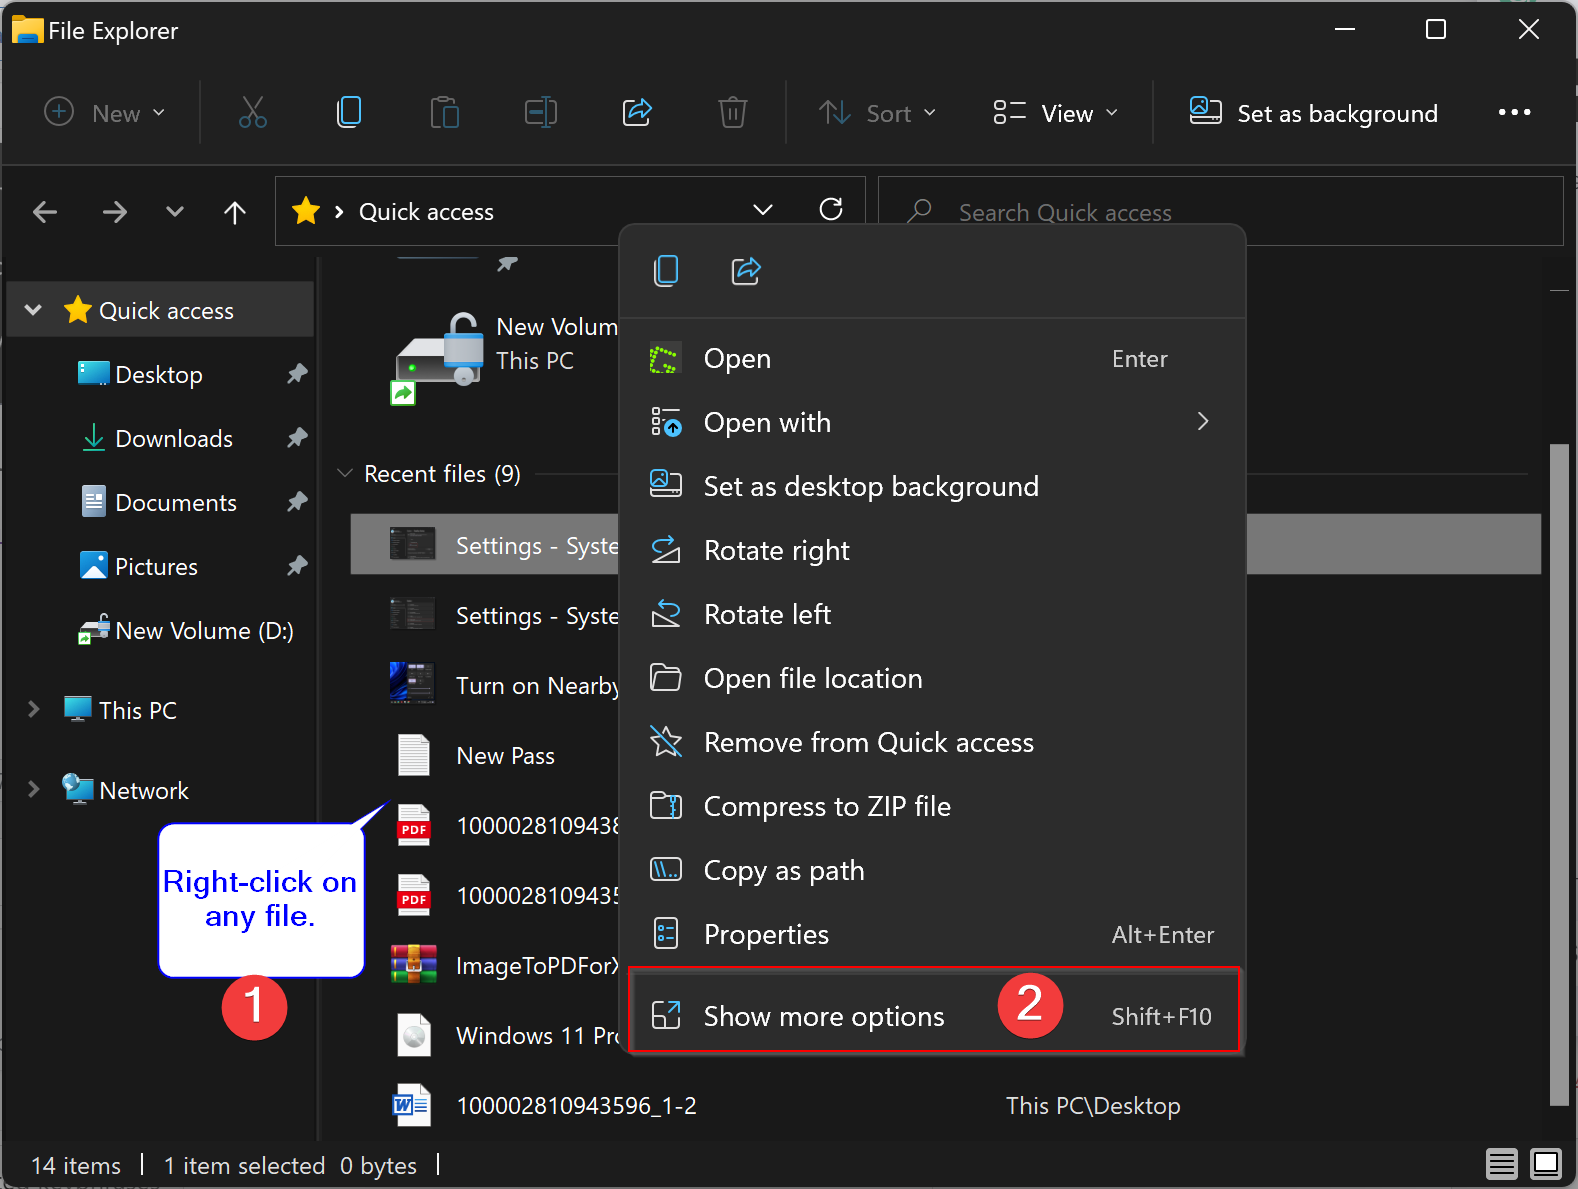
Step 1. Open File Explorer by pressing the Windows + E keys from the keyboard.
Step 2. Now, right-click any file and select the Show more options option from the pop-up context menu.
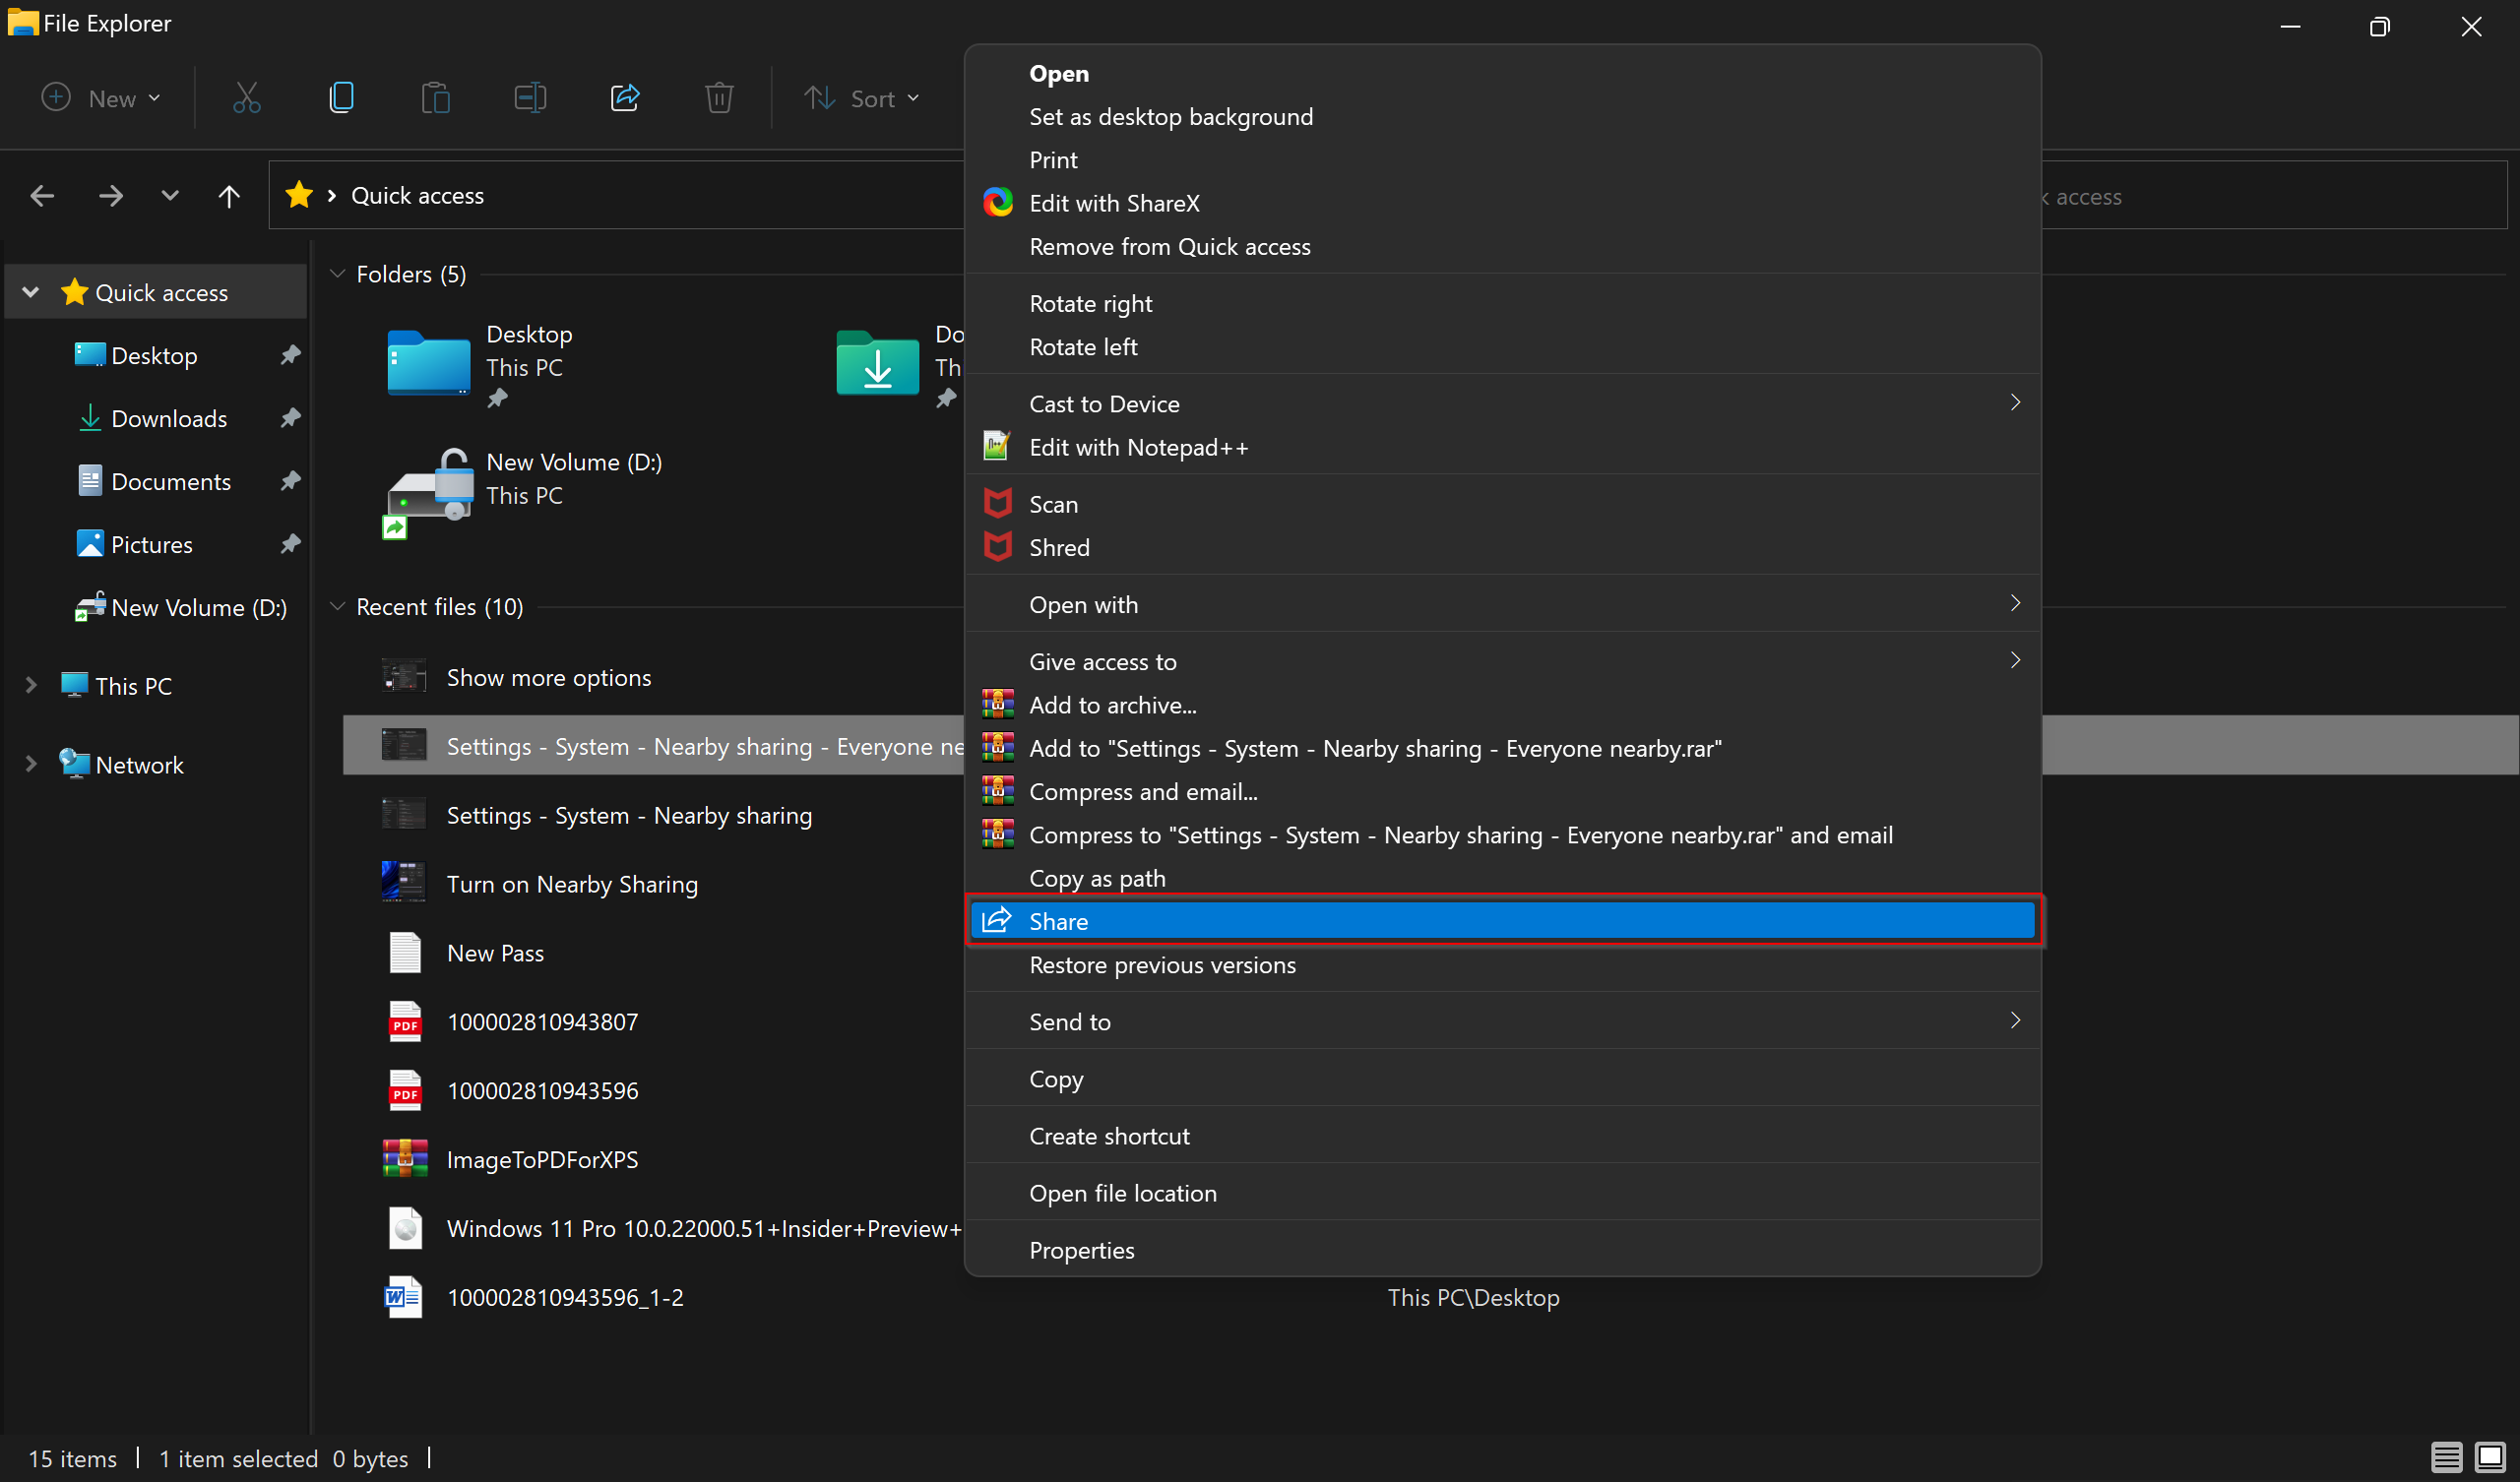
Step 3. Click on the Share option.
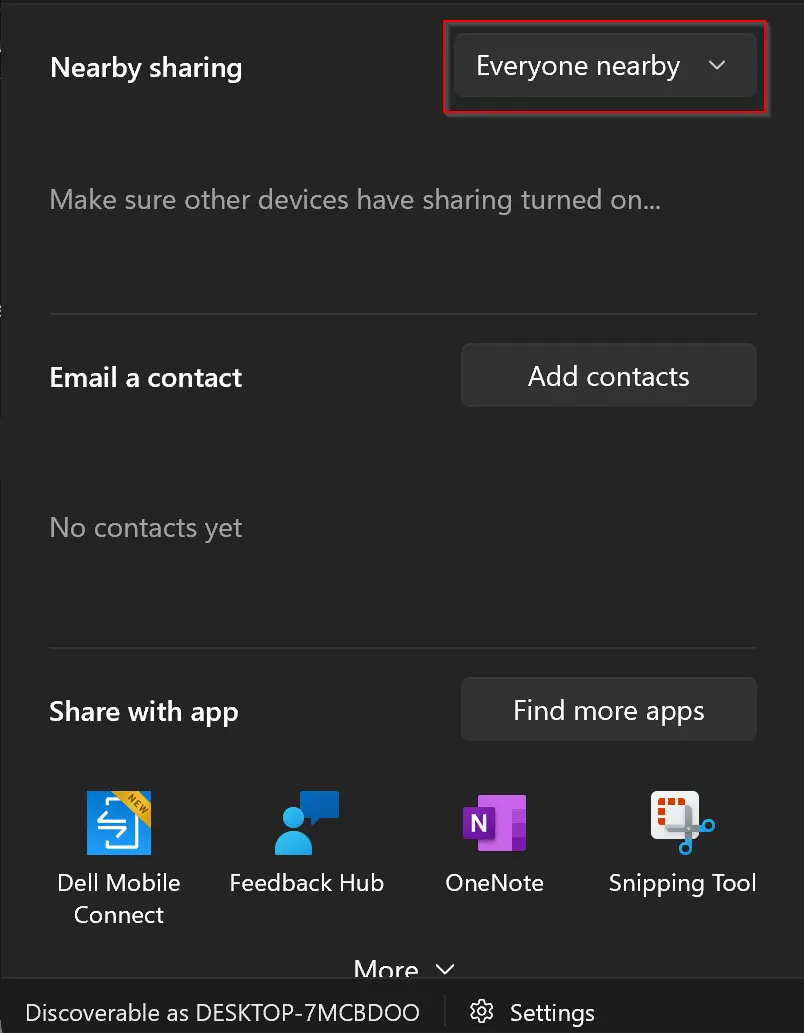
Step 4. On the pop-up window that appears, select the Everyone nearby option from the drop-down menu next to Nearby sharing.
That’s it!
Conclusion
In conclusion, enabling the Nearby Sharing feature on Windows 11 allows users to share files, documents, links, and more with other nearby devices using Wi-Fi or Bluetooth. This feature eliminates the need for external media like USB drives, making file sharing more convenient and faster. There are different ways to turn on Nearby Sharing, including through the Quick Settings menu, Settings app, and File Explorer’s context menu. By following the steps outlined in this article, users can easily enable Nearby Sharing and start sharing files with other devices nearby.