Starting Creators Update, Windows 10 ships with Night Light feature. Basically, it is a “blue light filter” that makes your display use warmer colors at night to reduce eyestrain. In function, it is similar to Blue Shade on Amazon’s Fire tablets, Night Shift on the iPhone and Mac, and Night Mode on Android.
When Night Light is turned on, Windows 10 emits bright blue light that looks like the sun. Night Light enables screen use dimmer, warmer colors at night, helping you sleep. Apart from the night, if you use your Windows 10 in a dark place, you can turn on this feature for healthy eyes.
How to Turn On Night Light on Windows 10?
To enable the Night Light on Windows 10 machine, you need to perform the following steps:-
Step 1. Open the Settings app by pressing Windows + I keys from the keyboard.
Step 2. In the Windows Settings, click on the System category.
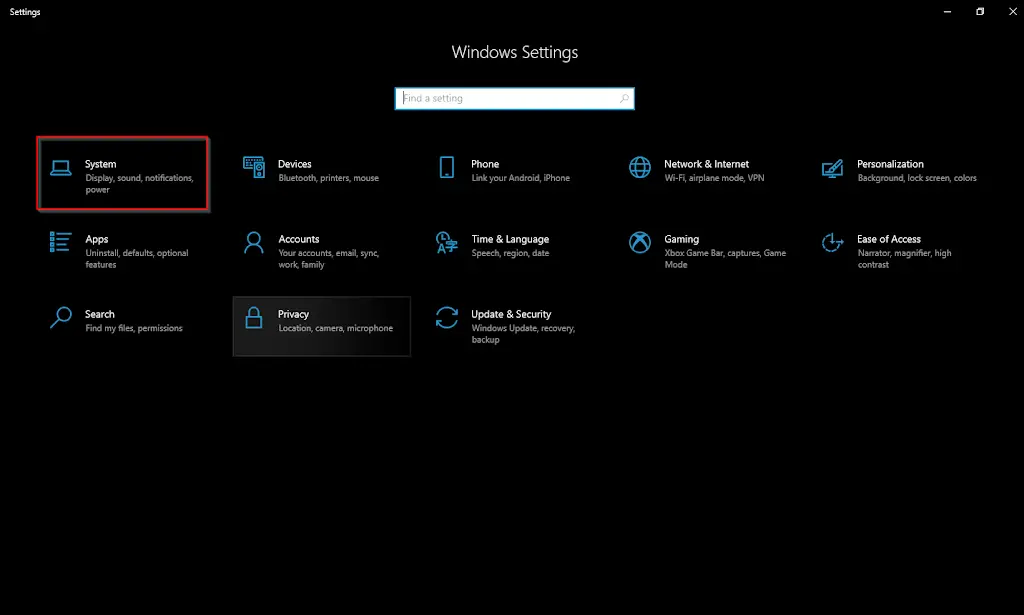
Step 3. Click on the Display tab under System.
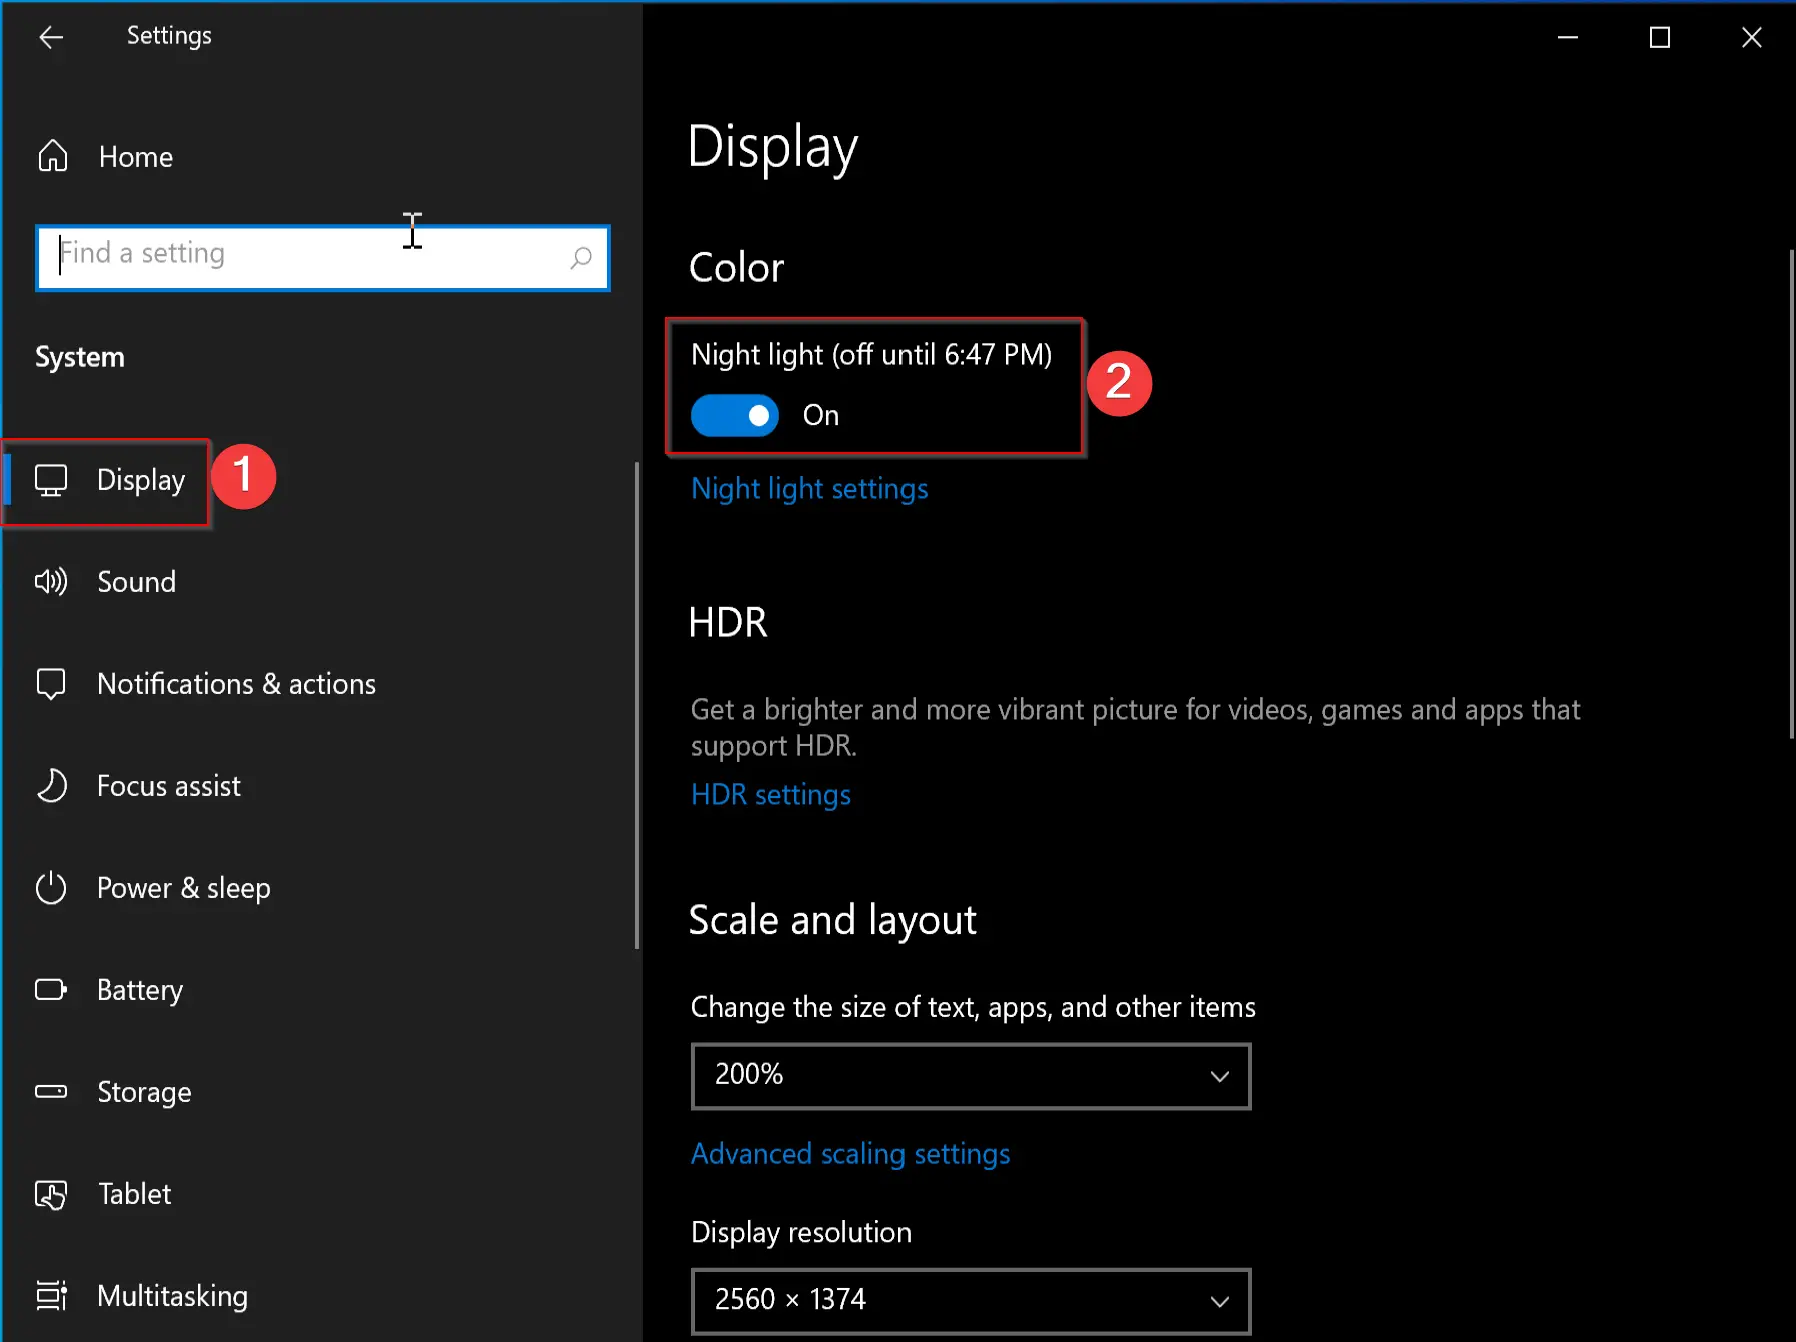
Step 4. Turn the toggle switch on/off next to “Night light” to the right-side pane to enable or disable this feature.
When you enable this feature in the daytime, Night Light won’t take effect immediately. Instead, it will wait until sunset occurs in your current location. At sunset, the time displayed in this window, Windows will automatically enable the Night light filter and disable it at sunrise, too.
How to Configure Night Light?
When you enable the Night Light feature, it is good to go. It automatically uses the color filter from sunset to sunrise. But what if you want to see warmer lights during the daytime also without waiting for sunset? You need to configure this setting further.
Step 1. Open the Settings app by pressing Windows + I keys from the keyboard.
Step 2. In the Windows Settings, click on the System category.
Step 3. Click on the Display tab under System.
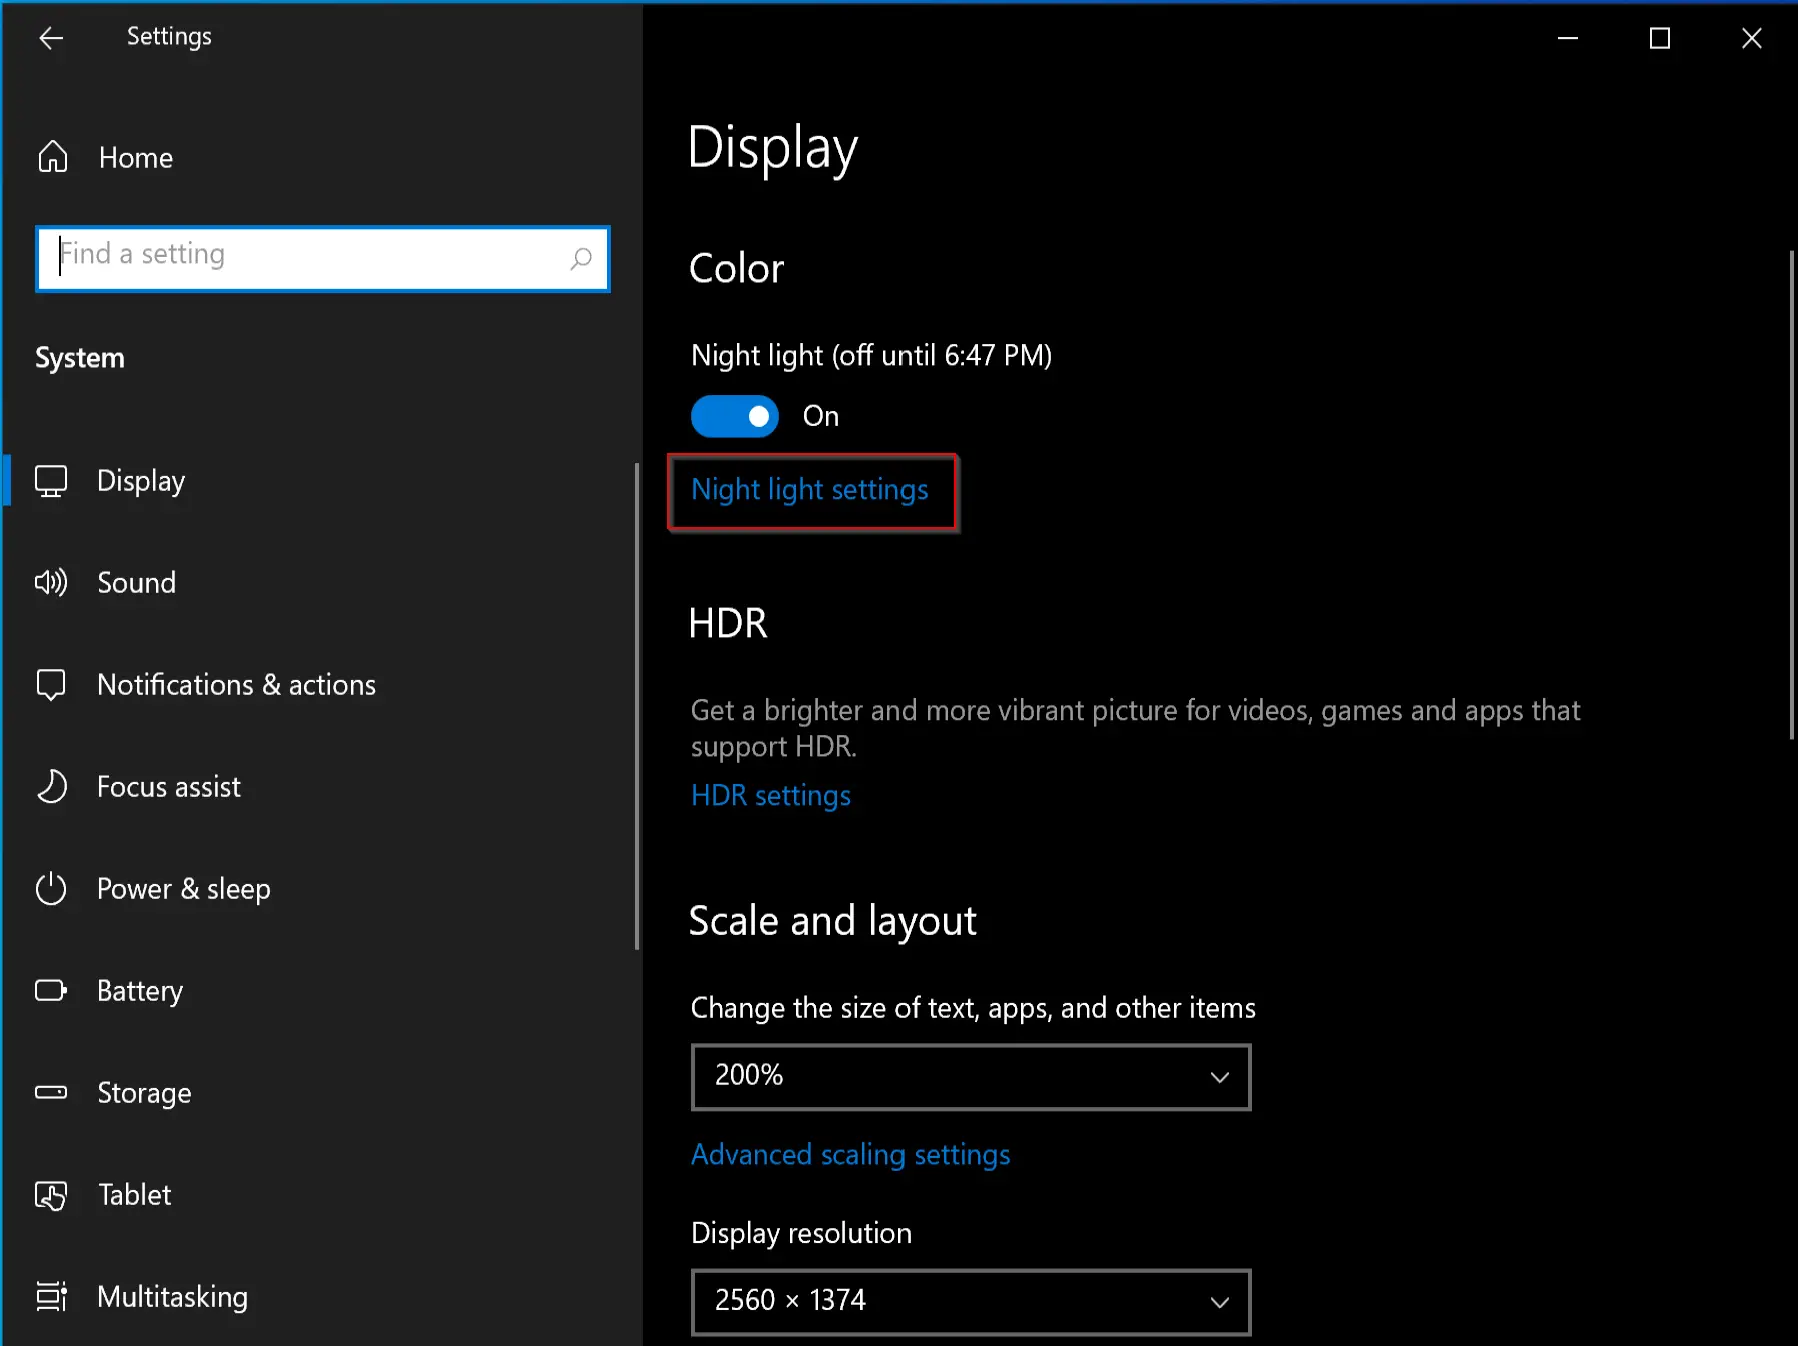
Step 4. Turn the toggle switch on next to “Night light” to the right-side pane to enable this feature.
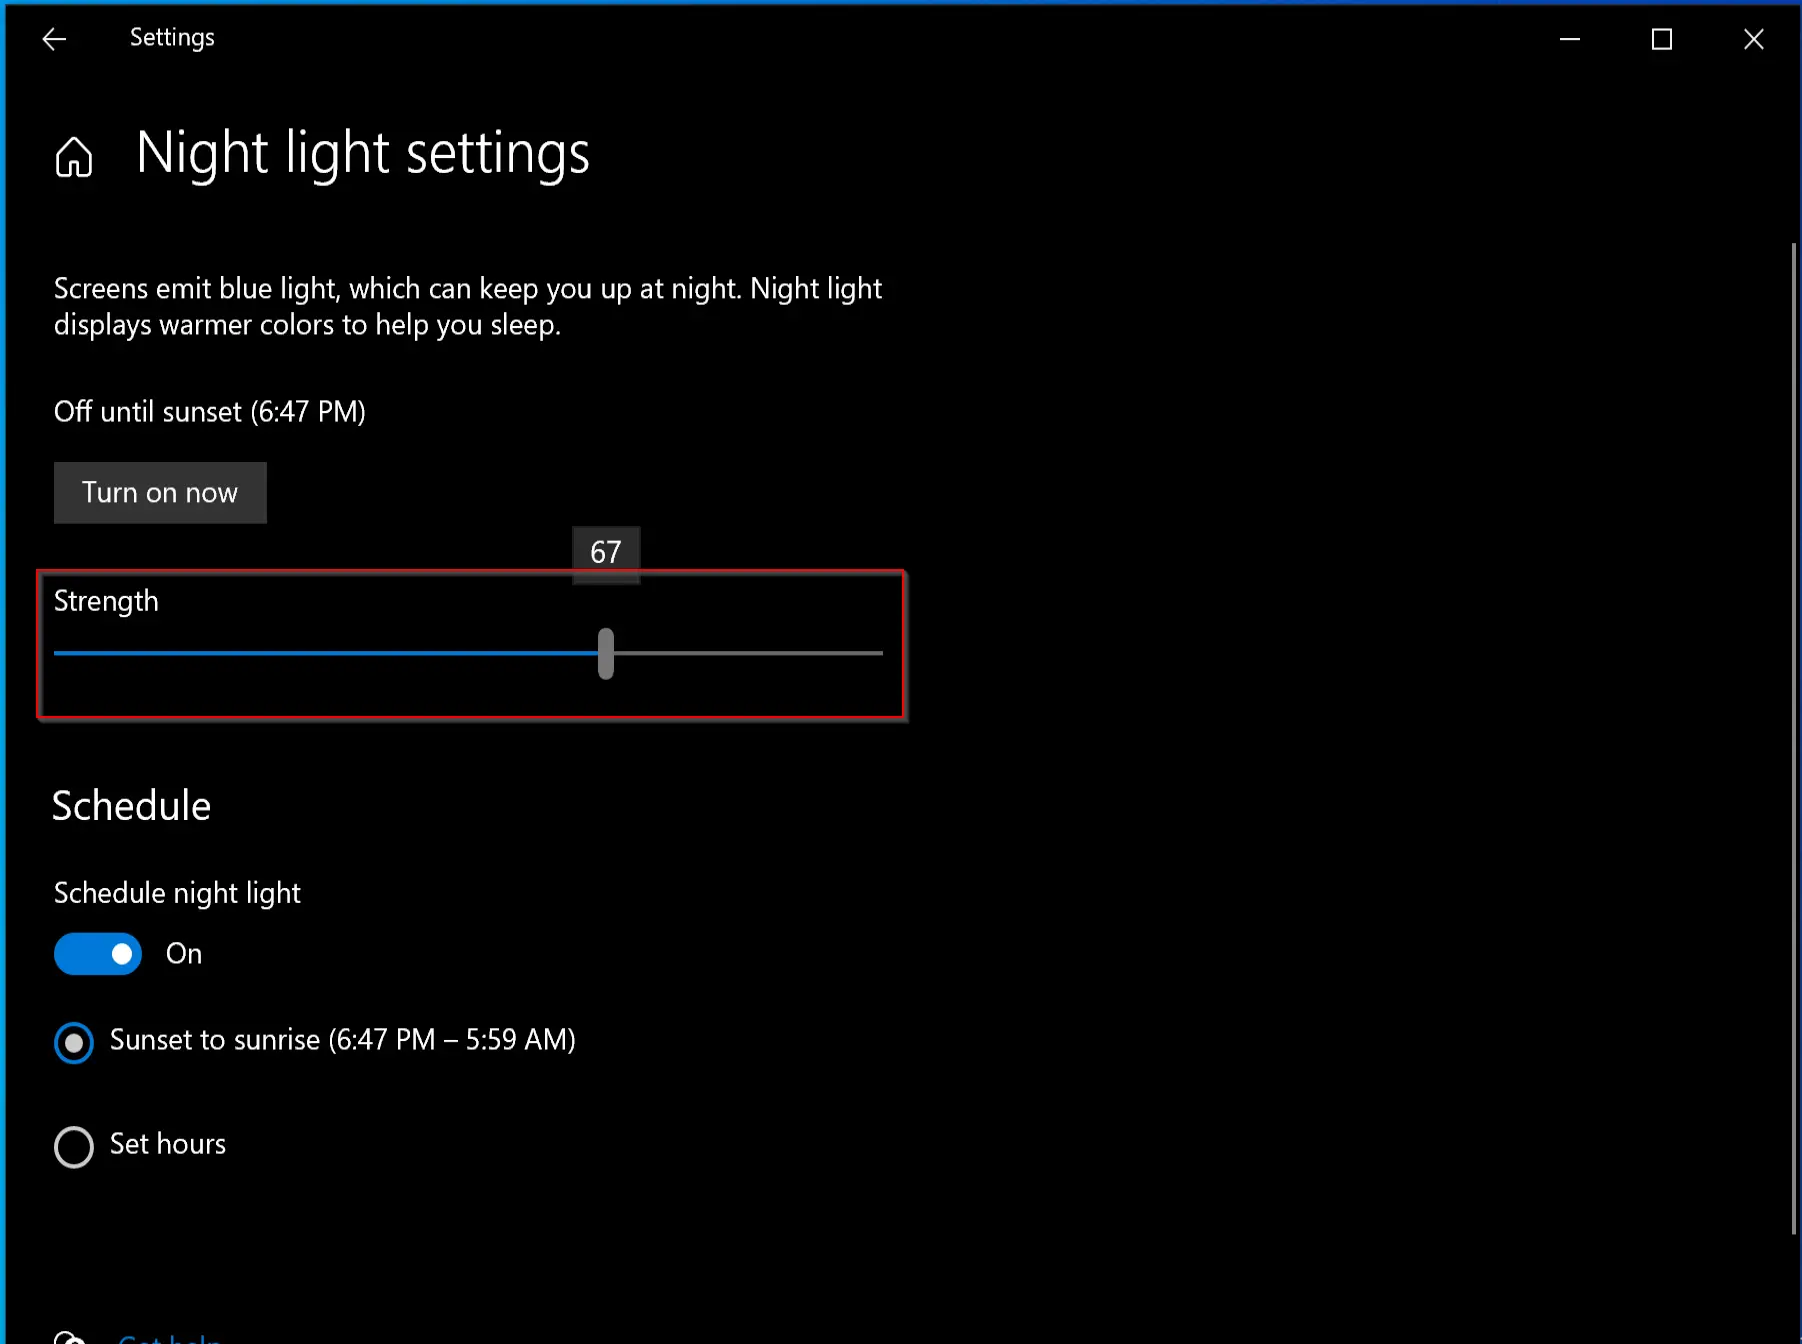
Step 5. Now, click the link Night light settings under the Color section.
Step 6. Here, use the slider to adjust the Color strength at night. You will see immediately what your screen will look like if the Night light is turned on active now.
Further, Windows automatically schedules sunset and sunrise times for Night Light after you enable it. With the default configuration, Windows will activate Night Light from sunset to sunrise. Moreover, it automatically adjusts these times to stay in sync with the sun’s movements in your geographical location.
However, it is possible to schedule Night Light hours if you need them manually. To do that, click on the Set hours radio button under the Schedule section.
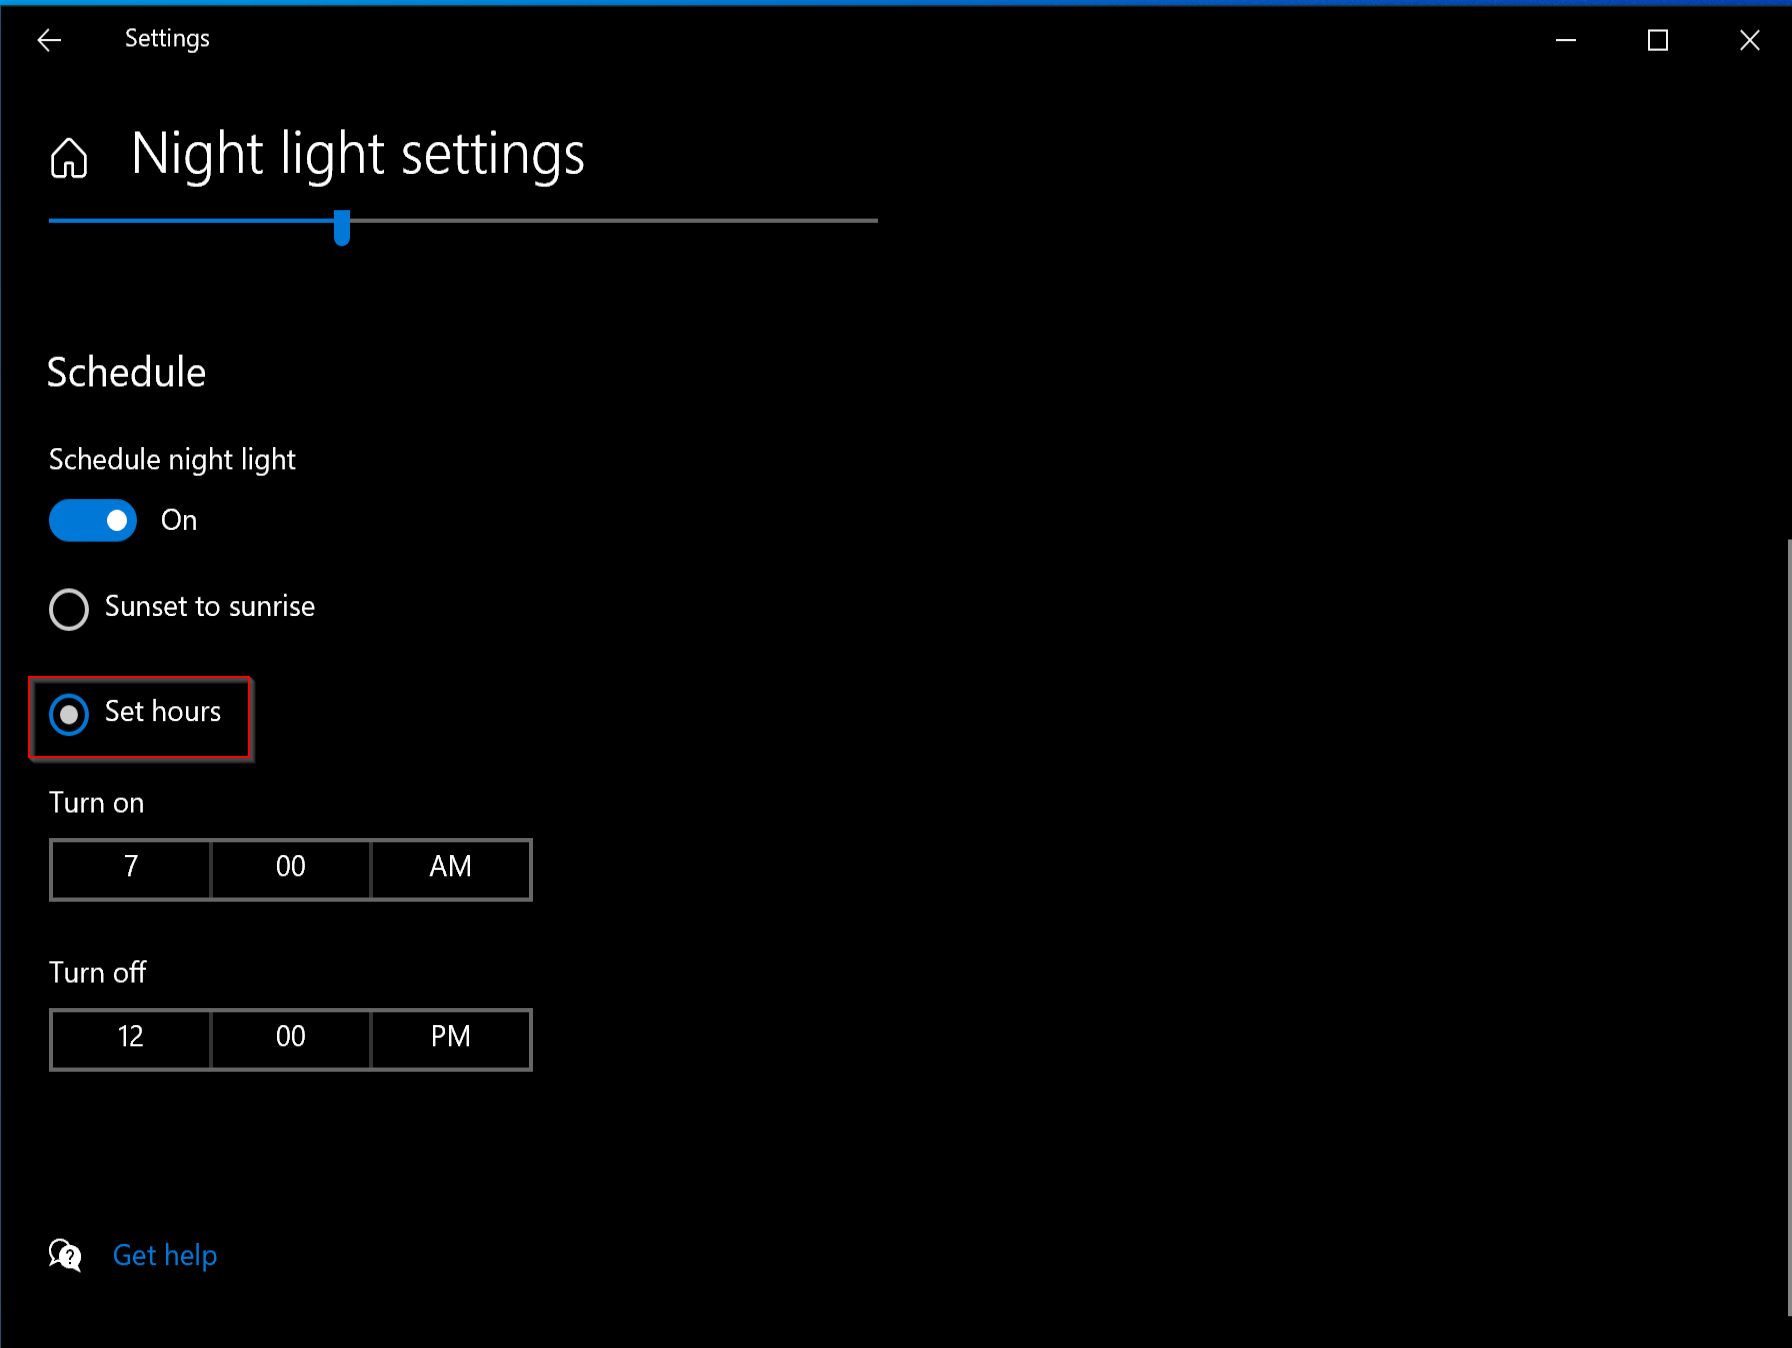
Now, you can configure the Night light turn-on time and turn-off time according to your choice.
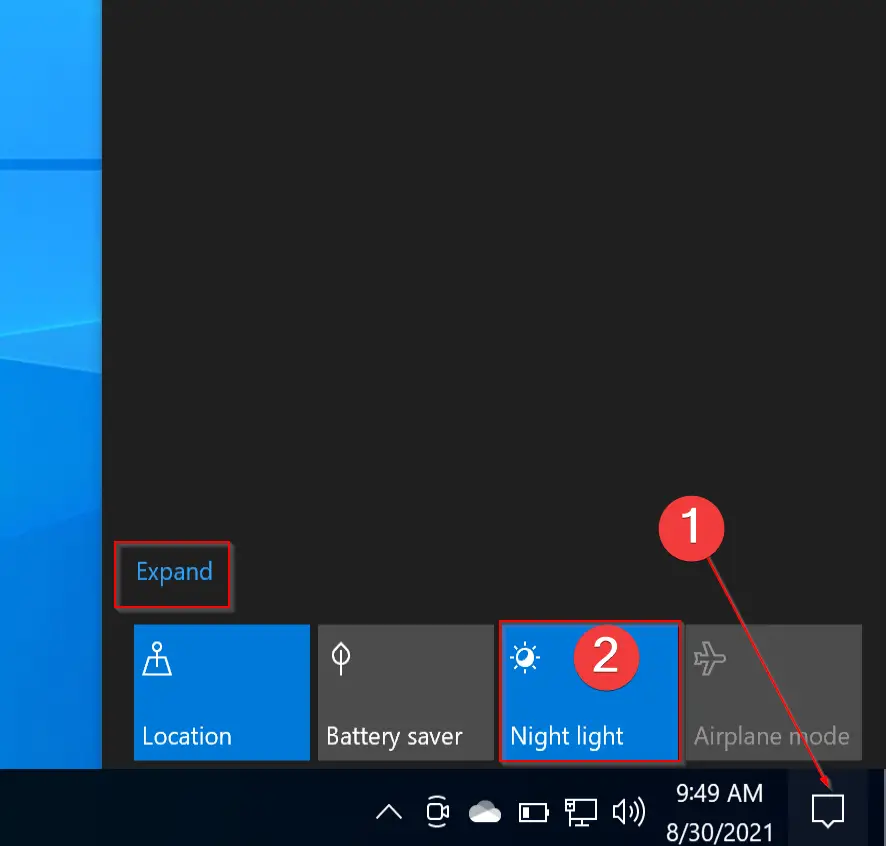
After doing all the configuration of the Night light, you can quickly turn on or turn off Night Light from the Quick Action center without diving again into Settings. If you don’t see the Night light at the top row of quick action buttons, click Expand.
Conclusion
The Night Light feature in Windows 10 is a useful tool to reduce eye strain and promote better sleep patterns. By emitting warmer colors and reducing blue light emissions, Night Light helps users to be more comfortable when working at night or in dark environments. The feature is easy to turn on and configure, as we have explained in this article. You can adjust the color strength, schedule Night Light hours, and even turn it on or off quickly from the Quick Action Center. Overall, Night Light is a great addition to Windows 10 and is worth enabling to make your computer use more comfortable and healthy for your eyes.
Also Read:
How to Add, Remove or Arrange Quick Action Buttons in Windows 10?