On a Windows PC, services run in the background, and in most cases, it does need your interactions. Depending on the applications and functions, the corresponding service automatically starts and stops whenever required. Many Windows components also depend on services, such as ‘File Explorer,’ ‘print,’ ‘Windows Updates,’ ‘Windows Search,’ and many more.
Moreover, by default, some Windows services start automatically when you start your PC. Some are on demand; for example, if you stop/start Windows Updates, the respective service will automatically start/stop. There is no need to open the services manager and manually start or stop things. A few services start to be delayed until all other services begin. Furthermore, some services depend on other services. That means when you stop the parent service, the child or dependent service stops automatically. But when you start parent service, child service will not start automatically, which means you need to begin dependent service manually.
If you are new to Windows, let me discuss some essential terms that you might want to know about services.
- Automatic – When the service startup type is “Automatic,” it will always start at boot time when Windows starts.
- Automatic (Delayed Start) – If a service is set to this state, it will wait to start essential services, and then it will start.
- Manual – You need to start or stop the service manually in this state.
- Disabled – This state will stop a service from starting.
How to Turn On a Service in Windows 11 or 10?
To enable a service in Windows 11 or 10, do the following:-
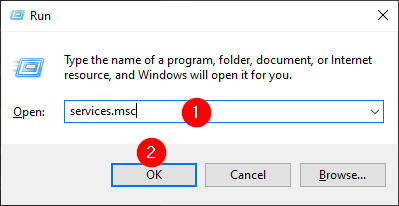
Step 1. First, press the Windows + R keys on the keyboard and then type services.msc. After that, click the OK button to open the Services window.
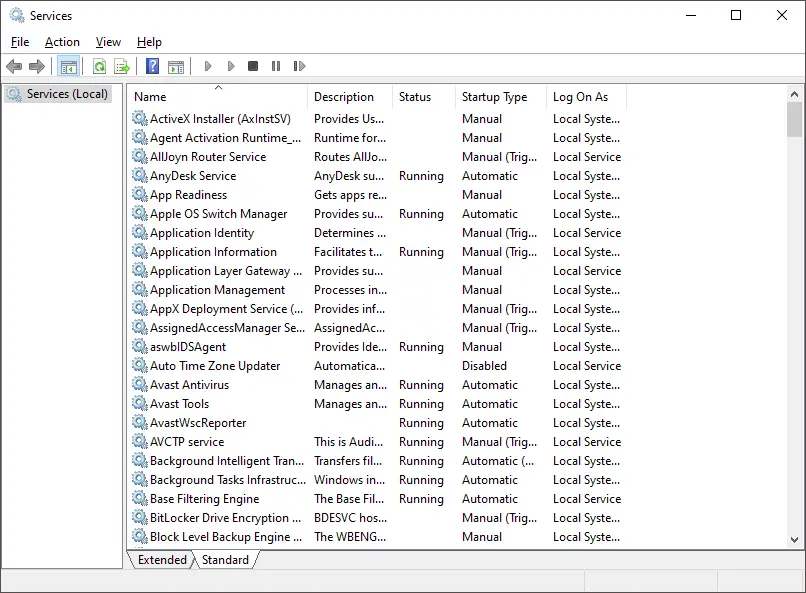
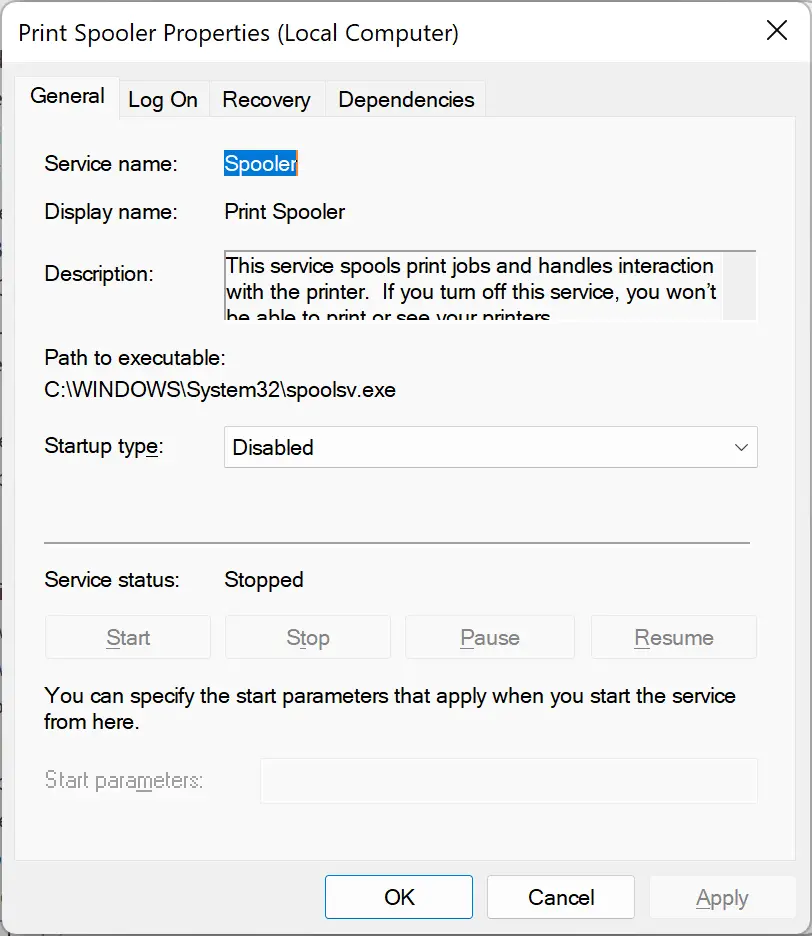
Step 2. Then, double-click the service you would like to enable. This action will open the Properties dialog of that service.
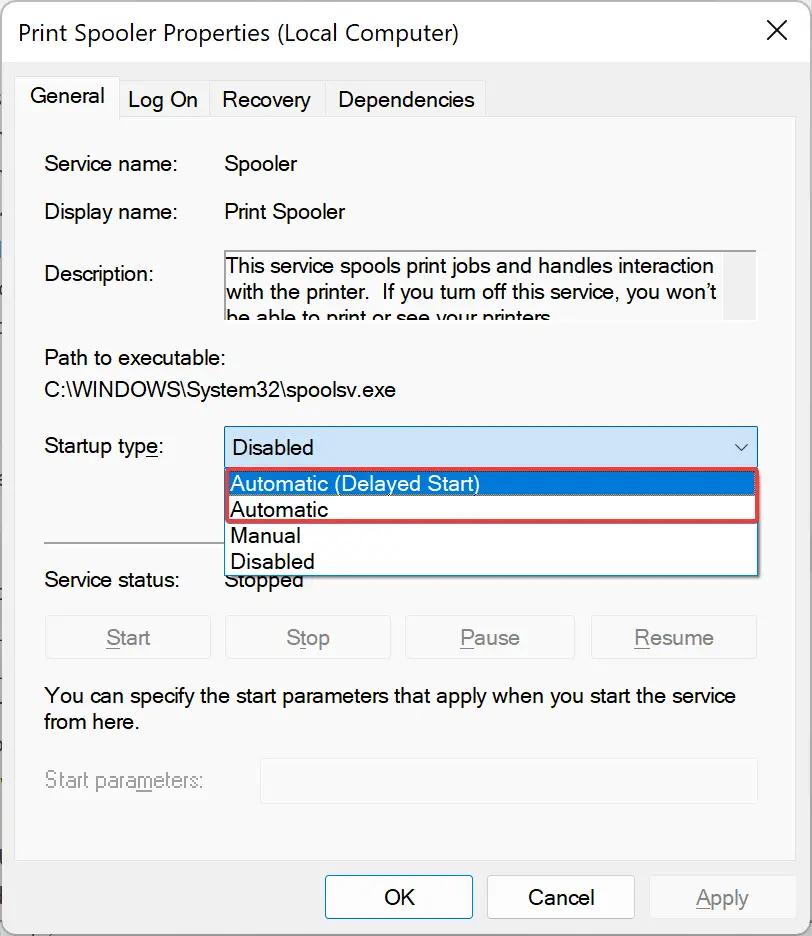
Step 3. Select Automatic or Automatic (Delayed Start) from the “Startup type” drop-down menu.
Step 4. Click Apply.
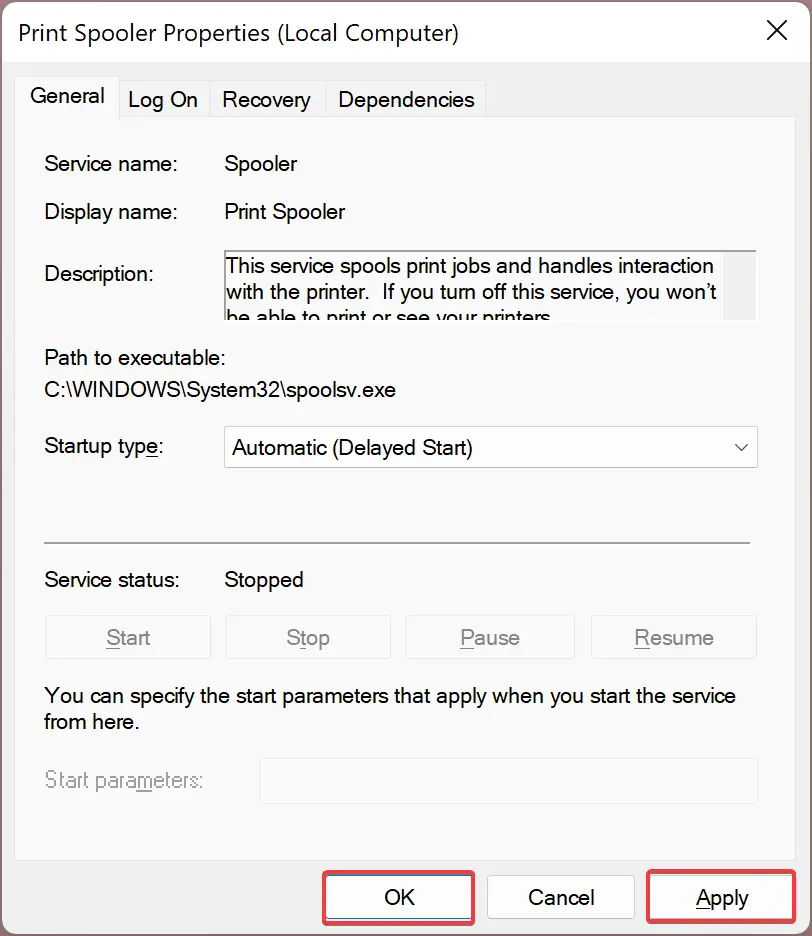
Step 5. Finally, click the OK button to exit.
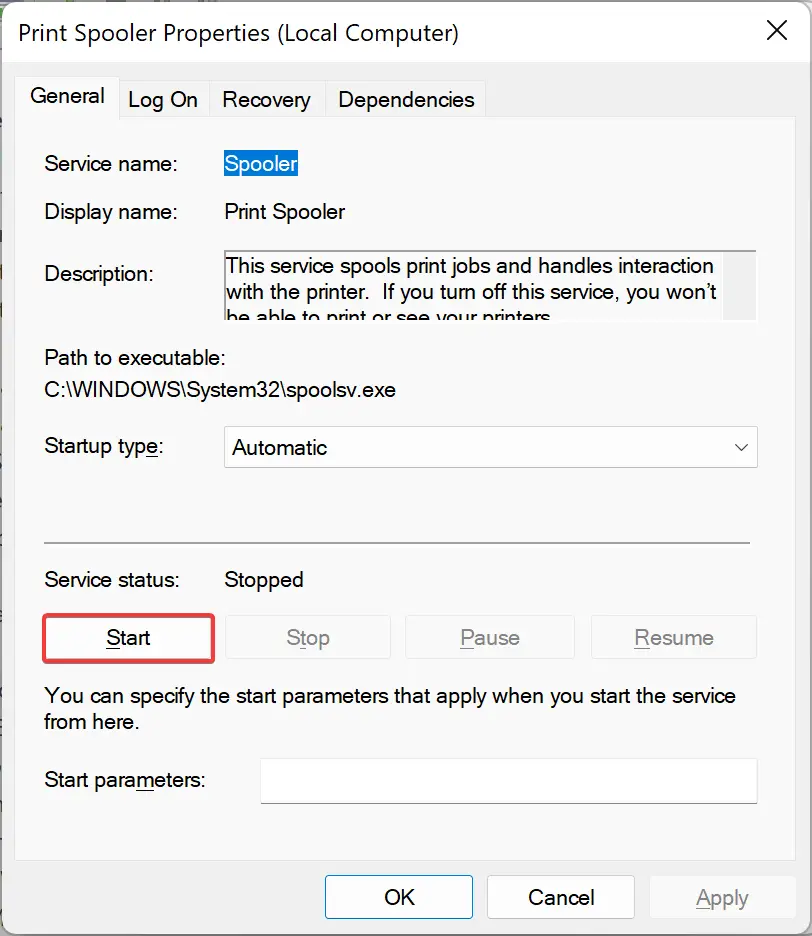
After completing the above steps, the service will start whenever you restart your computer and Windows boots. If you want to start this service immediately, hit the Start button under “Service status.”
How to Turn Off a Service in Windows 11 or 10?
If you wish to disable a service on Windows 11 or 10 PC, do the following:-
Step 1. Very first, press the Windows + R keys on the keyboard and then type services.msc. After that, click the OK button to open the Services window.
Step 2. Then, double-click the service you would like to disable. This action will open the Properties dialog of that service.
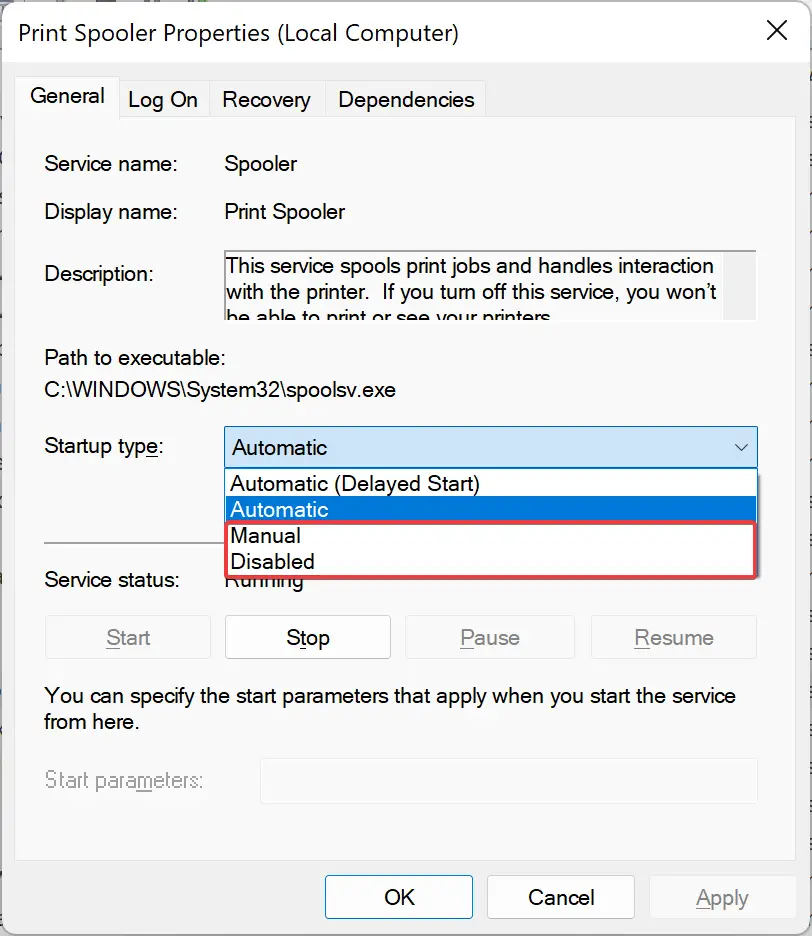
Step 3. Select Disabled or Manual from the “Startup type” drop-down menu.
Step 4. After selecting the Disabled or Manual option from the “Startup type” drop-down menu, click the Stop button if the service is already running.
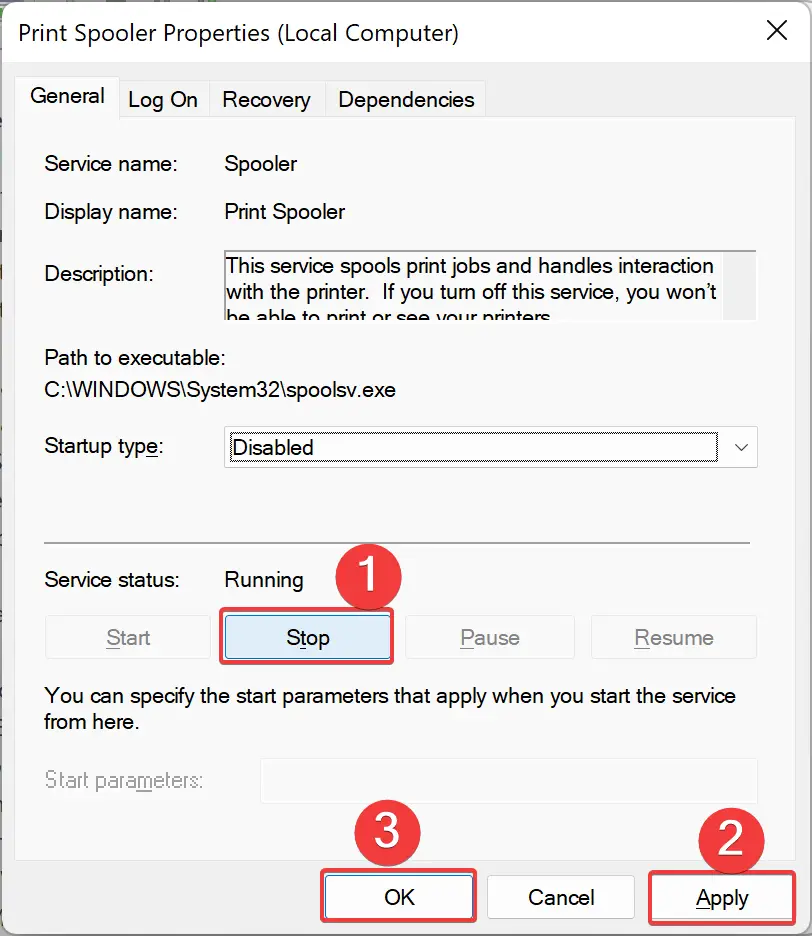
Step 5. Then, click the Apply button.
Step 6. Finally, click the OK button to exit.
After completing the above steps, the service stops.
How to Enable or Disable a Service using Command Prompt in Windows 11 or 10?
To enable or disable a service using Command Prompt in Windows 11 or 10, use the following steps:-
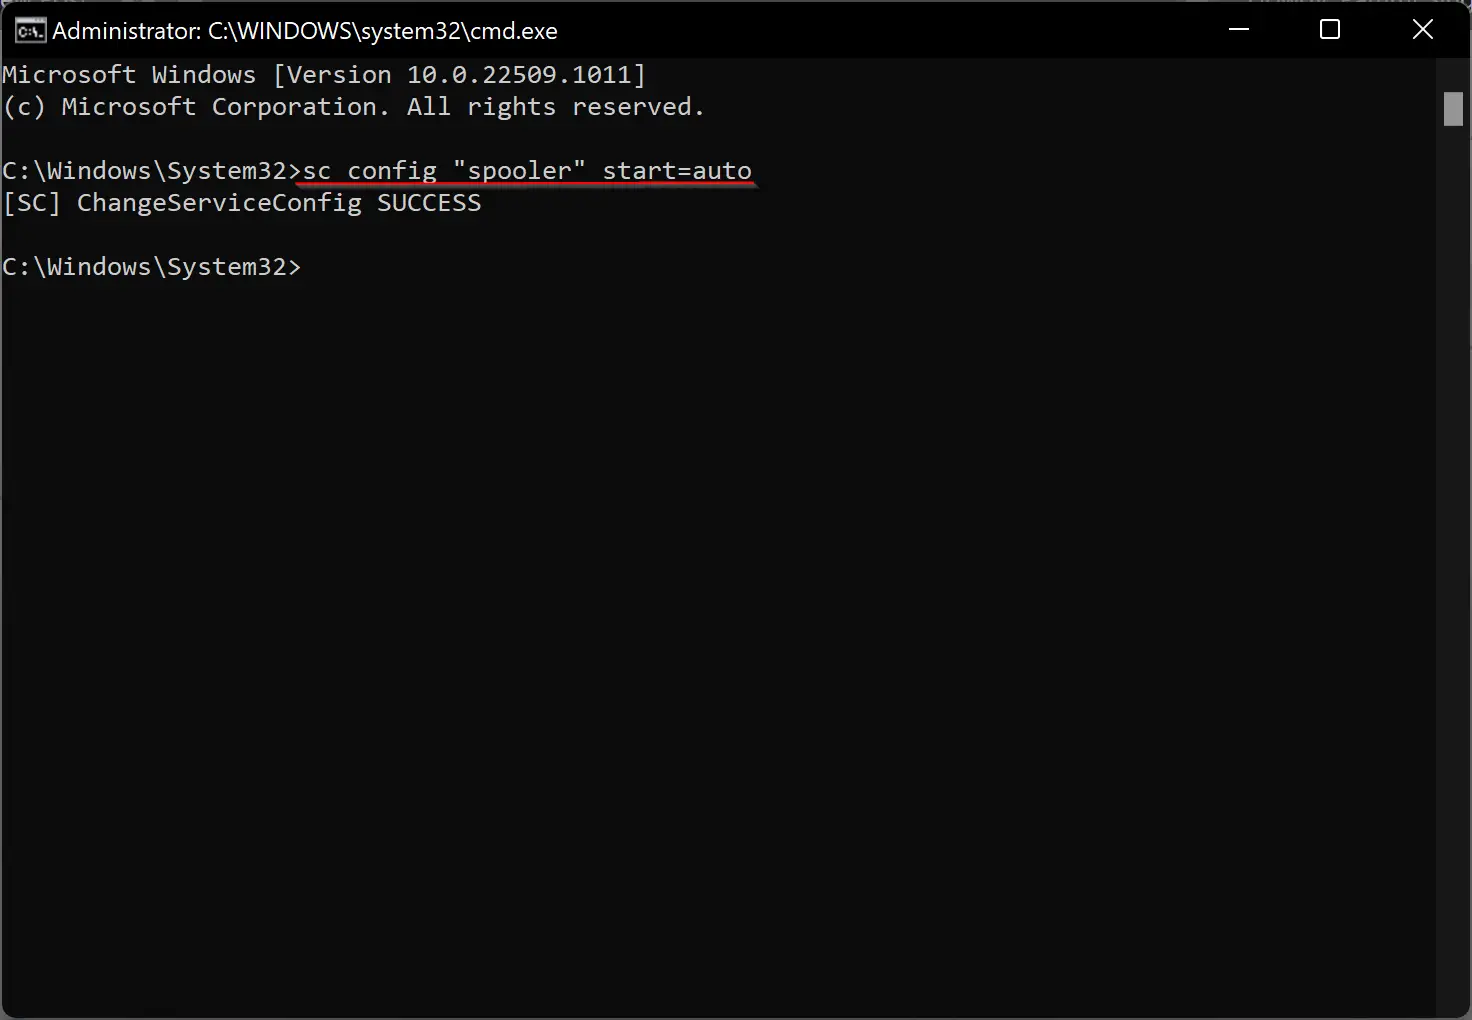
Step 1. Open the Command Prompt with administrative privileges.
Step 2. Then, use the following commands to enable or disable the service:-
Change the Startup type to Automatic:
sc config "service name" start=auto
Change Startup type Automatic (Delayed Start):
sc config "service name" start=delayed-auto
To stop and disable a service:
sc stop “service name” && sc config “service name” start=disabled
Change the Startup type to Manual:
sc config “service name” start=demand && sc start “service name”
Quick Note: You need to replace the service name with the name of the service you want to enable or disable. Double-click on the service to open its Properties dialog to find a service name. Note down the text besides “Service name.”
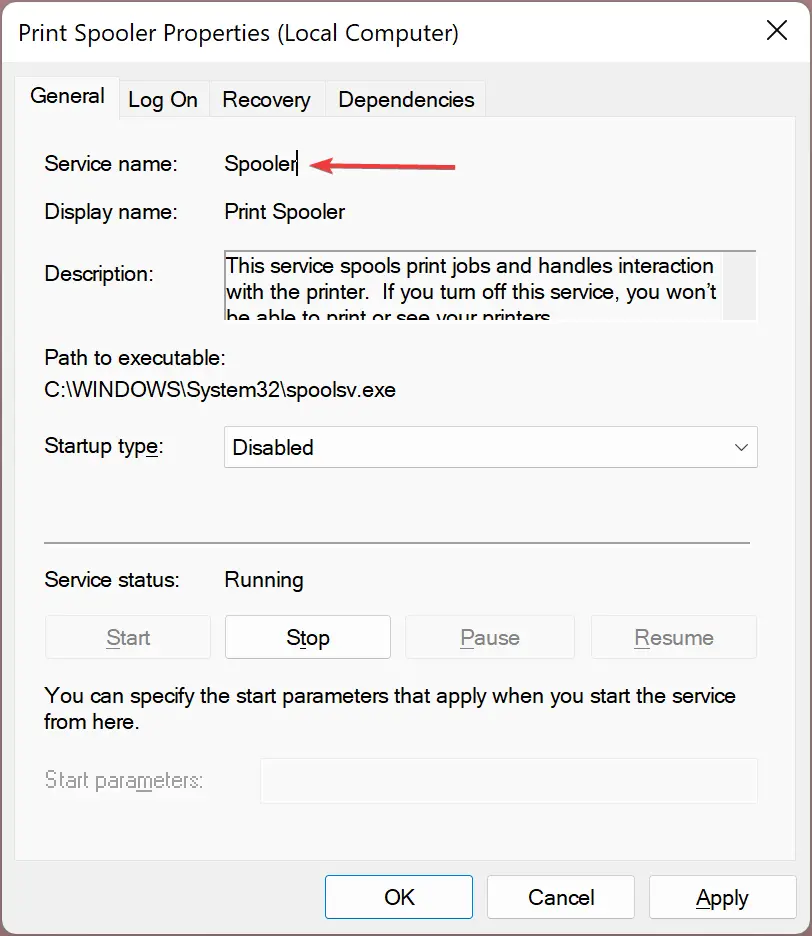
So, if you want to change the “Print Spooler” service “Startup type” to “Automatic,” your command will be:-
sc config "spooler" start=auto
Conclusion
In conclusion, Windows services are essential components that run in the background, enabling various functions and applications to operate on the system. These services have different startup types, such as automatic, manual, delayed start, and disabled. In most cases, services start automatically, but users can also start or stop them manually. This article has provided step-by-step instructions on how to enable or disable a service using the Services window or Command Prompt in Windows 11 or 10. Understanding how to manage Windows services can help improve system performance and troubleshoot issues.