The Registry is a critical database that stores low-level settings essential for the OS and applications on a Windows operating system. By tweaking the registry, you can change numerous settings on your Windows 11 or 10 machines, such as installing Windows 11 on unsupported hardware, disabling Task Manager, adding or removing options from the “Ctrl + Alt + Del” screen, and a lot more.
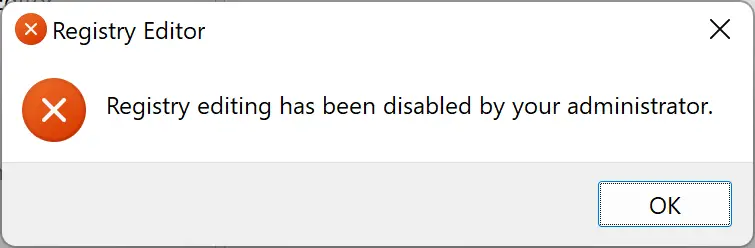
Editing a Registry is always risky if someone unknowingly changes any value. While most users know the risks of editing the Registry, novice users may be unfamiliar with this. So, if you share your device with other users, you should disable the Registry Editor.
There are at least two methods available in Windows 11 or 10 that let you turn on or off access to Registry Editor without using a third party. You can enable or disable the Registry Editor using Local Group Policy Editor or Registry Editor. In this gearupwindows article, we will review both these methods.
How to Disable Registry Editor on Windows 11 or 10 using Registry Editor?
To turn off Registry Editor on Windows 11 or 10 by tweaking the registry, use these steps:-
Step 1. Open Registry Editor.
Step 2. Navigate to the following key in the left sidebar of Registry Editor:-
HKEY_CURRENT_USER\SOFTWARE\Microsoft\Windows\CurrentVersion\Policies
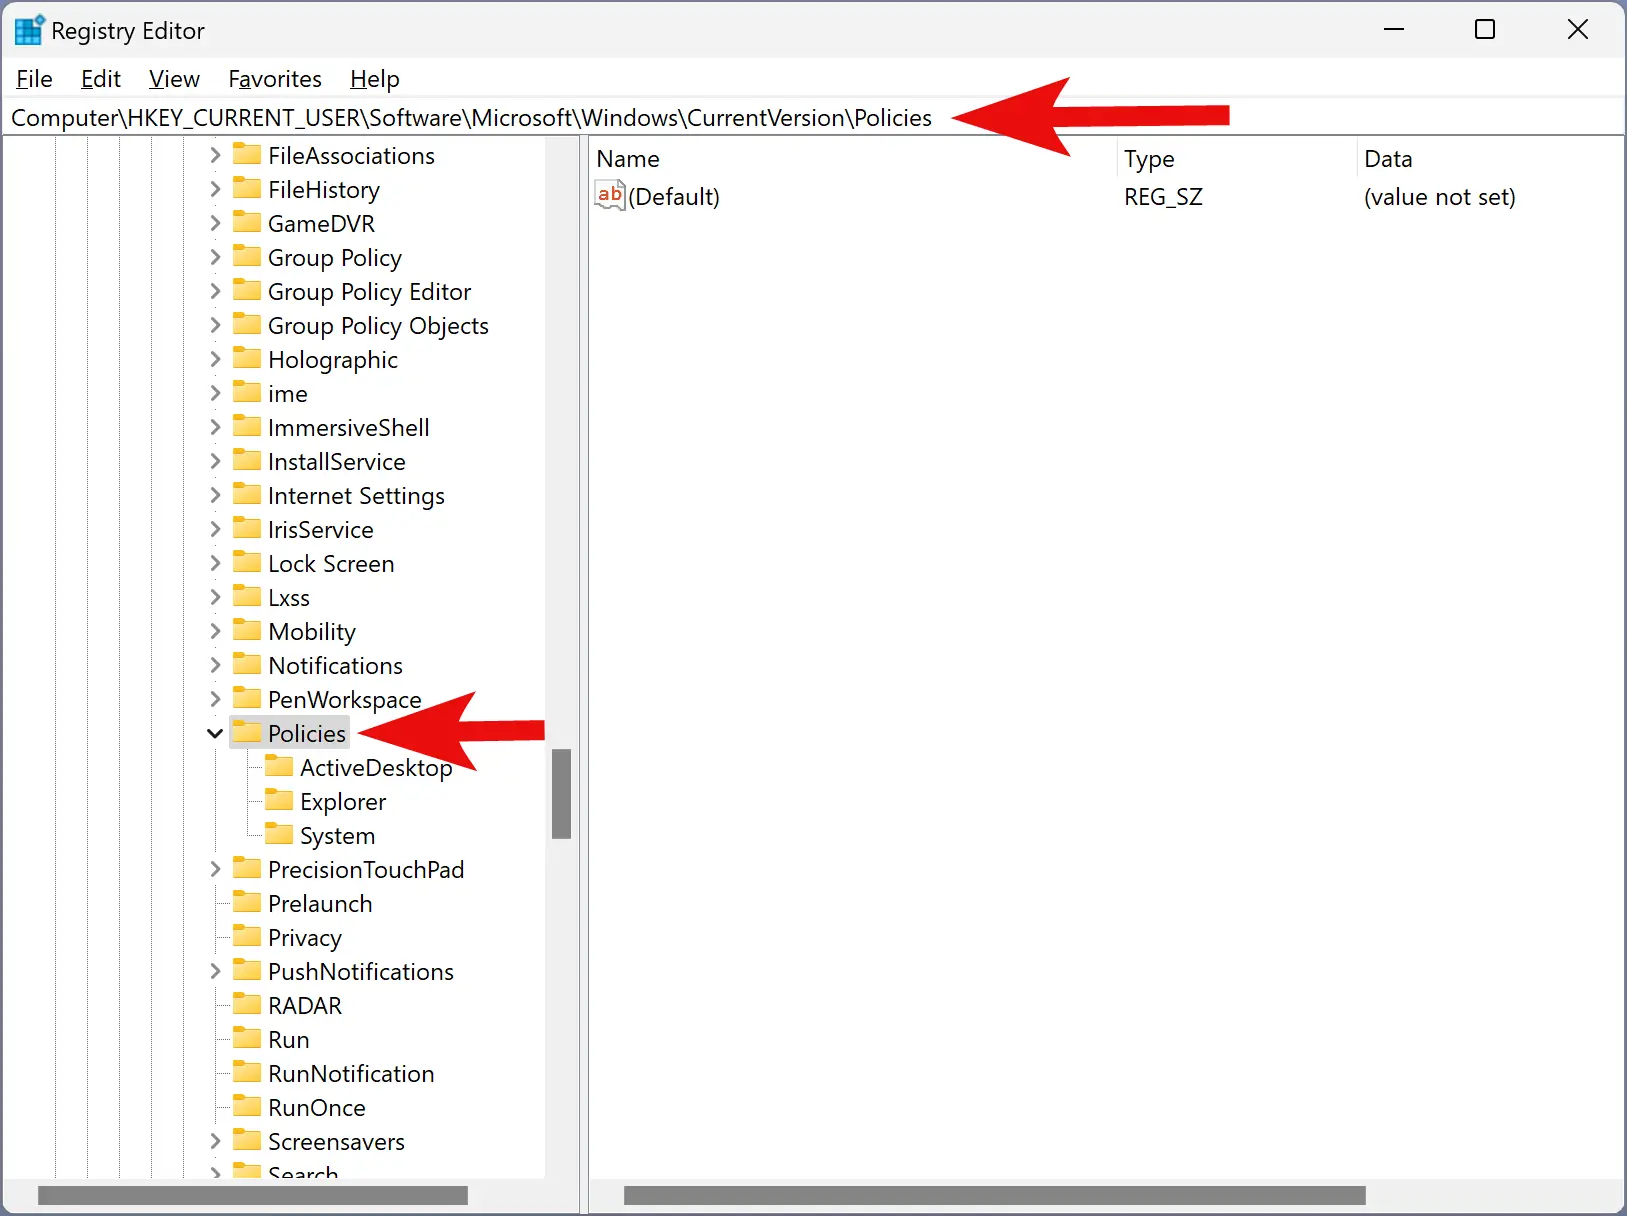
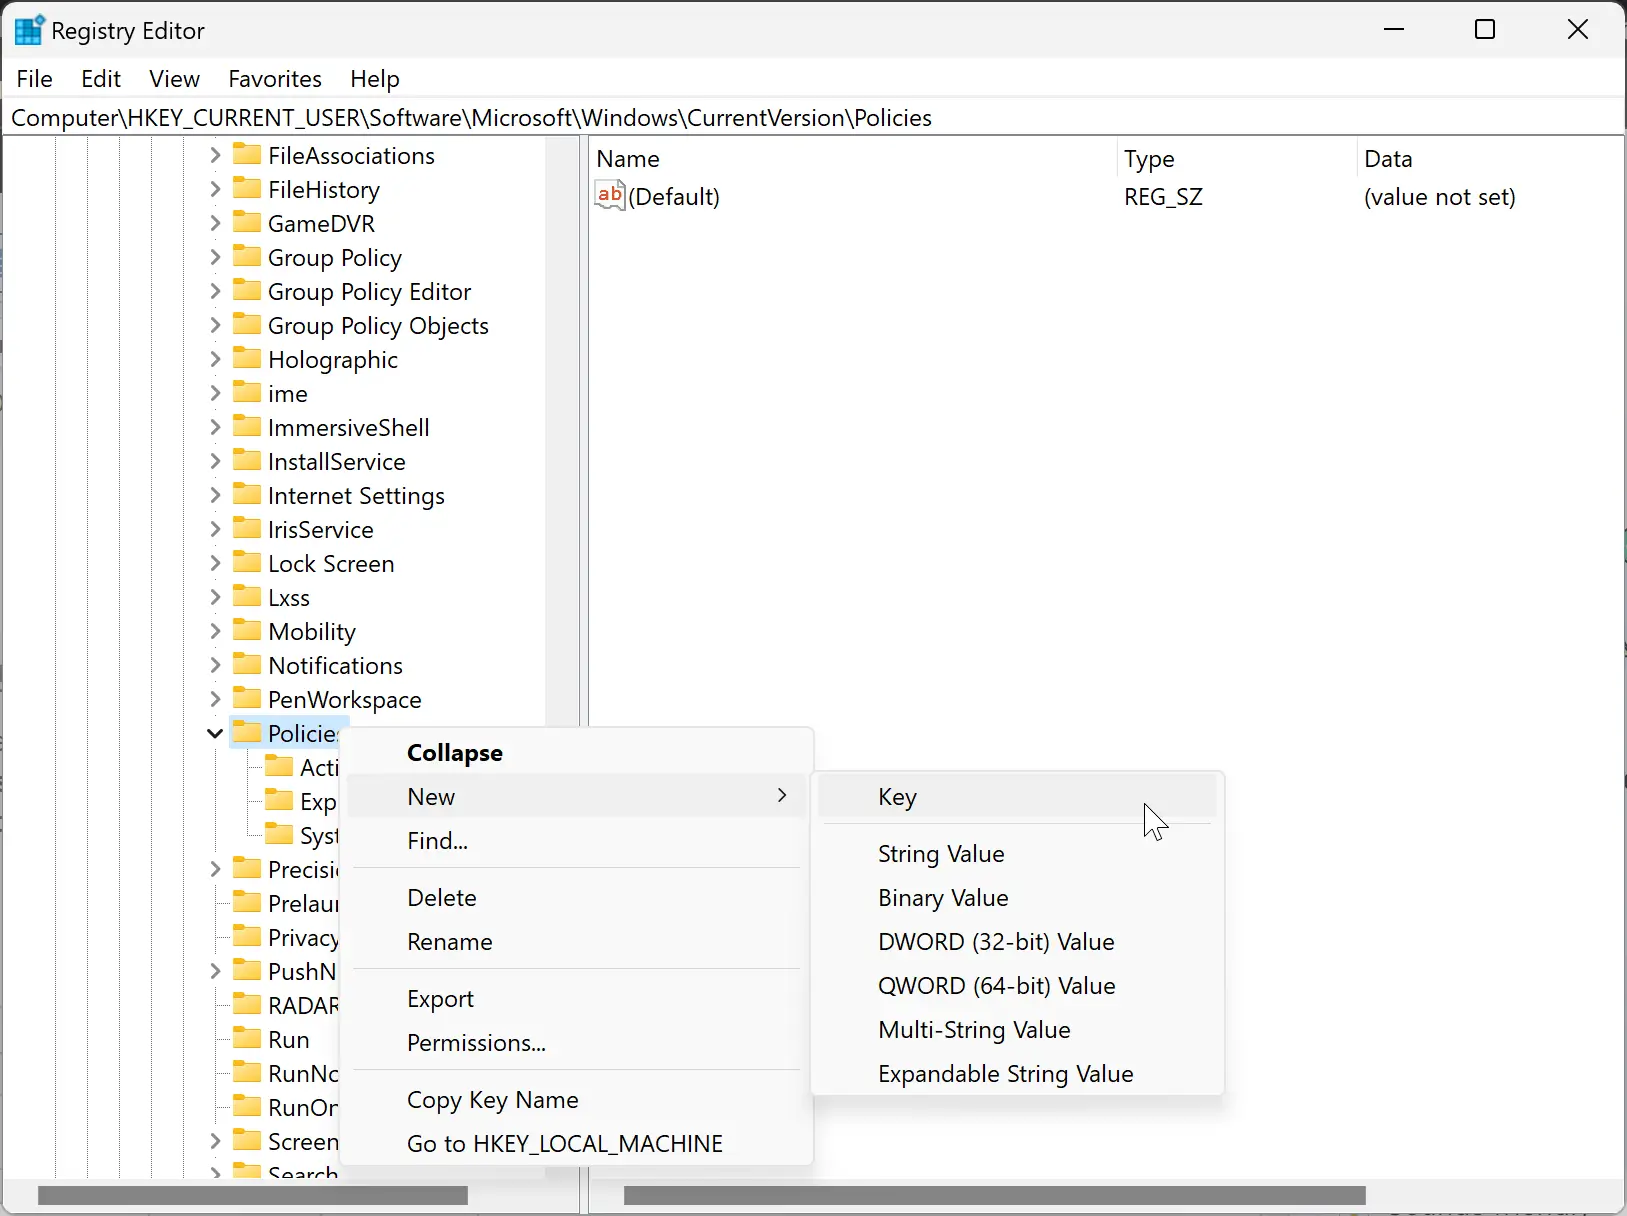
Step 3. Expand the Policies key and click System. If the “System” key is not available under the “Policies” key, right-click on the Policies key and select New > Key. Set the name to System.
Step 4. Right-click on the System key and select New > DWORD (32-bit) Value.
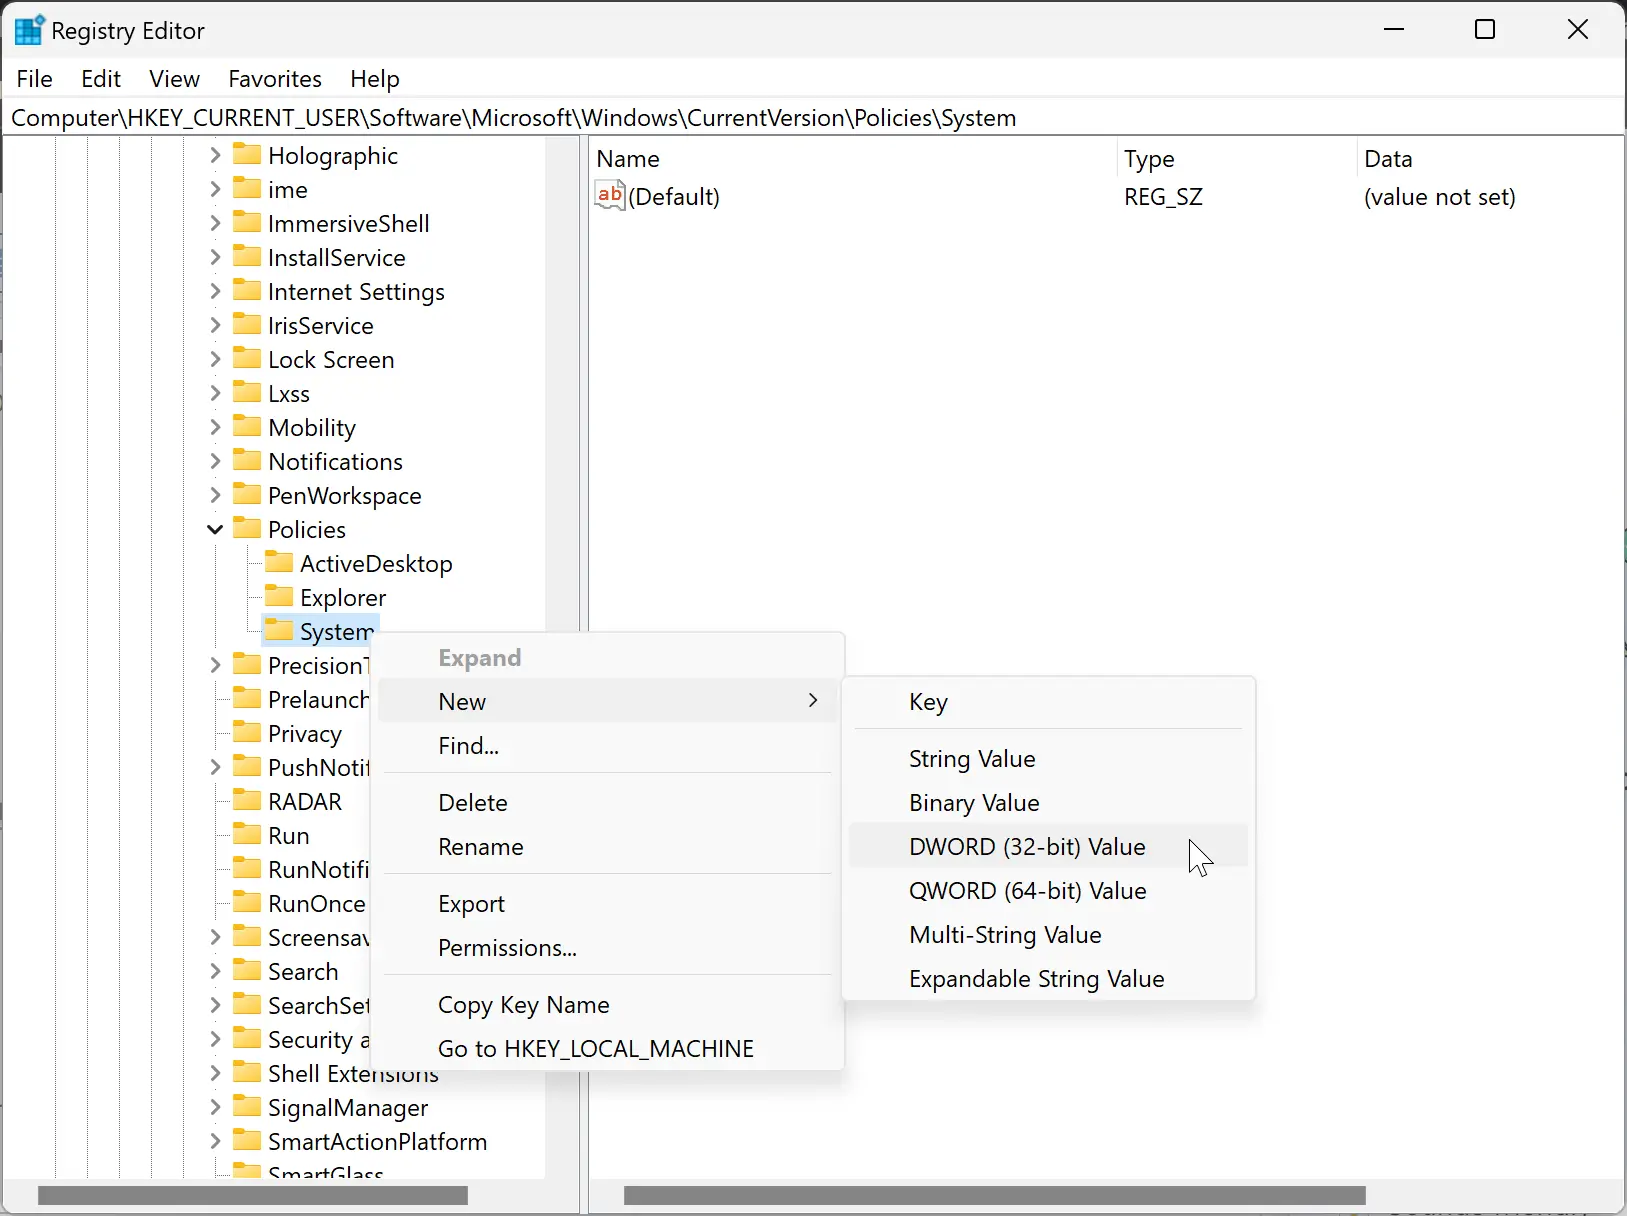
Step 5. Name this new REG_DWORD to DisableRegistryTools.
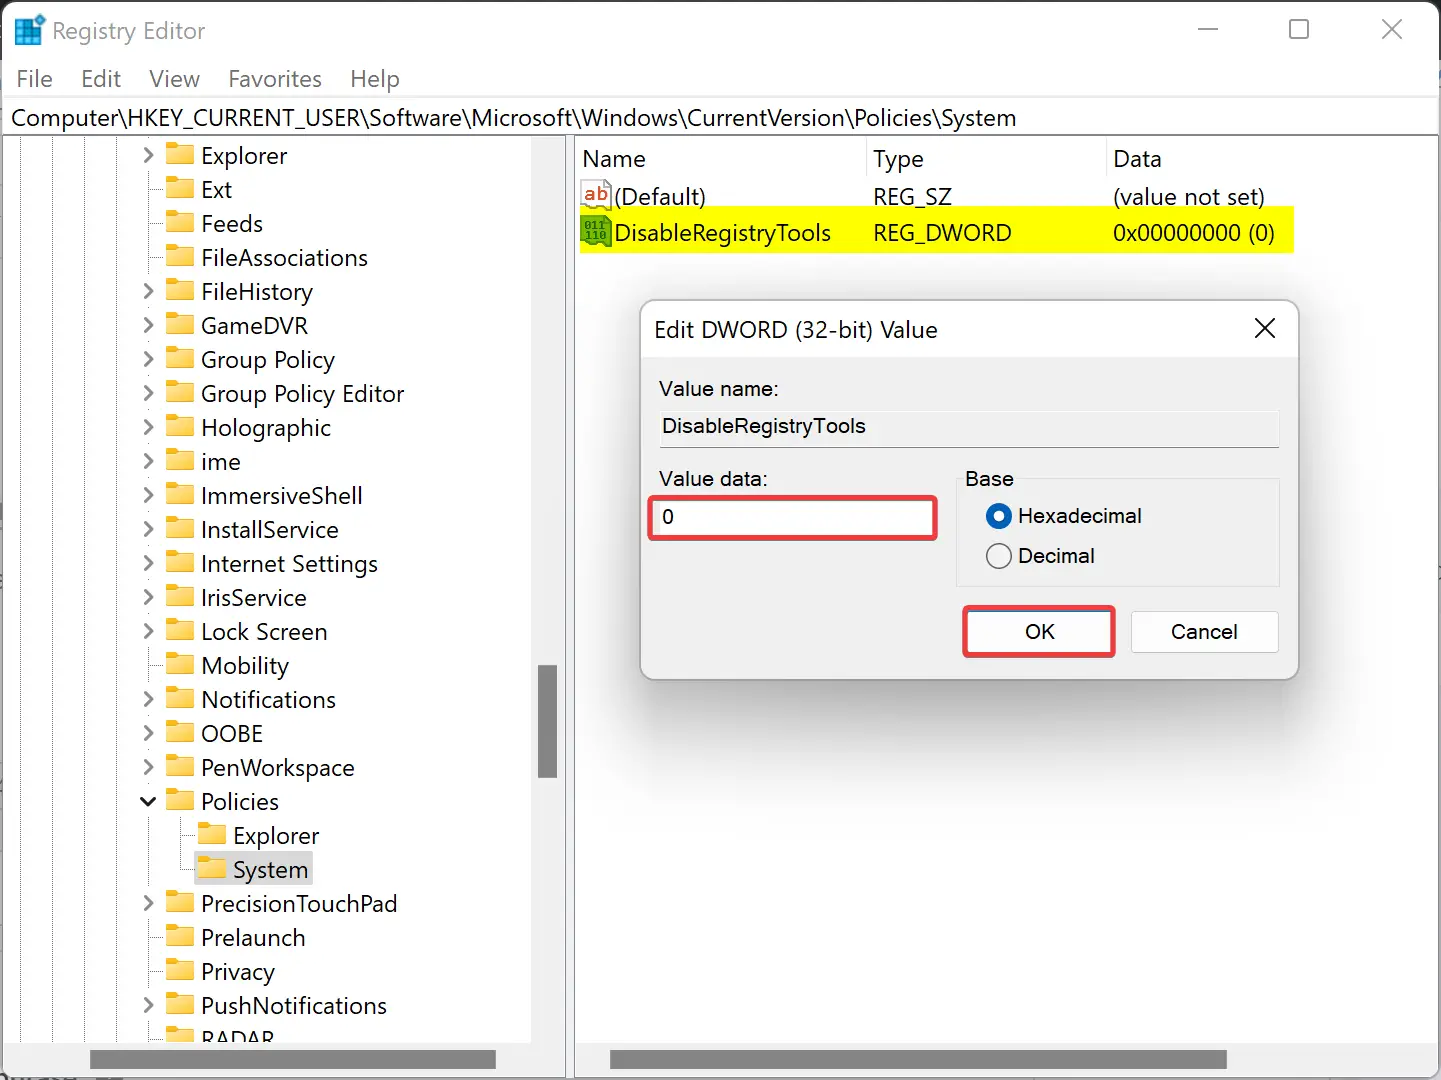
Step 6. Double-click on the DisableRegistryTools REG_DWORD and set its “Value data” to the following:-
- 0: Allow access to Registry Editor.
- 1: Block access to Registry Editor.
Step 7. Click OK.
Step 8. Reboot your PC to apply the changes.
How to Enable Registry Editor on Windows 11 or 10 by Tweaking the Registry?
To enable Registry Editor on Windows 11 or 10 by tweaking the registry, use these steps:-
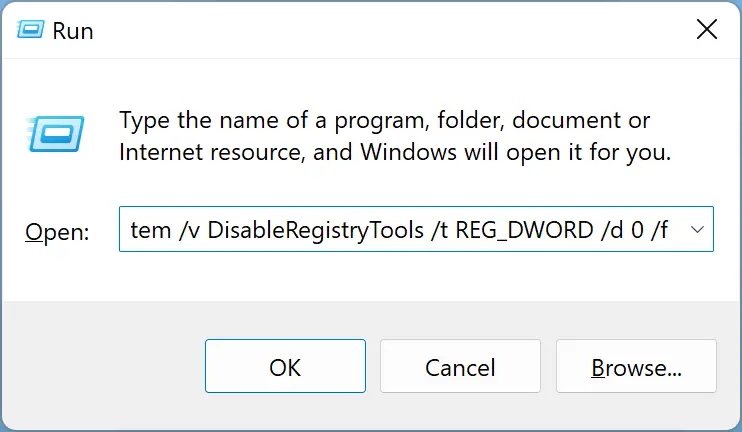
Step 1. Press Windows + R keys on the keyboard to open the Run dialog box.
Step 2. In the Run box, copy and paste the following and hit Enter key on the keyboard:-
REG add HKCU\Software\Microsoft\Windows\CurrentVersion\Policies\System /v DisableRegistryTools /t REG_DWORD /d 0 /f
Step 3. Restart your computer.
How to Turn On or Off Registry Editor on Windows 11 or 10 through Local Group Policy Editor?
To enable or disable access to Registry Editor on Windows 11 or 10 using Local Group Policy Editor, do these steps:-
Step 1. Open Local Group Policy Editor (Gpedit.msc).
Step 2. Browse to the following path in the left sidebar of Local Group Policy Editor:-
User Configuration > Administrative Templates > System
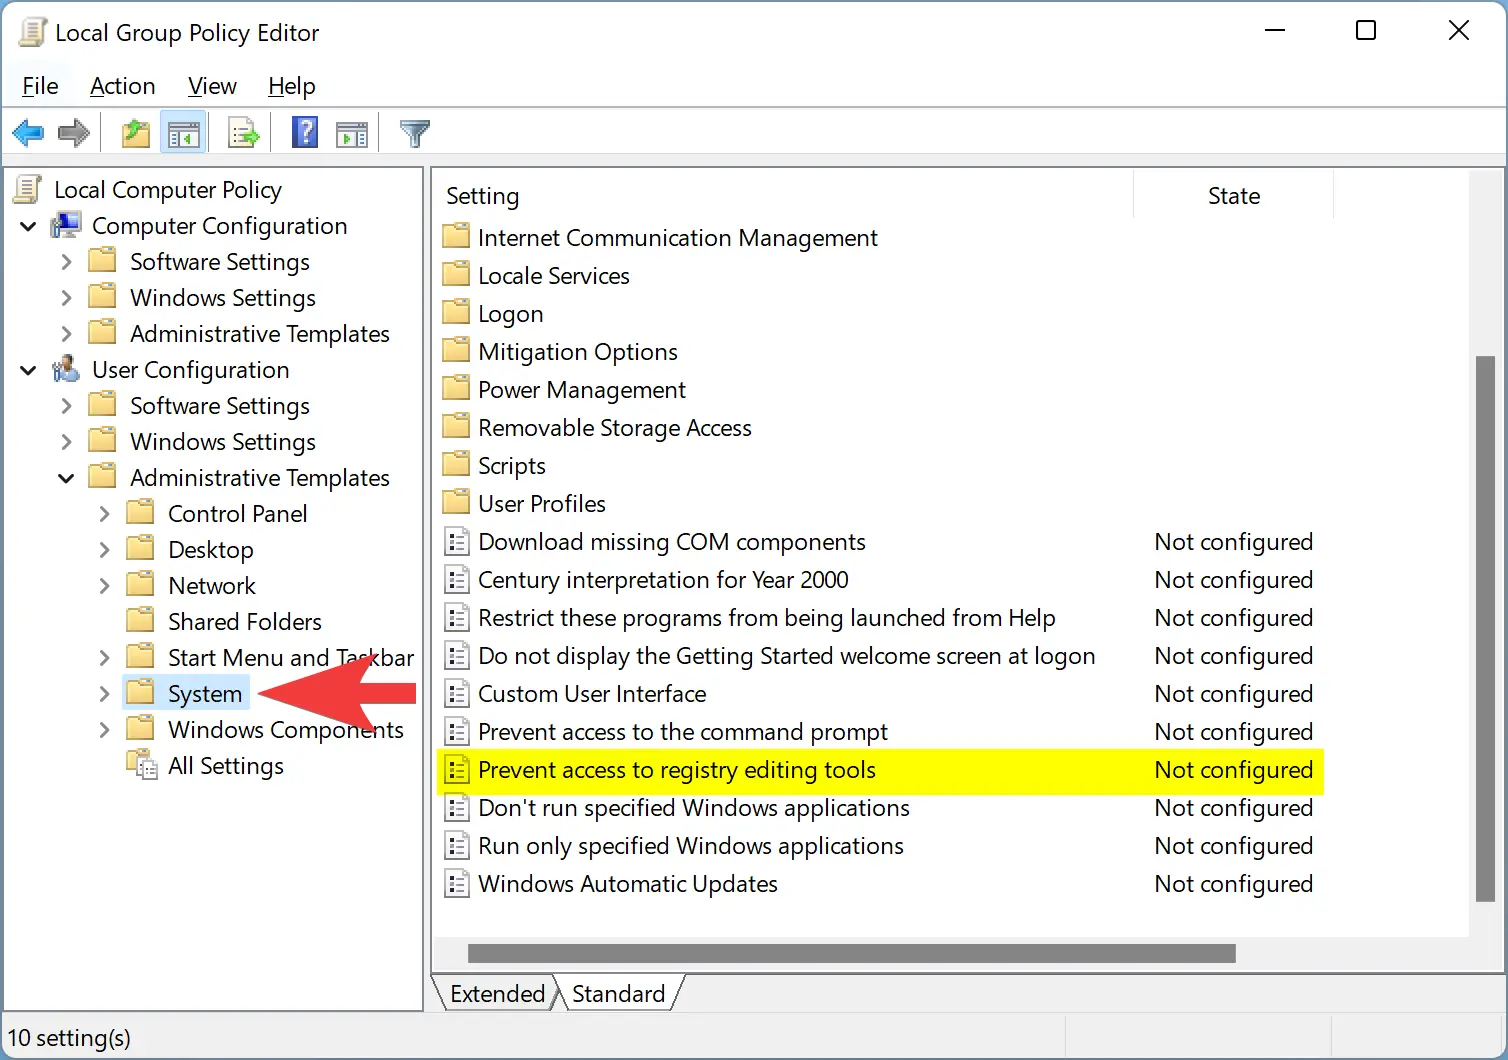
Step 3. Double-click on the right side pane on the policy name Prevent access to registry editing tools.
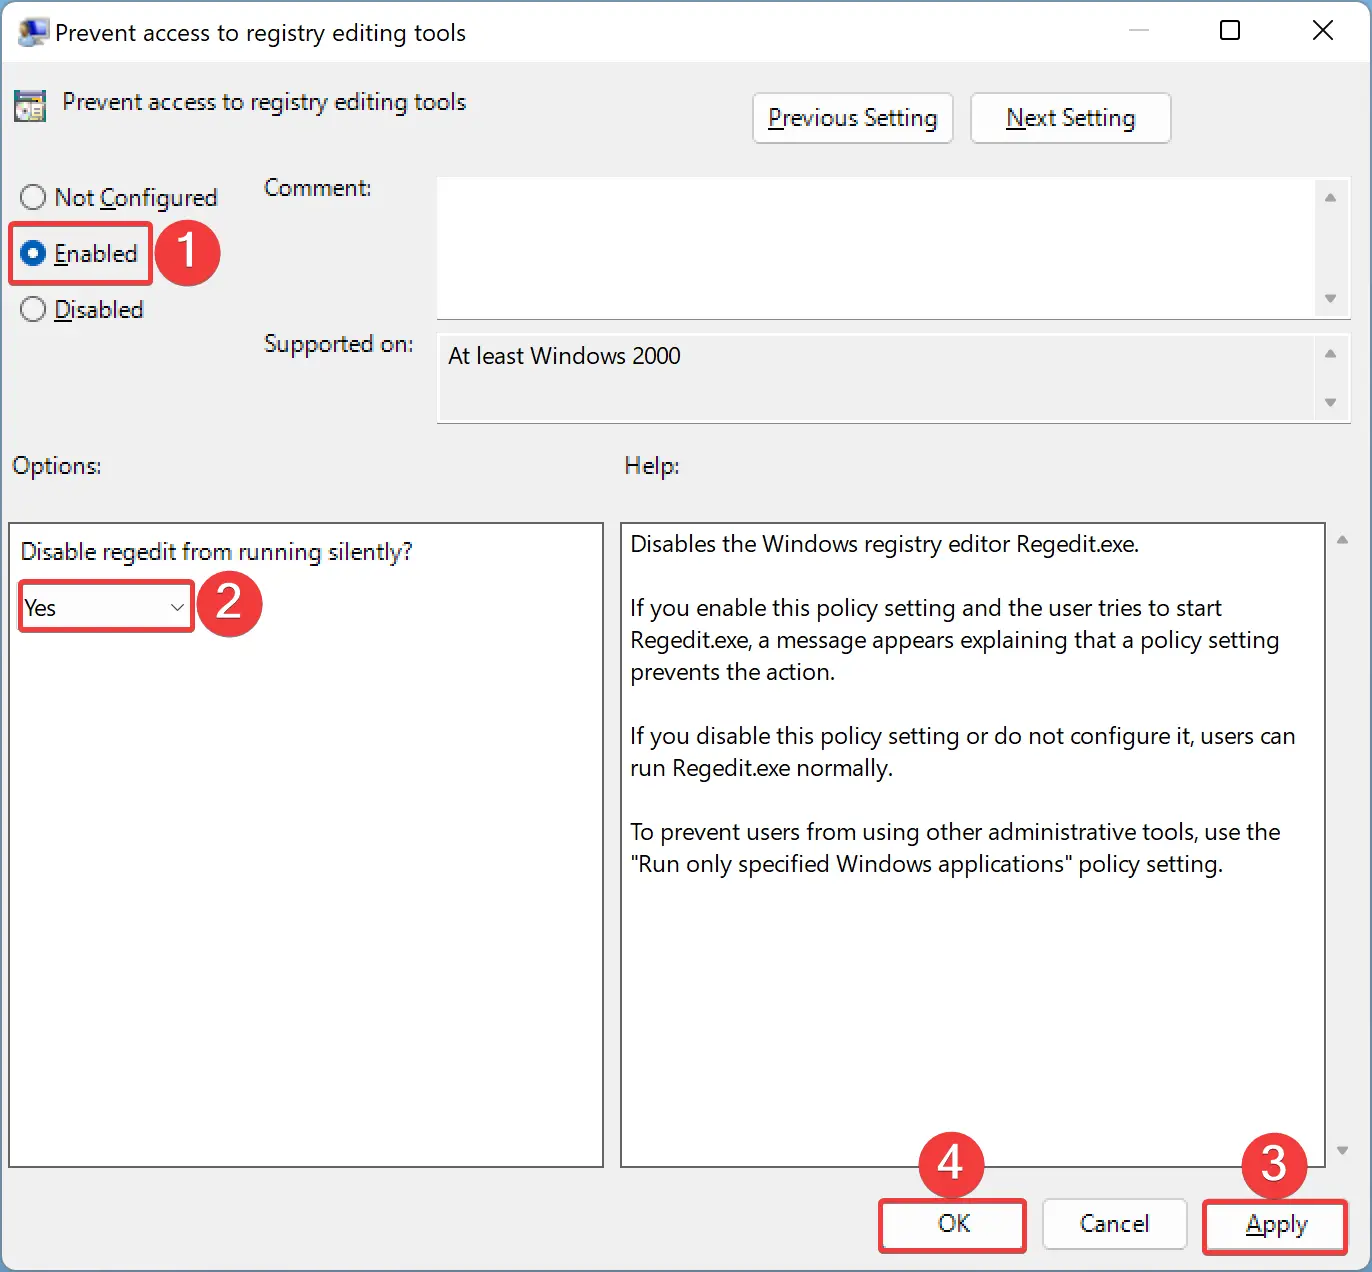
Step 4. Select the Enabled option to disable the Registry Editor.
Step 5. Choose Yes.
Step 6. Click Apply.
Step 7. Click OK.
Step 8. Restart your computer to apply the changes.
To enable the Registry Editor on your PC, repeat the above steps, and in step 4 above, select either the Not Configured or Disabled option.
Conclusion
In conclusion, the Registry Editor is a powerful tool that can help users tweak and customize their Windows 11 or 10 machines. However, editing the registry can also be risky, especially for novice users. Therefore, it is essential to take measures to prevent accidental changes to the registry. Disabling the Registry Editor is one such measure, and this can be done using either the Registry Editor itself or Local Group Policy Editor. Both methods are straightforward and can be easily followed by users with basic computer skills. By disabling the Registry Editor, users can prevent accidental changes to their system’s low-level settings, ensuring the stability and security of their Windows 11 or 10 machines.