Microsoft has released a new feature on Windows 11 known as Dynamic Refresh Rate (DRR). This feature is intended to improve the battery life of laptops. If your monitor supports high refresh rates of at least 120Hz and a GPU with a variable refresh rate (VRR), you will have the option to turn on the setting in Windows 11. After turning on this feature, DRR will actively and automatically swap between a 60Hz refresh rate and the higher 120Hz refresh rate depending on the task you perform.
While performing the tasks like typing out an email or reading a PDF file could run at the lower 60Hz refresh rate without issue, browsing through a social media app or watching a video, DRR will switch up to a higher refresh rate for a better experience.
This gearupwindows article will guide us on enabling and disabling the DRR feature on Windows 11. Here is what you can do.
How to know if our PC support DDR?
Before moving with the steps, you need to ensure that your display supports the DRR feature or not. Apart from that, your laptop must have WDDM 3.0. To check that, do the following:-
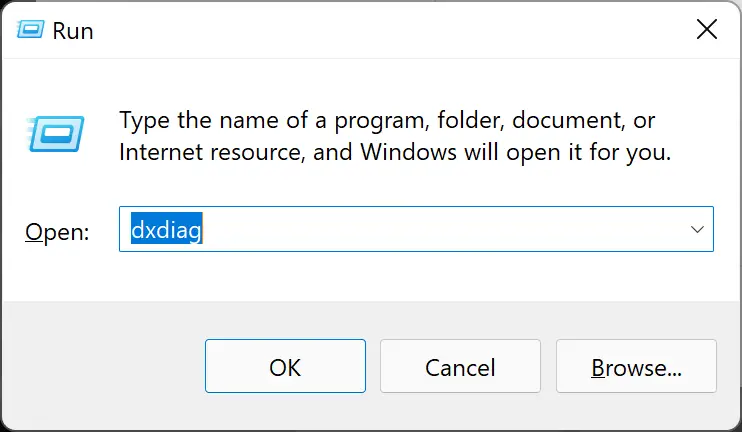
Step 1. Launch the Run dialog box by pressing Windows + R keys from the keyboard.
Step 2. Type the following command and hit Enter from the keyboard:-
dxdiag
Step 3. In the DirectX Diagnostic Tool window, switch to the first Display tab (if more than one display), and under Drivers, check the Driver Model. If it is lower than WDDM 3.0, for instance, my laptop has WDDM 2.7, so I can not turn on Dynamic DDR on Windows 11.
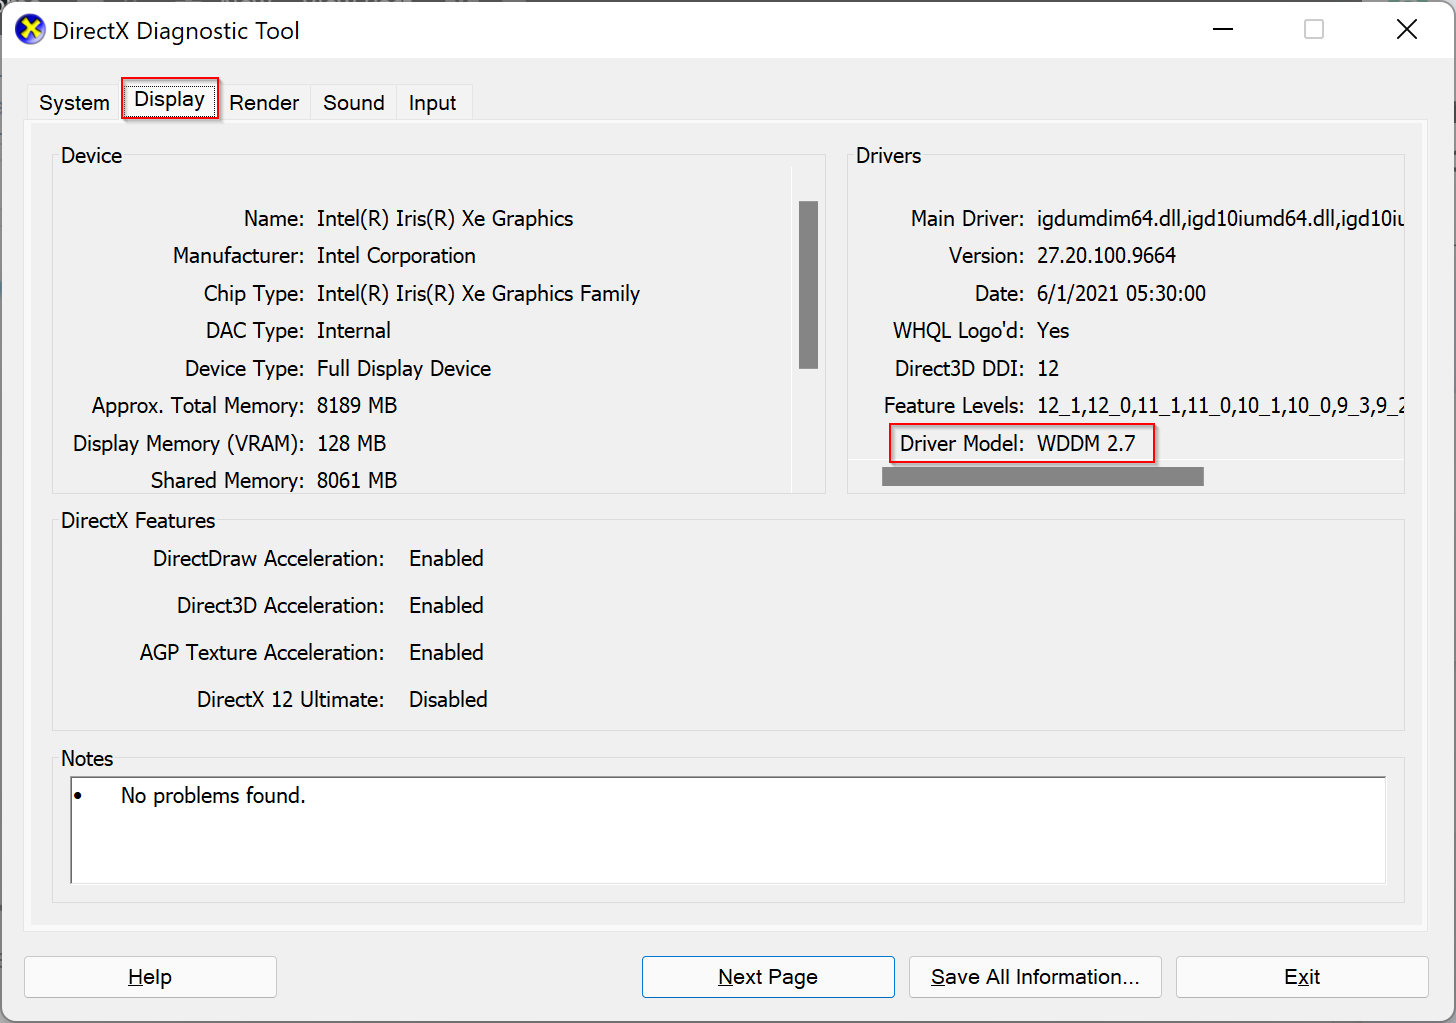
If your laptop supports WDDM 3.0 or higher, you can proceed with the next steps. Your laptop may support DDR, but drivers are not updated; still, you can not use this feature. You need to wait to release updated drivers from the manufacturer for your PC.
How to Enable or Disable Dynamic Refresh Rate (DRR) in Windows 11?
Follow these steps to turn on or off Dynamic Refresh Rate (DRR) in Windows 11:-
Step 1. Open the Settings app by pressing Windows + I keys from the keyboard.
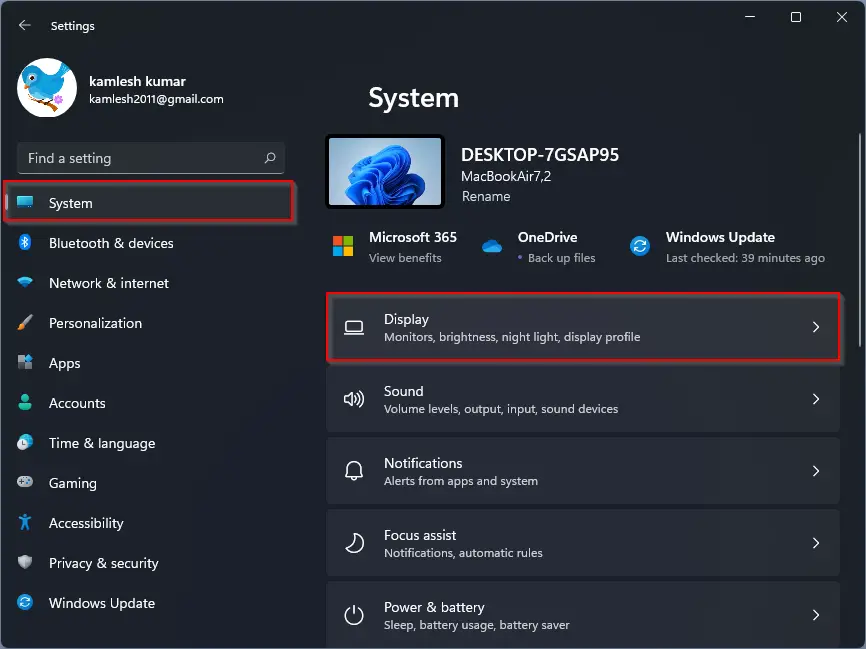
Step 2. Click on the System category from the left side pane in the Windows Settings.

Step 3. Click the Display tab on the right-side pane.
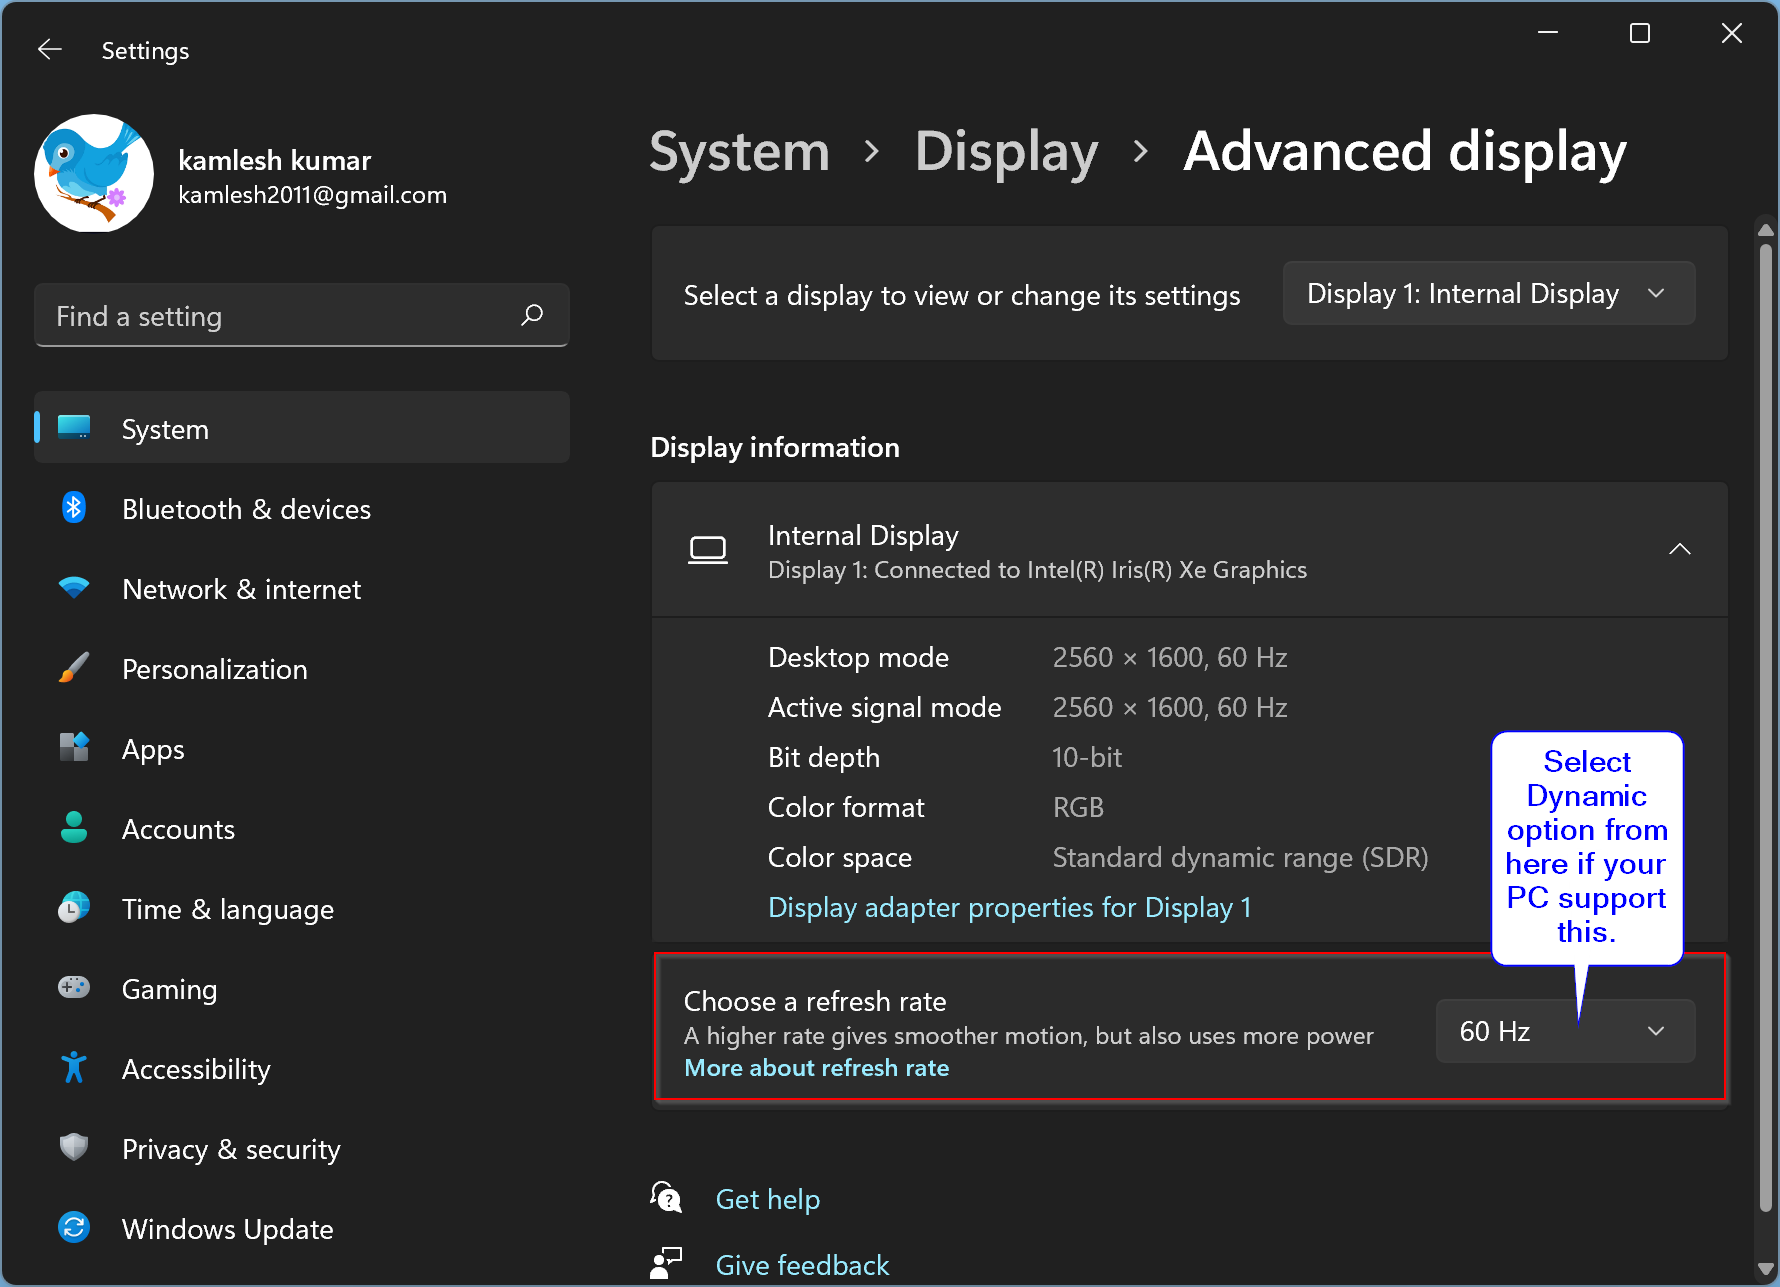
Step 4. Click on the Advanced display.

Step 5. Select the Dynamic option from the drop-down menu of “Choose a refresh rate.”
That’s it. You can close the Settings app safely. From now onward, your Windows 11 laptop will change the refresh rate automatically.
To disable the dynamic refresh rate, repeat the above steps, and in step 5, select 60 Hz, 48.01 Hz, 120 Hz, or whatever is available.
Conclusion
In conclusion, Microsoft has added a new feature called Dynamic Refresh Rate (DRR) to Windows 11. DRR allows laptops to switch between a 60Hz refresh rate and a higher 120Hz refresh rate automatically, depending on the task you are performing. This feature can significantly improve the battery life of laptops that support it. However, before enabling DRR, you need to make sure that your display supports it and that your laptop has WDDM 3.0 or higher. If you meet these requirements, you can easily enable or disable DRR by following the steps mentioned in this article. By taking advantage of this feature, you can enhance your Windows 11 experience and enjoy improved battery life on your laptop.