Microsoft uses the Windows 11 Lock Screen for promotions, and also you need to make an extra click to get the login screen. A few users may like it, but most Windows users don’t. If you think it is unnecessary or irritates you, you can disable the Lock Screen in Windows 11.
Also Read: How to get rid of blur background images in the sign-in screen on Windows 11?
Once you disable the Lock Screen in Windows 11, you will land straight to the sign-in screen, where you will be prompted to enter your password or Windows Hello. But, there is no straightforward method available to turn off the Lock Screen. That means neither the Settings app nor the classic Control Panel will help you. However, it is possible to disable Lock Screen using a group policy editor or registry tweak. We will guide you with both methods in this gearupwindows article. After login into your computer with administrator privileges, you can use either way to disable the Lock Screen in Windows 11.
How to Enable or Disable the Lock Screen in Windows 11 using Group Policy?
Please note that if you are using Windows 11 Home Edition, you first need to enable gpedit.msc because it is not part of any Windows Home Edition operating system. After enabling Group Policy on your computer, you can use these steps. If not, then please refer alternate method of this post.
Step 1. First, open Local Group Policy Editor.
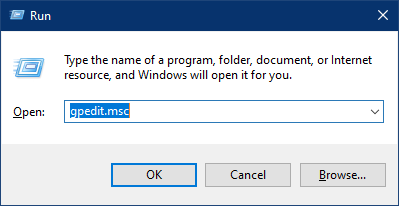
For that, simply press Windows + R hotkey to open the Run dialog box. Then type gpedit.msc and press Enter from the keyboard to launch Local Group Policy Editor.
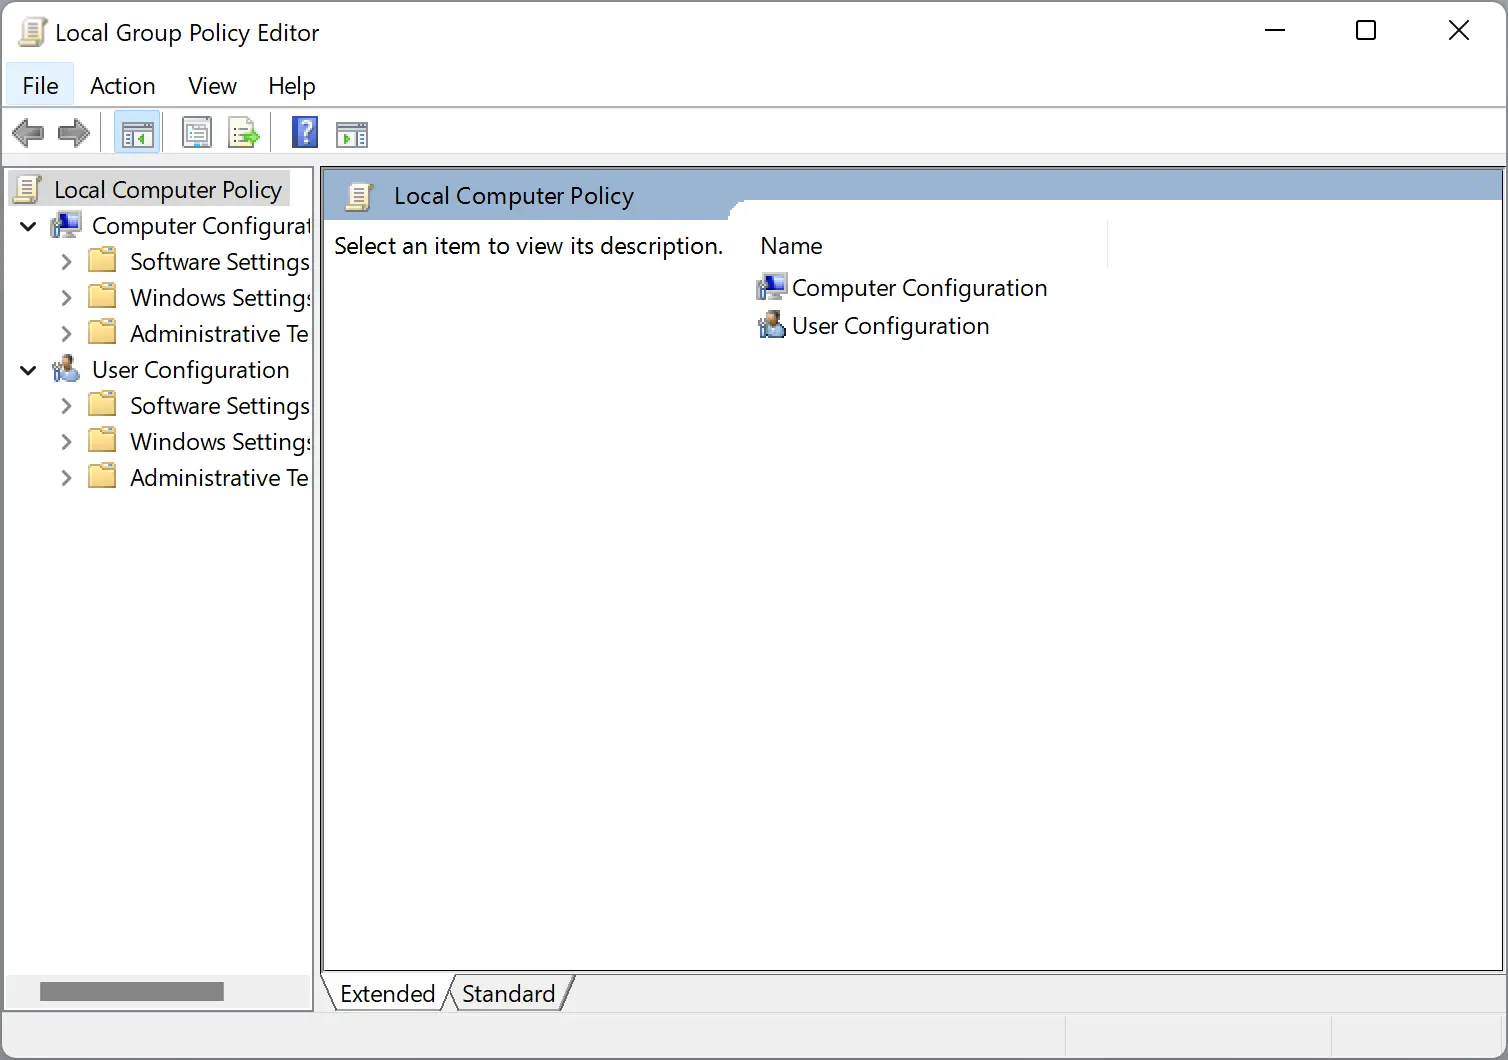
Step 2. When you see the Local Group Policy Editor window, steer for the following path in the left sidebar:-
Computer Configuration > Administrative Templates > Control Panel > Personalization
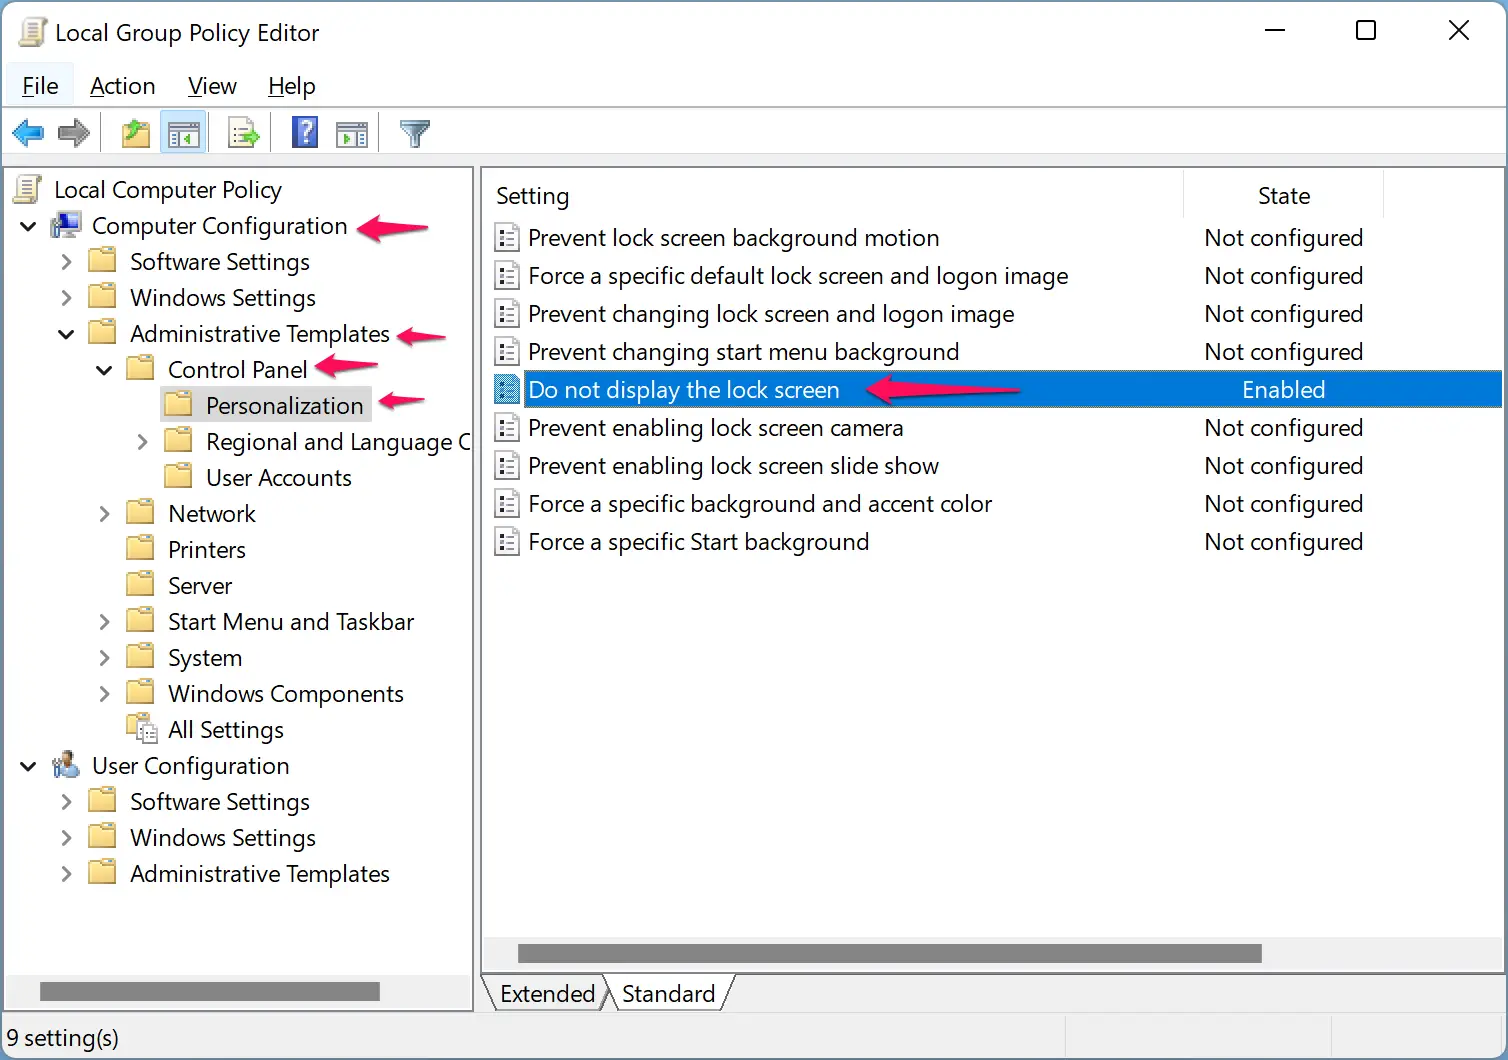
Step 3. After that, switch to the right side of the Personalization folder and find the “Do not display the lock screen” policy. Then double-click on this policy to modify it.
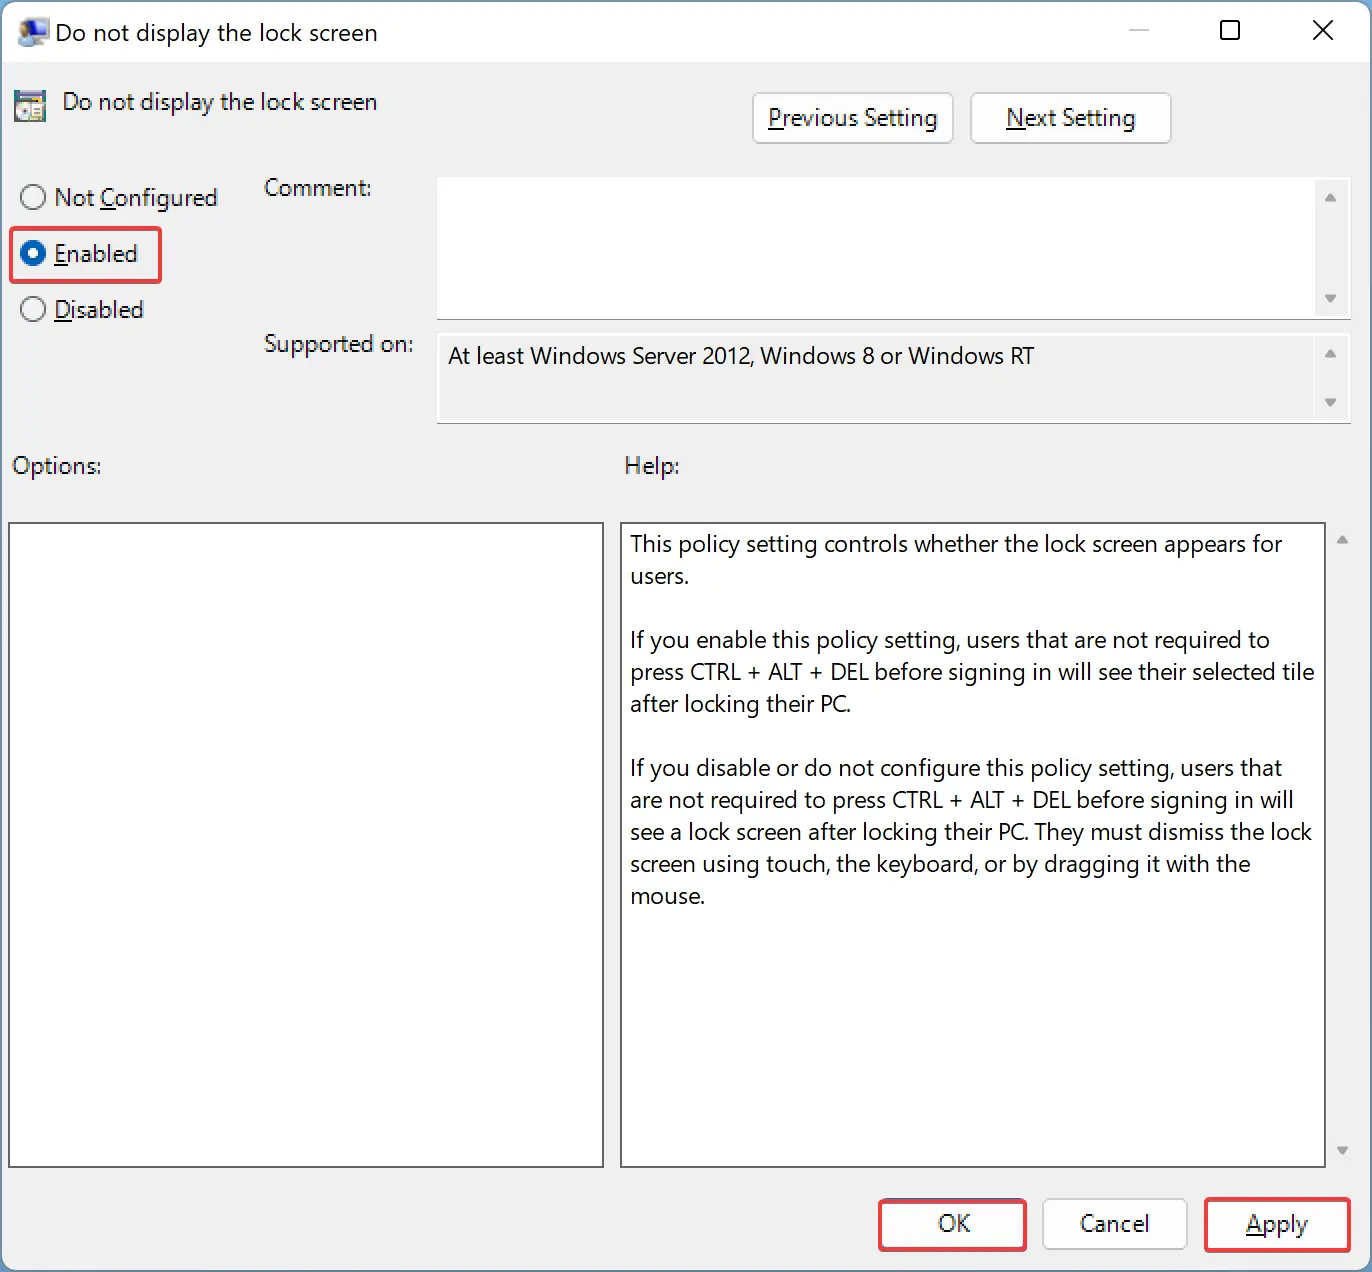
Step 4. Select Enabled.
Step 5. Click Apply.
Step 6. Press OK.
Step 7. At last, reboot your PC to apply the changes.
Now that the Lock screen is disabled in Windows 11, if you want to re-enable it, in step 4 above, select the Not Configured option.
How to Turn On/Off Lock Screen in Windows 11 through Registry Editor?
To enable or disable the Lock Screen in Windows 11 through Registry Editor, do the following:-
Step 1. First, open Registry Editor.
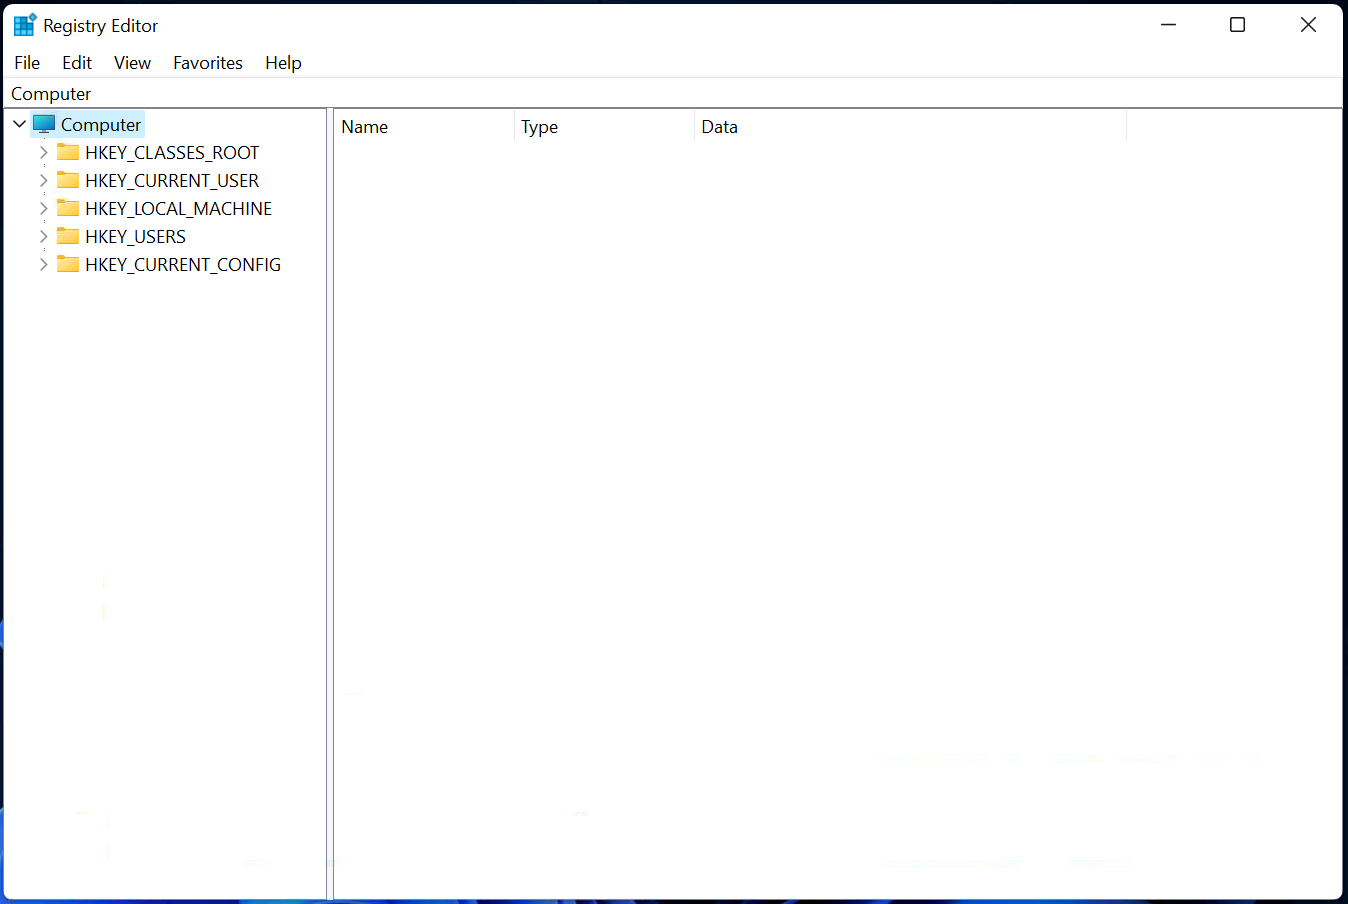
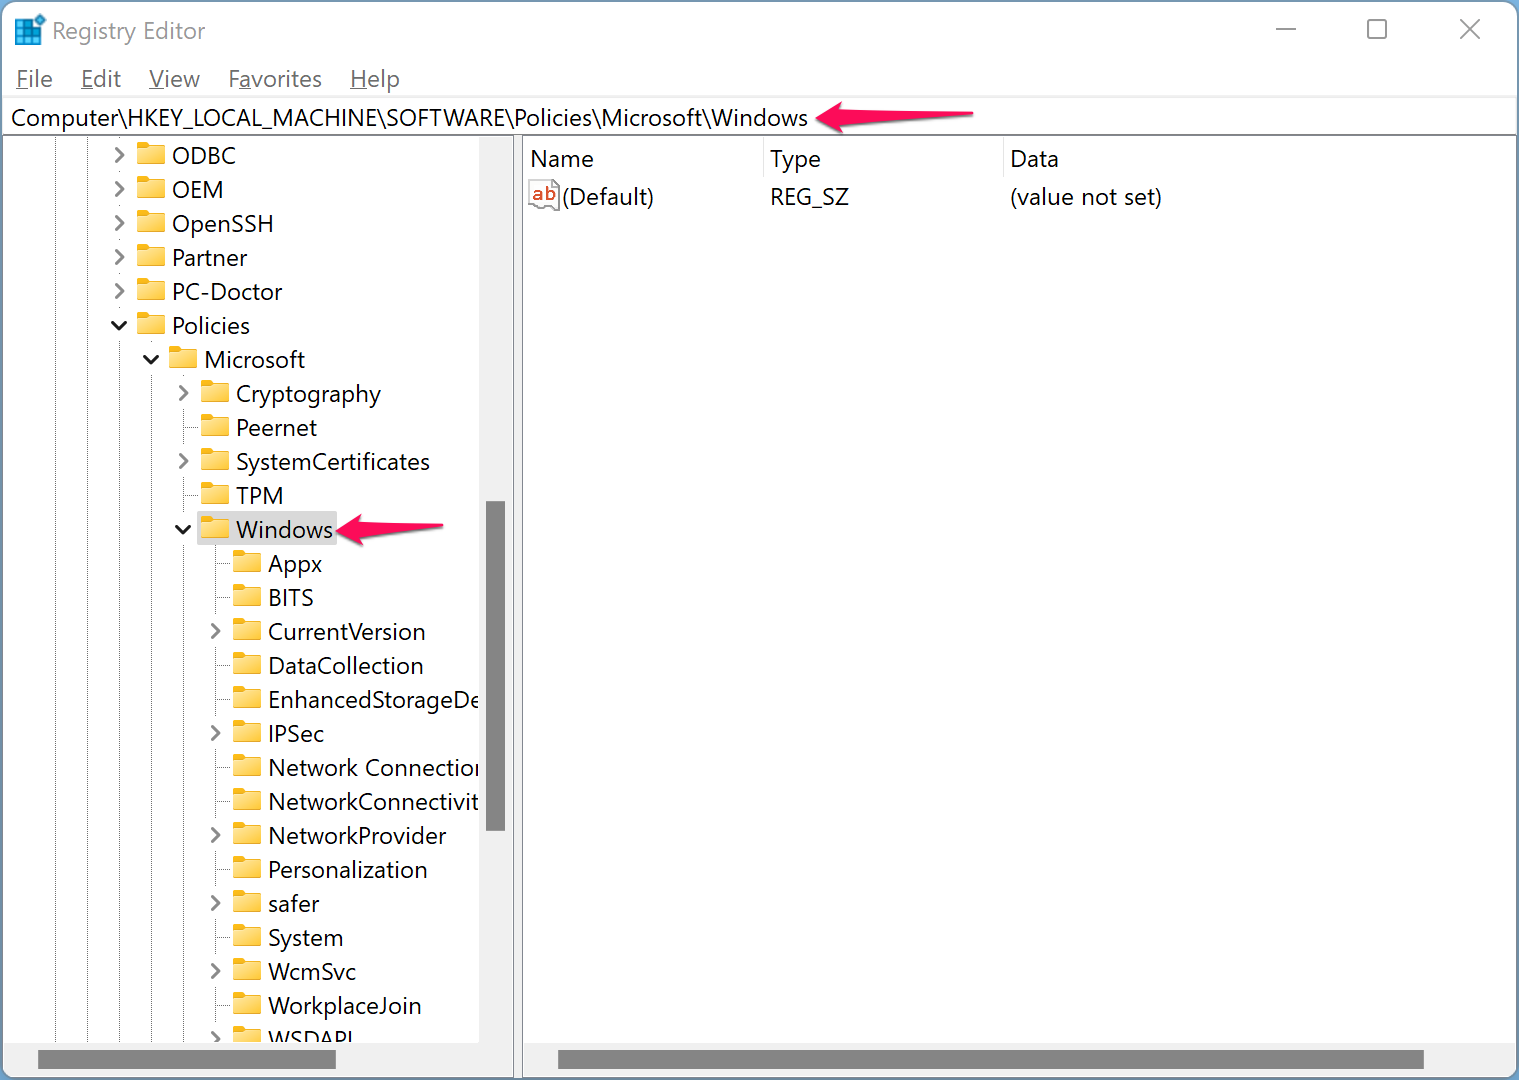
Step 2. Once the Windows Registry opens, browse to the following branch in the left sidebar:-
Computer\HKEY_LOCAL_MACHINE\SOFTWARE\Policies\Microsoft\Windows
Step 3. After that, right-click on the Windows folder and select New > Key.
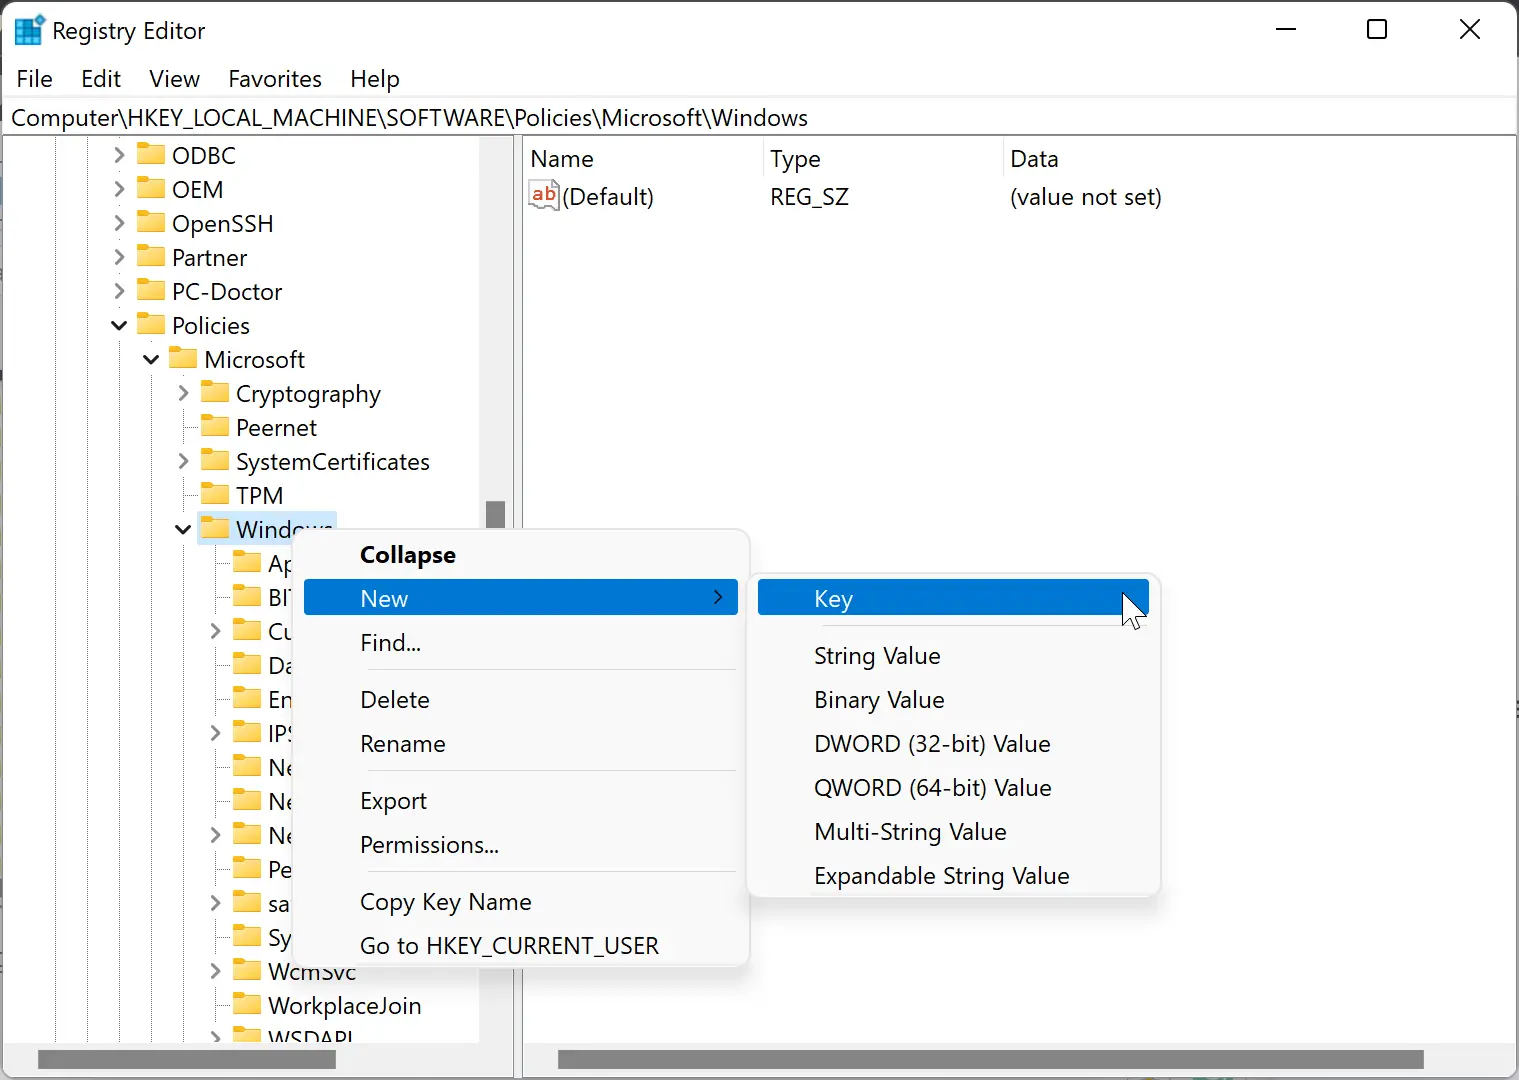
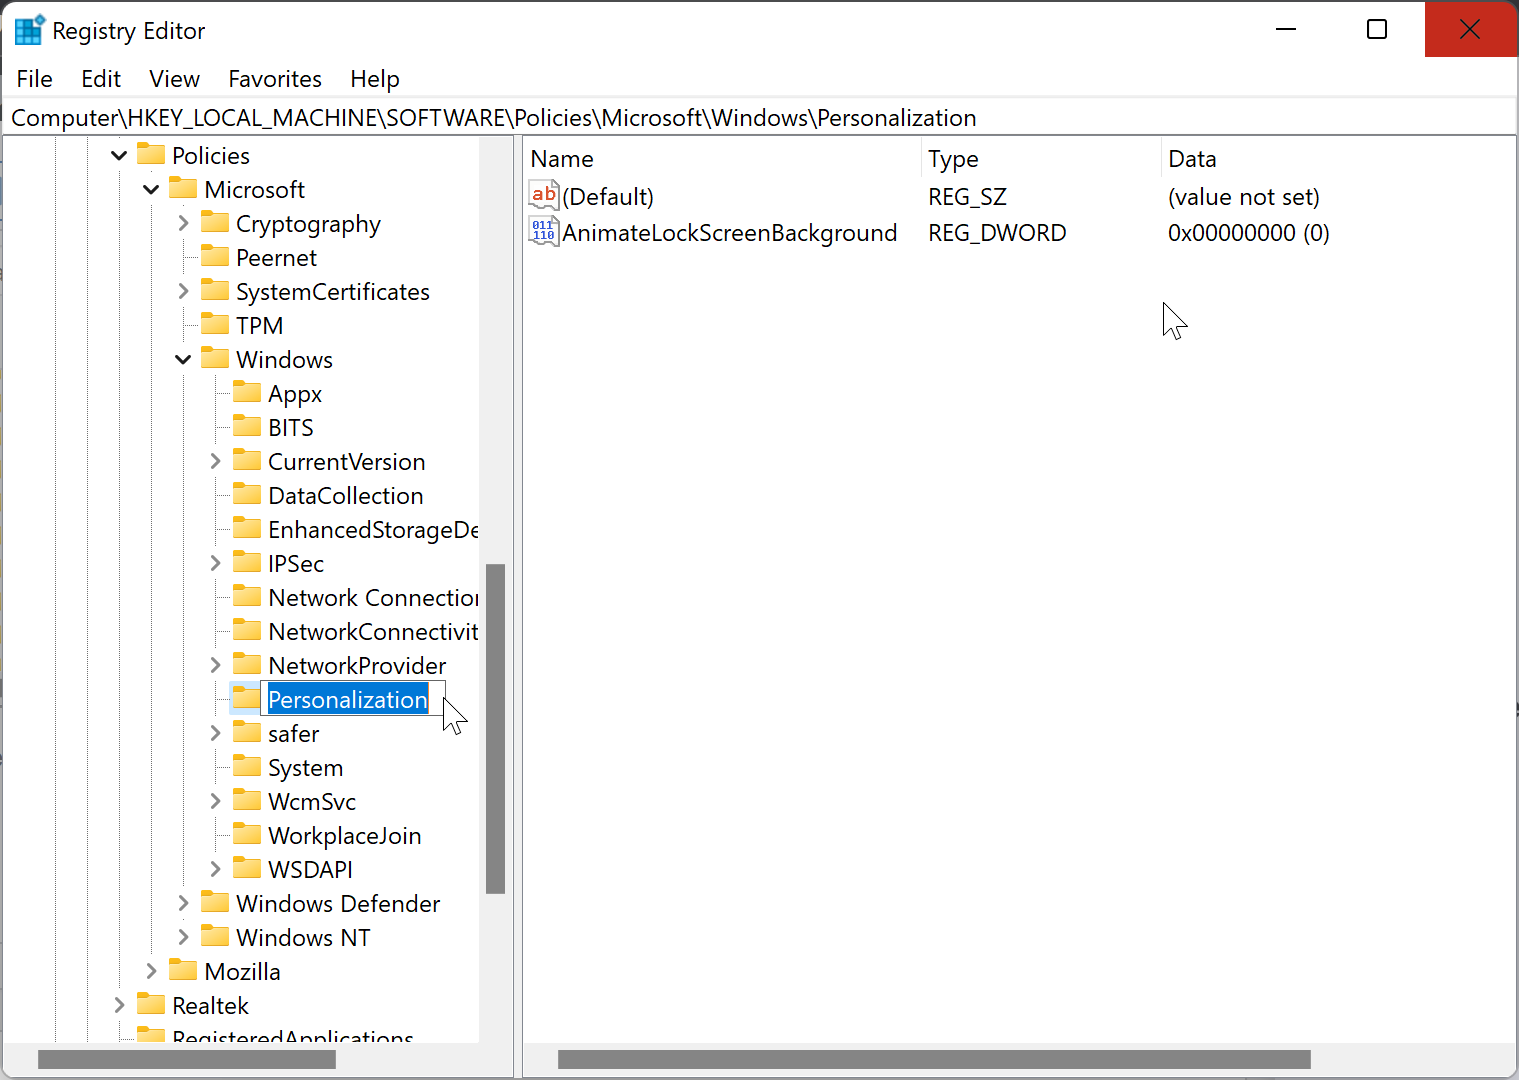
Step 4. Rename the new key to Personalization.
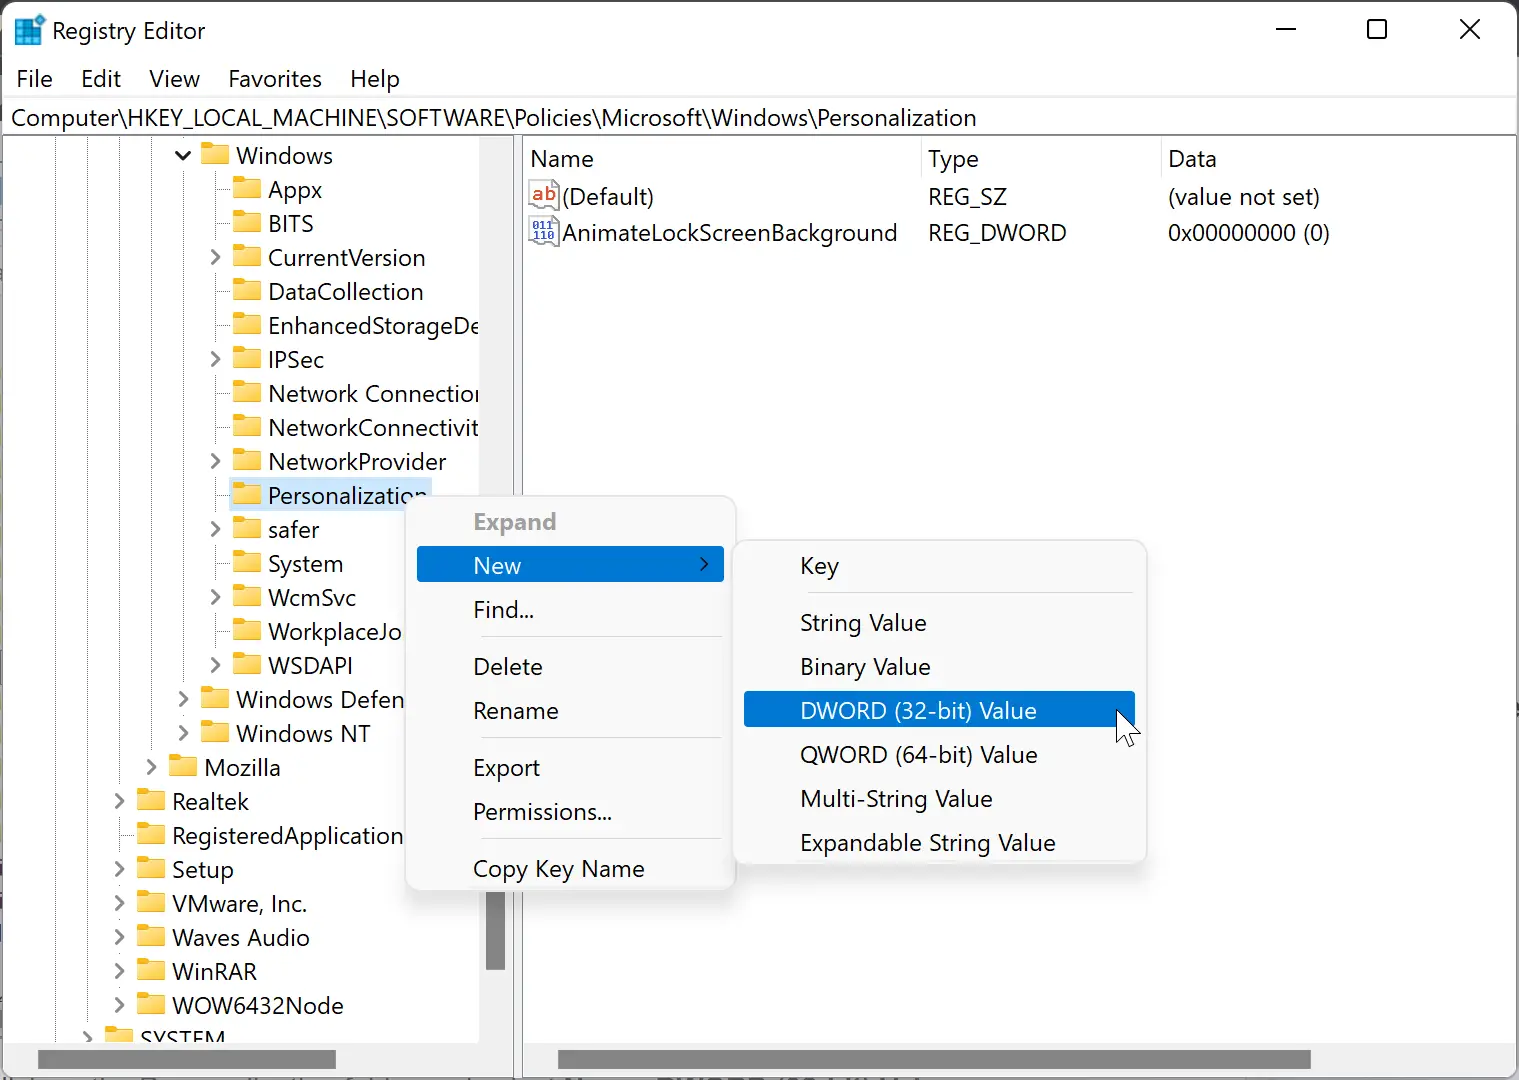
Step 5. Next, right-click on the Personalization folder and select New > DWORD (32-bit) Value.
Step 6. Rename the new DWORD Value to NoLockScreen.

Step 7. Now double-click on the NoLockScreen to modify its value. Set its “Value data” to 1. This will disable the Lock Screen in Windows 11.
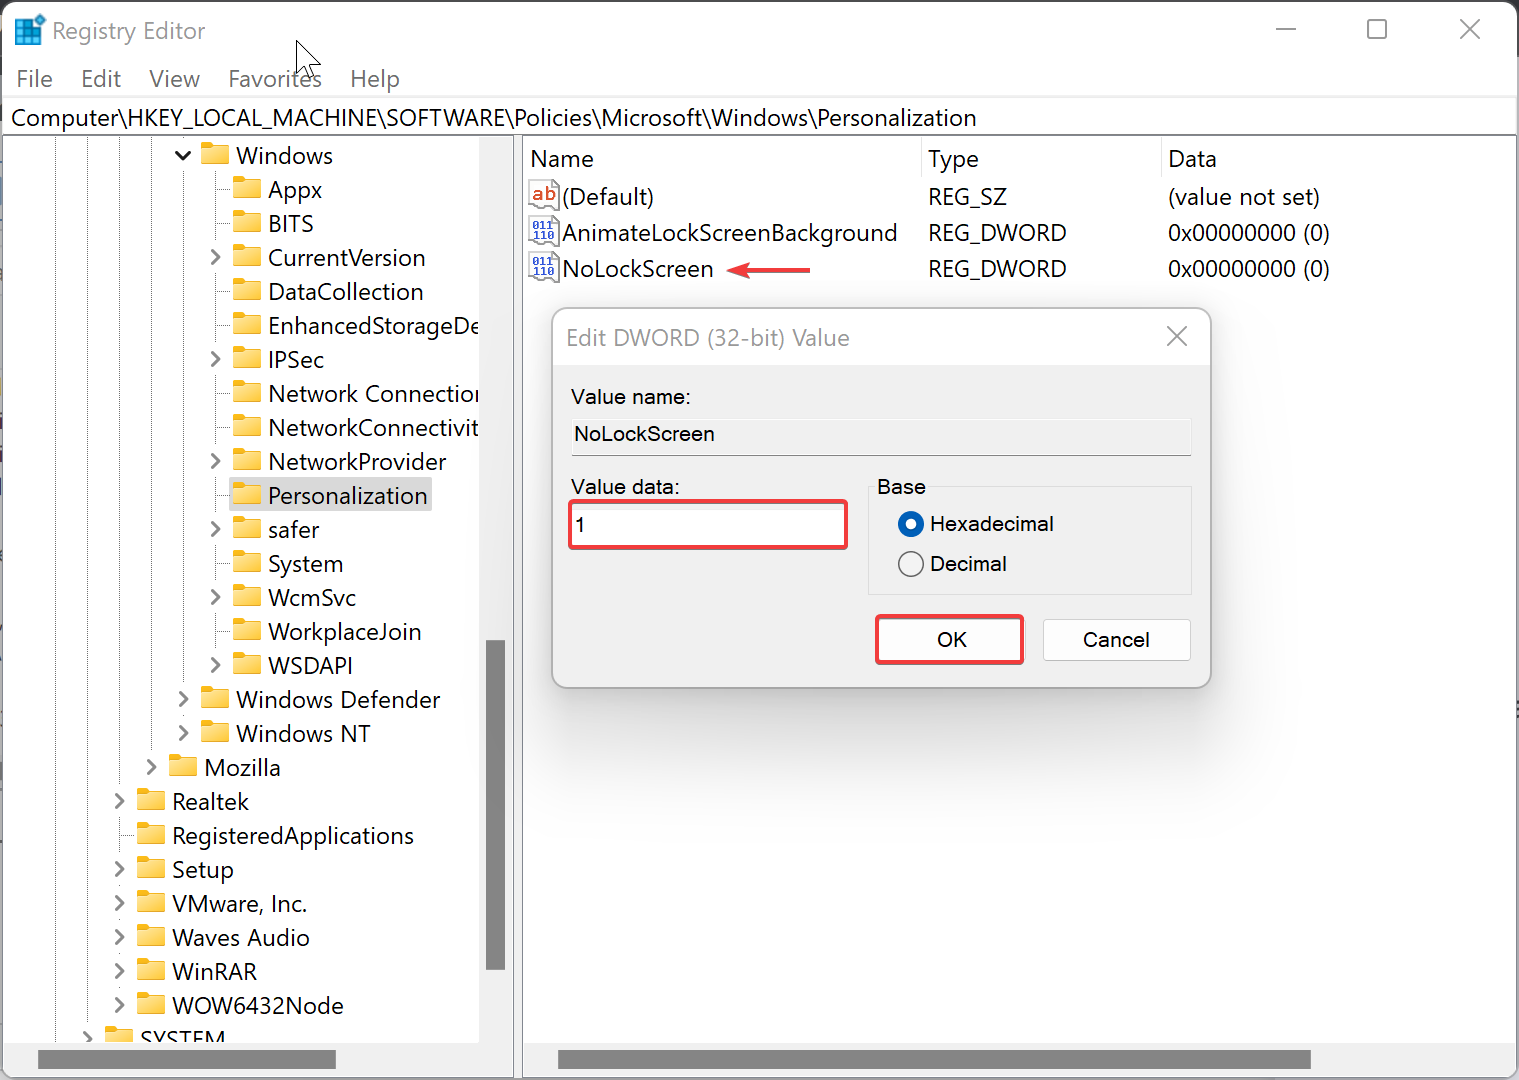
Step 8. Click OK.
Step 9. Restart your computer.
To revert the changes, open Windows Registry and navigate to the following key from the left side pane:-
Computer\HKEY_LOCAL_MACHINE\SOFTWARE\Policies\Microsoft\Windows\Personalization
Then, on the Personalization key’s right-side pane, right-click on NoLockScreen and select the Delete option. Now, default settings will be applied.
That’s it.
Conclusion
In conclusion, while the Windows 11 Lock Screen may be useful for some users, others may find it unnecessary or annoying. If you fall into the latter category, you can disable the Lock Screen through the group policy editor or registry tweak. Using either method, you can turn off the Lock Screen and go straight to the sign-in screen upon starting your computer. Remember, if you ever want to re-enable the Lock Screen, simply follow the same steps and select “Not Configured” or set the “Value data” to 0.