Every user account on a Windows 11 computer has its own private folders that other user accounts on your PC can’t view. Apart from that, you might have noticed a set of extra folders located under C:\Users\Public.
What is a Public folder?
What is a Public folder in Windows 11, and what is it doing? Public folders in the Windows operating system are used to share files with other people using the same computer or using other computers on a shared network. So, when any file or folder is placed in the Public folder, it is automatically shared with the people who have access to your Public folder. This folder on Windows 11 is located in the same drive where Windows is installed; usually, the exact location is “C:\Users\Public.”
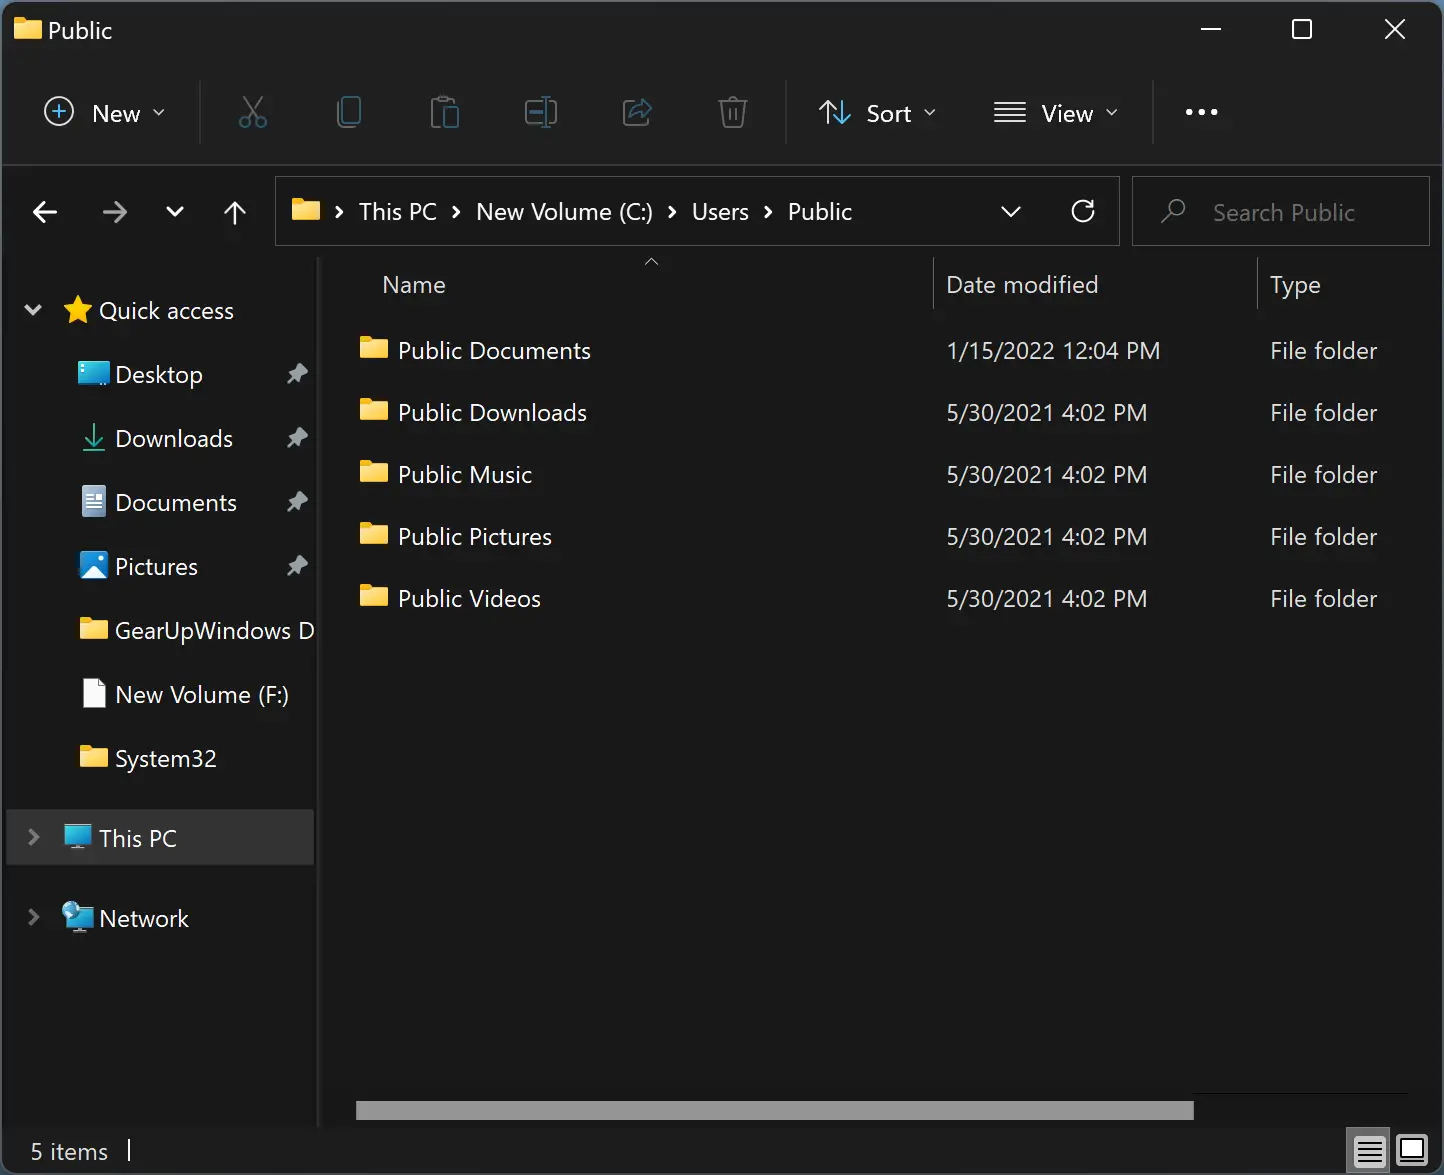
The Public folder includes subfolders that let you share the data in an organized manner. These folders are empty by default until a user adds something to them. The following subfolders you can find under the Public folder:-
- Public Documents
- Public Downloads
- Public Music
- Public Pictures
- Public Videos
Any local user on the Windows computer can access these folders and configure specific network access. They can decide whether or not any networked users can access the files in their folders.
How to Enable Public Folder Sharing on Windows 11?
As mentioned above, the Public folder on your Windows system allows anyone on your computer or network to access the files in these folders to open, view, and work with them just like they were stored on their own computers. Also, new folders can be added to the Public folder by any user having proper permissions.
By default, Public Folder Sharing is turned off on Windows 11 PC, which means you need to enable or turn on this function to use it. Here is how to do it.
Step 1. First, open the Settings app.
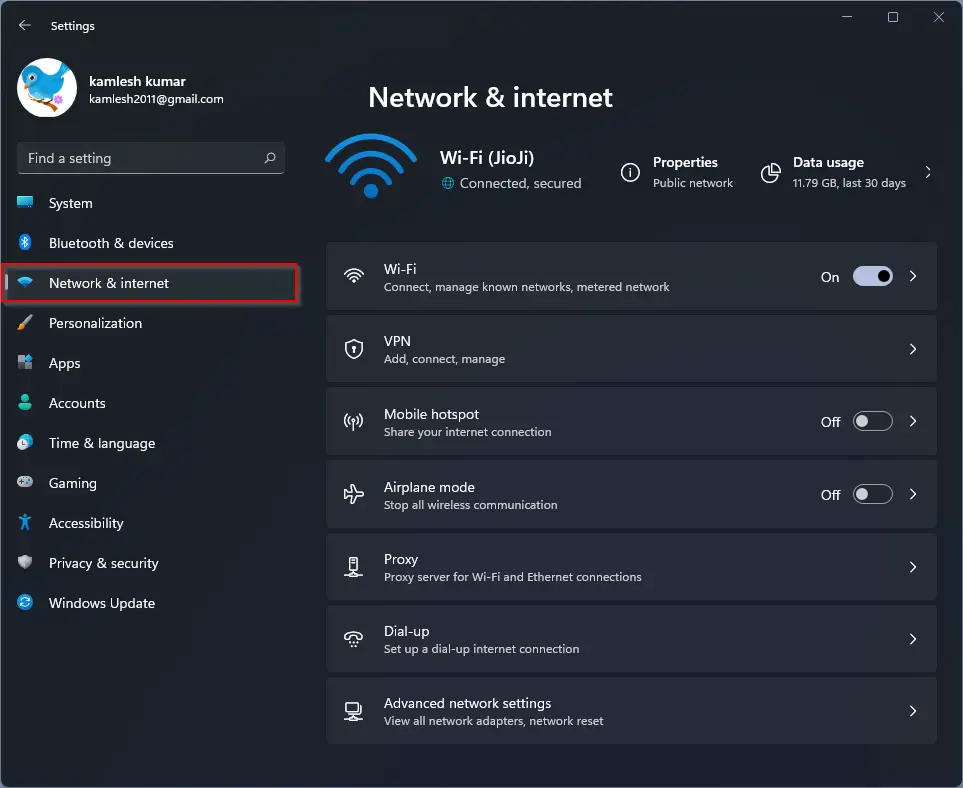
Step 2. Then, select Network & internet category in the left sidebar.
Step 3. After that, click on the Advanced network settings tile on the right-side pane.
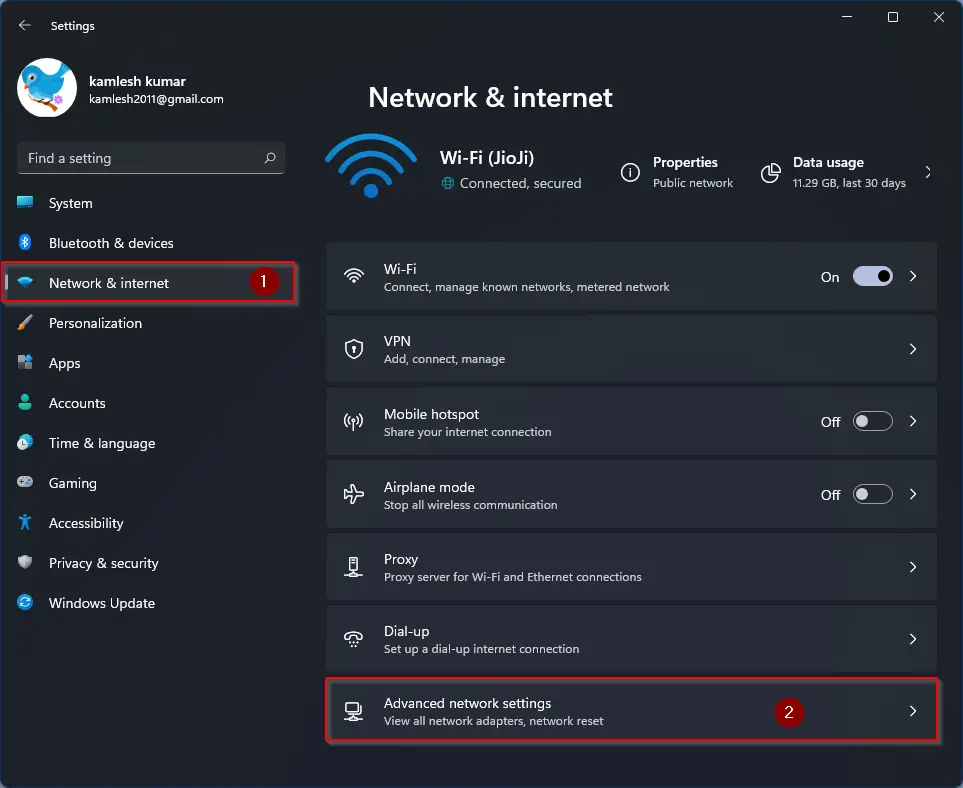
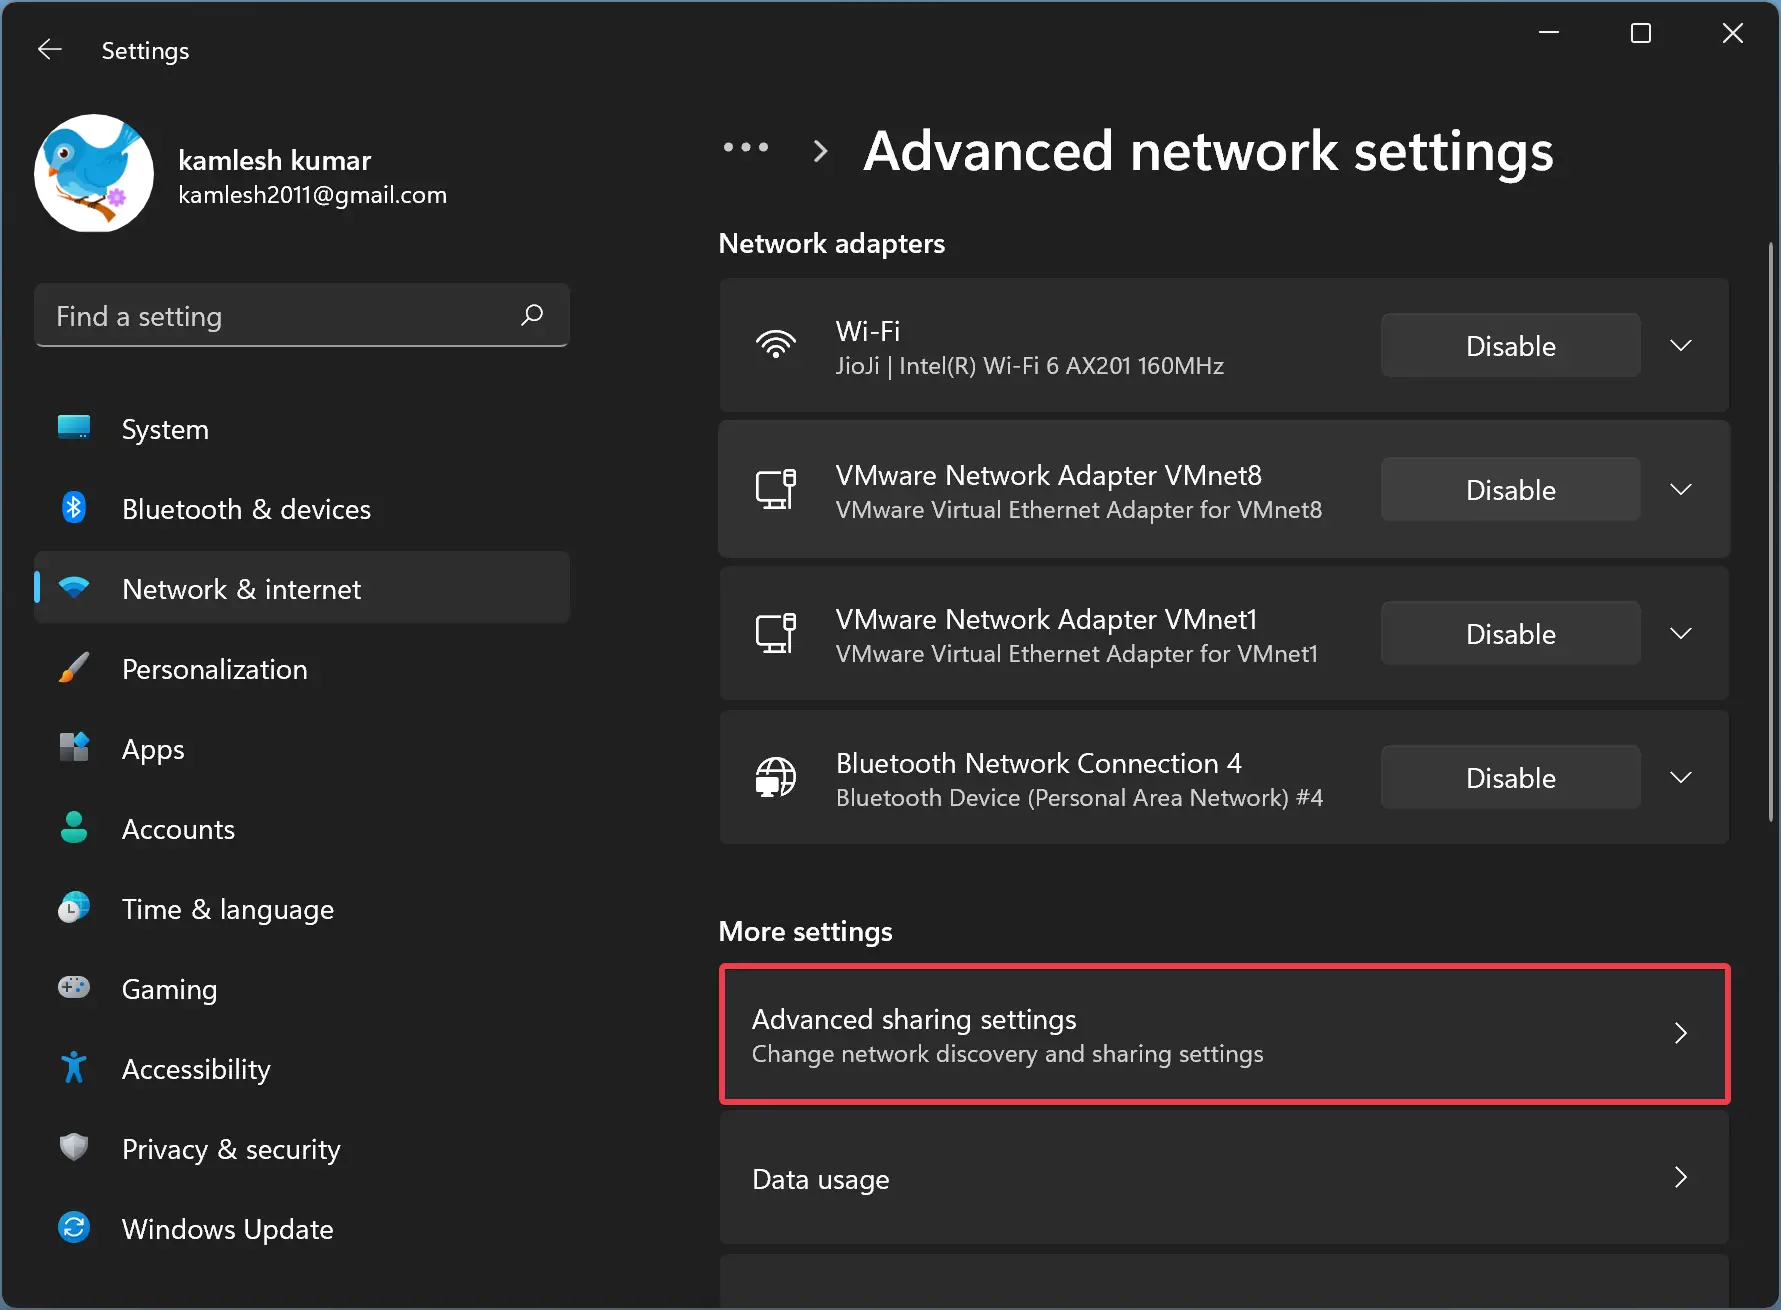
Step 4. On the “Advanced network settings” page, scroll down to see the “More settings” section and then click the Advanced sharing settings option under it.
Step 5. On the following page, turn on the toggle switch beside the Public folder sharing option under the “All networks” section.
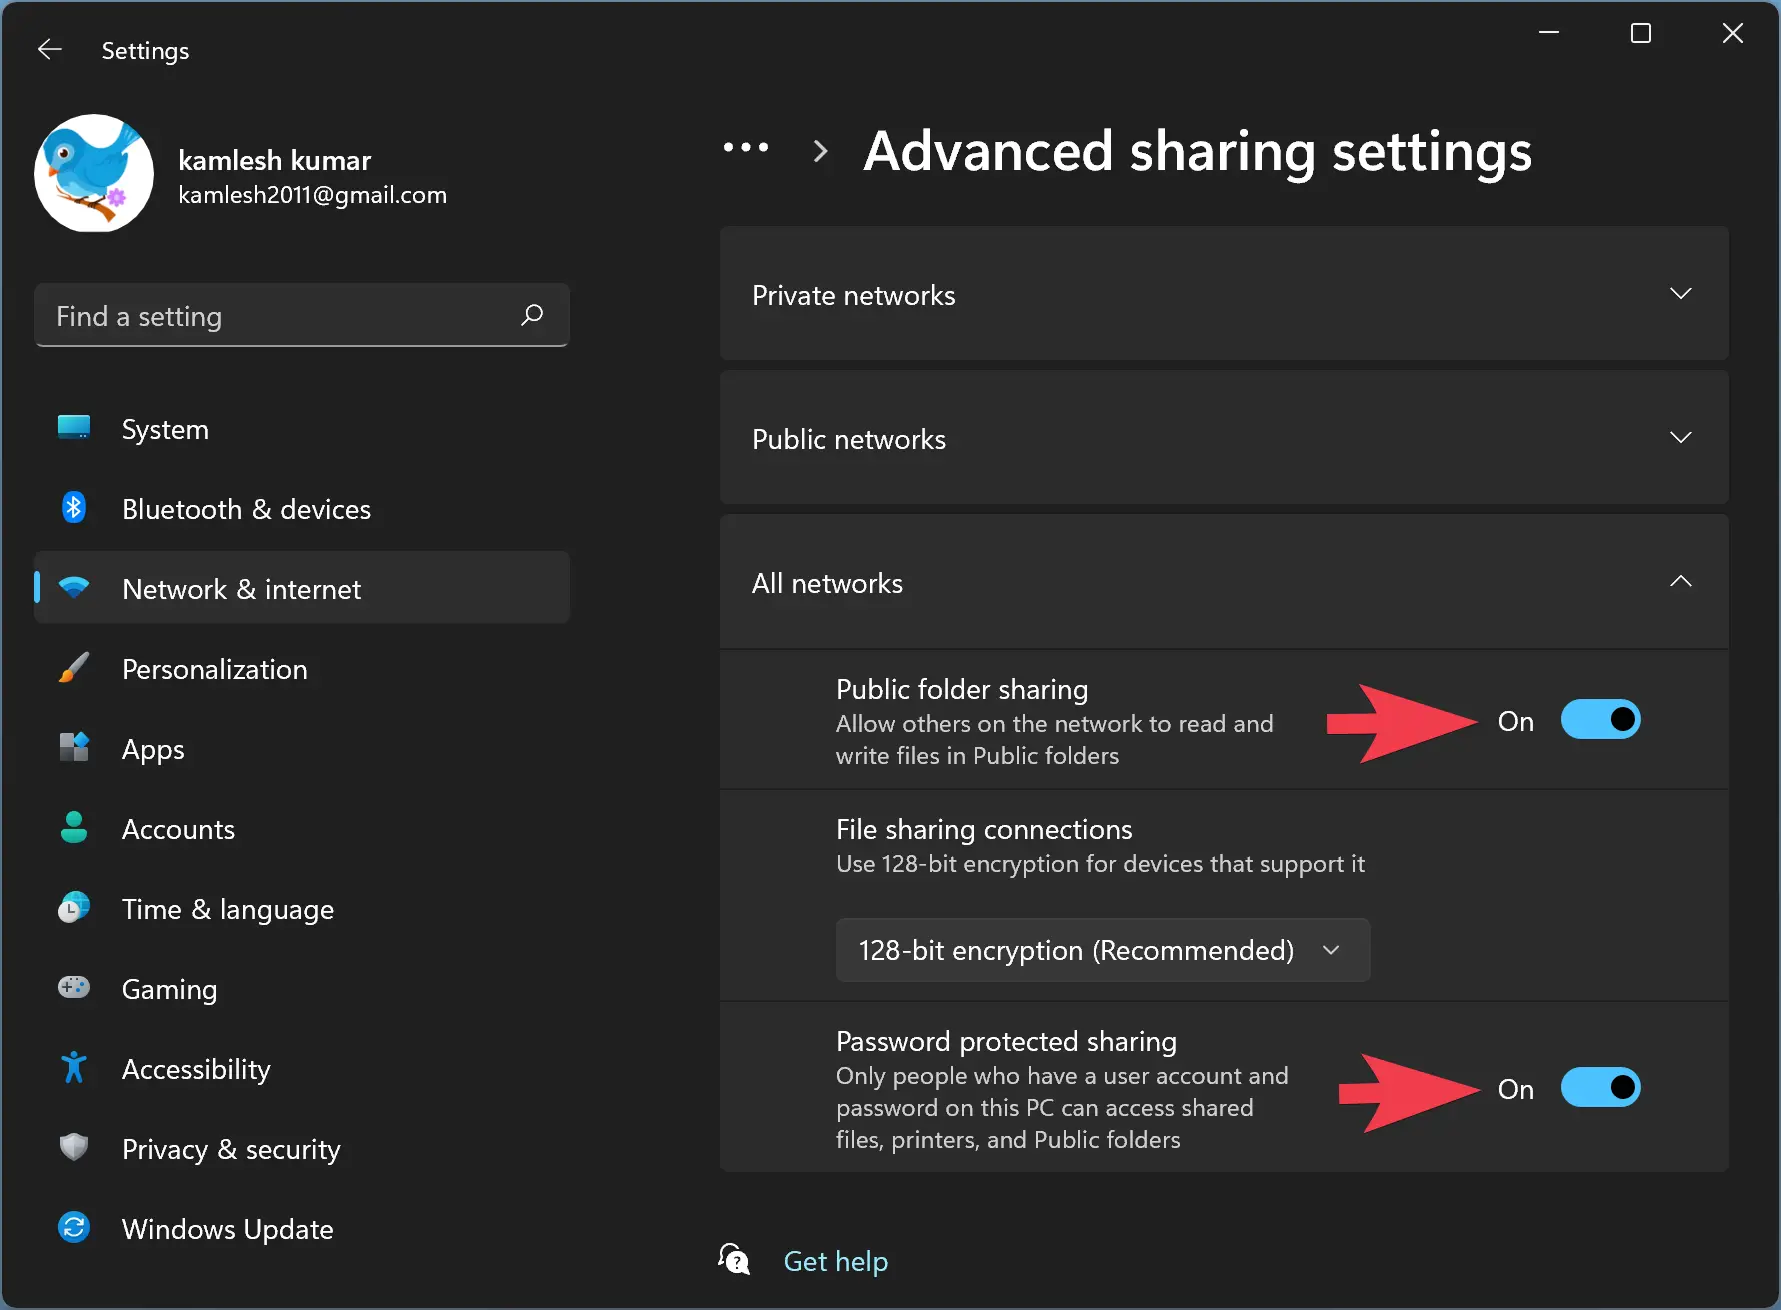
If you want, you can also turn on “Password protected sharing” on the above settings page to better control your files and folders.
Once you complete the above steps, the Public Folder Sharing feature will be enabled on your Windows 11 computer.
How to Disable Public Folder Sharing on Windows 11?
To disable or turn off the Public Folder Sharing function on Windows 11, do the following:-
Step 1. First, open the Settings app.
Step 2. Then, select Network & internet category in the left sidebar.
Step 3. After that, click on the Advanced network settings tile on the right-side pane.
Step 4. On the “Advanced network settings” page, scroll down to see the “More settings” section and then click the Advanced sharing settings option under it.
Step 5. On the following page, turn off the toggle switch beside the Public folder sharing option under the “All networks” section.
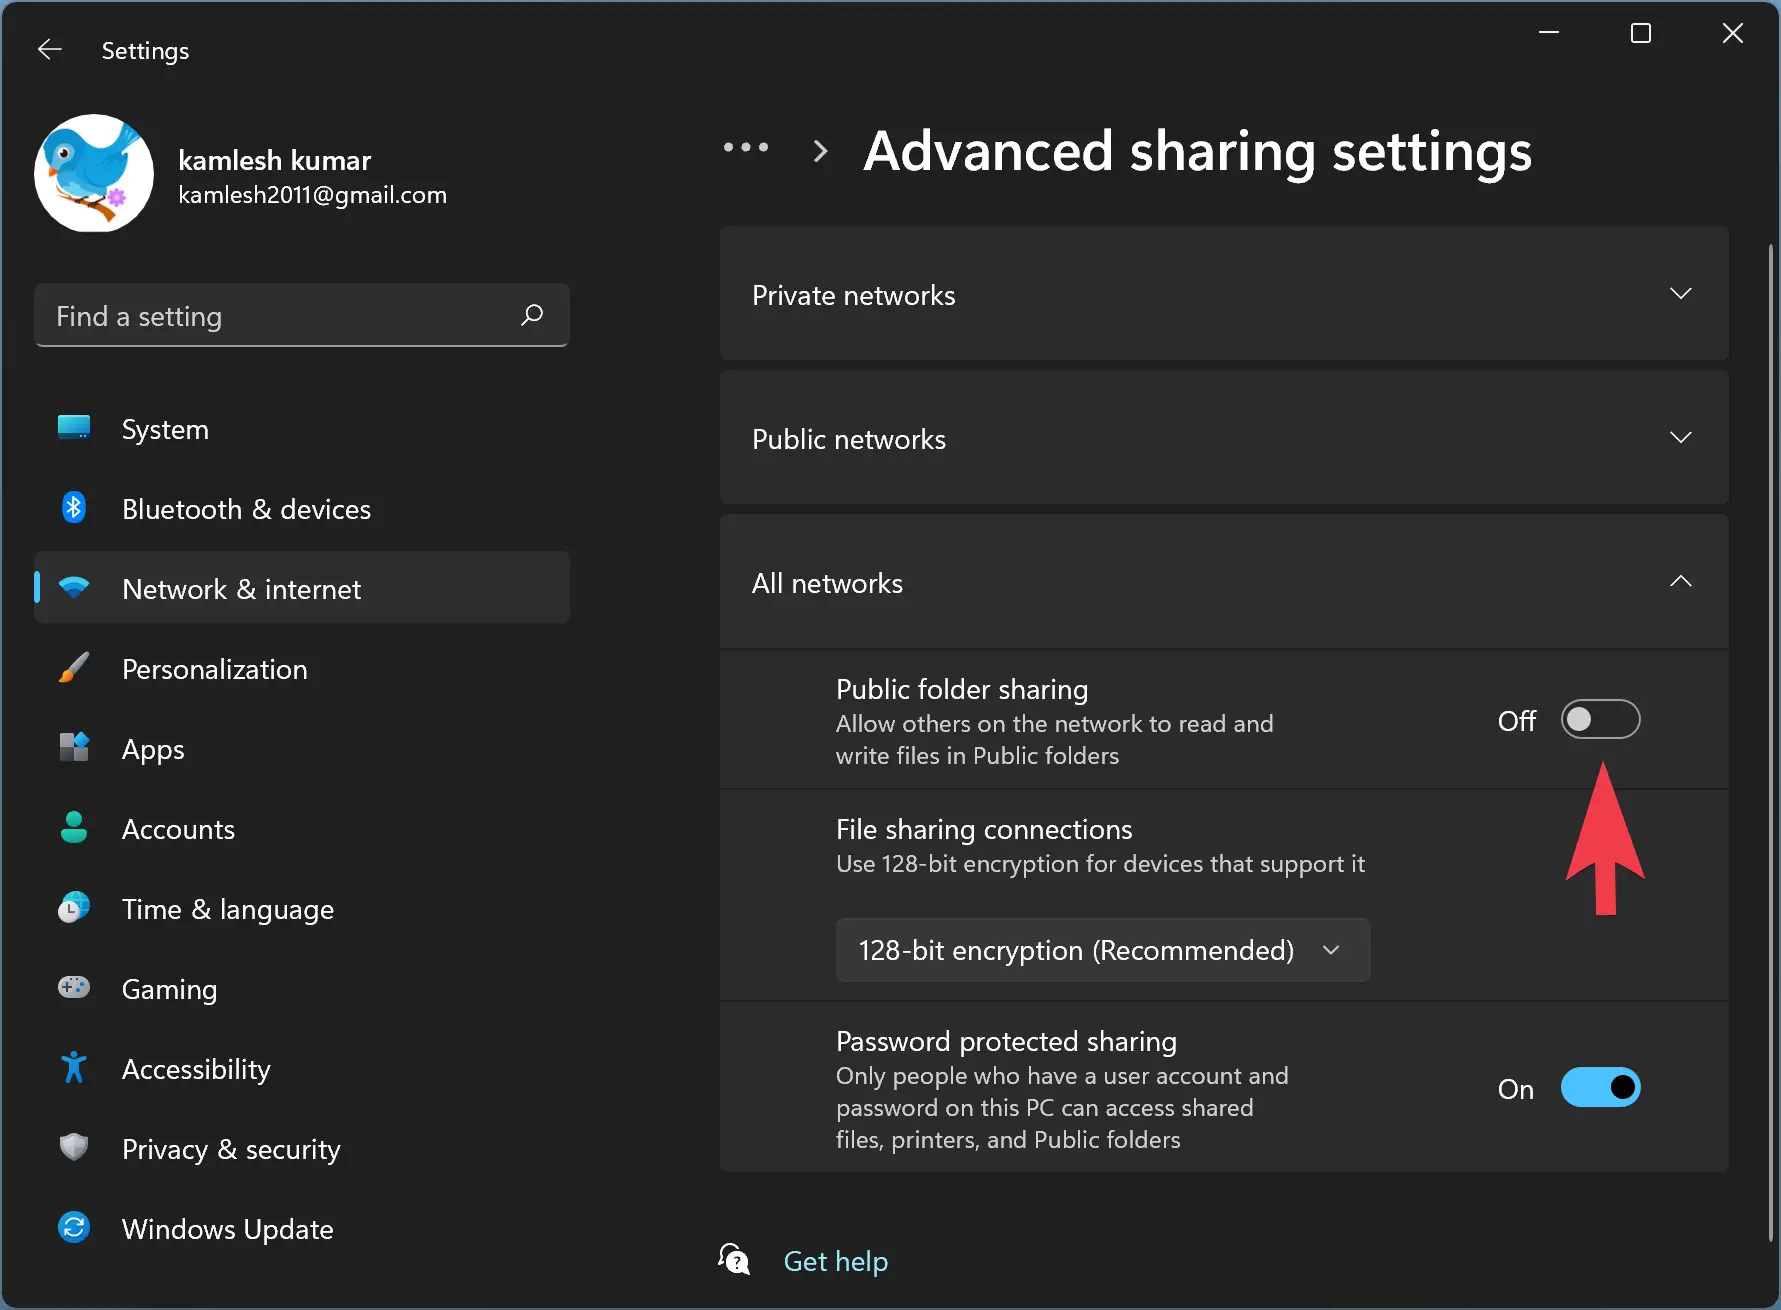
Once you complete the above steps, the Public Folder Sharing feature will be disabled on your Windows 11 computer.
Conclusion
In conclusion, the Public folder in Windows 11 is a useful feature that allows users to share files with other people on the same computer or network. It contains several subfolders that enable users to organize their data efficiently. By default, Public Folder Sharing is turned off on Windows 11, and users must enable it manually to share their files. Users can also turn on the “Password-protected sharing” option to enhance their security. If users no longer wish to share their files, they can easily disable the Public Folder Sharing function by following the simple steps mentioned above. Overall, the Public folder feature in Windows 11 is a convenient and easy-to-use way to share files and collaborate with others.