Every computer has its unique IP address (Internet Protocol) address that provides an identity to connect to the internet. One can access your computer using this IP address. It doesn’t matter if you are on a LAN or using the internet; every device and website has a unique address so that they can talk to each other.
Due to some reason, if you want to find your computer IP address on Windows 11, this gearupwindows article will help you. There are a few easy ways to view the IP address of your computer that we will review one by one.
How to find your Windows 11 Computer IP Address using Command Prompt?
The traditional command prompt is the easiest way to see the IP address of any computer. To do that, you need to perform the following steps:-
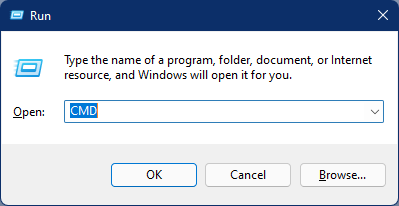
Step 1. Open the Command Prompt.
To do that, press the Windows + R keys from the keyboard to access the Run dialog box. In the Run box, type cmd and then hit Enter from the keyboard.
Step 2. In the Command Prompt, type the following and hit Enter from the keyboard:-
ipconfig
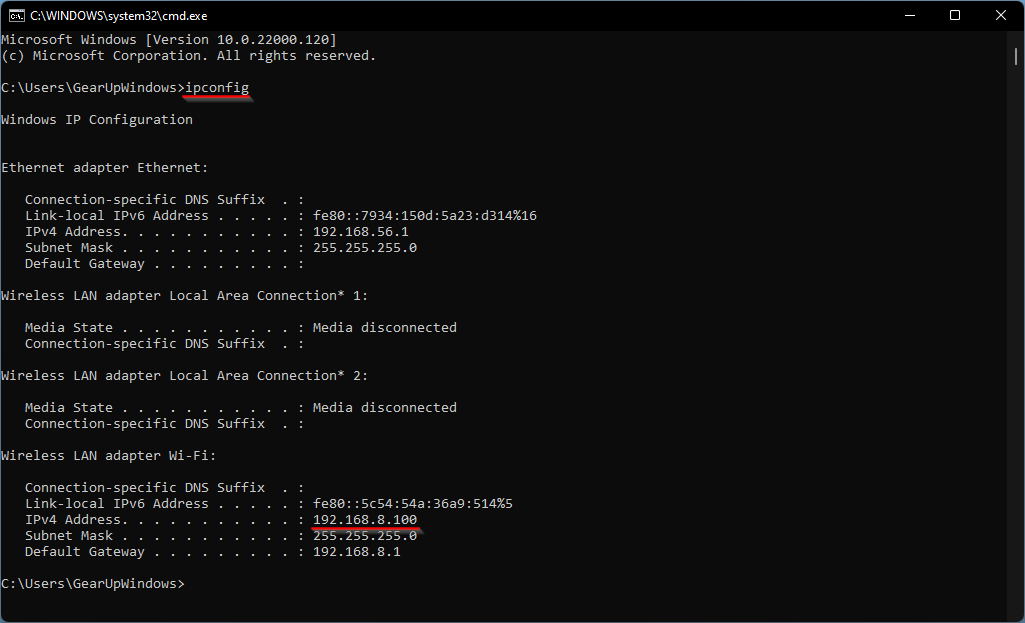
Once you execute the above command, it will show the IP address assigned to your computer, let it be WiFi or Ethernet.
How to view your Windows 11 Computer IP Address via Windows PowerShell?
Using the above command, you can view the IP address of your PC using Windows PowerShell also. To do the following:-
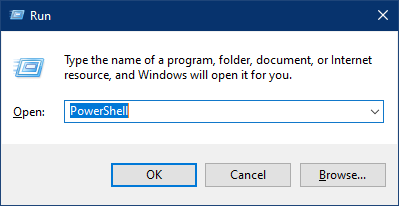
Step 1. Open Windows PowerShell.
To access it, press the Windows + R keys from the keyboard to access the Run dialog box. In the Run box, type Powershell and then hit Enter from the keyboard.
Step 2. In the PowerShell prompt, type the following and hit Enter from the keyboard:-
ipconfig
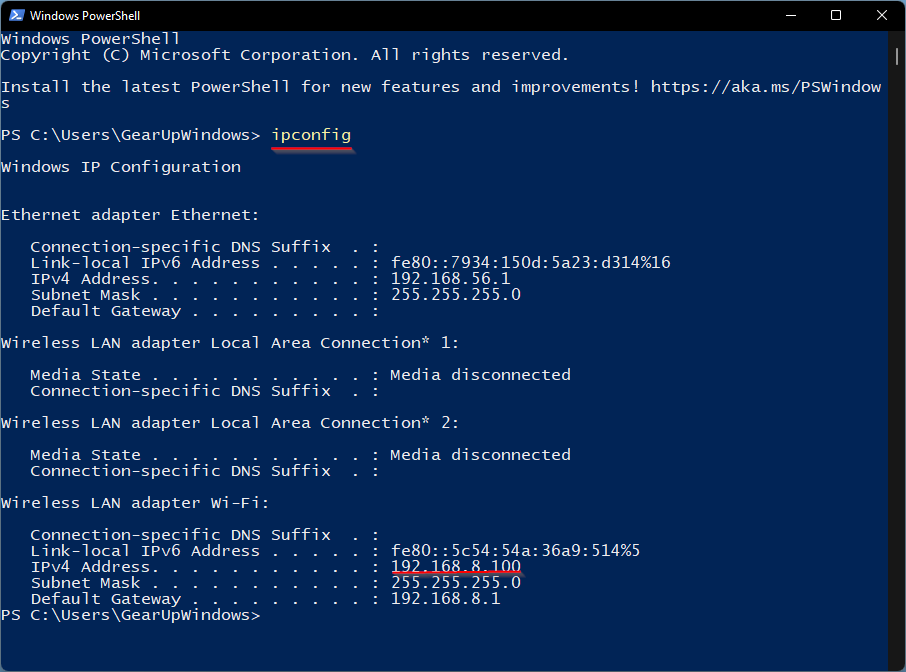
The above command will provide the output of your computer’s IP address.
How to find IP Addresses on Windows 11 through the Settings app?
Follow these steps to find IP Addresses on Windows 11 through the Settings app:-
Step 1. Open the Settings app by pressing the Windows + I keys from the keyboard or using an alternate method that you prefer.
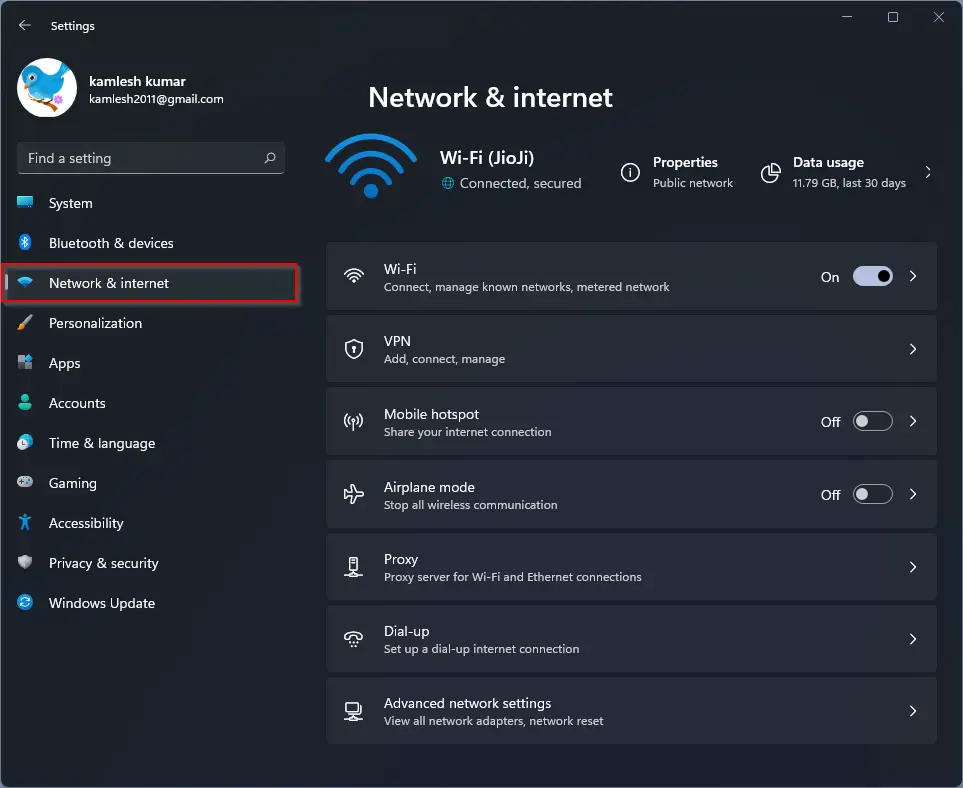
Step 2. Click on the Network & internet category from the left side pane in the settings window.
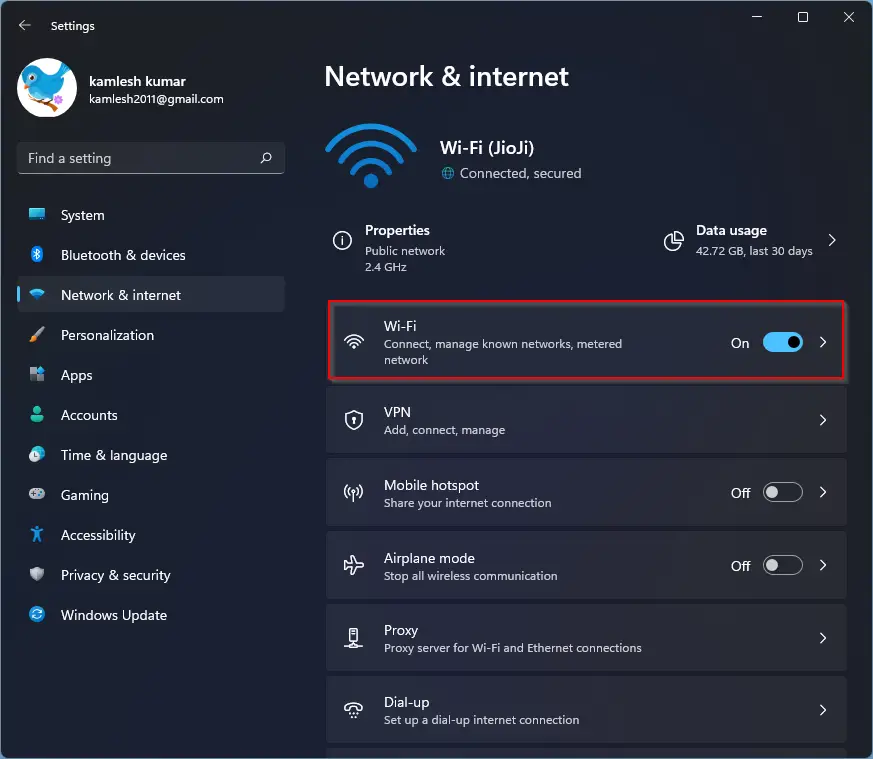
Step 3. Click on the Ethernet or Wi-Fi through which you have connected to the network/internet. Here I am selecting Wi-Fi because my PC is connected to the internet through Wi-Fi. But you can choose whichever you want to find the IP address.
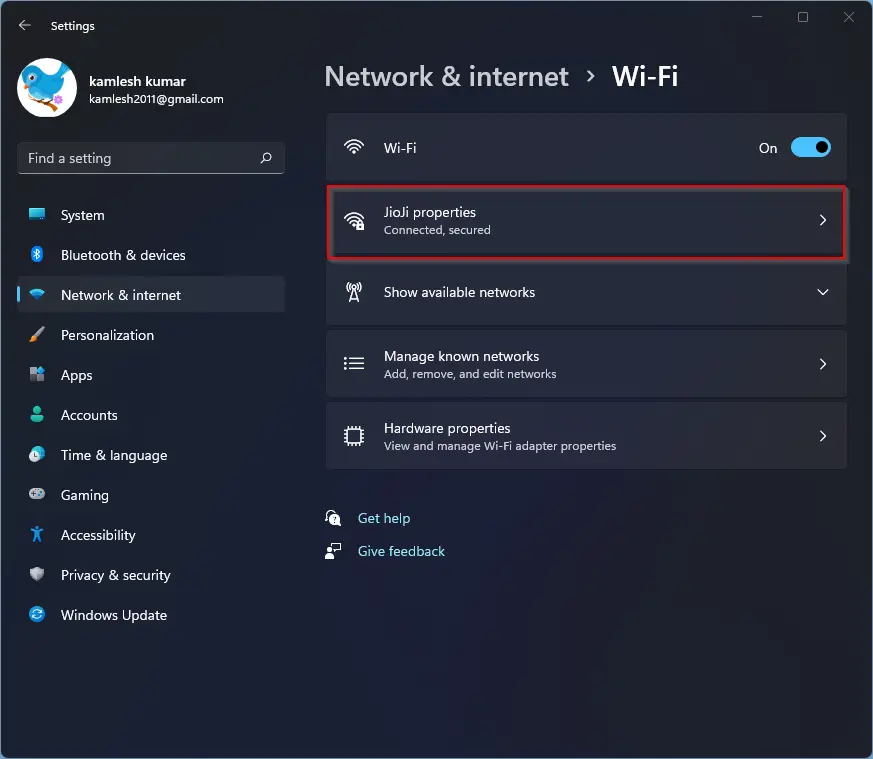
Step 4. Now, click on the Wi-Fi properties option (For my PC WiFi connection name is Jiojio, so I have to click Jiojio Properties).
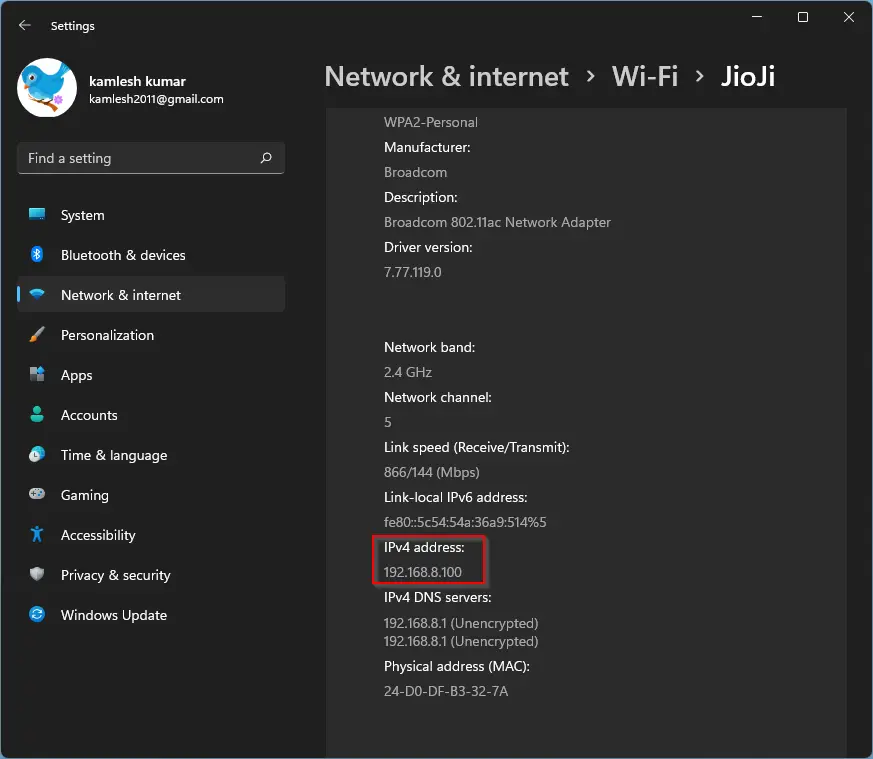
Step 5. Now scroll down to see the IP address of your computer.
How to Find an IP Address of Windows 11 PC using Control Panel?
Follow these steps to view an IP Address of Windows 11 PC using Control Panel:-
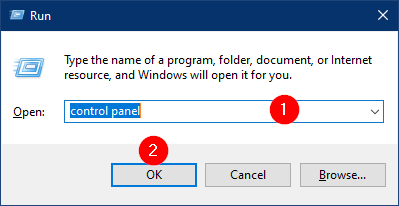
Step 1. Open the Control Panel.
To do that, open the Run dialog box by pressing Windows + R keys simultaneously from the keyboard. In the Run box, type the control panel and hit Enter from the keyboard or click the OK button.
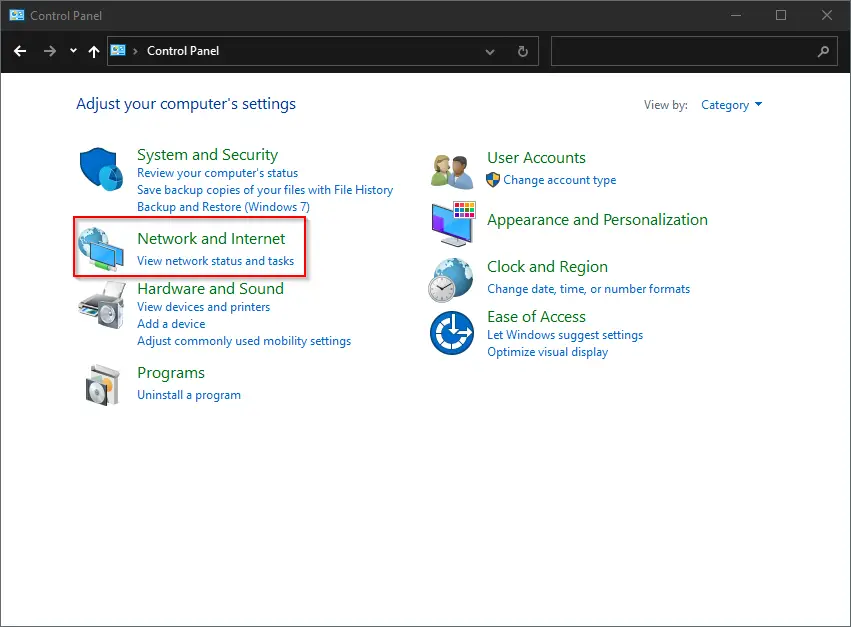
Step 2. On the Control Panel window, click on the Network and Internet category.
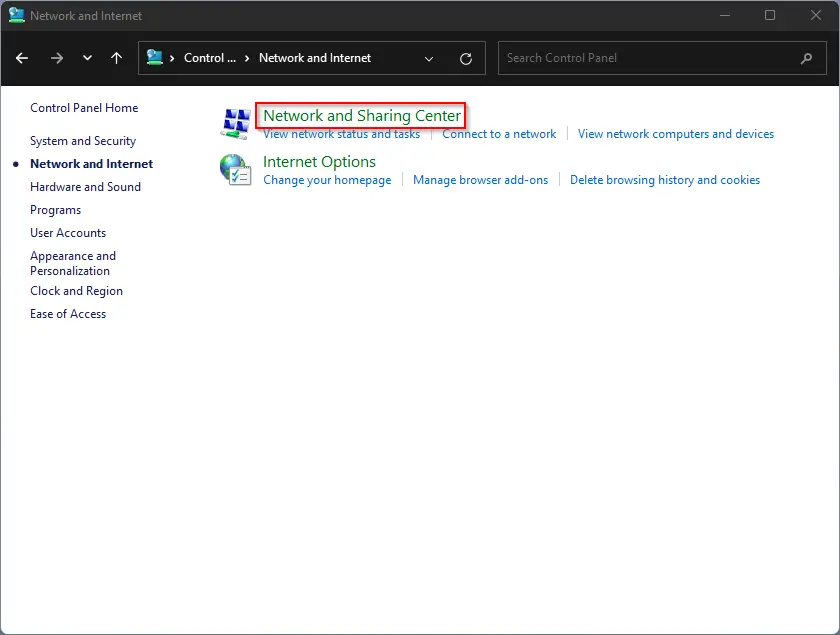
Step 3. Then, on the next screen, click Network and Sharing Center on the right-side pane.
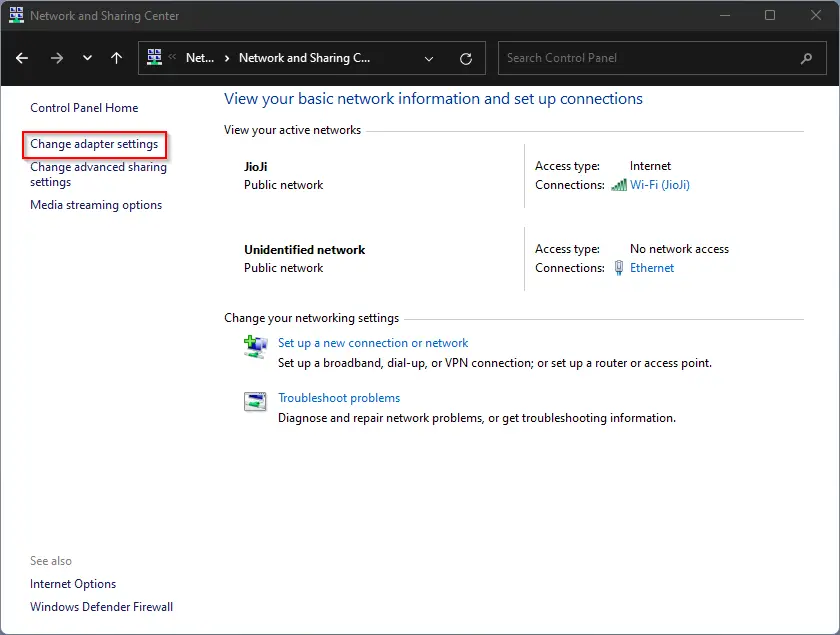
Step 4. Now, click on the Change Adapter Settings in the left-hand options.
Step 5. Now, the Network Connections window will open.
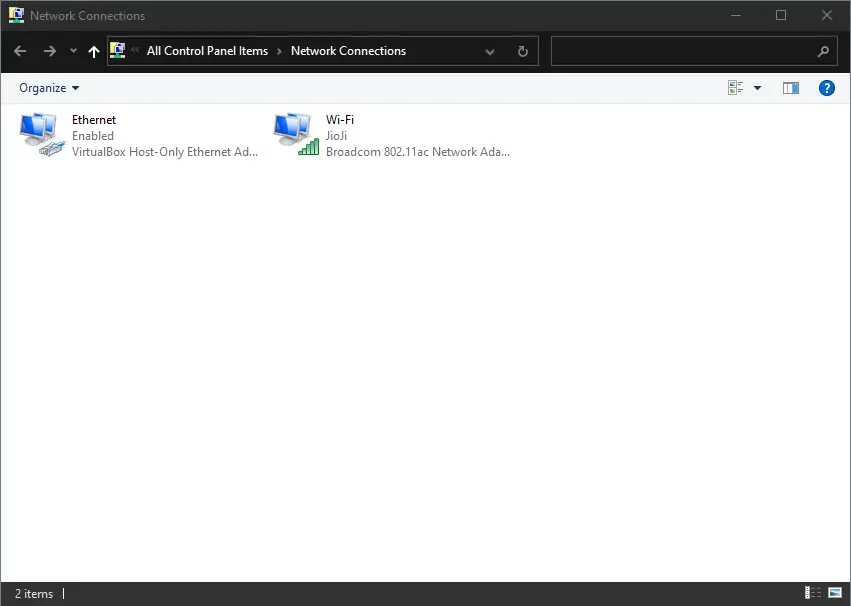
Step 6. Right-click on the Ethernet or Wi-Fi connection; for that, you want to view the IP address and select the Status option.

Step 7. In the Wi-Fi Status window that opens, click on the Details button.
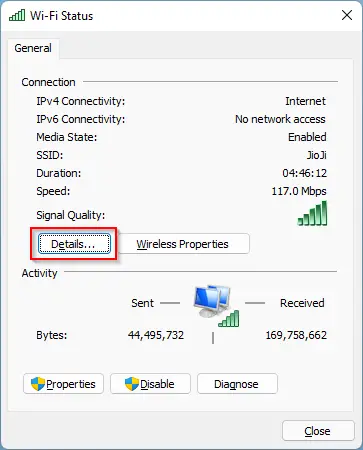
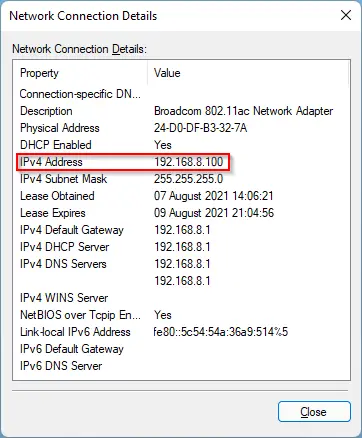
Step 8. Now, another pop-up window will appear with the title Network Connection Details. Here you can see the IP address and other details.
Conclusion
In conclusion, every device that connects to the internet has a unique IP address. If you are using Windows 11 and want to find your computer’s IP address, there are several easy ways to do so. You can use the Command Prompt, Windows PowerShell, the Settings app, or the Control Panel. All these methods are straightforward and can help you quickly view the IP address of your computer. Knowing your IP address is essential for troubleshooting network problems or connecting to other devices on the same network.