Sometimes you may lose the visual of the mouse cursor on the screen if you constantly use the mouse to navigate Windows 10, especially when you have a multi-monitor setup. To overcome this problem, Microsoft has included an option in Windows 10 to find the mouse pointer that circles around it when pressing the Ctrl key.
In this gearupwindows article, we will guide you on enabling the option to use a keystroke to find the mouse pointer on the screen quickly.
On a Windows 10 PC, you can use two methods to find the mouse pointer quickly. You can enable the option in the Settings app or can use PowerToys.
How to Quickly Find Mouse Pointer using PowerToys on Windows 10?
If you want to use PowerToys to find the Mouse Pointer location in Windows 10, use the following steps:-
Step 1. First, install the PowerToys application from the Microsoft Store.
Alternatively, open the command prompt as administrator and type the following:-
winget install --id Microsoft.PowerToys
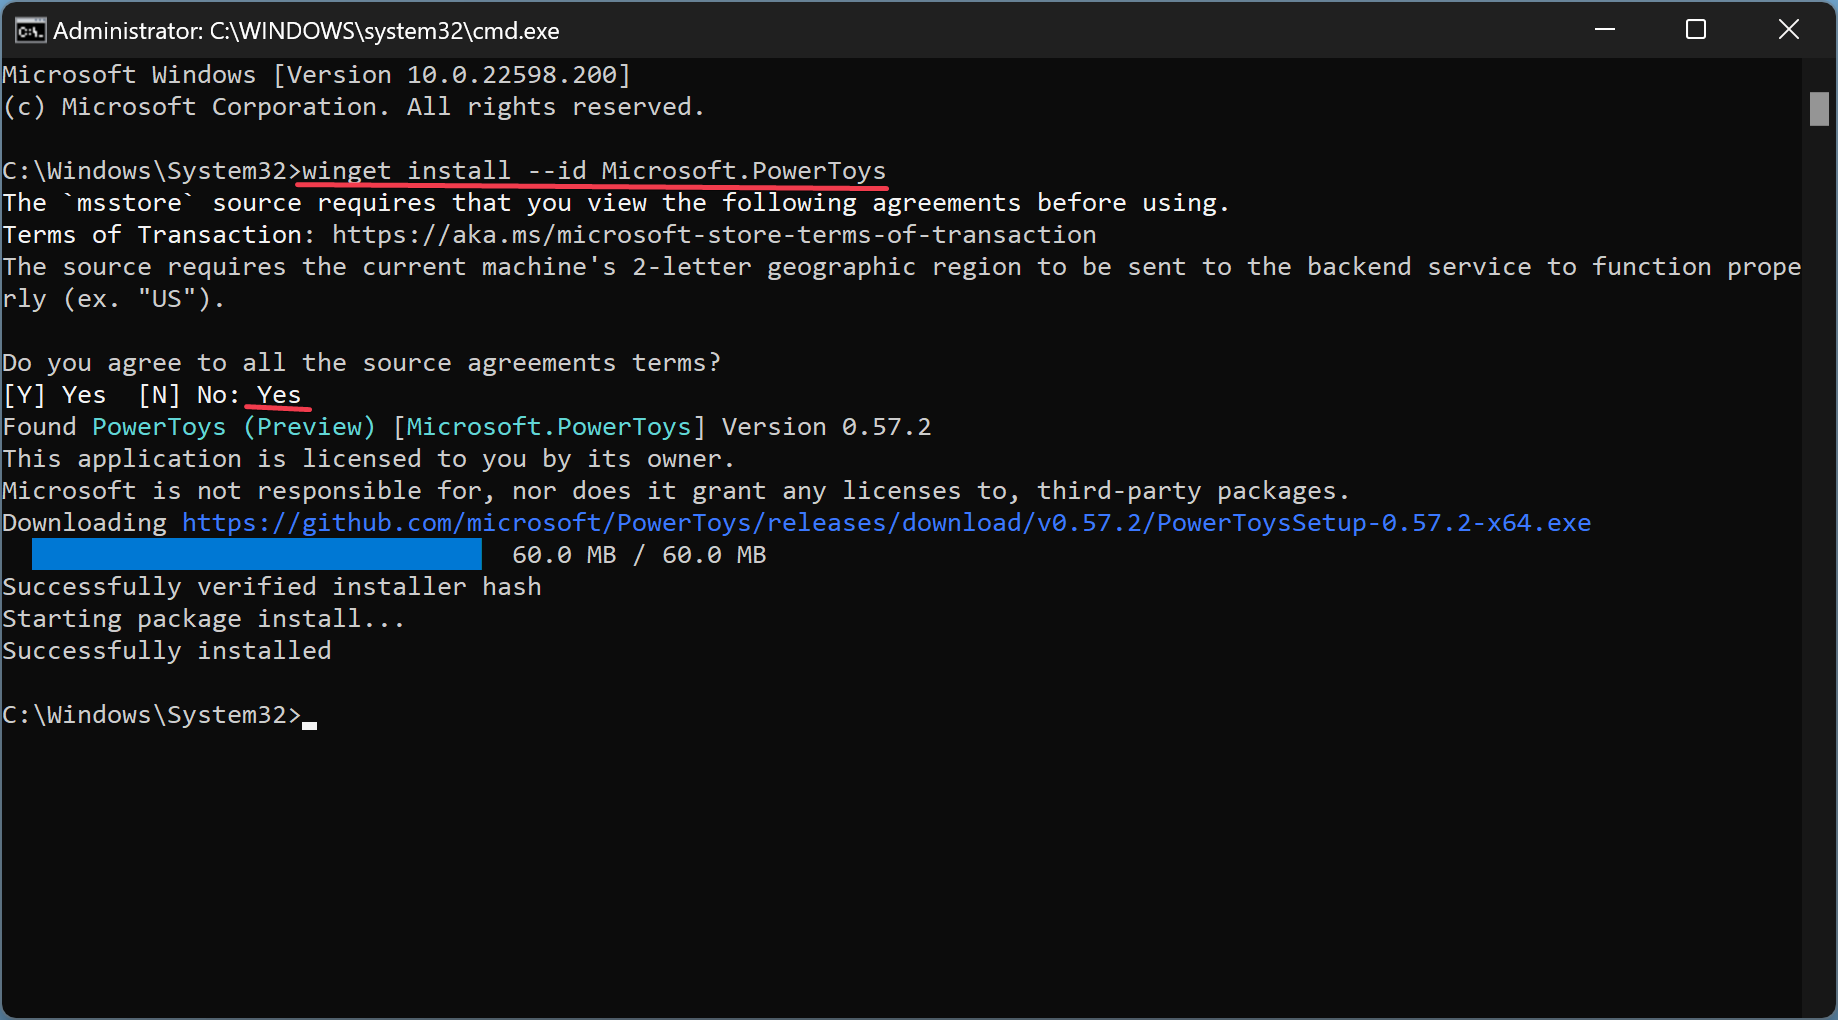
Then, hit the Enter key on the keyboard to execute the command.
Type Yes on the command prompt window when you see, “Do you agree to all the source agreements terms?” After that, press the Enter key on the keyboard.
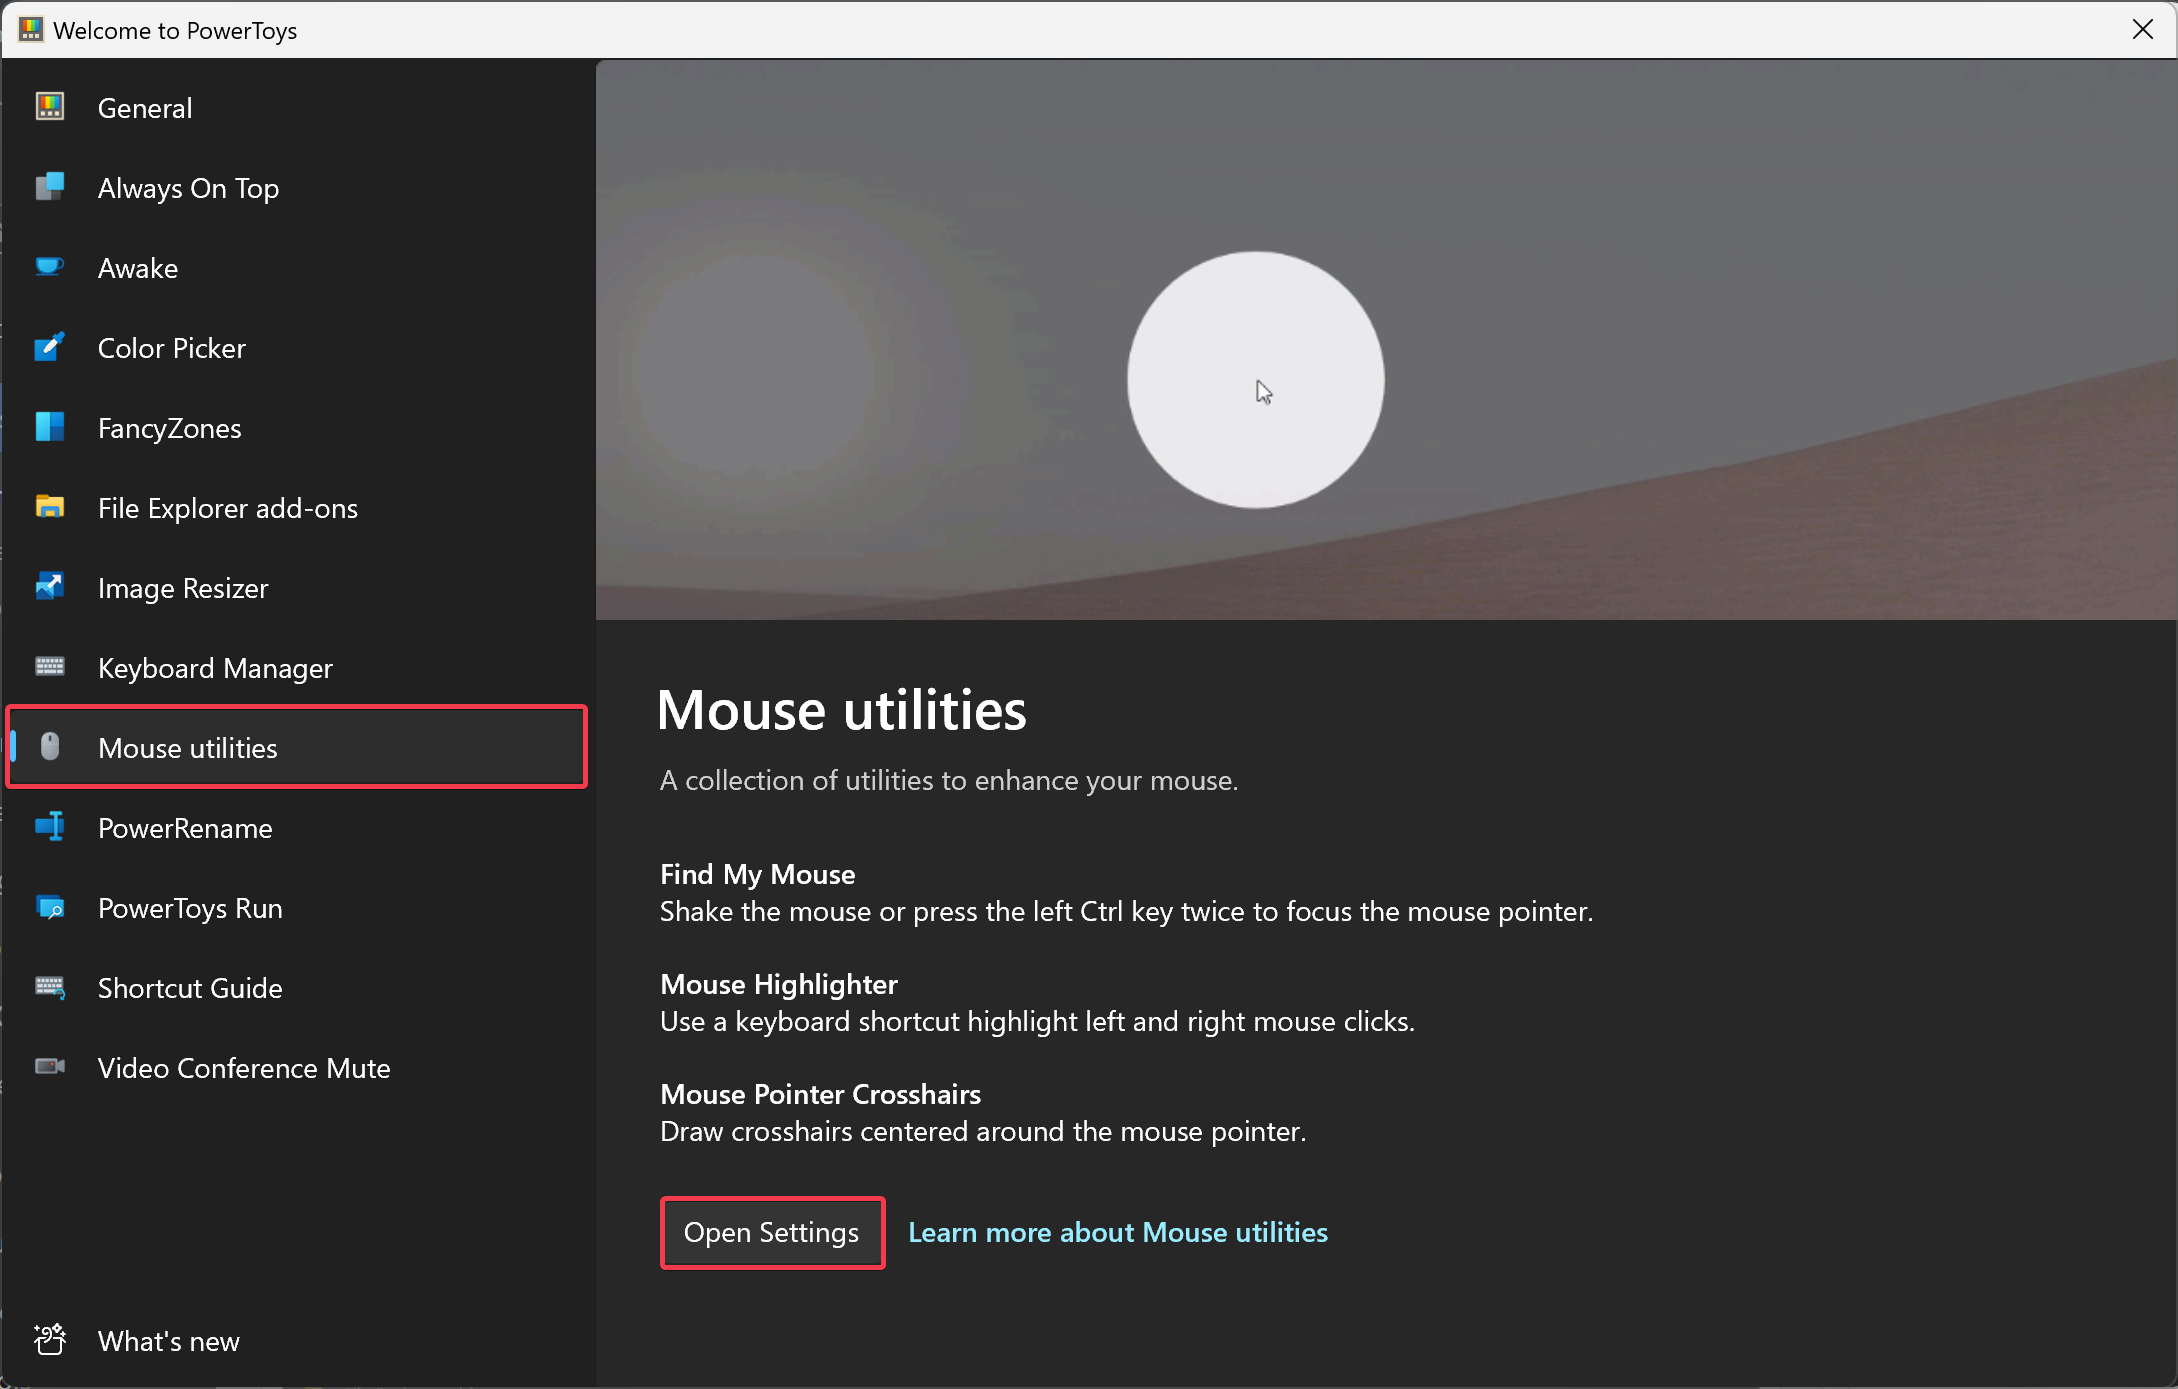
Step 2. In the PowerToys window, choose Mouse utilities in the left sidebar and click on the Open Settings button on the right sidebar.
Step 3. Now, select Mouse utilities in the PowerToys Settings window left side.
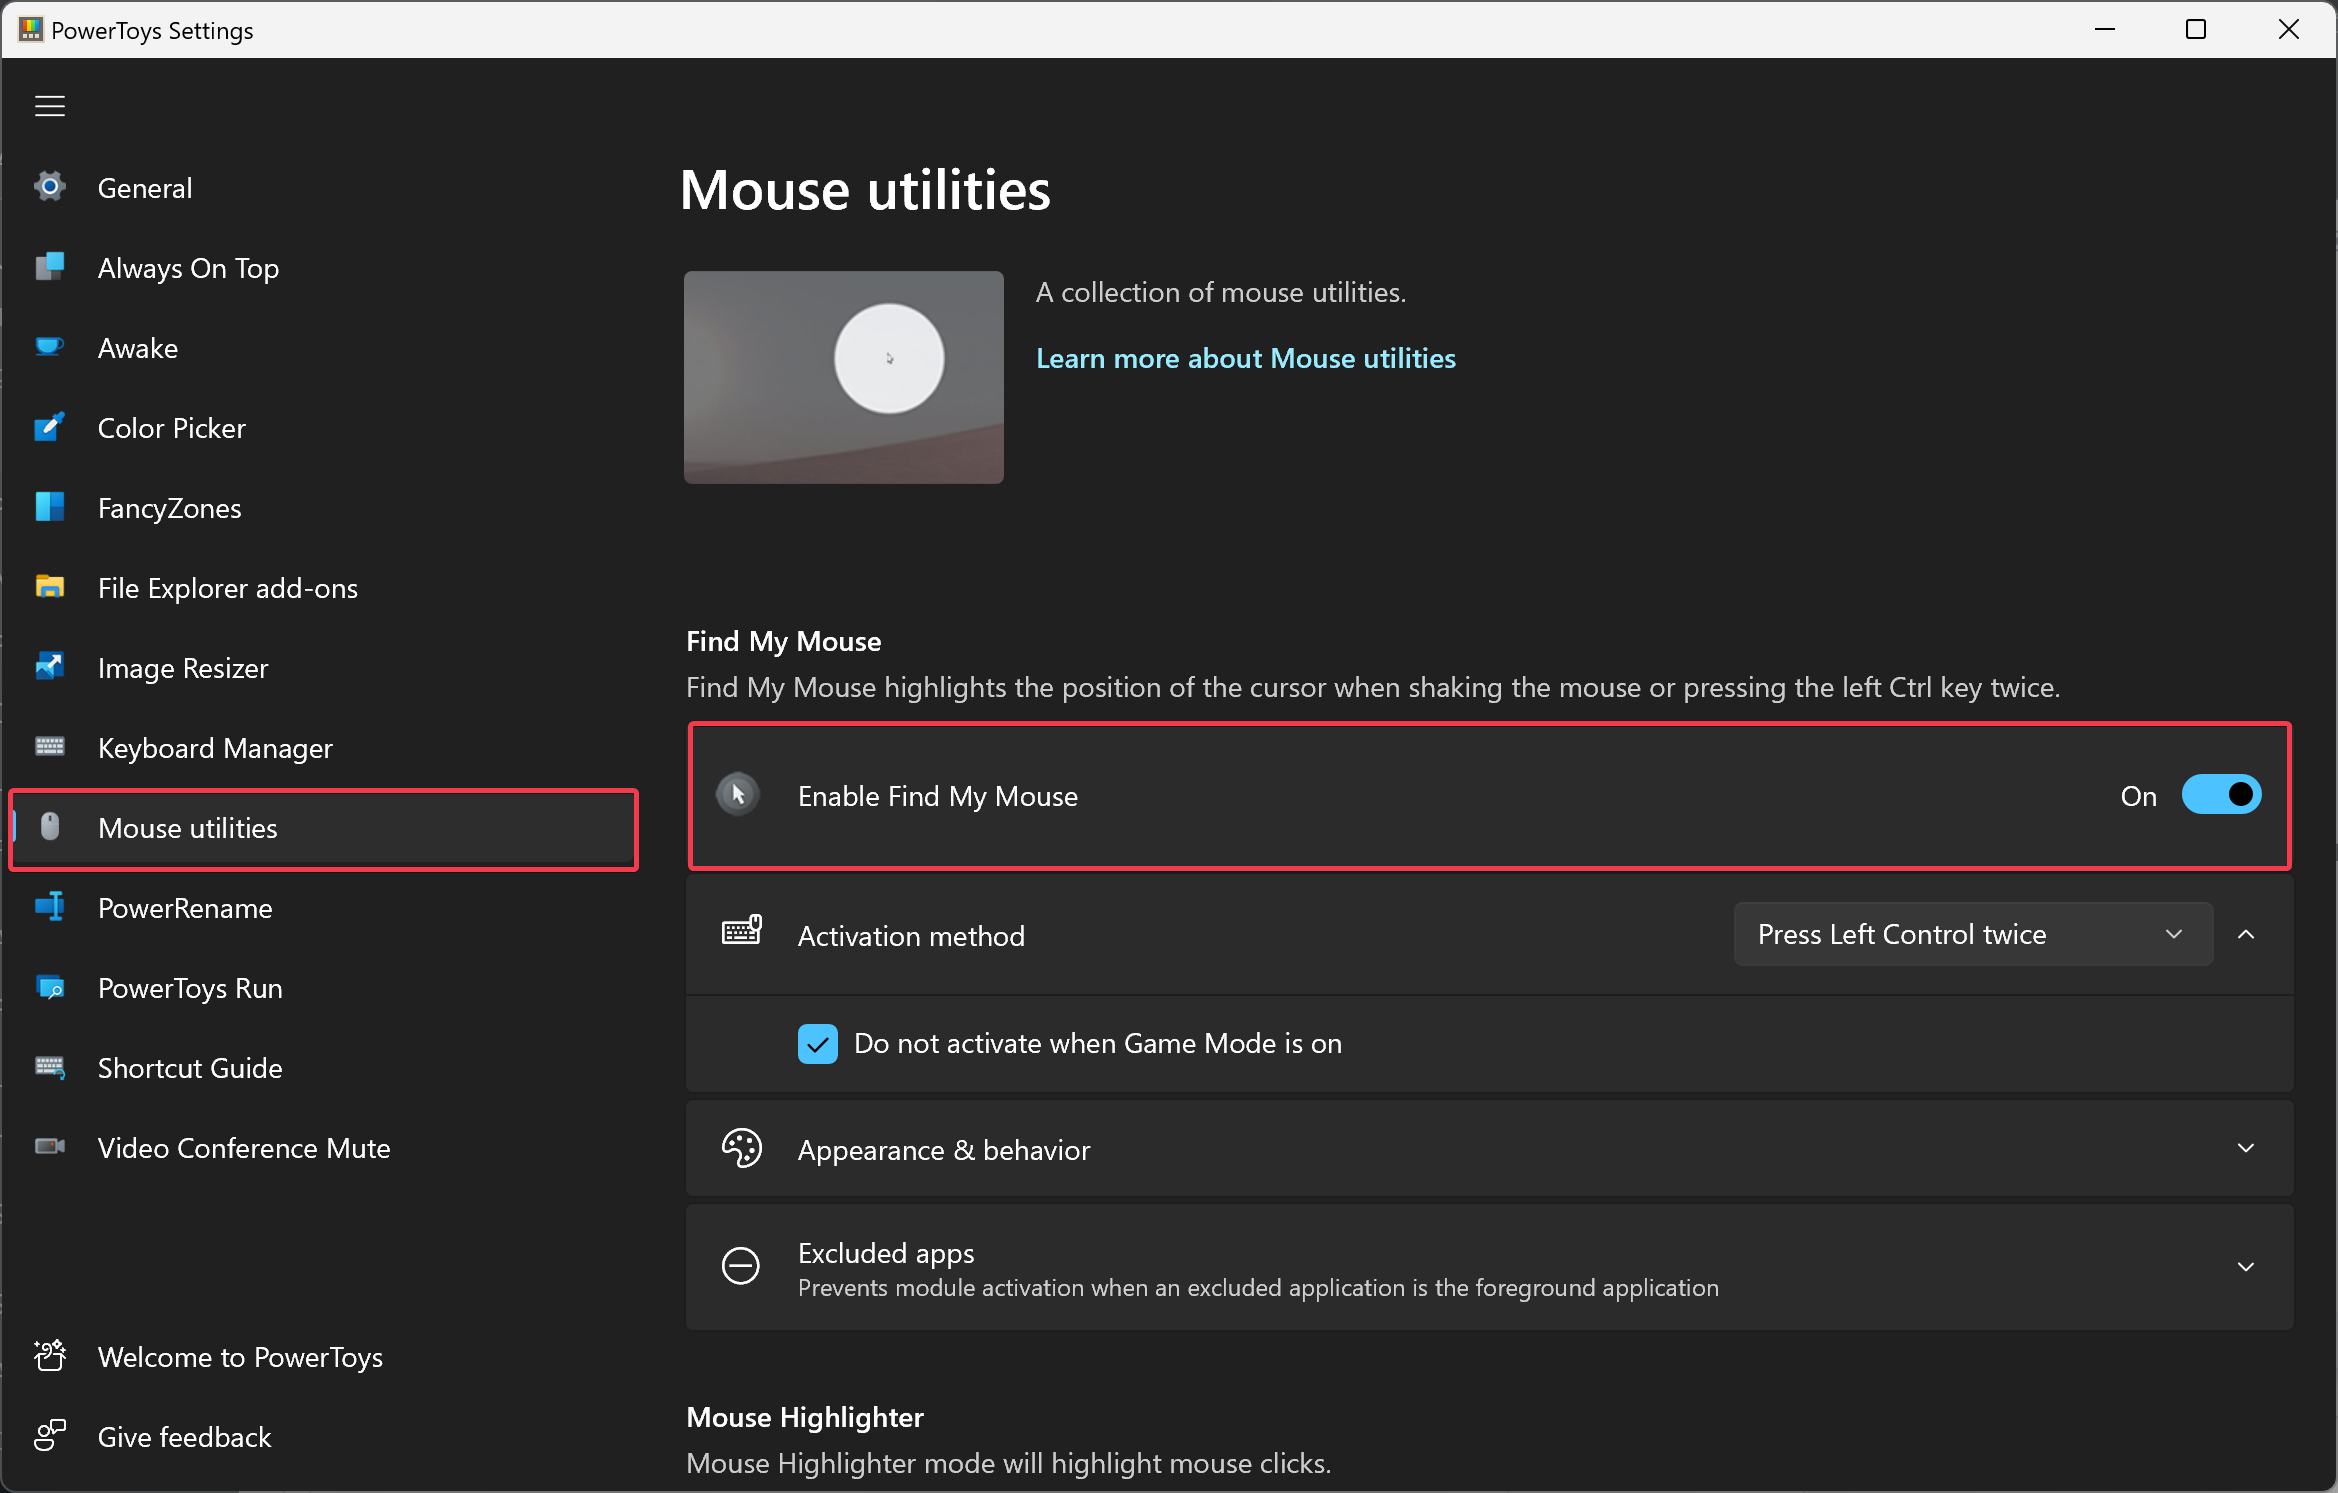
Step 4. On the right-side screen, under the “Find My Mouse” section, turn On the toggle switch Enable Find My Mouse.
Once you complete the above steps, when you press the left CTRL key twice, the mouse pointer location on the screen will be highlighted.
If you want, under the “Appearance & behavior” section, you can customize the experience. For example, the Overlay opacity lets use a slider to adjust the transparency of the highlight. The Background and Spotlight color options let you create custom highlight colors when finding your mouse.
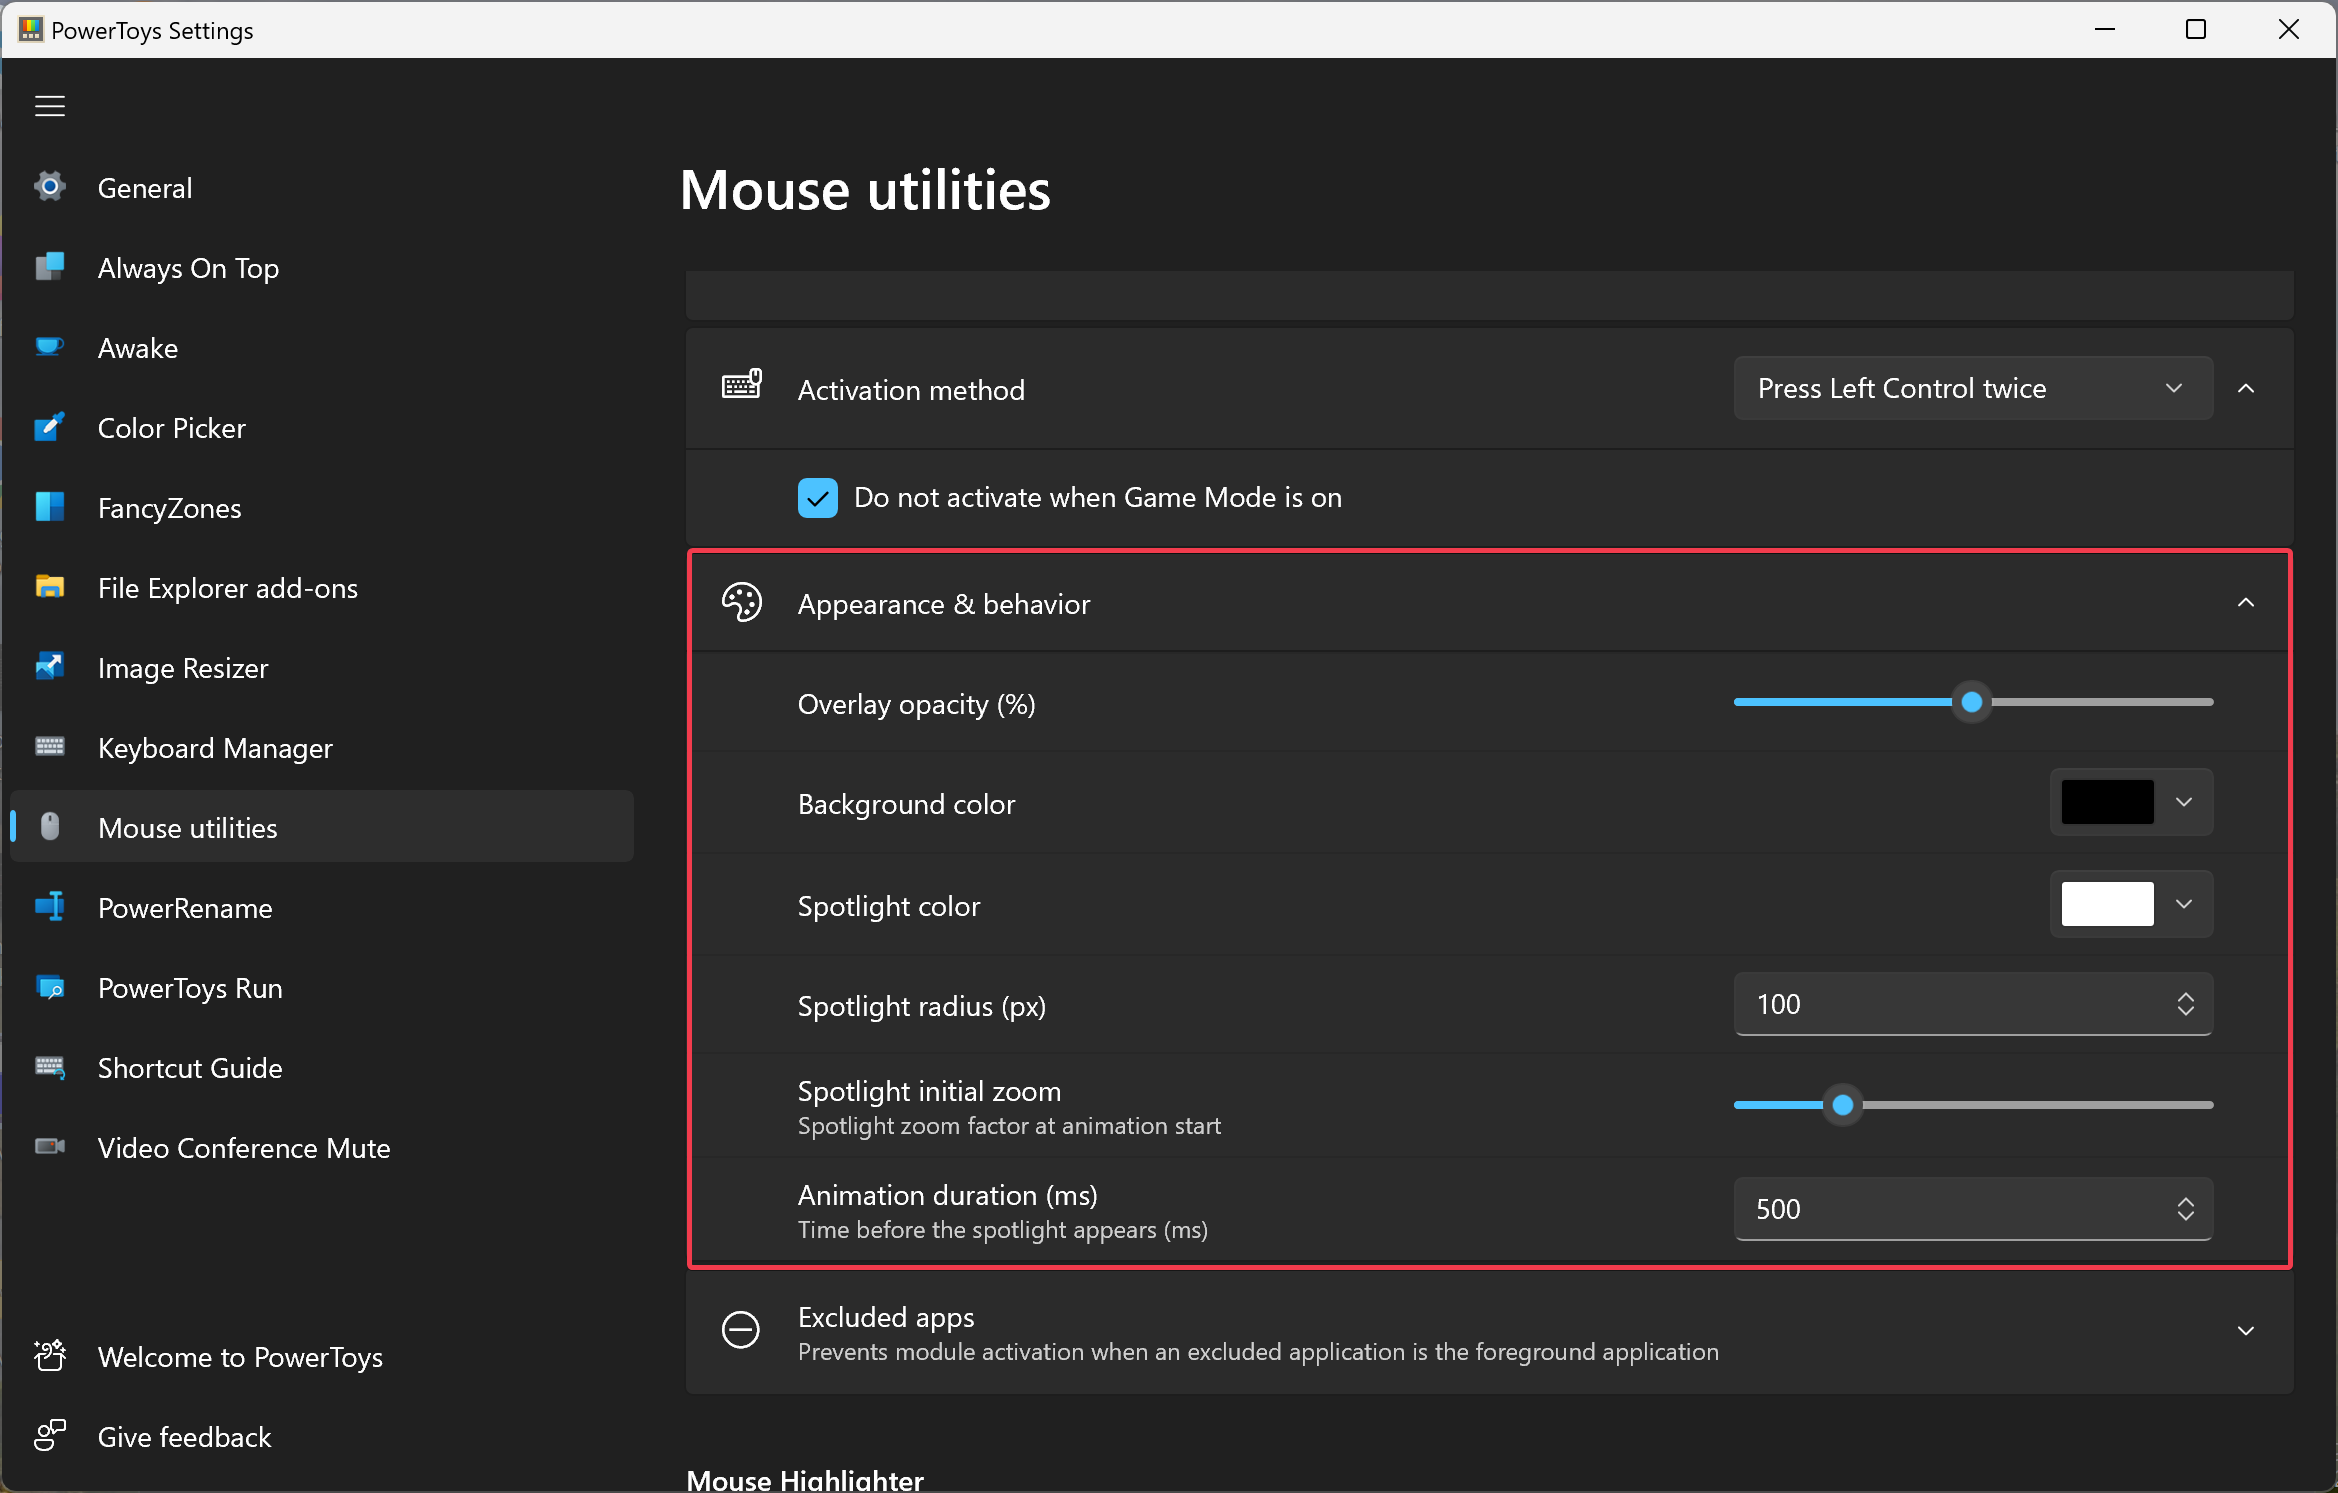
In addition to that, there is also an option to control the spotlight radius, initial zoom, and animation duration.
How to Quickly Locate the Mouse Pointer on Windows 10?
To quickly discover the mouse pointer on Windows 10, use these steps:-
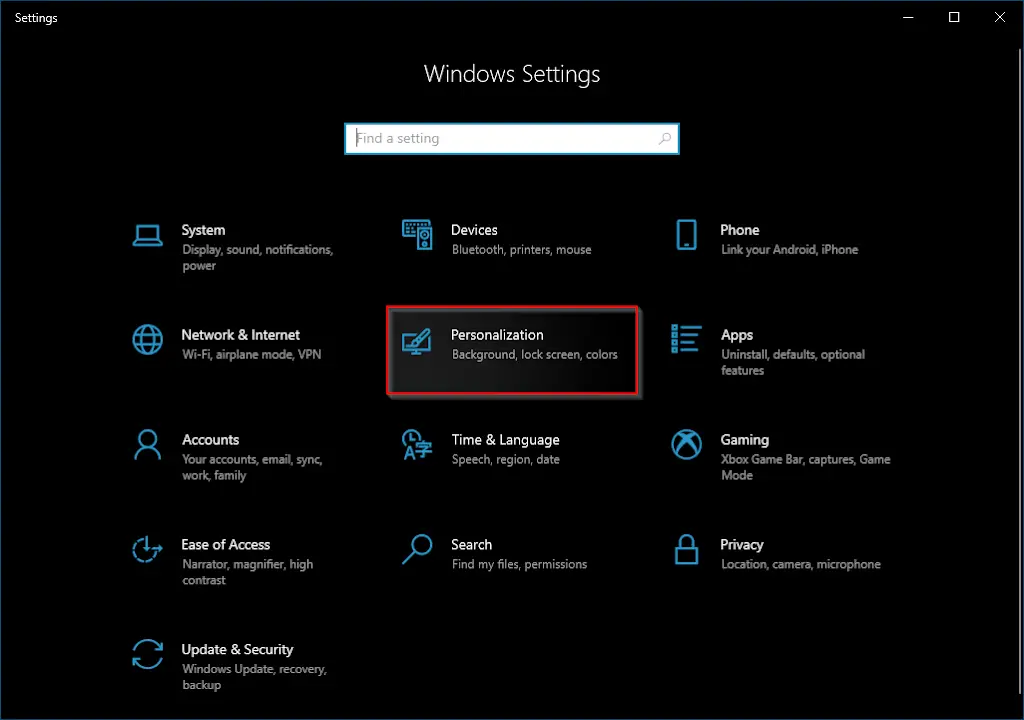
Step 1. First, open Windows Settings.
Step 2. Then, click on Personalization.
Step 3. After that, select Themes in the left sidebar.
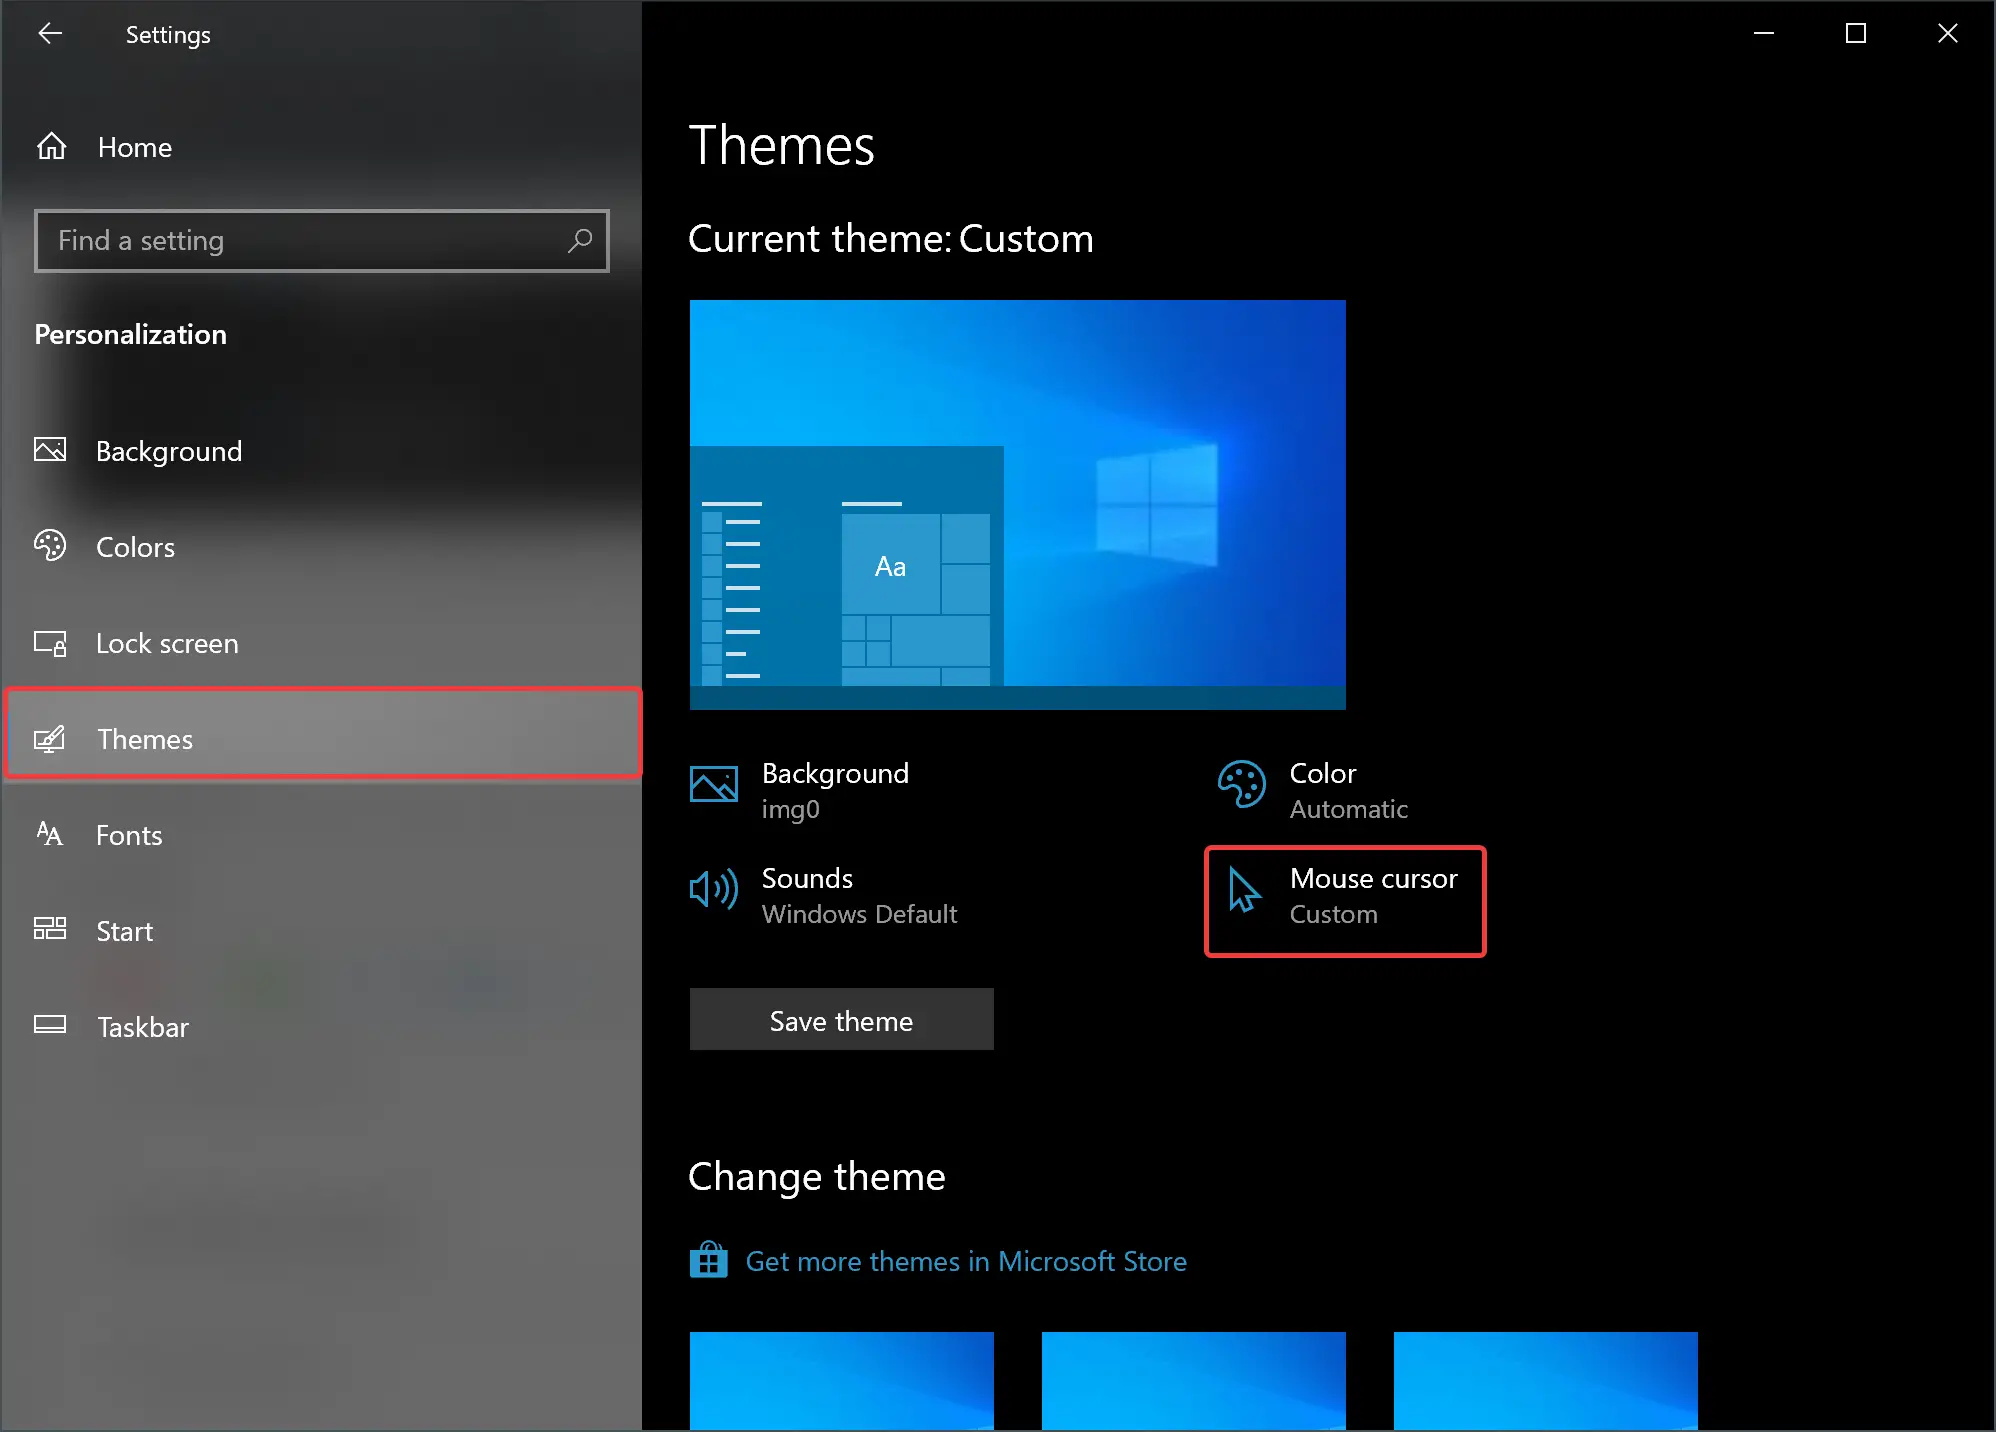
Step 4. On the right side of Themes, click on the Mouse cursor option.
Step 5. Next, switch to the Pointer Options tab in the “Mouse Properties” window.
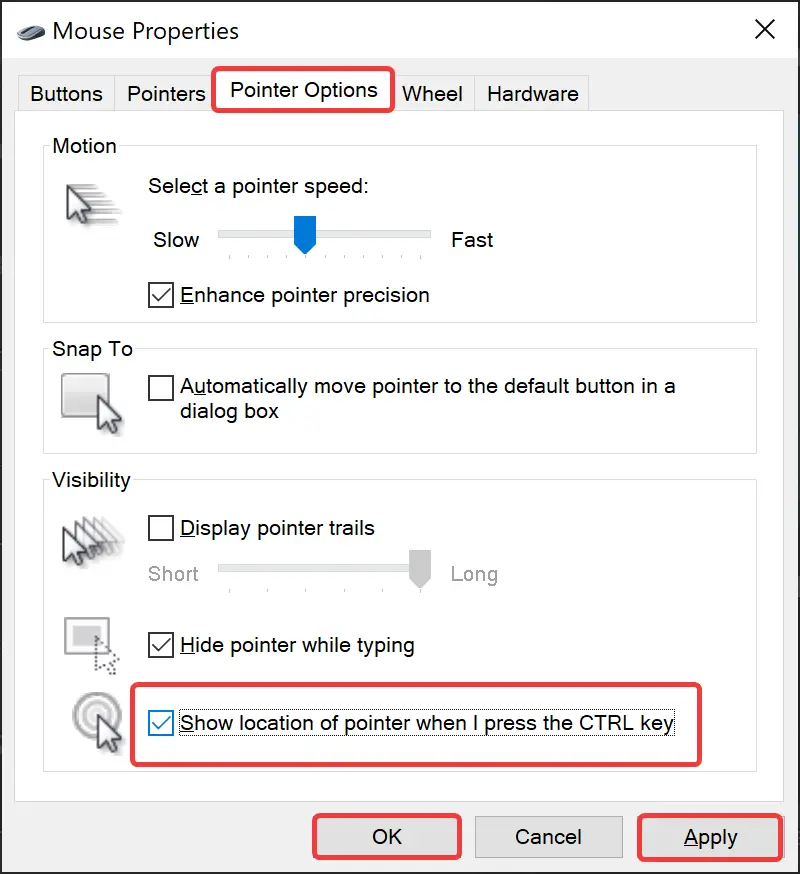
Step 6. Then, check the option “Show location of pointer when I press the CTRL key.”
Step 7. Click Apply.
Step 8. Click OK.
Once you complete the above steps, every time you cannot find the pointer, press the Ctrl key to see the mouse pointer on the screen.
Conclusion
In conclusion, losing sight of the mouse cursor can be frustrating, especially when navigating Windows 10. Thankfully, Microsoft has included options to find the mouse pointer on the screen quickly. In this gearupwindows article, we have discussed two methods to enable this feature: using PowerToys and the Settings app. By following the steps outlined in this guide, users can easily locate their mouse pointer and customize the experience according to their preferences.