If you are curious to know how to find out if SSD or HDD is installed on your Windows 11 computer, this video will help you. You can do it relatively quickly and easily. You don’t have to open the PC case or disassemble your laptop or computer.
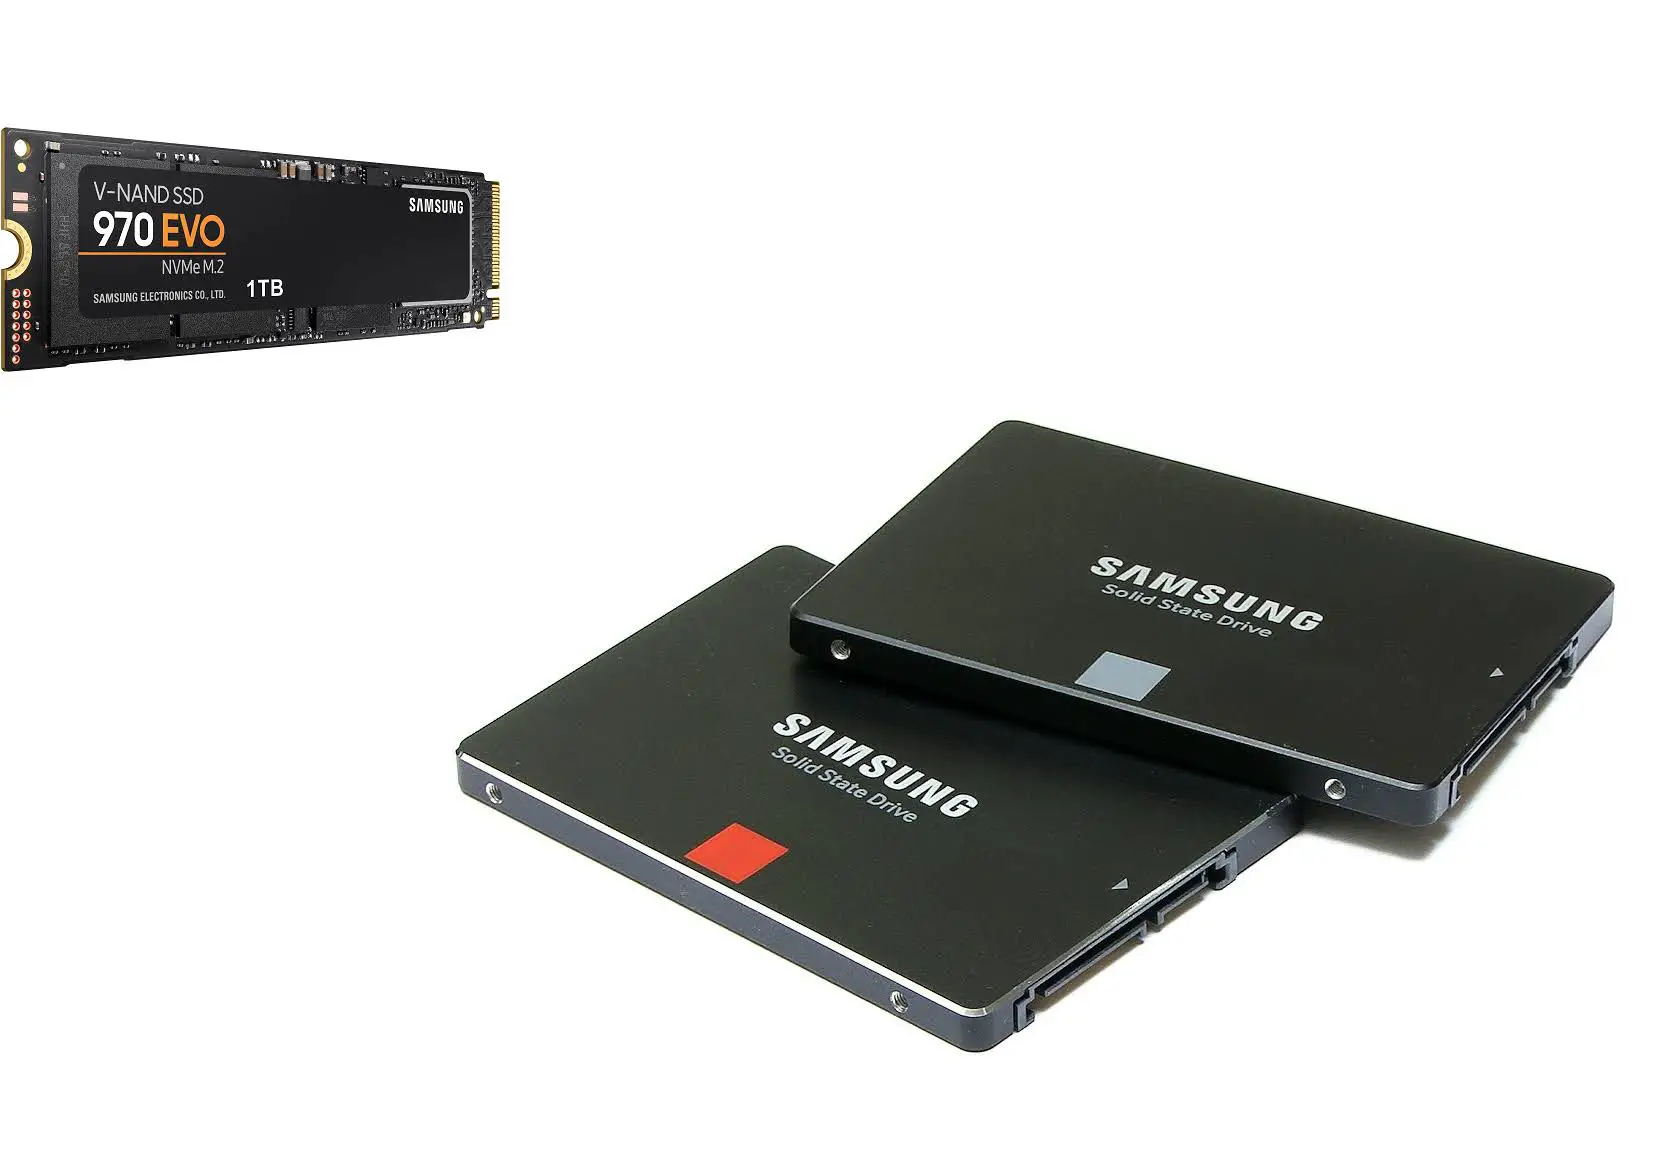
Solid-state drive (SSD) is a modern type of drive that has no rotating parts. It is just like a giant flash drive with a controller that operates the data transfer. The information is written into special memory cells and works much faster than HDDs, and even produces no noise.
Non-Volatile Memory Express (NVMe) is the latest version of solid-state drives. They are different from classic SSDs as they use a particular interface. Also, they are very compact.
How to find out SSD or NVMe in Windows 11?
To find out whether your Windows 11 computer has an SSD or NVMe drive, follow these steps:-
Step 1. First, open File Explorer.
Step 2. Then, right-click on the “C:” drive (or the primary drive where Windows is installed) and select “Properties” from the context menu.
Step 3. In the Properties window, select the “Hardware” tab.
Under “All Disk Drives:” you will see the name of your hard drive. If it includes “SSD” or “NVMe” in the name, you have either an SSD or NVMe drive installed.
Alternatively, you can also use the Windows Device Manager to check whether you have an SSD or NVMe drive. Here’s how:-
Step 1. Right-click the Start button and select “Device Manager” from the context menu.
Step 2. In the Device Manager window, expand the “Disk drives” category.
Step 3. You should see the name of your hard drive listed. If it includes “SSD” or “NVMe” in the name, you have either an SSD or NVMe drive installed.
These are some ways to find out whether your Windows 11 computer has an SSD or NVMe drive.
