On Windows 11, “Troubleshoot” is a feature that allows users to diagnose and fix common problems automatically. For instance, it can restore critical internet connection issues on your behalf to help keep the computer running smoothly.
The Settings app of Windows 11 now includes a new option called “Troubleshoot,” which offers many one-click solutions to fix various problems related to your computer. If you ever stumble upon a problem with an internet connection, playing audio, printer, Windows Update, Camera, Network Adapter, Power, Bluetooth, etc., in that case, you can run the built-in troubleshooter to resolve the issue quickly.
In this gearupwindows article, we will guide you on how to access and use the Troubleshooters page in Windows 11 Settings to solve any problem.
How to Change or Manage Troubleshoot Settings on Windows 11?
To manage or change the Troubleshoot settings on Windows 11, use the following steps:-
Step 1. First, open the Settings app.
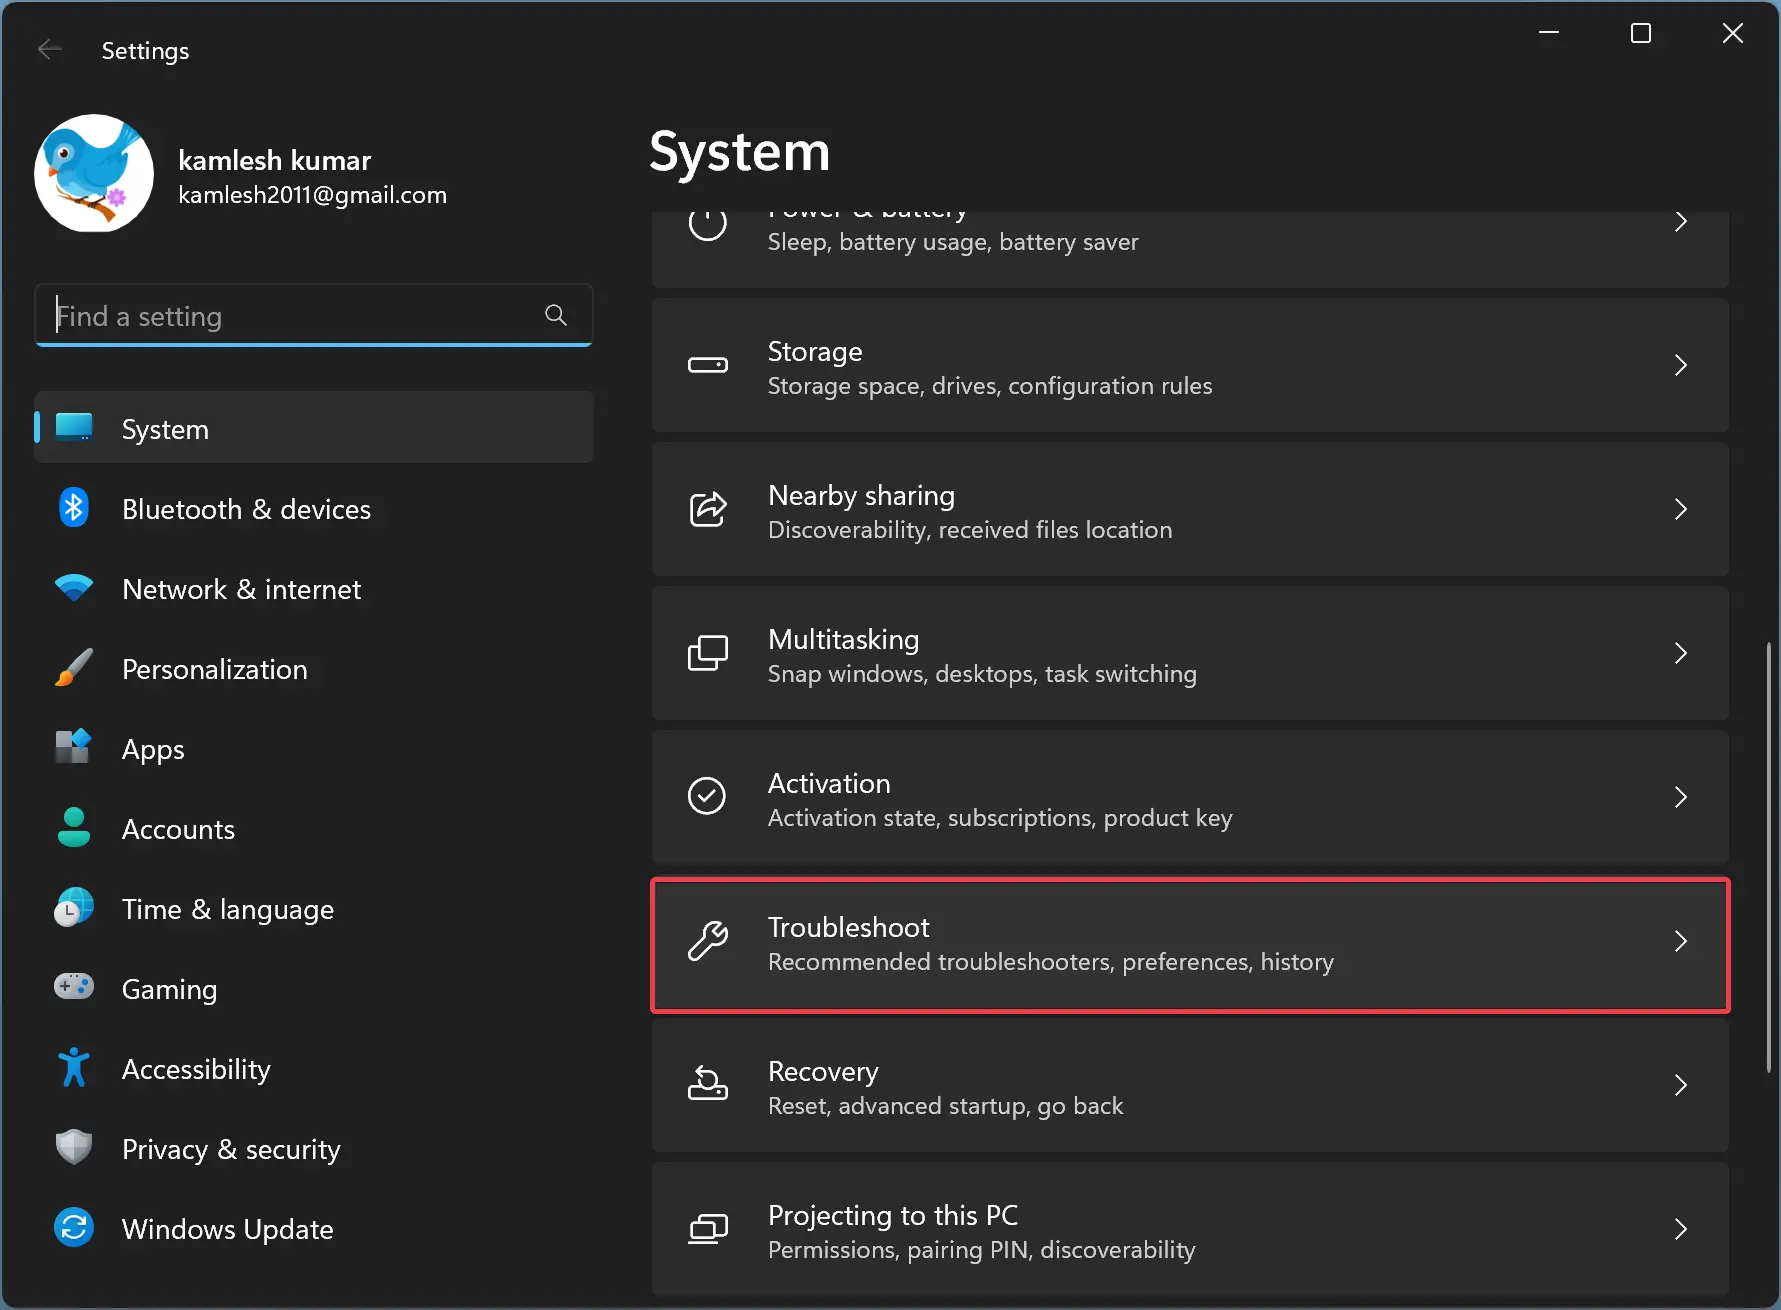
Step 2. Then, select System in the left sidebar of the Settings window.

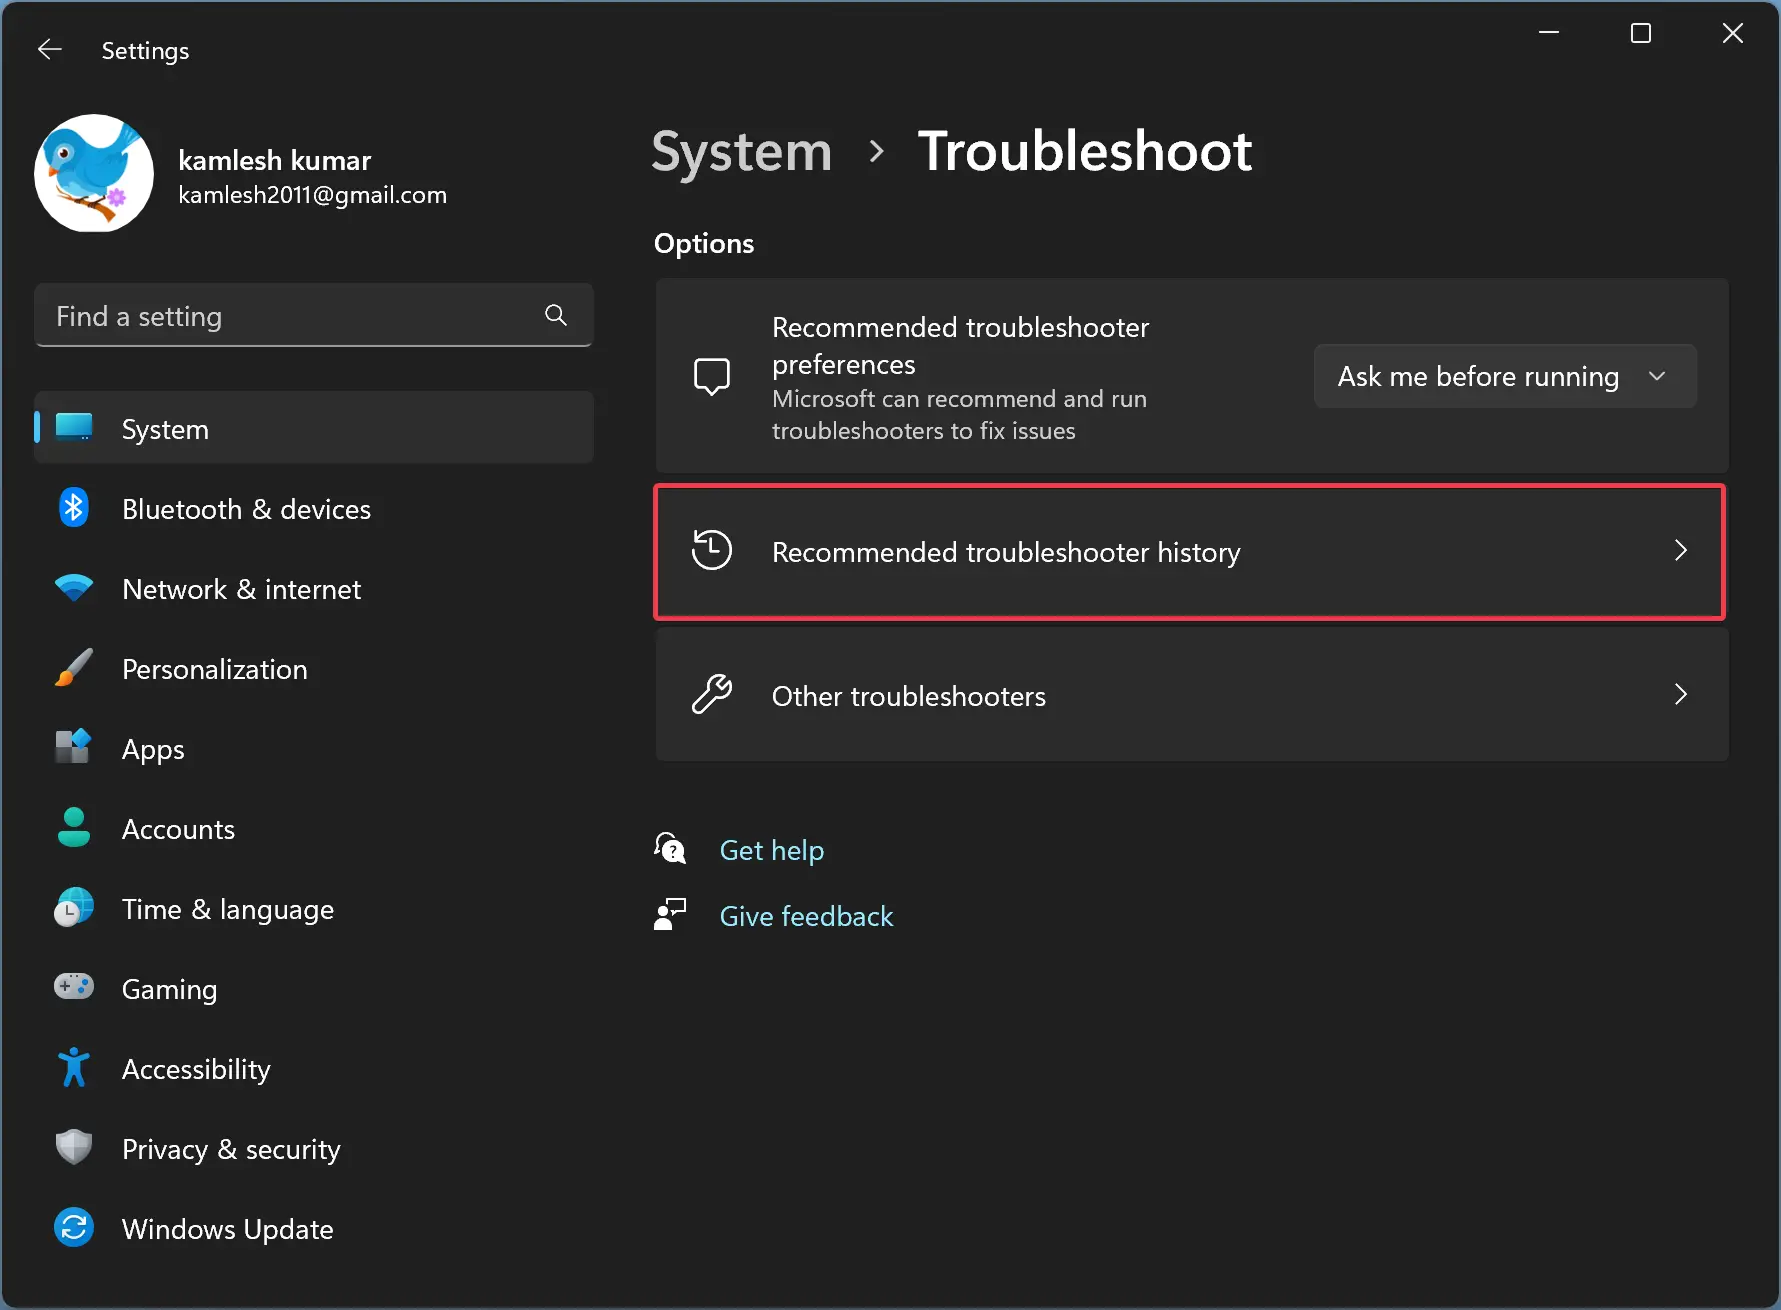
Step 3. After that, click the Troubleshoot tile on the right side.
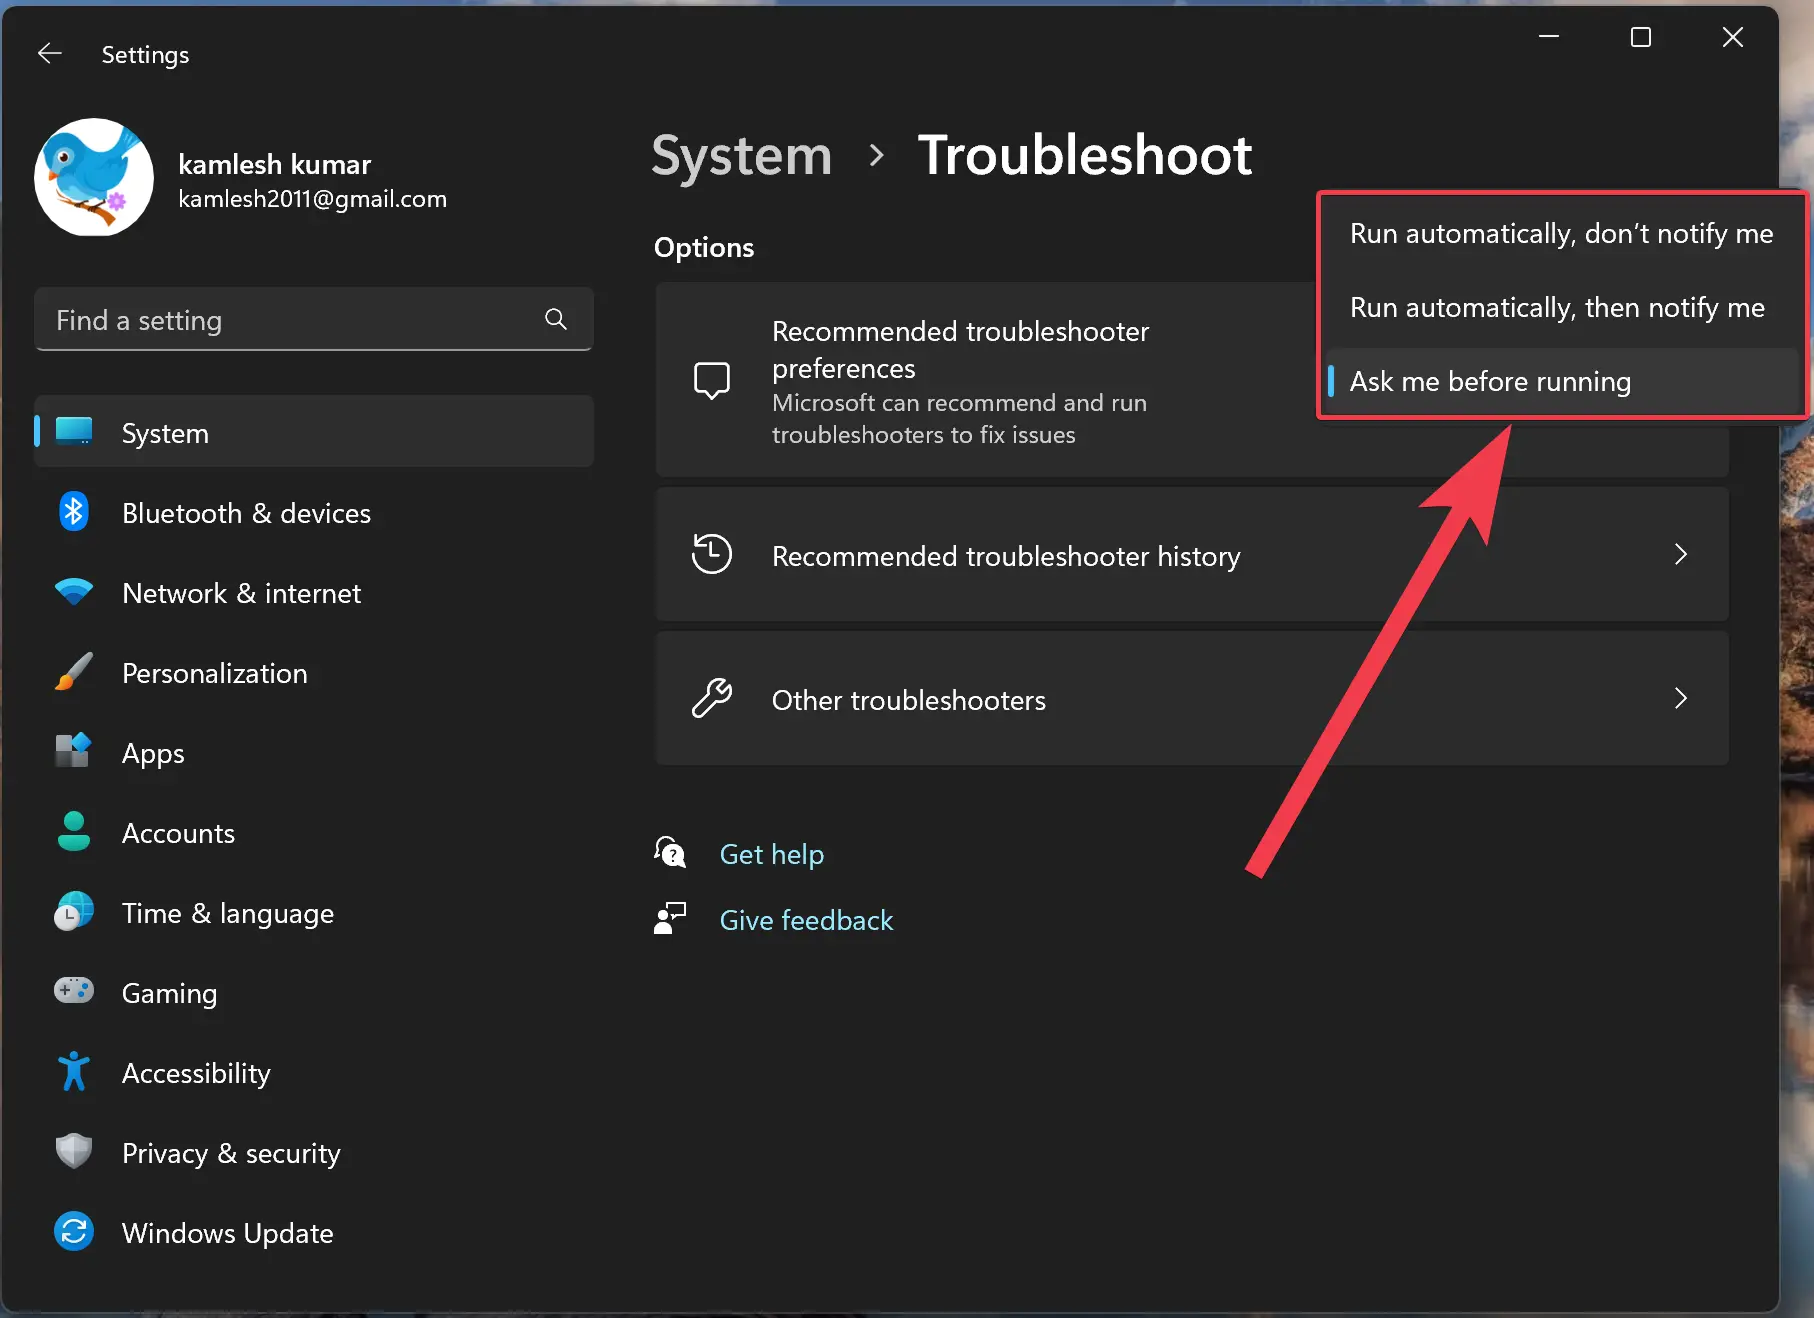
Step 4. On the Troubleshoot settings page, select the best option for your computer using the drop-down menu “Recommended troubleshooter preference.” Here, you can select the following:-
- Run automatically, don’t notify me — If you choose this option, troubleshooting will run and fix the problems automatically. You’ll not get any notifications.
- Run automatically, then notify me — This applies the fixes automatically, and the system will let you know about the changes.
- Ask me before running — If you select this option, you’ll need to review the notification before applying.
After completing the above steps, Windows 11 will run and apply fixes according to your settings.
How to Run Troubleshoot on Windows 11 from Settings?
While Windows 11 may fix the problems automatically if you have configured so, if you need, you can also run troubleshooters manually for several issues that may appear on your computer.
To fix standard Windows 11 problems using Troubleshoot, do the following steps:-
Step 1. First, open the Settings app.
Step 2. Then, select System in the left sidebar of the Settings window.
Step 3. After that, click the Troubleshoot tile on the right side.
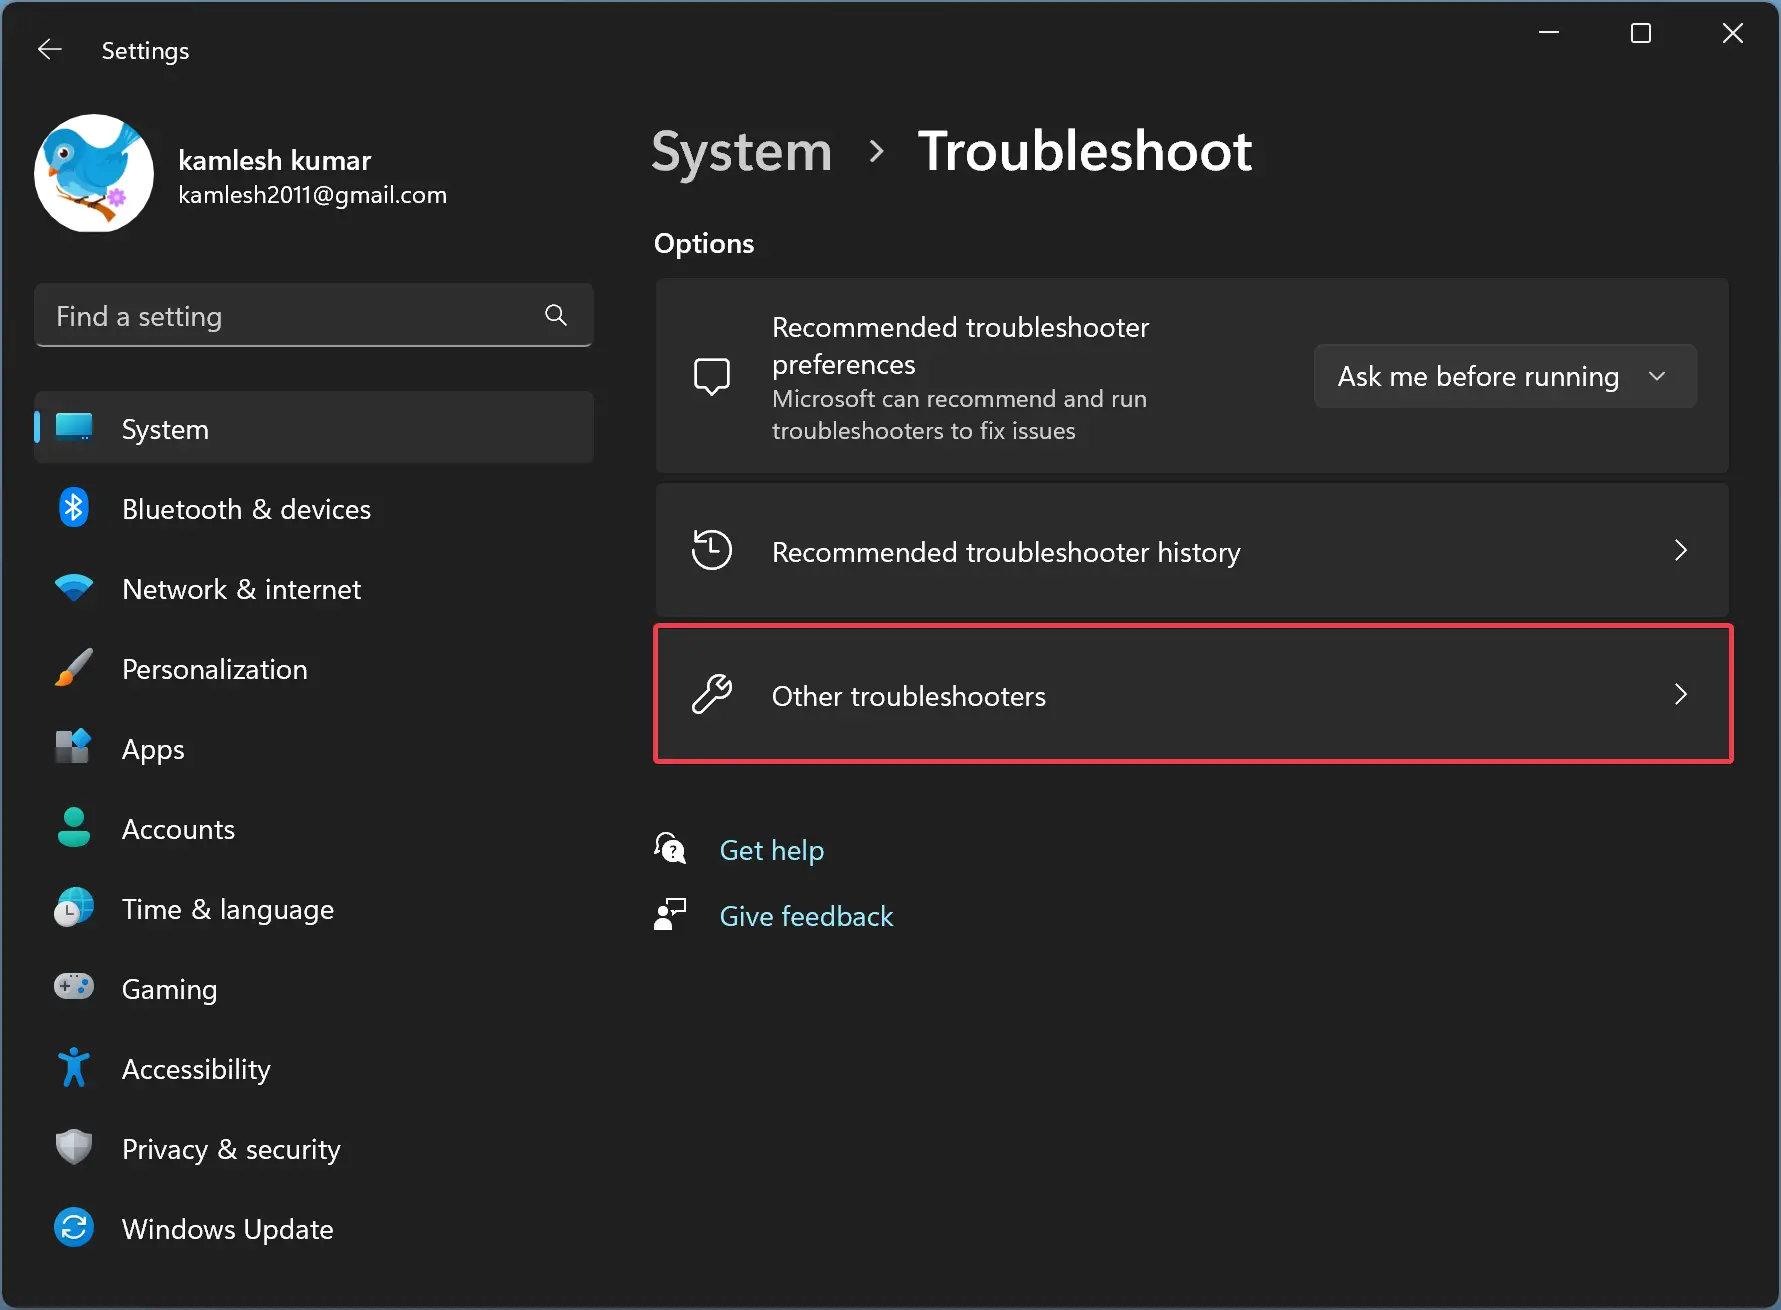
Step 4. Next, click the Other troubleshooters option.
Step 5. From this page, you can easily access and run the following Windows Troubleshooters:-
- Bluetooth
- Hardware
- HomeGroup
- Incoming Connections
- Internet Connections
- Keyboard
- Network Adapter
- Playing Audio
- Printer
- Power
- Program Compatibility
- Recording Audio
- Search and Indexing
- Shared Folders
- Speech
- Video Playback
- Windows Update
- Windows Store Apps
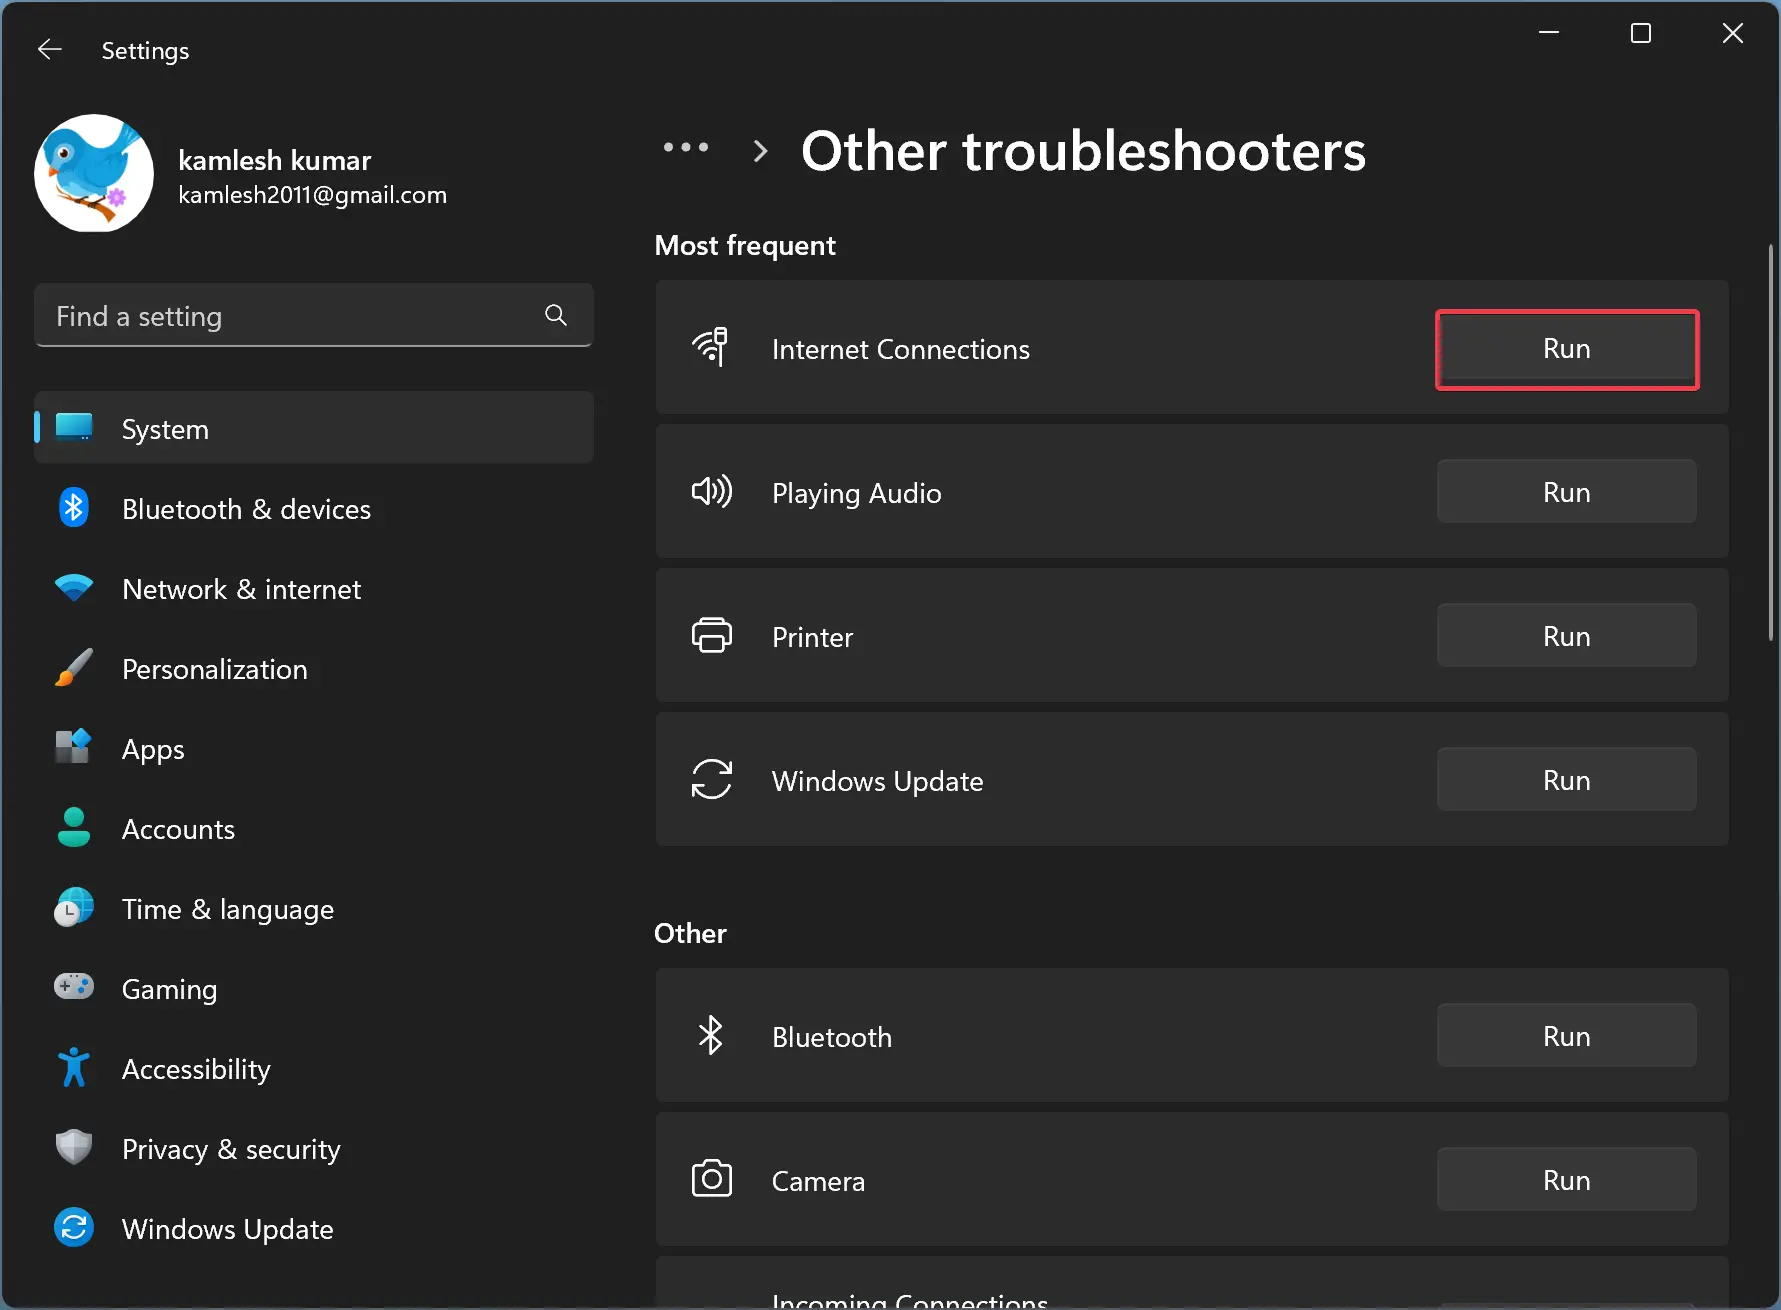
Step 6. Click the Run button beside the option that describes the problem.
Step 7. Then, continue with the on-screen advice (if applicable).
Once you complete the above steps, the fix will resolve the issue.
How to View Troubleshoot History on Windows 11?
To view the previous fixes with Troubleshoot that you had run, use these steps:-
Step 1. First, open the Settings app.
Step 2. Then, select System in the left sidebar of the Settings window.
Step 3. After that, click the Troubleshoot tile on the right side.
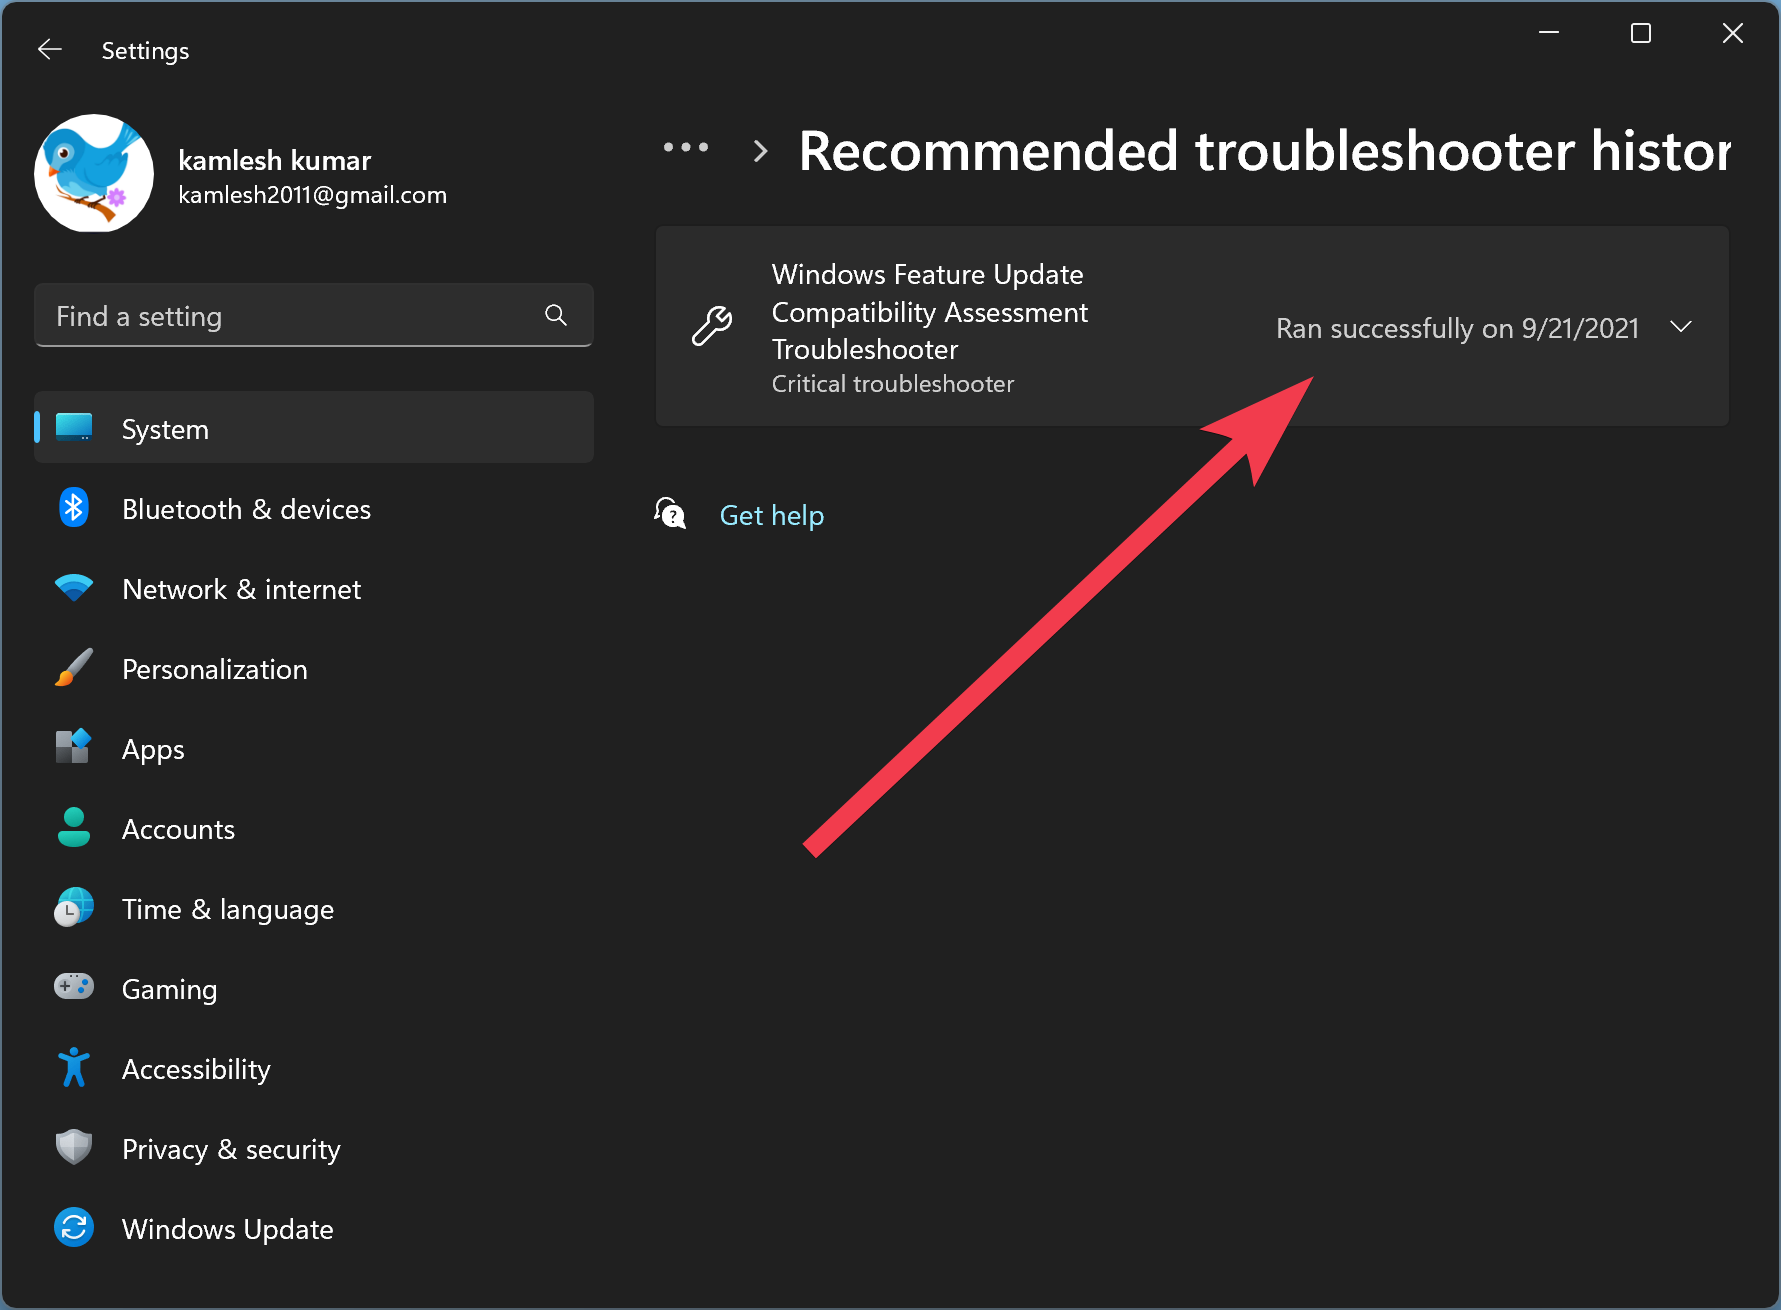
Step 4. Next, click the Recommended troubleshooter history option.
Once you complete the above steps, the fixes that Windows 11 tried to apply automatically will appear on the following page. However, those troubleshooters that you had run manually, such as internet connections, audio, printer, updates, and others, won’t appear on the history page.
How to Troubleshoot Windows 11 Computer Problems Using Control Panel?
If you prefer to use Control Panel, then use the following steps to troubleshoot Windows 11 problems:-
Step 1. First, open Control Panel.
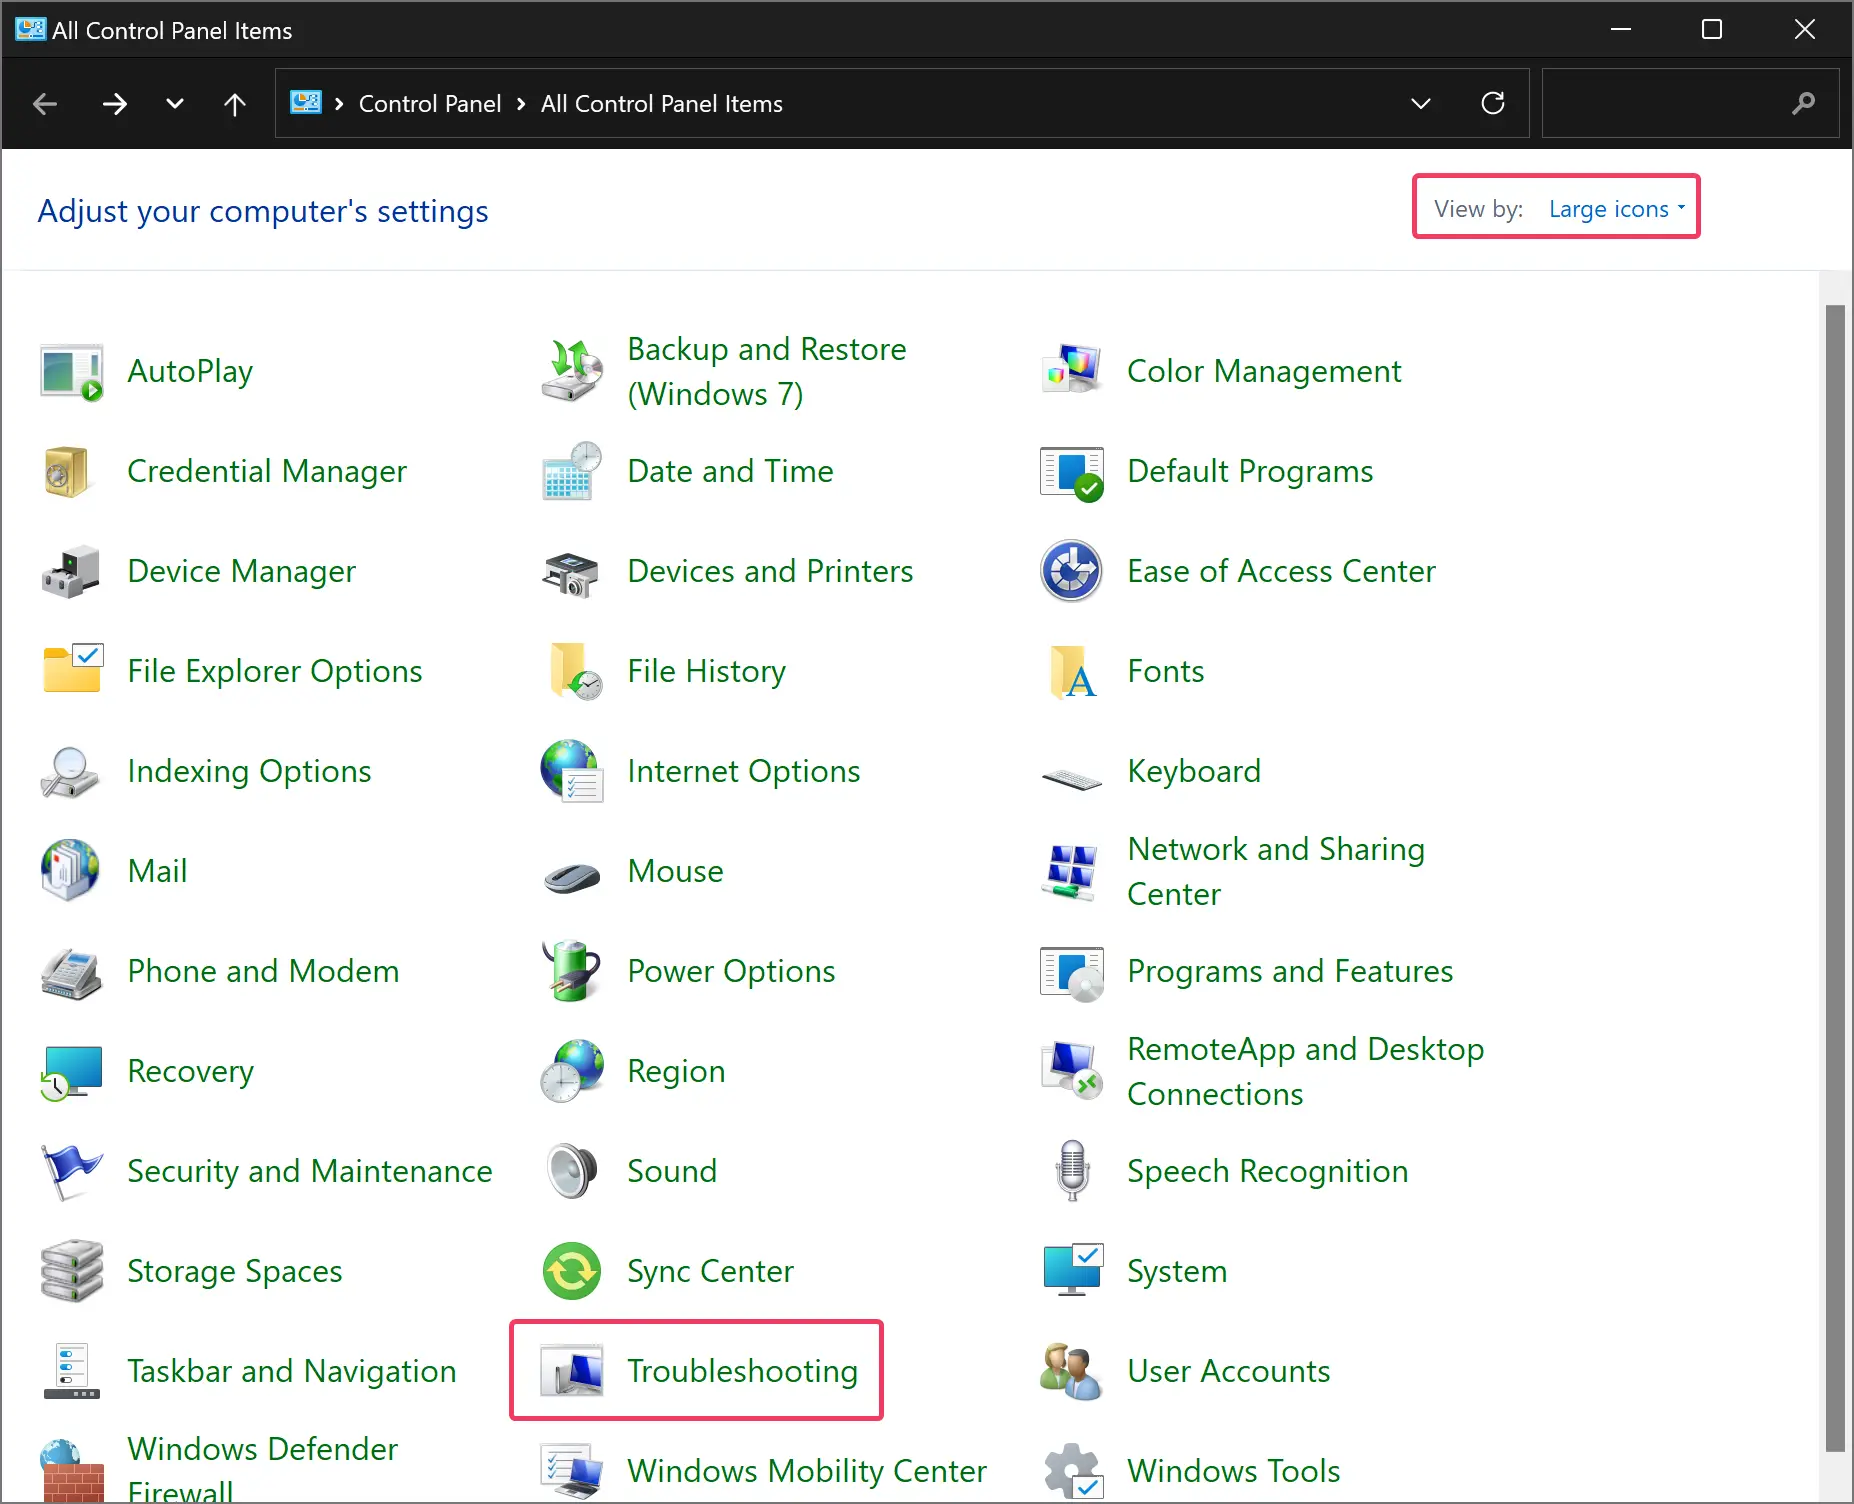
Step 2. In the Control Panel window, select “View by” to “Large icons” and then click Troubleshooting.
Step 3. After that, you can access the troubleshooting items on the right side pane by category. Here it is divided into four categories: “Program,” “Hardware and Sound,” “Network and Internet,” and “System and Security.”
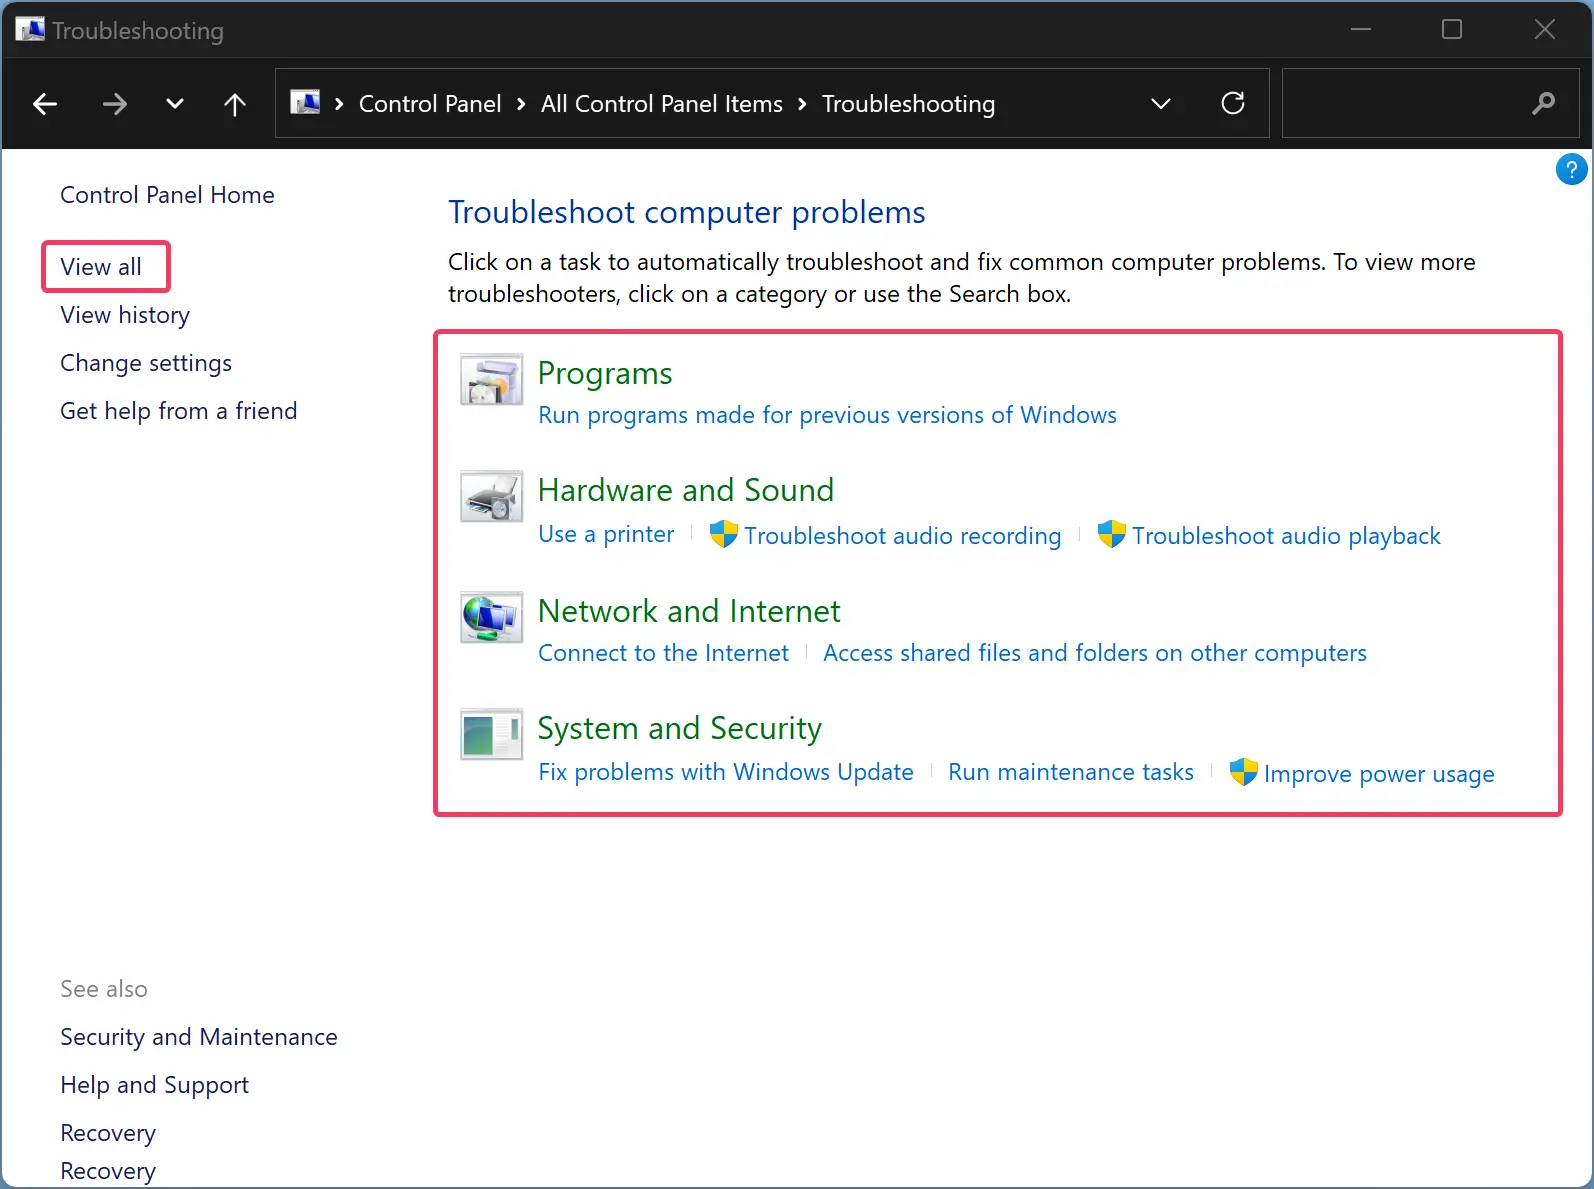
Step 4. If you want to see all the troubleshooting options in a single window, click the View all option in the left sidebar. Here you can use the following troubleshooter:-
- Background Intelligence Transfer Service.
- Bluetooth.
- Incoming Connections.
- Internet Connections.
- Internet Explorer Performance.
- Internet Explorer Safety.
- Keyboard.
- Network Adapter.
- Playing Audio.
- Power.
- Printer.
- Program Compatibility Troubleshooter.
- Recording Audio.
- Search and Indexing.
- Shared Folders.
- Speech.
- System Maintenance.
- Video Playback.
- Windows Store Apps.
- Windows Update.
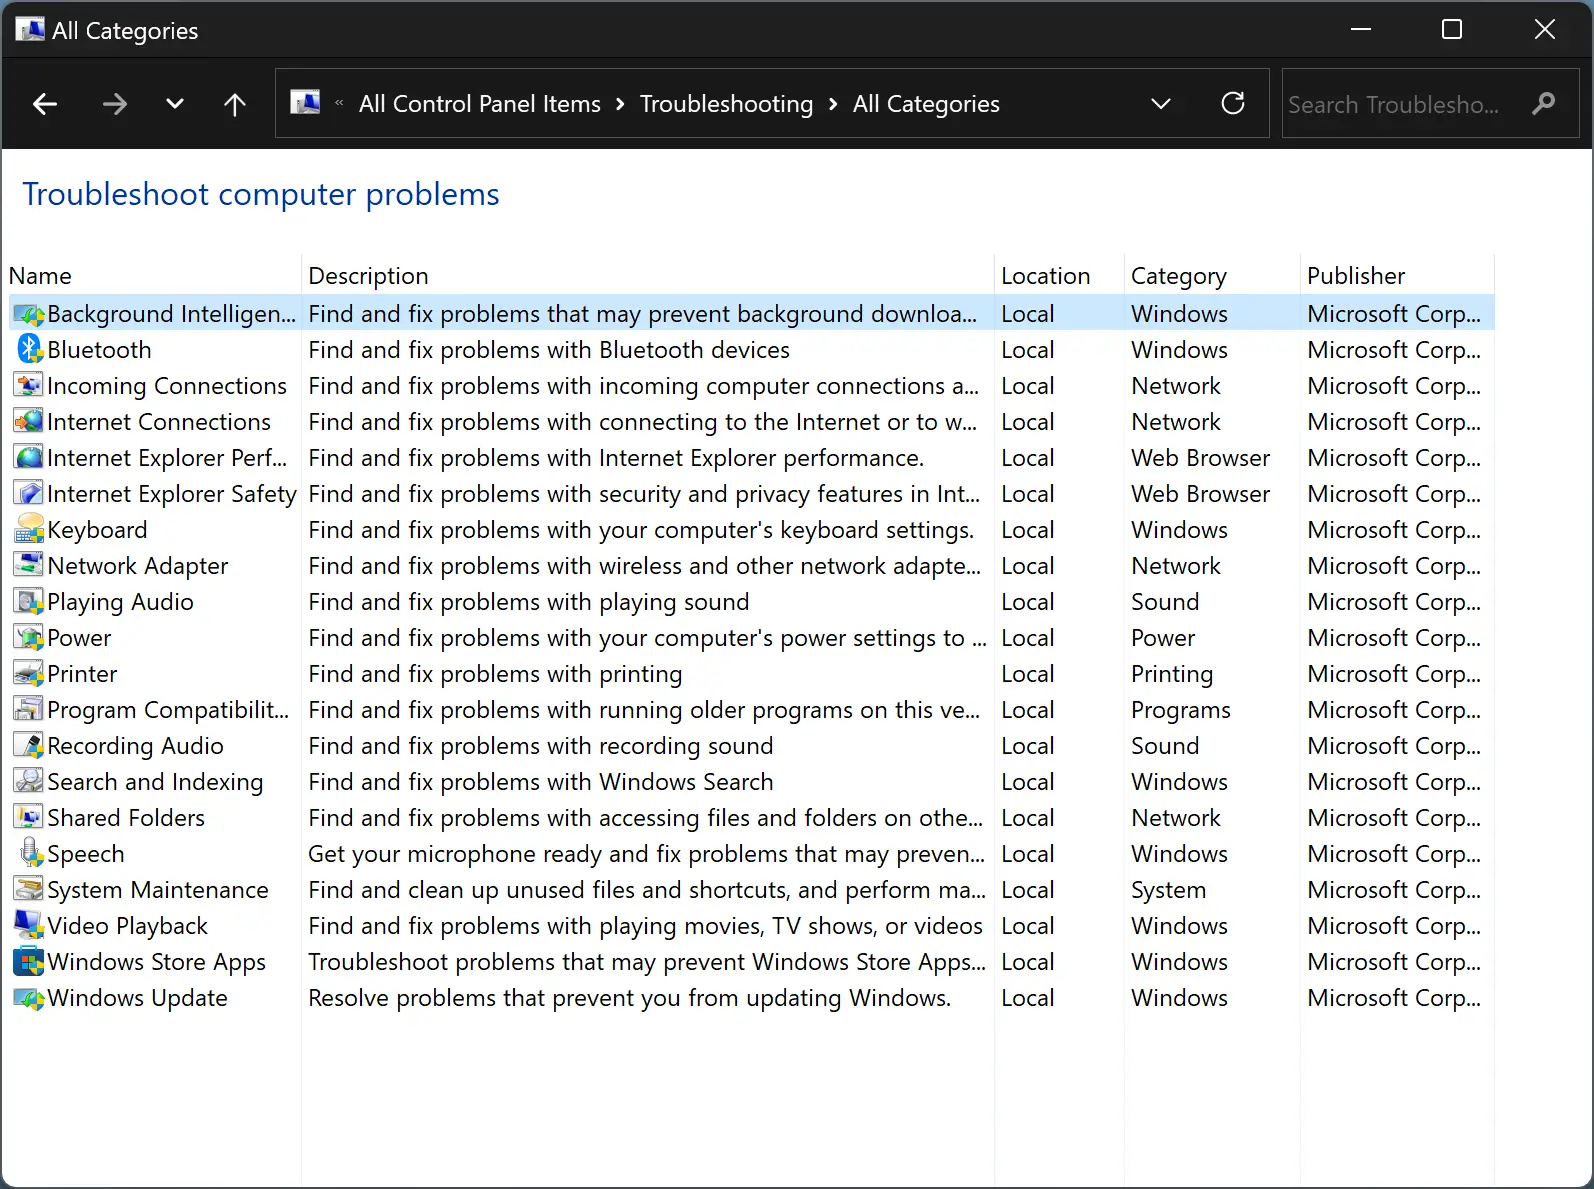
Clicking any, you can open the respective troubleshooting window. If required, follow on-screen instructions.
![]()
How to Run Specific Troubleshoot on Windows 11 through Run Command Box, Command Prompt, or PowerShell?
You can also run a specific troubleshooter on your Windows 11 PC through Run Command Box, Command Prompt, or PowerShell. Here is the list of known troubleshooters and their commands:-
- Connection to a Workplace Using DirectAccess: msdt.exe -id NetworkDiagnosticsDA
- Devices and Printers: msdt.exe -id DeviceCenterDiagnostic
- Hardware and Devices: msdt.exe -id DeviceDiagnostic
- Incoming Connections: msdt.exe -id NetworkDiagnosticsInbound
- Internet Connections: msdt.exe -id NetworkDiagnosticsWeb
- Internet Explorer Performance: msdt.exe -id IEBrowseWebDiagnostic
- Internet Explorer Safety: msdt.exe -id IESecurityDiagnostic
- Network Adapter: msdt.exe -id NetworkDiagnosticsNetworkAdapter
- Playing Audio: msdt.exe -id AudioPlaybackDiagnostic
- Power: msdt.exe -id PowerDiagnostic
- Printer: msdt.exe -id PrinterDiagnostic
- Program Compatibility Troubleshooter: msdt.exe -id PCWDiagnostic
- Recording Audio: msdt.exe -id AudioRecordingDiagnostic
- Search and Indexing: msdt.exe -id SearchDiagnostic
- Shared Folders: msdt.exe -id NetworkDiagnosticsFileShare
- System Maintenance: msdt.exe -id MaintenanceDiagnostic
- Windows Media Player DVD: msdt.exe -id WindowsMediaPlayerDVDDiagnostic
- Windows Media Player Library: msdt.exe -id WindowsMediaPlayerLibraryDiagnostic
- Windows Media Player Settings: msdt.exe -id WindowsMediaPlayerConfigurationDiagnostic
- Windows Update: msdt.exe -id WindowsUpdateDiagnostic
Conclusion
In conclusion, Windows 11 Troubleshoot is a built-in feature that can automatically diagnose and fix common issues that may arise on a computer. Troubleshoot offers one-click solutions to problems related to various components like internet connectivity, printer, camera, Bluetooth, network adapters, and others. Users can access Troubleshoot via the Settings app and Control Panel. They can also view troubleshooting history and run specific troubleshooters via Run Command Box, Command Prompt, or PowerShell. By following the steps mentioned in this article, users can manage and change troubleshoot settings, run troubleshooters manually, and troubleshoot various problems on their Windows 11 PC.