Although Microsoft has moved several “Control Panel” items to the Settings app on Windows 11 and Windows 10 operating systems, it still offers a lot of customization. Due to some reasons, if you want to hide specific or all items of the Control Panel, it is possible on Windows 11, 10, 8, and 7 using Group Policy and Registry Editor. If you are using a shared computer or handing over your PC to your guest, you might want to hide control panel items so that no one can mess around with them. It may also happen you have configured a computer for business purposes that remains available for guests and customers, so that you want to lock down a bit.
You can completely lock down your PC or can hide a few settings from the Control Panel. Local Group Policy Editor may be your first choice if you have a Pro or Enterprise edition of Windows. However, if you prefer to use Registry Editor, this method will work on all editions of Windows.
How to Hide Control Panel Items with Local Group Policy Editor?
To hide Control Panel Items with Local Group Policy Editor, use these steps:-
Step 1. Open Local Group Policy Editor.
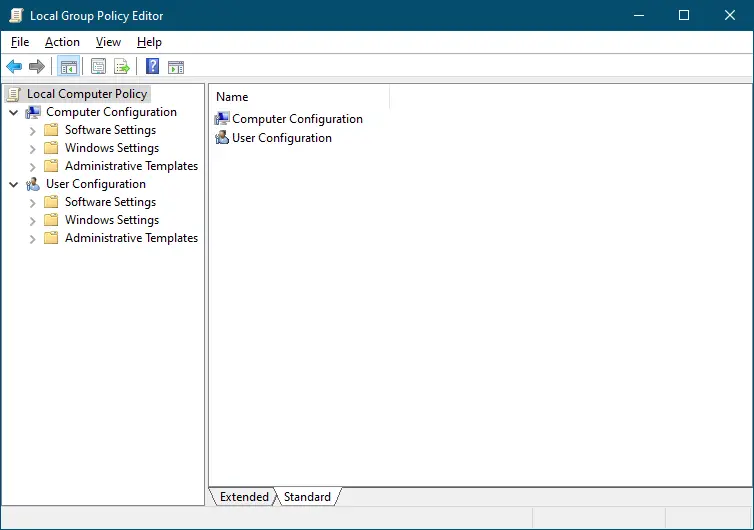
Step 2. Navigate to the following path in the Local Group Policy Editor window:-
User Configuration > Administrative Templates > Control Panel
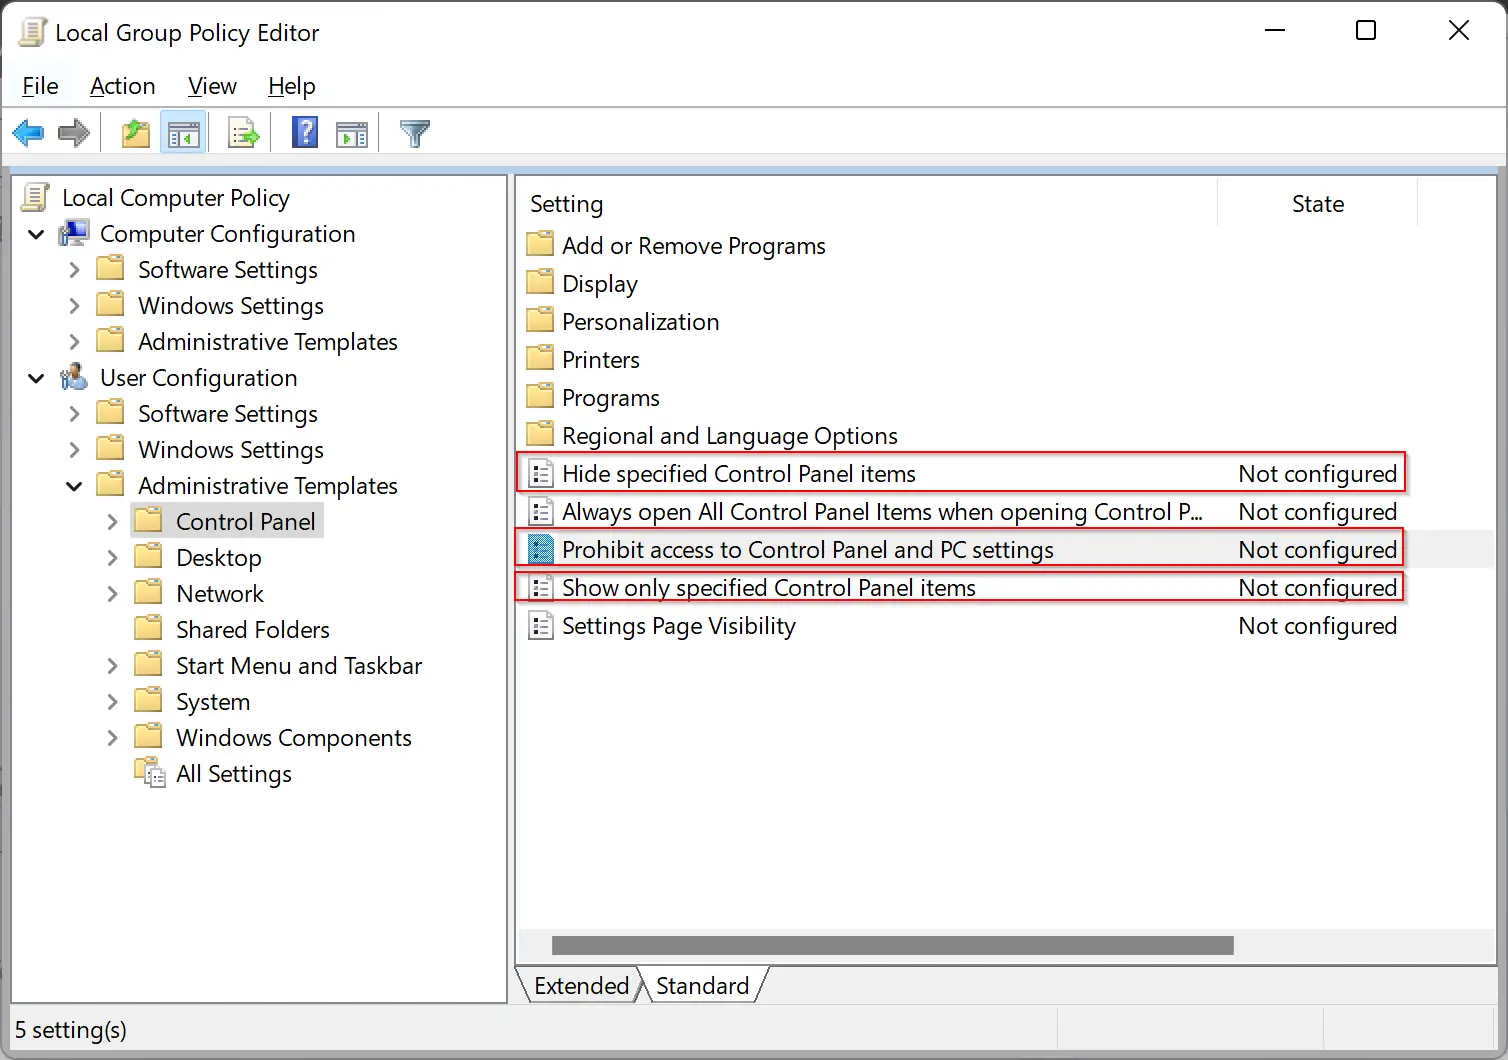
On the right side of the Control Panel, three settings are available that will serve your purpose. Let me see in detail one by one.
- Hide specified Control Panel item – This policy is useful when hiding specific items from the Control Panel.
- Prohibit access to Control Panel and PC settings – This policy is available only on Windows 11 and Windows 10. If you enable this policy, access to the Control Panel and Settings app will be prohibited.
- Show only specified Control Panel items – If you want to hide all items except for the selected ones that you specify, this policy is useful.
Step 3. Depending on the requirements, you can configure any one of the above-mentioned policies. For example, we will configure here the third policy, “Show only specified Control Panel items.” Double-click on this policy to open its Properties dialog.
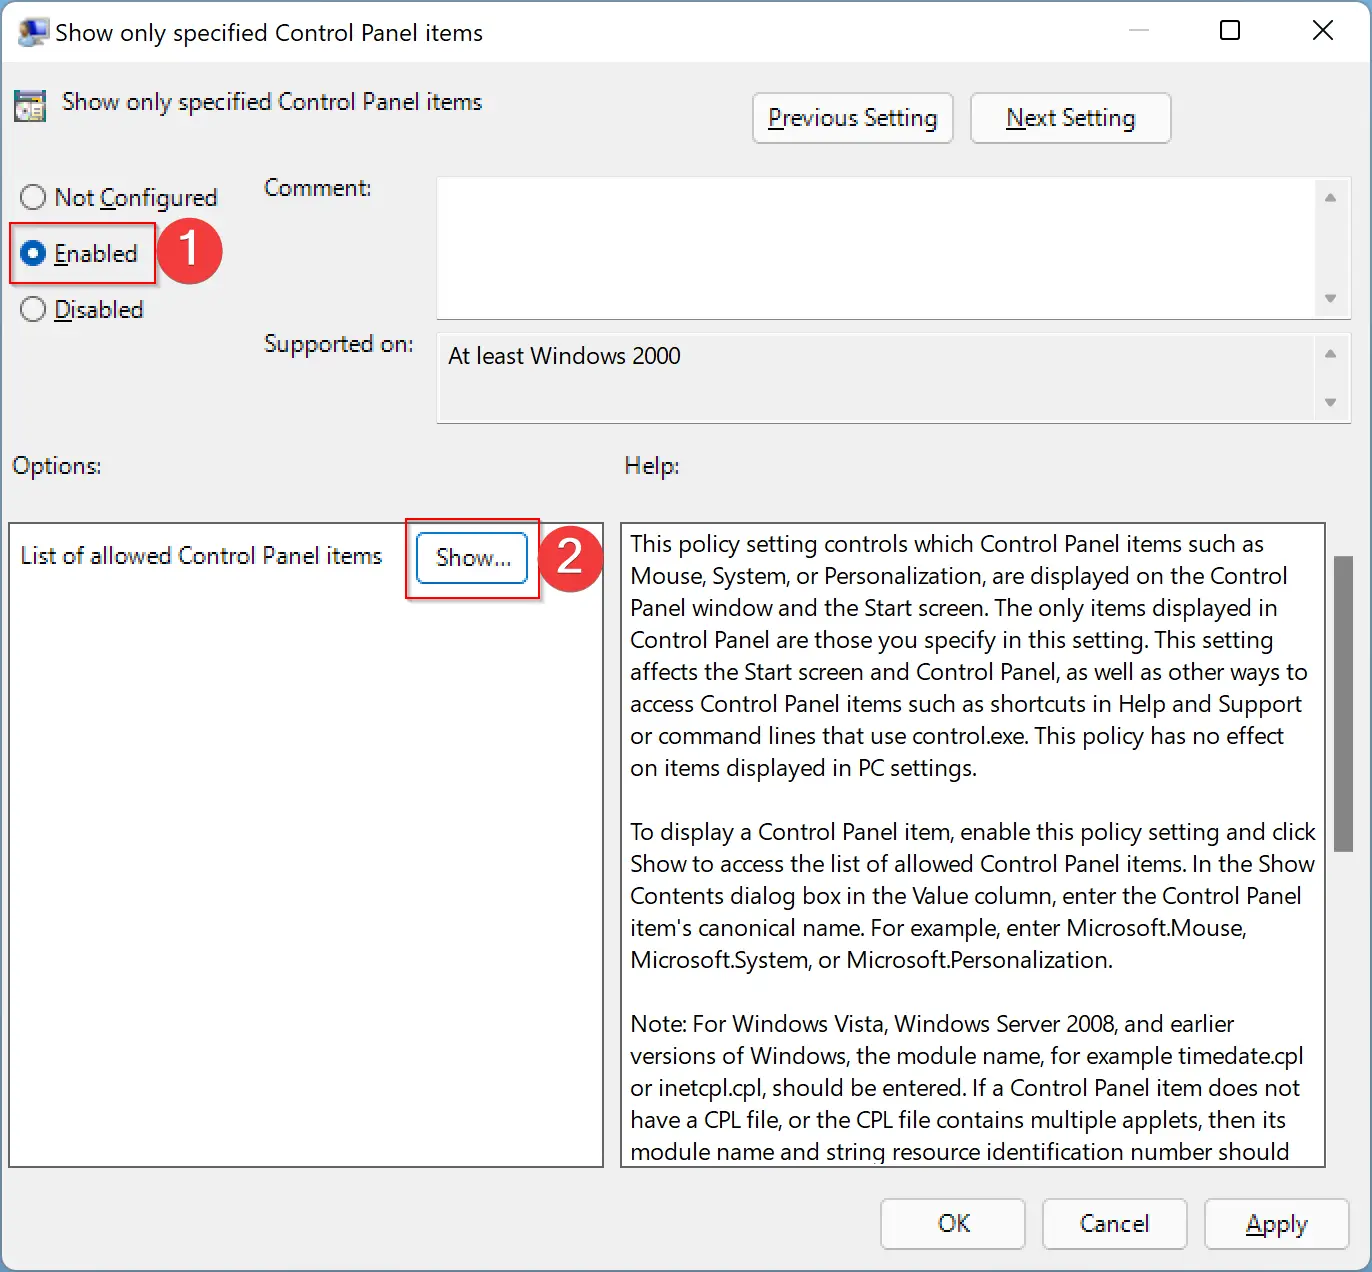
Step 4. Select the Enabled option.
Step 5. Click on the Show button under the Options section.
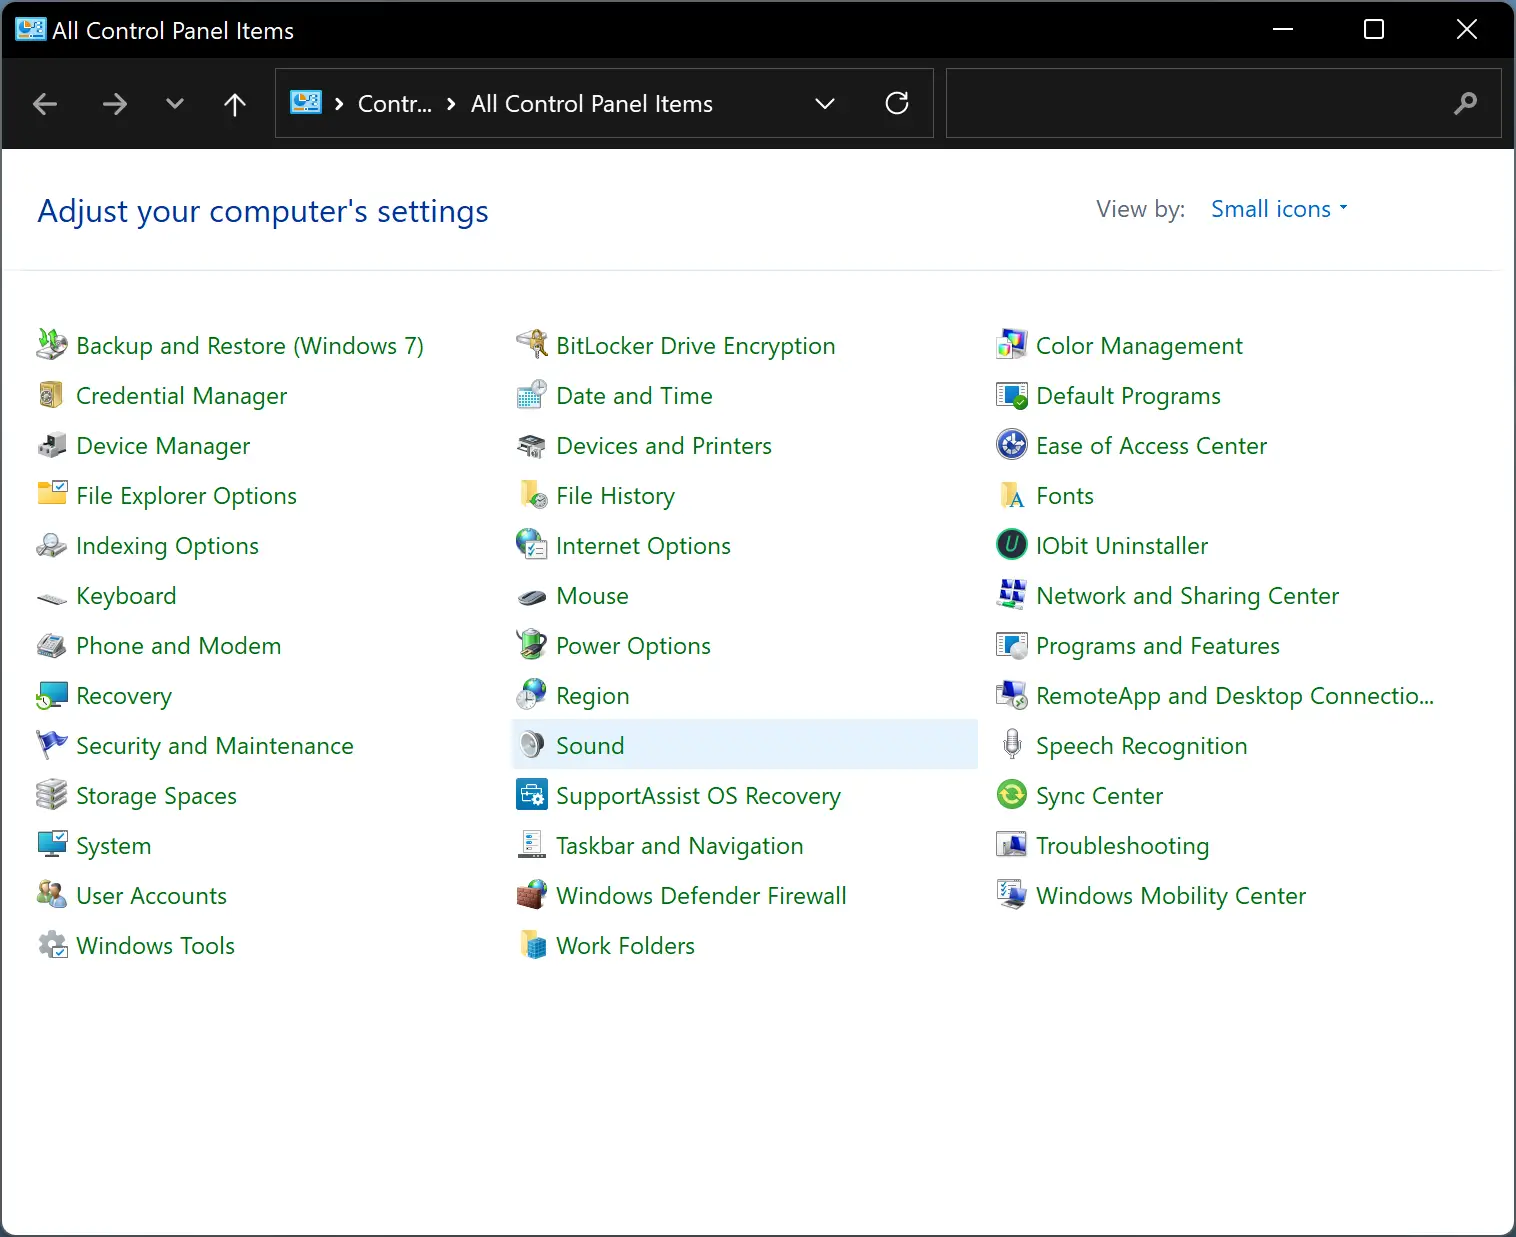
Step 6. In the pop-up window, type the name of the Control Panel item that you want to allow. Here, you need to enter the full name of the control panel item. To find the name of the item, open the Control Panel and switch to “View by” to “Large icons” or “Small icons.”
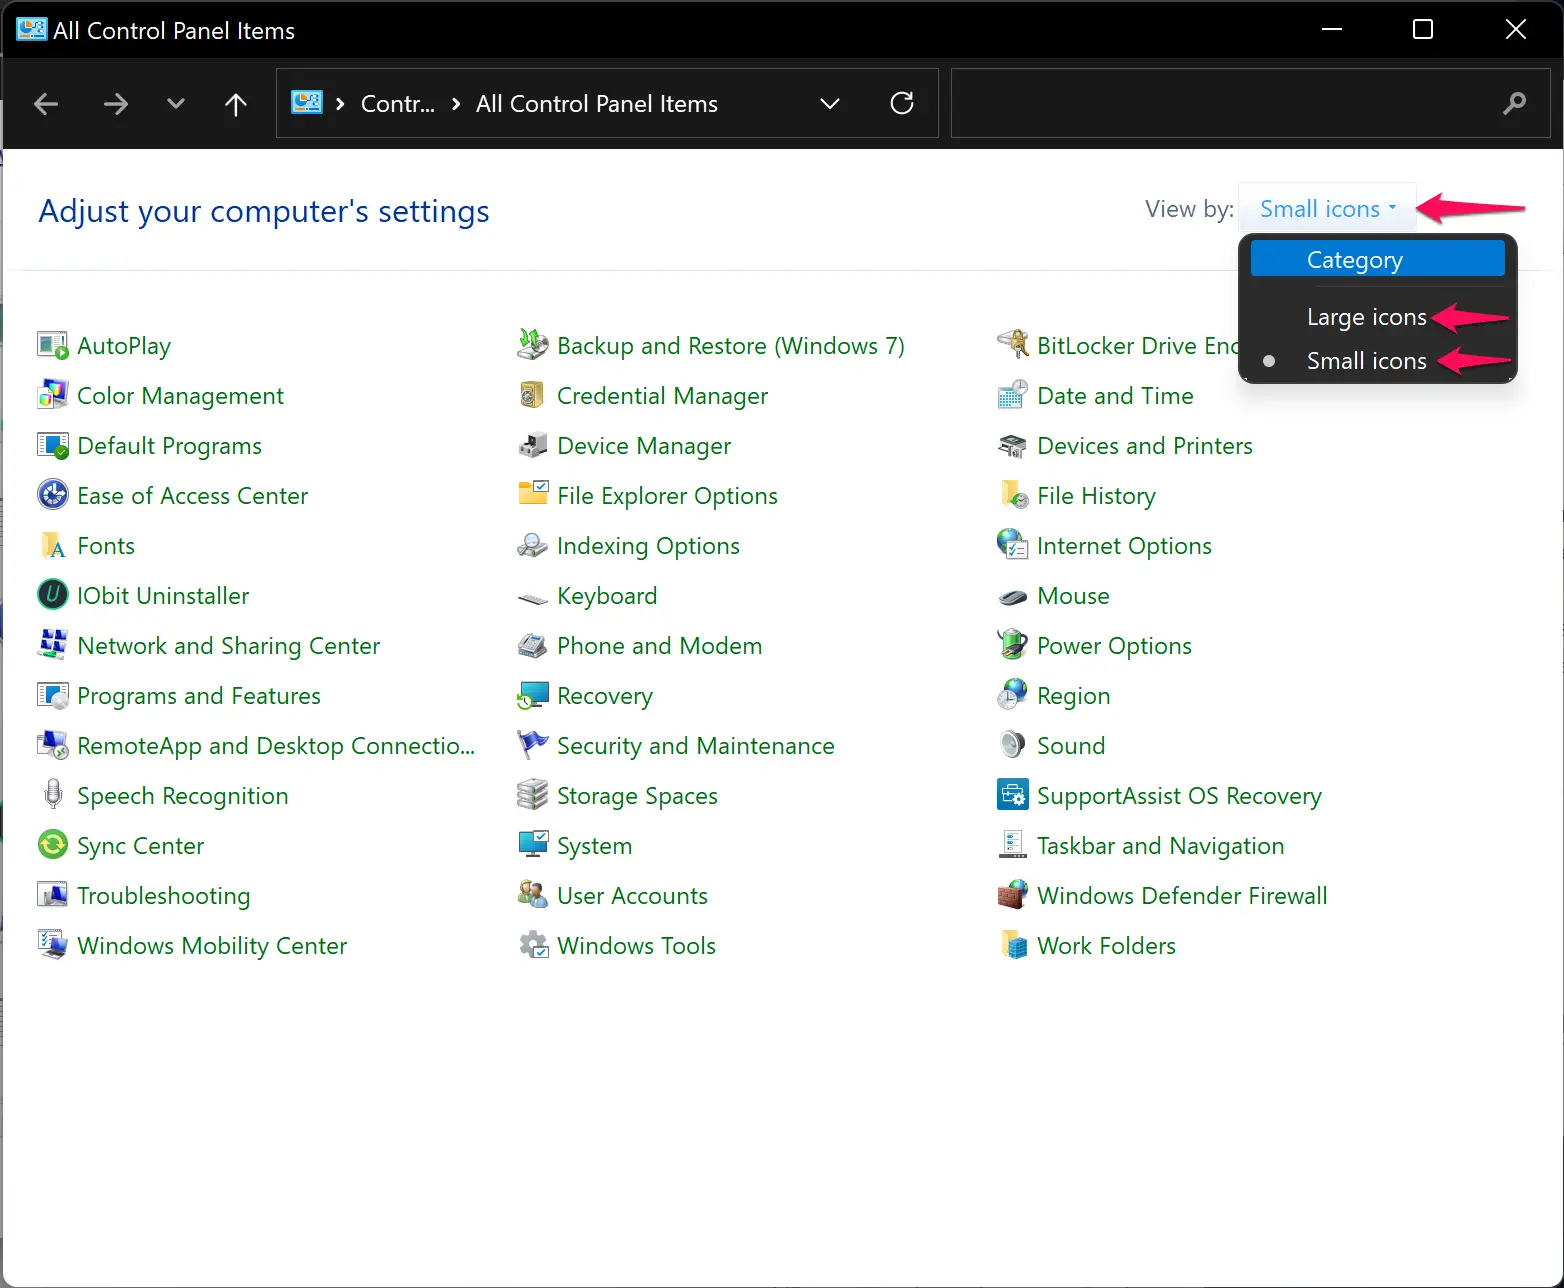
Suppose you want to only AutoPlay in the control panel—type AutoPlay in the pop-up window. Similarly, you can add more items in a separate line.
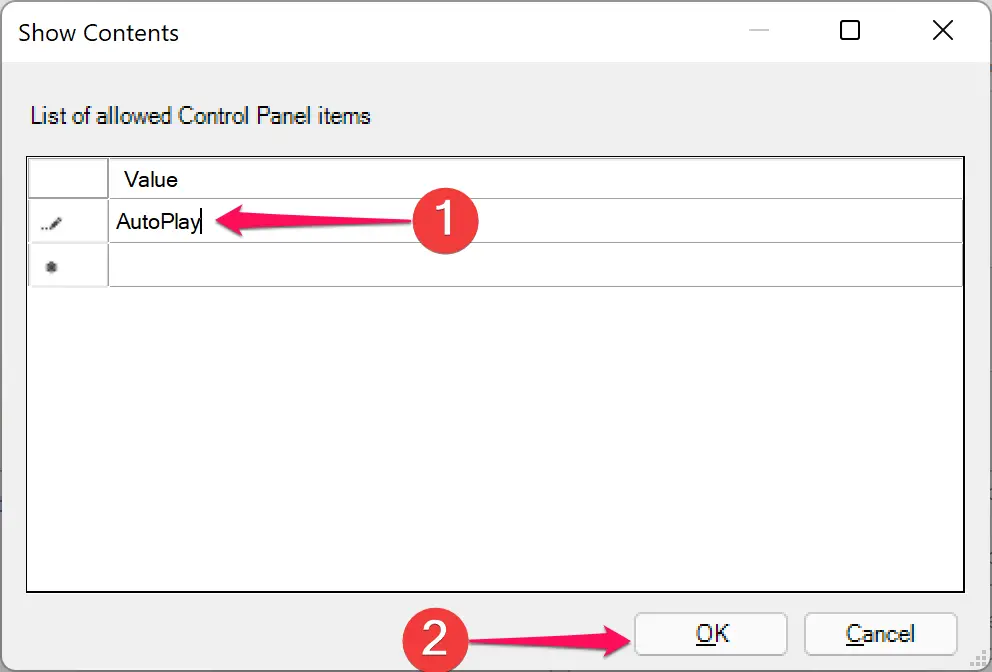
Step 7. Once the list is completed, click the OK button.
Step 8. Click Apply.
Step 9. Click OK.
Step 10. Reboot your computer.
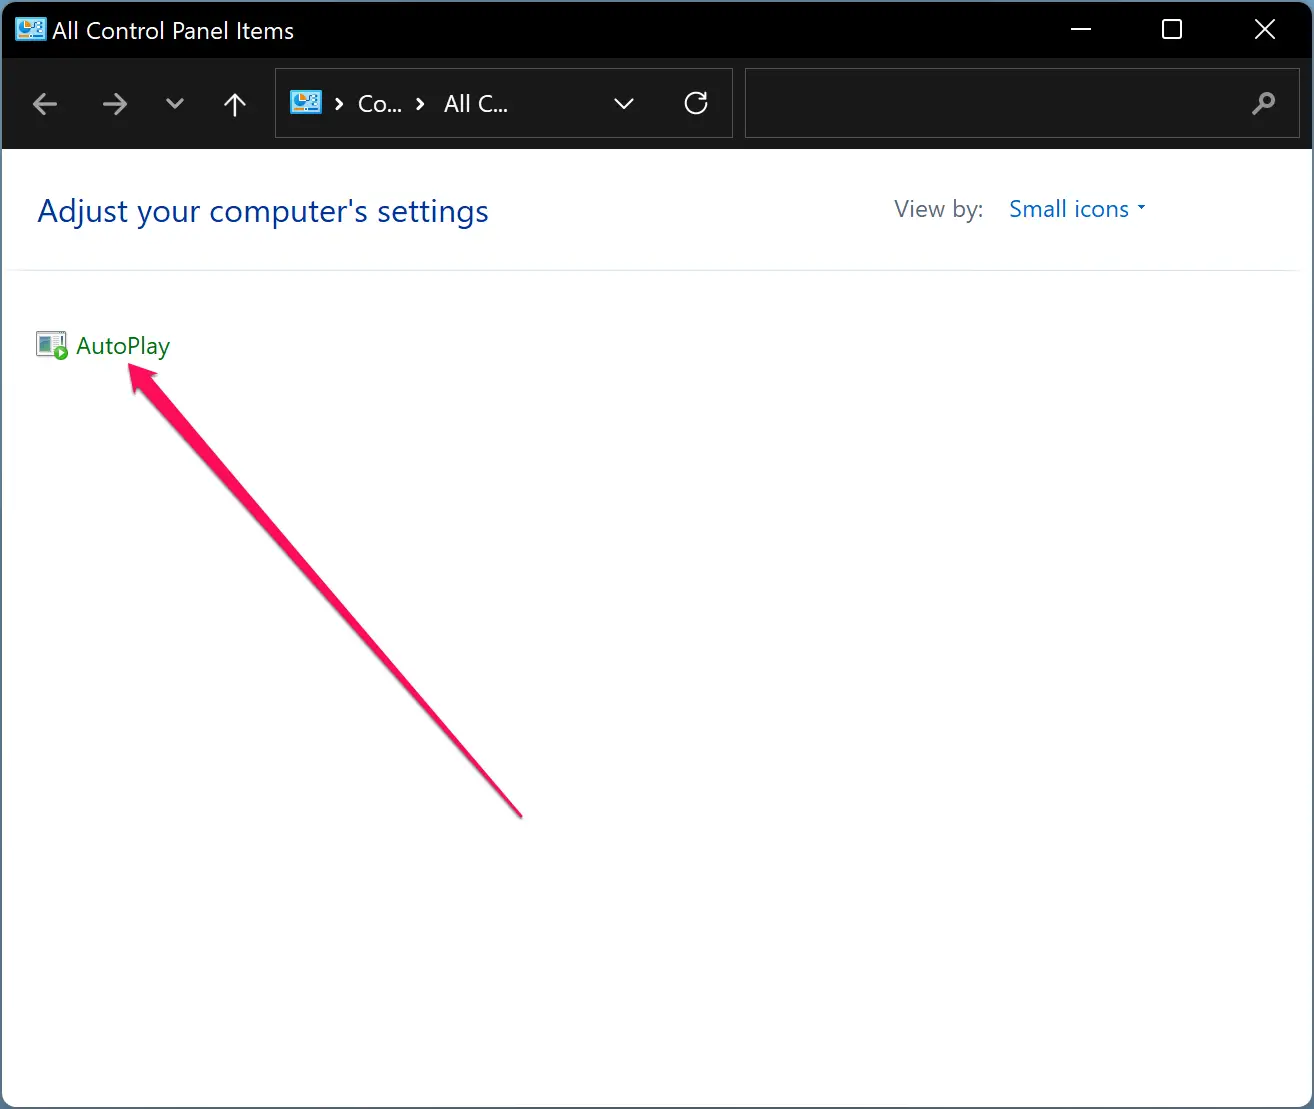
Open Control Panel and see. Depending on the configuration you have done, control panel items will be visible or hidden.
If you want to restore the default settings of the control panel, repeat the above steps, and in step 3 above, select the Not Configured option.
How to Hide Control Panel Items Using Registry Editor?
Step 1. Open the Registry Editor.
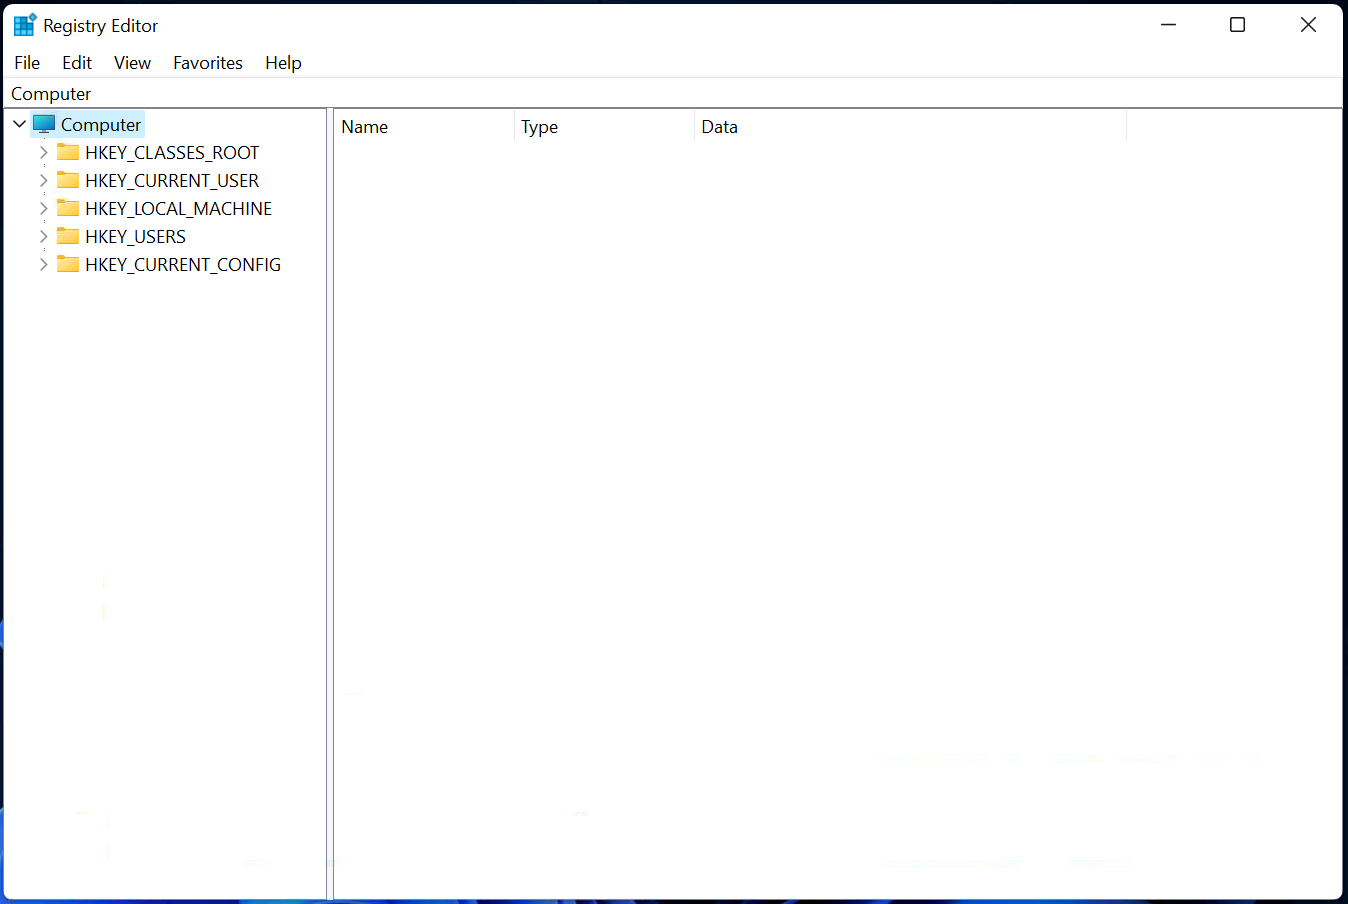
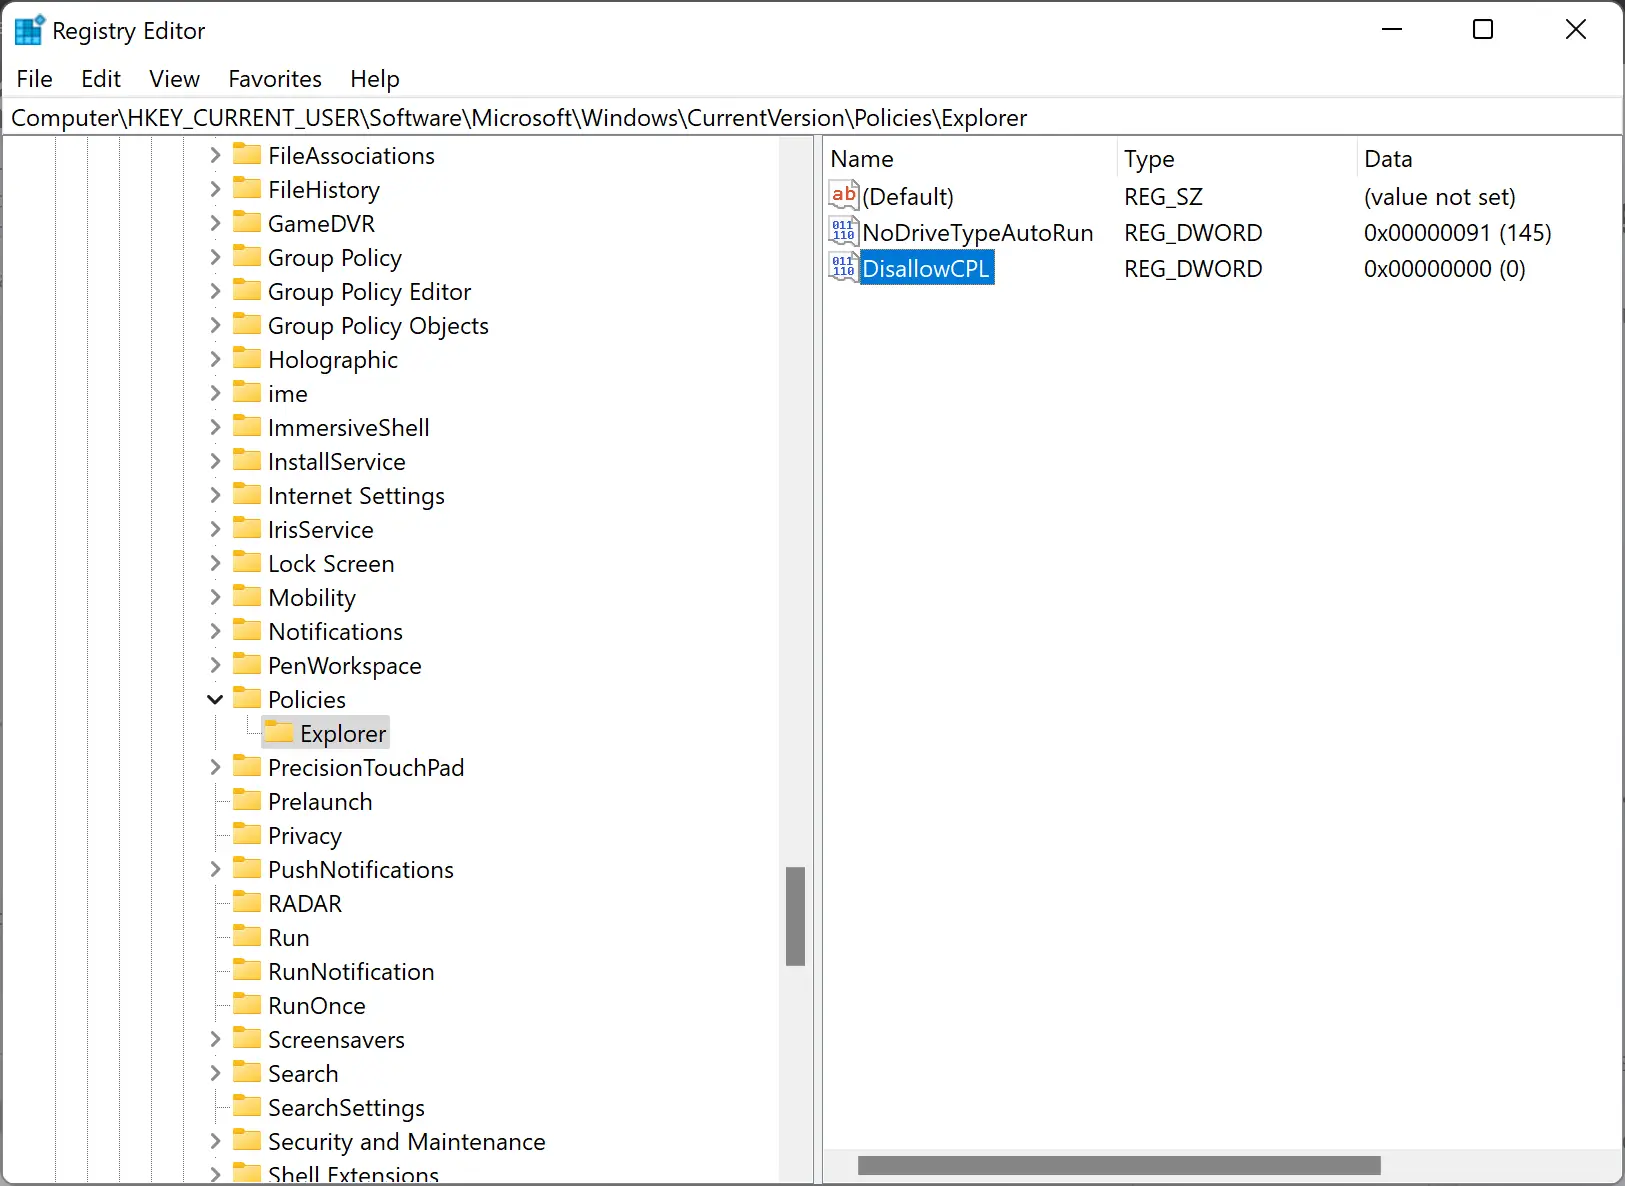
Step 2. Navigate to the following key in the Registry Editor from the left sidebar:-
HKEY_CURRENT_USER\SOFTWARE\Microsoft\Windows\CurrentVersion\Policies
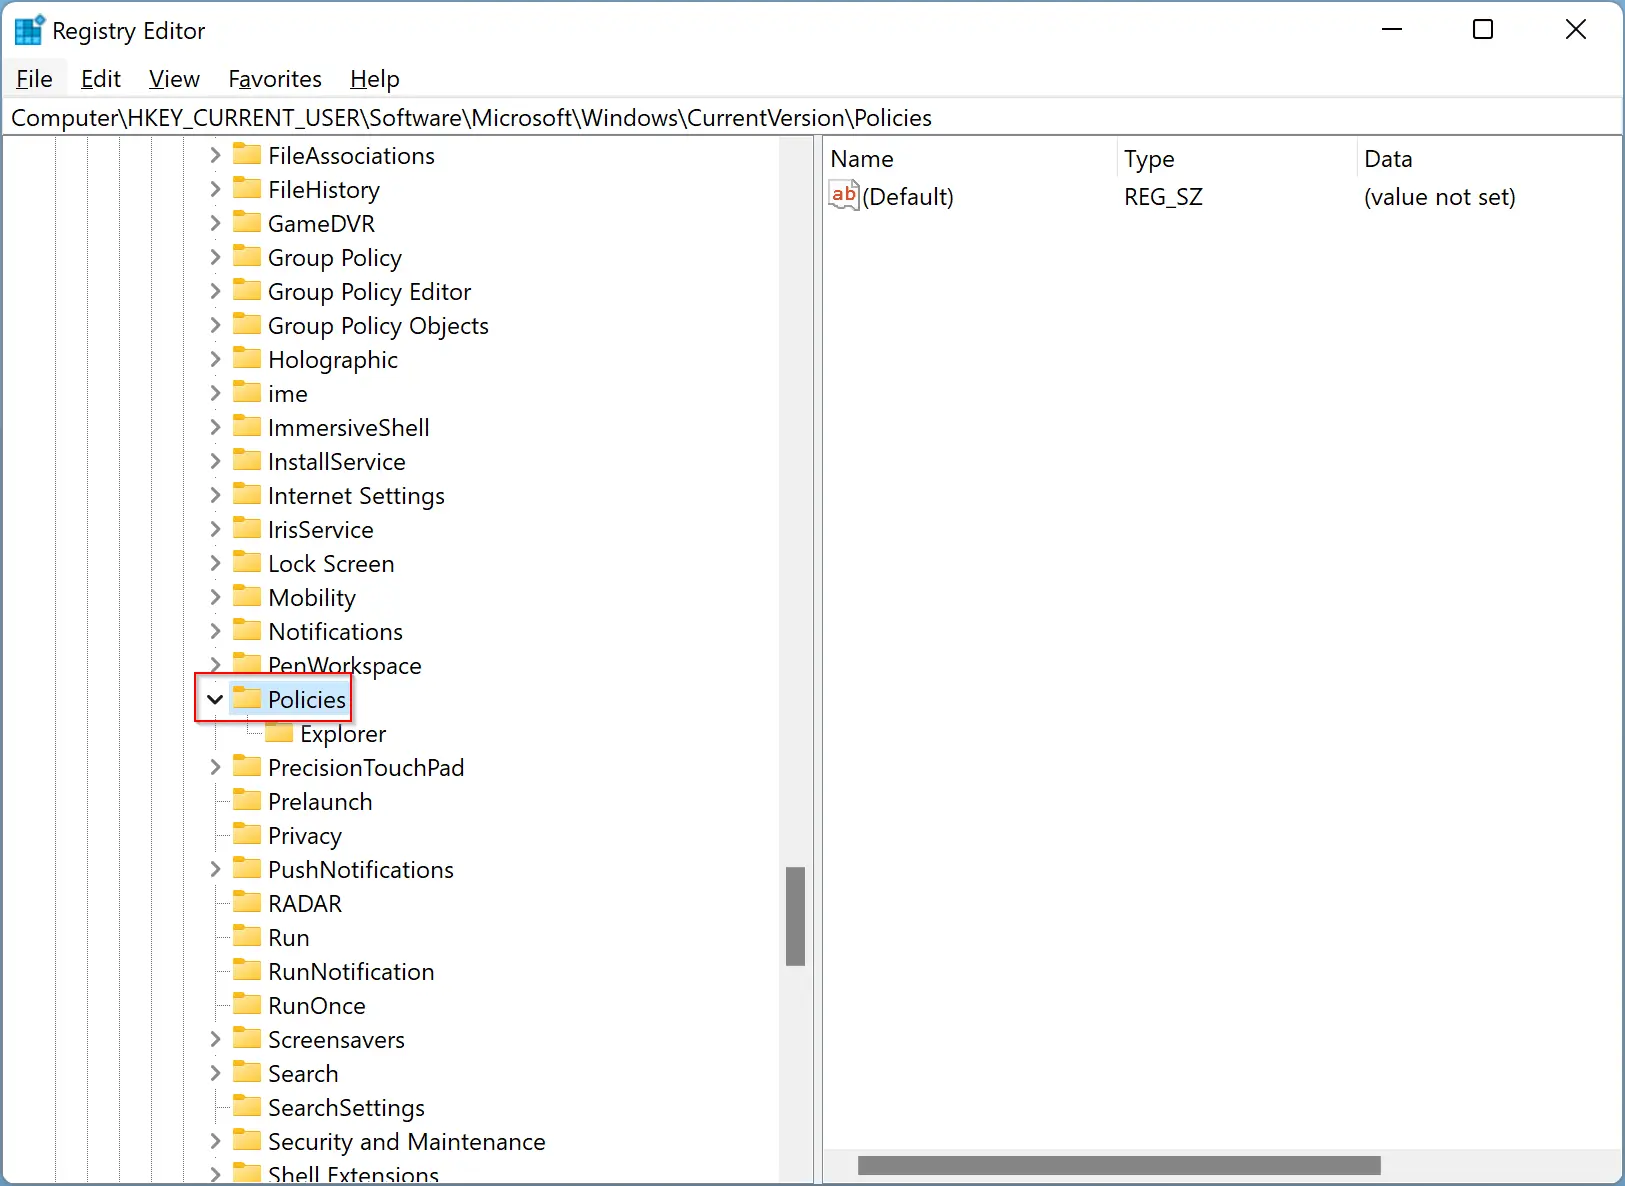
Step 3. Here, ensure that the Explorer sub-key exists under the Policies key. If it exists, as in the above screenshot, then you can go ahead. Otherwise, right-click on the Policies key and select the New > Key option. Name the newly created key Explorer. Since the Explorer key exists on my PC, we are proceeding with the further steps.
Step 4. Now you have two options that you can consider. Either hide specific items from the Control Panel by creating a disallow list or hide all items except the ones you specify by creating a restricted list.
Once you decide what you want, right-click on the Explorer key and choose New > DWORD (32-bit) Value. To hide specific items by creating a disallow list, name the new DWORD as DisallowCPL. If you have decided to hide all items except those you specify by creating a restrict list, name the new value RestrictCPL instead.

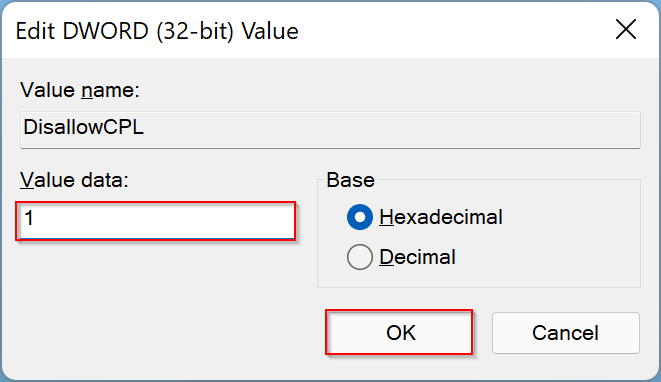
Step 5. Now, double-click the newly created DWORD value on the right-side pane to open its properties. Change the value from 0 to 1 in the Value data box and then click OK.
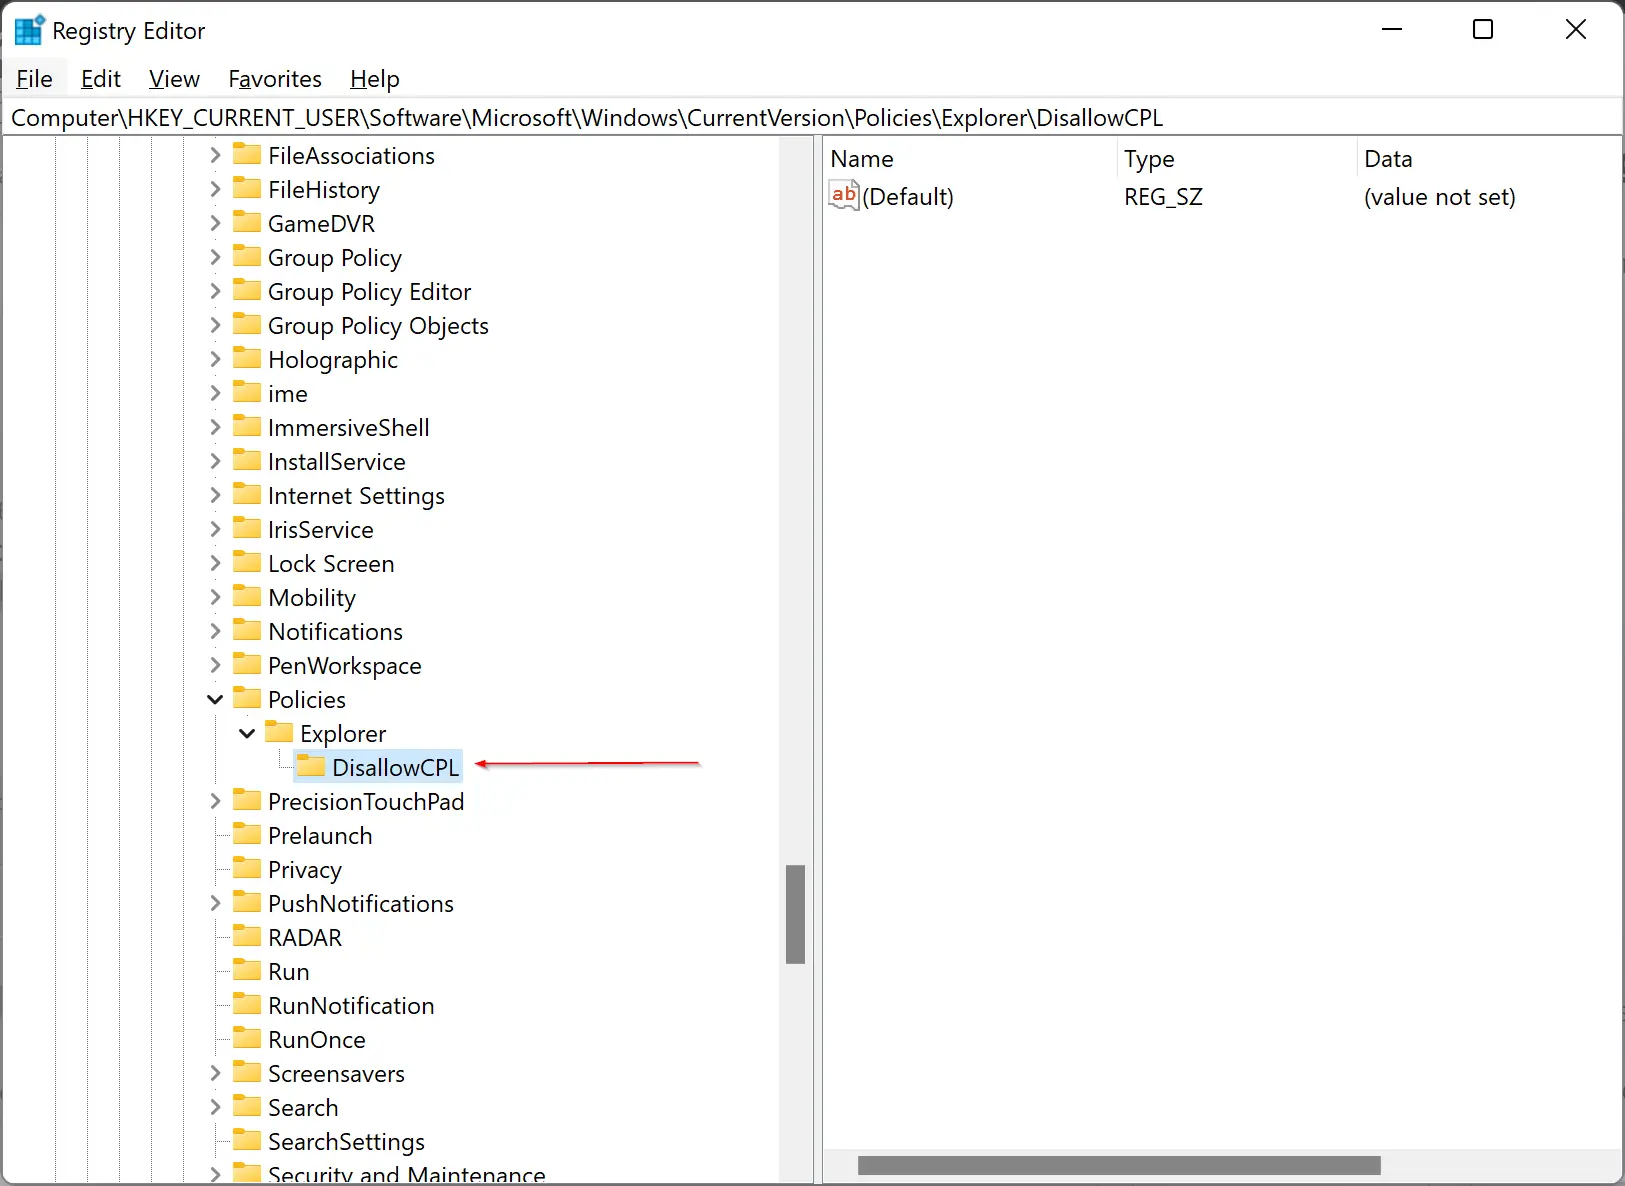
Step 6. Now, this setting is active on your PC. Next, you need to create a list of items. For that, right-click on the Explorer key again and choose New > Key. Ensure if you’re disallowing items, name the new key as DisallowCPL, and if you’re restricting items, name the new key as RestrictCPL.
Step 7. Finally, you need to add the list of items by creating a new string value for each one. For instance, we will disallow the AutoPlay Control Panel item by adding a string value to our new DisallowCPL key. Those who are restricting items can add them to the RestrictCPL key that you created before. To do that, right-click the DisallowCPL key and choose New > String Value. Name the new string value with the full name as you see in Control Panel.
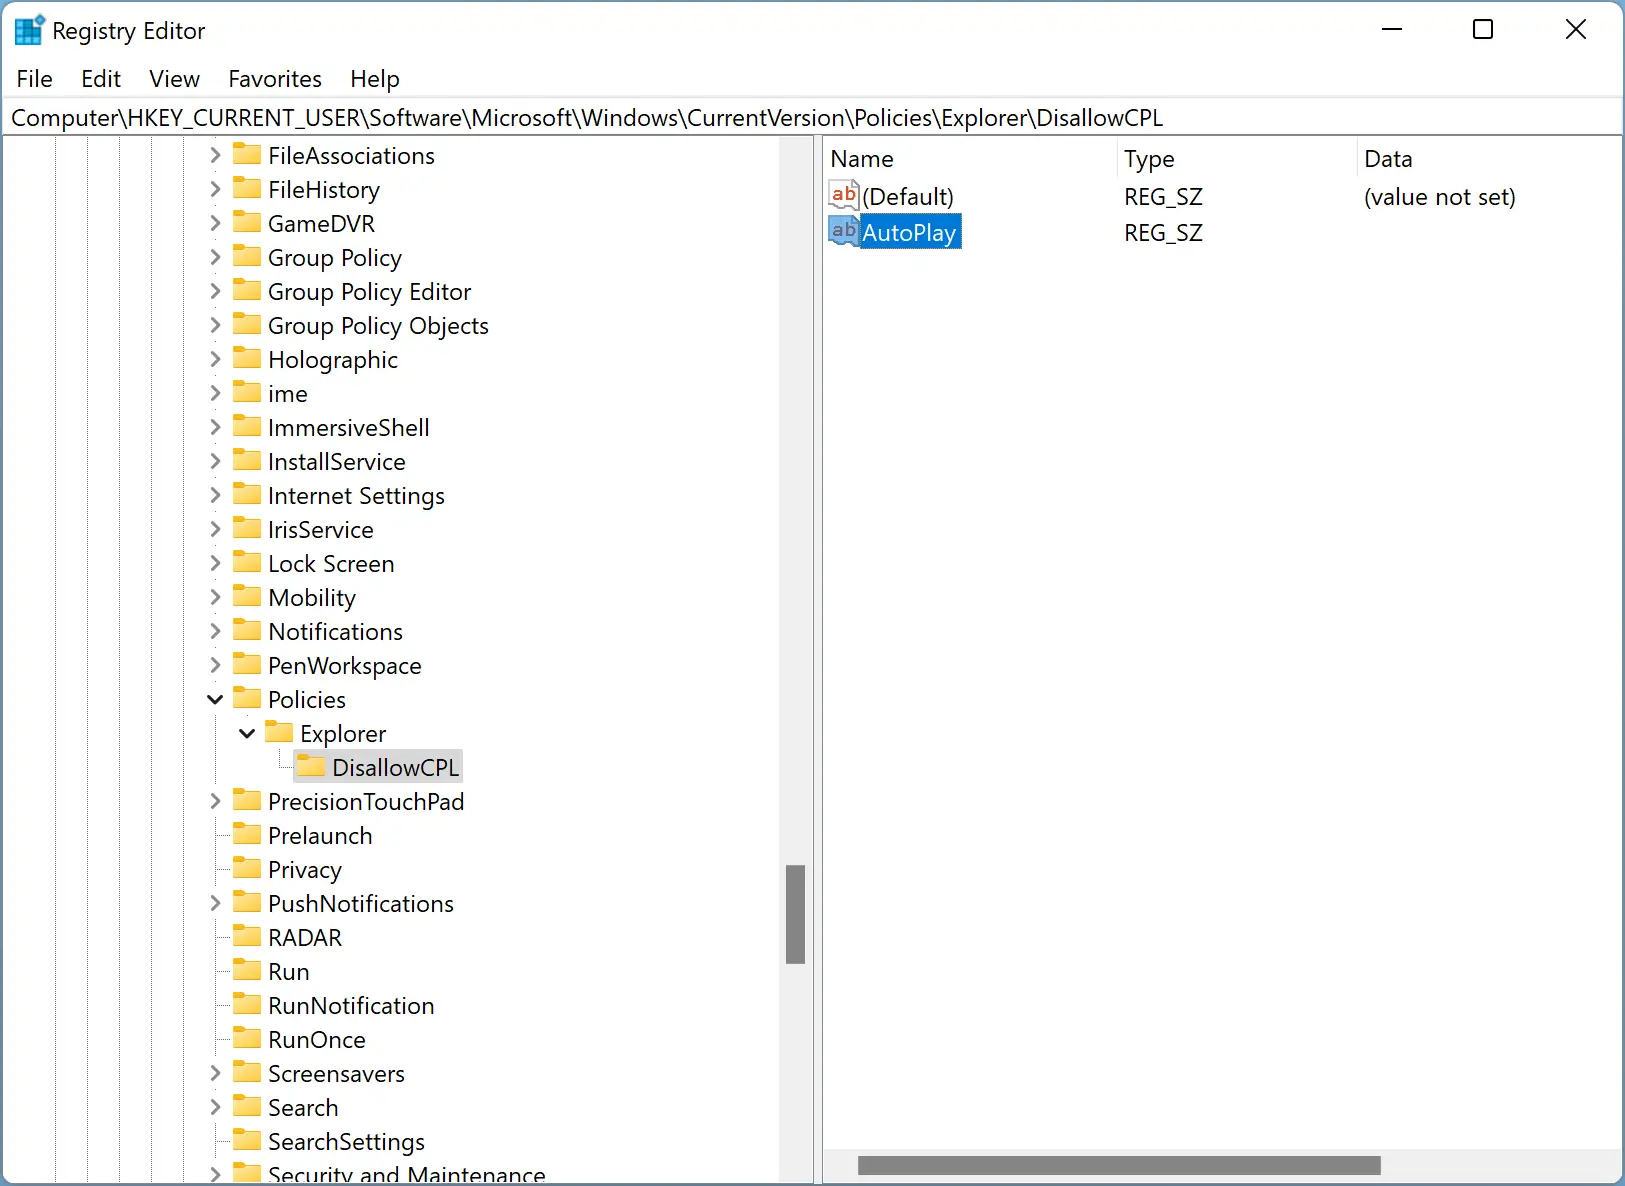
Step 8. Now, double-click the String that you created, and in the Value data box, type the same name as you see in Control Panel. For example, AutoPlay, because I am excluding this from the disallowed items list.
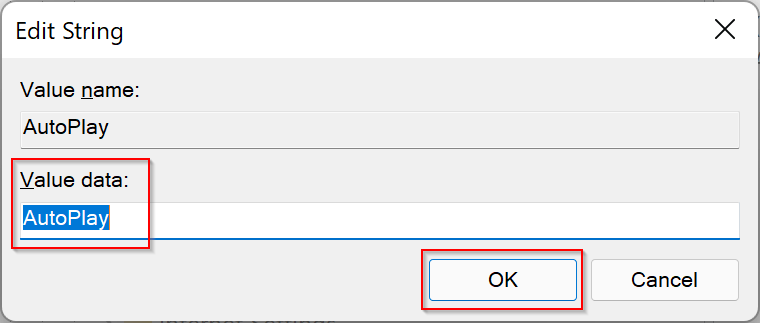
Step 9. Click OK.
If you want to add more items, you need to add a separate string for that.
That’s it. Now, open the control panel and see. If you have created a disallow list, you will see that the item you have created for the string value is now gone from the Control Panel window. If you have created a restricted list, the item for which you have created the string value will only appear in the Control Panel window. In our example, AutoPlay is now hidden from Control Panel.
In the future, if you want to remove an item from the list, go back to Registry Editor and delete the value you created for that item. If you want to turn off the setting completely, just change the DisallowCPL or RestrictCPL value you created from 1 to 0. Now, this feature will be disabled.
Conclusion
In conclusion, whether you have Windows 7, 8, 10, or 11, hiding Control Panel items is possible through Group Policy and Registry Editor. This feature is helpful if you want to secure your computer or restrict access to the Control Panel for specific users. With the Local Group Policy Editor, you can hide specific Control Panel items or prohibit access to the Control Panel and Settings app. The Registry Editor method allows you to create either a disallow list or a restrict list to hide Control Panel items. While these methods are useful, it is important to note that any mistakes or misconfigurations could cause problems on your PC. Therefore, it is recommended to take a backup or create a restore point before making any changes to the Group Policy or Registry.