You can install Windows 11 on a VirtualBox by bypassing Secure Boot and TPM 2.0. Once you have installed Windows 11 on a virtual machine, you need to install VirtualBox Guest Additions to run it smoothly. Guest Additions install on the guest system on your computer that includes device drivers and system applications to optimize the performance of your machine. This gearupwindows article will guide you to install Guest Additions on the latest Windows 11 operating system.
How do I install Guest Additions to Windows 11 in VirtualBox?
Follow these steps to install Guest Additions to Windows 11 in VirtualBox:-
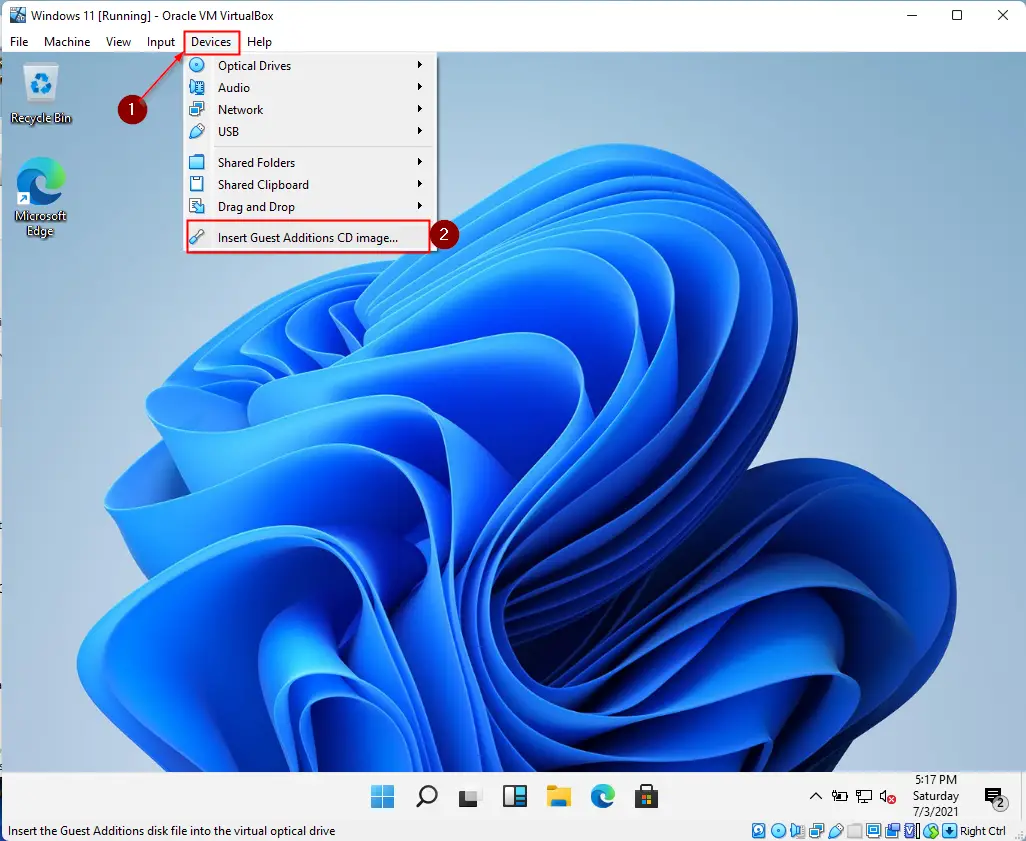
Step 1. Launch the guest OS (Windows 11) in VirtualBox. Now, click on Devices and then Insert Guest Additions CD Image.
Step 2. Now open the File Explorer by pressing the Windows + E keys simultaneously or click on the folder icon on the taskbar to access it.
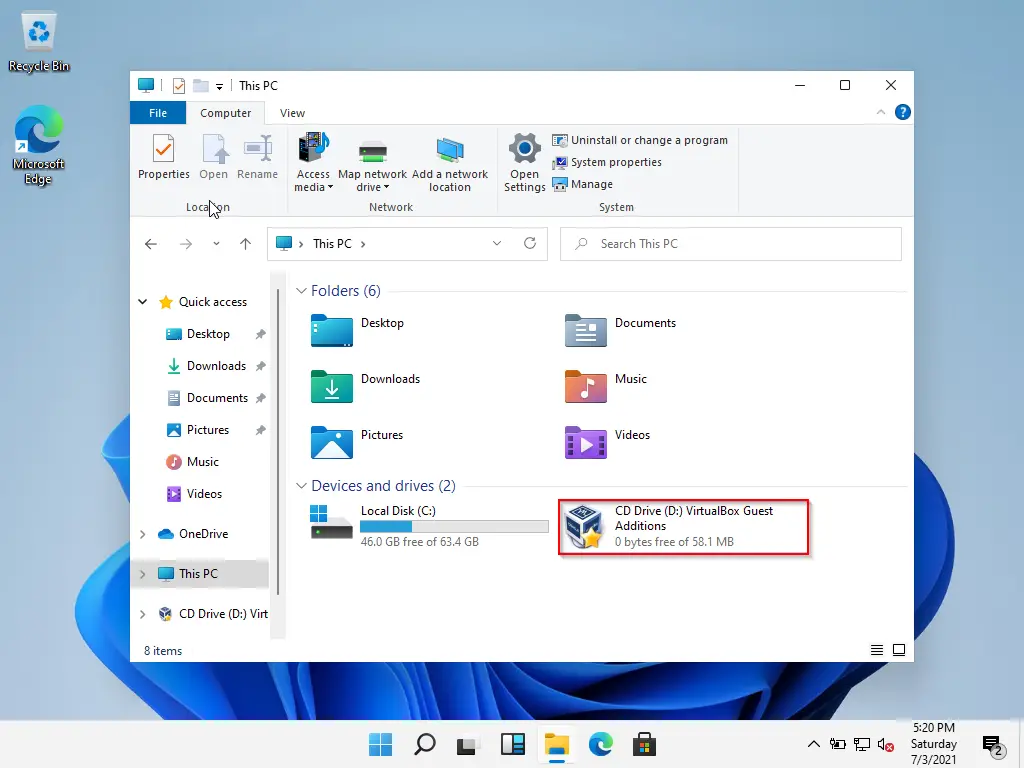
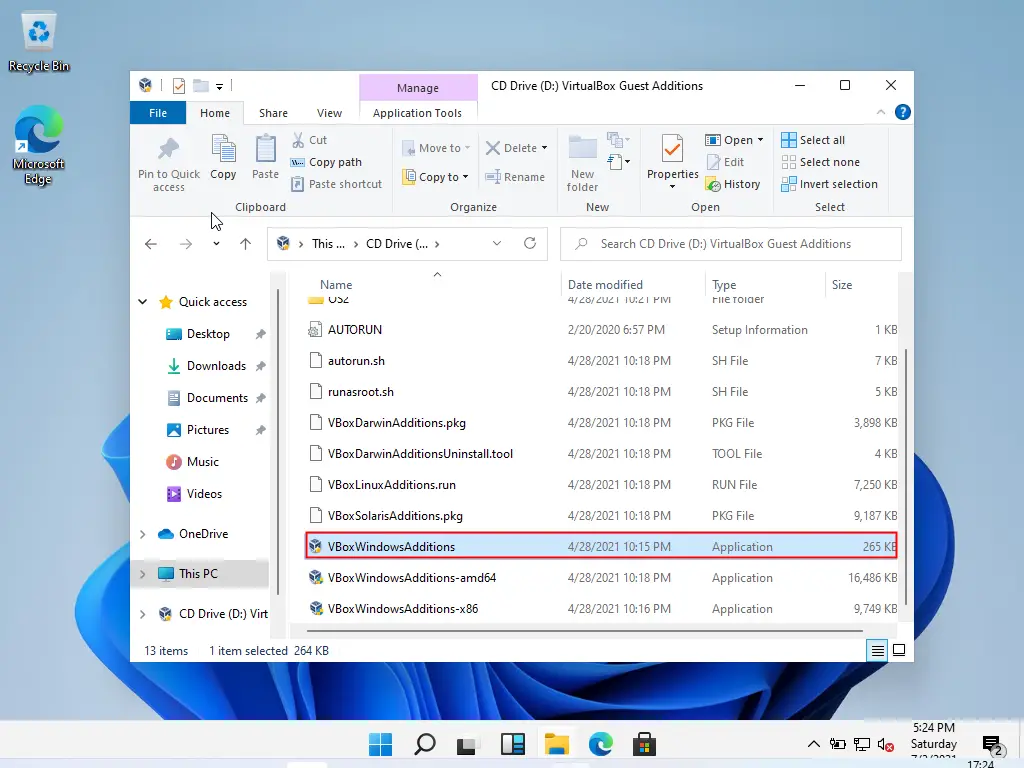
Step 3. Double-click on the CD Drive to open it. Now, locate the executable file VBoxWindowsAdditions and double-click on it to install it on your virtual Windows 11 machine.
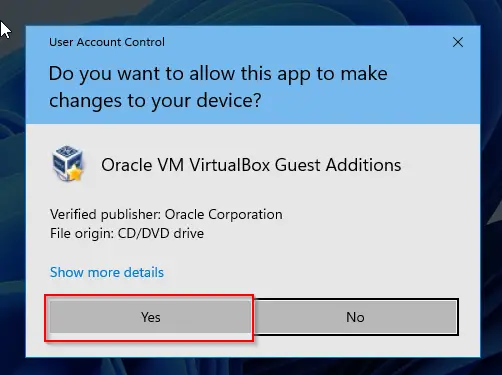
Step 4. When the User Account Control dialog appears, click the Yes button.
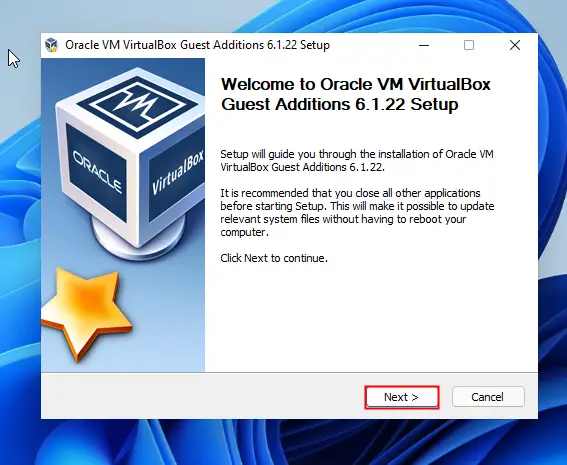
Step 5. Click Next to continue.
Step 6. In the upcoming window, click the Next and then Install button.
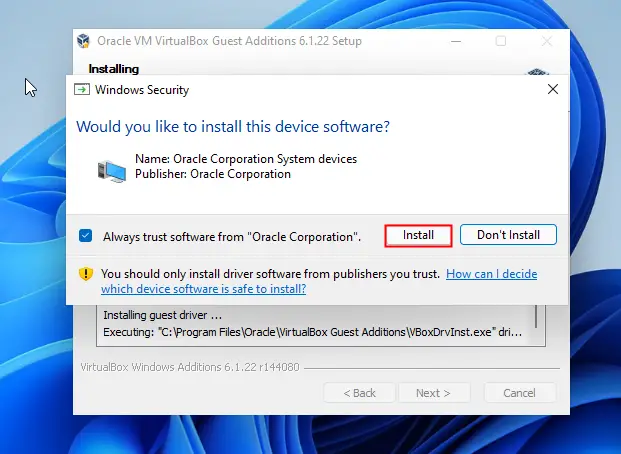
Step 7. When you are prompted with the Windows Security dialog box, click the Install button.
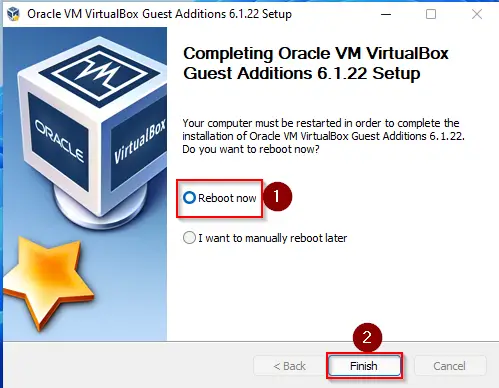
Step 8. Select the Reboot now option and then click the Finish button.
That’s all. Now guest Windows 11 will restart, and it should run without any issues.
Conclusion
In conclusion, installing Windows 11 on VirtualBox can be a useful tool for testing or running the latest operating system on your computer. However, to ensure smooth performance, installing VirtualBox Guest Additions is necessary. These additions optimize the performance of your virtual machine by providing necessary drivers and system applications. This guide provides easy-to-follow steps to install Guest Additions on Windows 11 running on VirtualBox. Additionally, if you want to increase or decrease the RAM in your virtual machine, check out our guide on the topic.
Also Read:
How do I Increase or Decrease the RAM in my VirtualBox Virtual Machine?