With every update, Microsoft Windows 10 ships with quality drivers and automatically updates the hardware drivers if you have not disabled them. If you have already stopped the drivers update from Windows automatic update, it is recommended to install a third-party application to keep your PC hardware drivers updated. You can use one of the following free applications to keep hardware drivers updated:-
Even you can update your hardware drivers manually on Windows 10. It is also possible to delete or remove Wi-Fi Network Profile from Windows 10.
If your Network and WiFi drivers are corrupt by any means and you want to uninstall or reinstall on Windows 10, Windows 8, or Windows 7 operating system, this post will help you to do the same. This article will help all those Windows PC users who face problems in connecting WiFi access points or have issues disconnections from the WiFi again and again. By referring to this gearupwindows post, you will be able to uninstall and reinstall WiFi drivers on Win 10, Win 8, and Win 7.
How to Install, Uninstall, and Reinstall WiFi drivers on Windows 10/8/7?
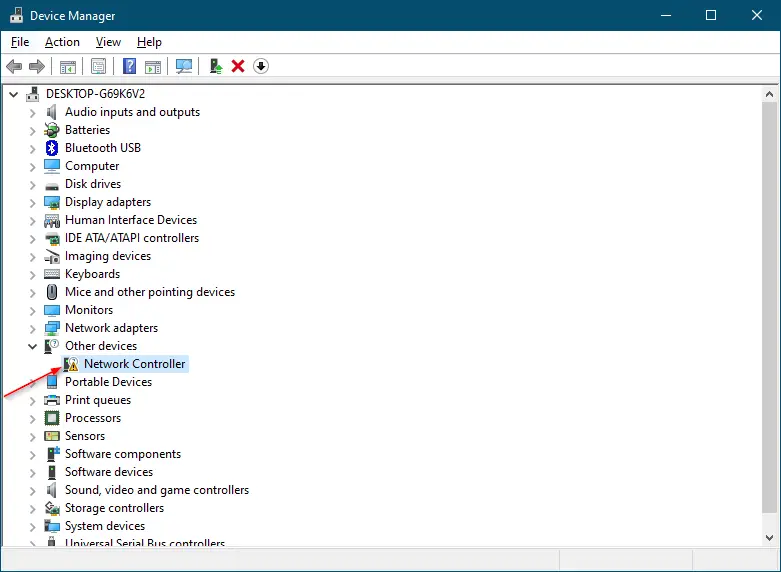
We assume that you have already installed the drivers for your WiFi or Network Adapter on your PC. If drivers are not installed, you will see a yellow mark on the WiFi entry in Device Manager.
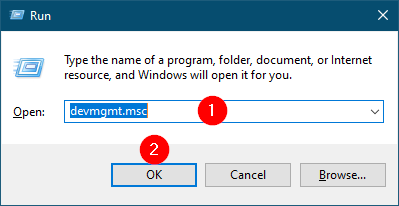
Step 1. Press Windows logo + R keys simultaneously to open the Run dialog box.
Step 2. In the Run box, type in the following and hit Enter from the keyboard or click the OK button to open the Device Manager window:-
devmgmt.msc
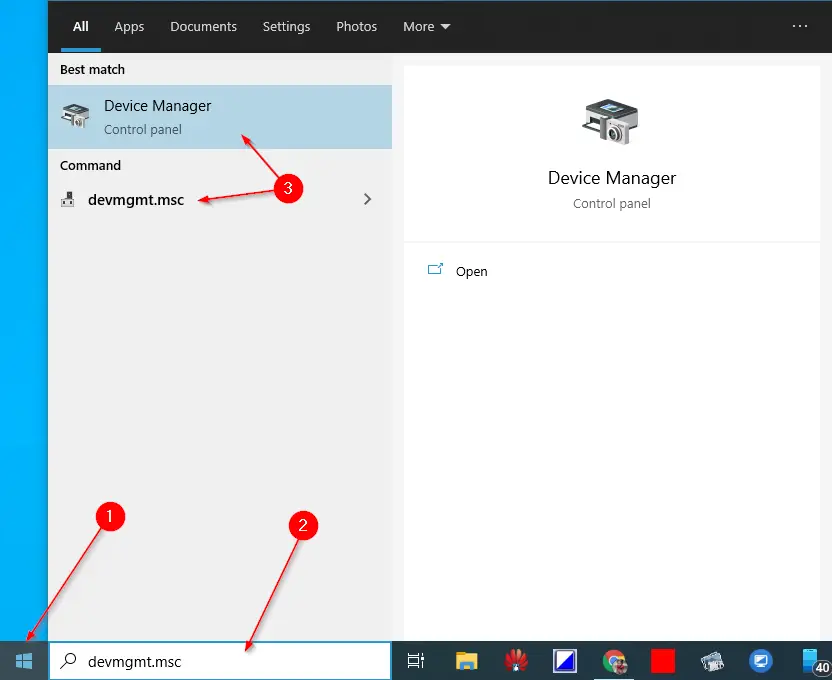
Alternatively, click on the Start button and search for devmgmt.msc. In the available results, click on the Device Manager entry to open it.
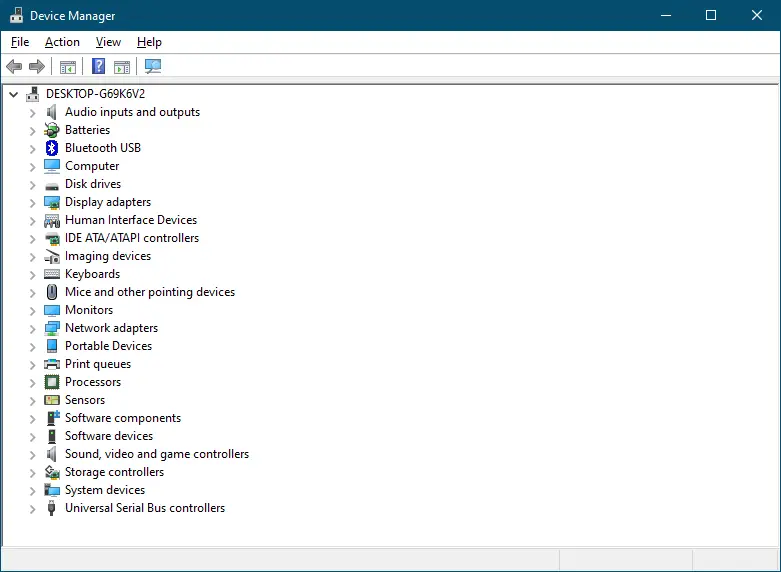
Step 3. On the Device Manager window, expand the Network adapters.
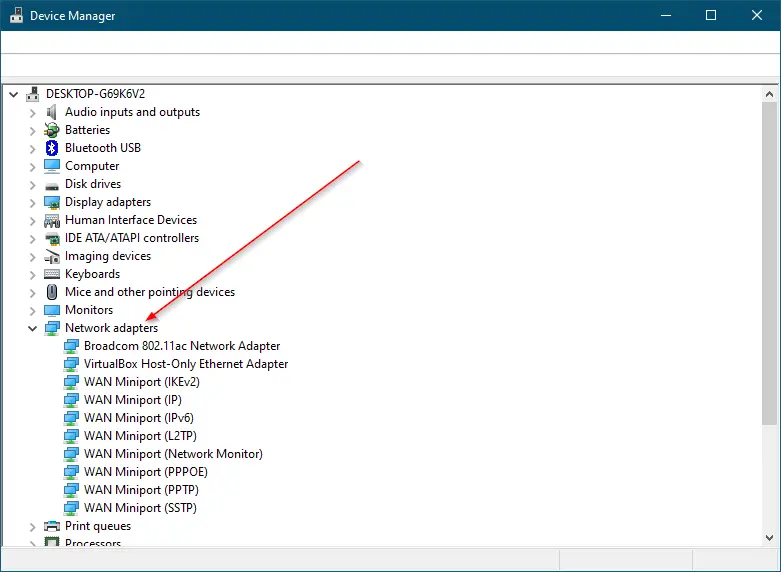
Step 4. Right-click on the Network adapter entry you want to uninstall from your computer and select the Uninstall device option.

Step 5. A popup window will open and warn you that you are about to uninstall this device from your system.
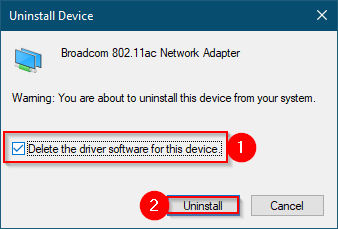
Step 6. Check the checkbox “Delete the driver software for this device” and then click the Uninstall button.
Once you complete the above steps, it will completely remove all the drivers related to the selected WiFi or network adapter.
If you face a problem with more than one hardware, you need to repeat the above steps.
Step 7. Once you have uninstalled the network or WiFi adapter from your PC, click on the Action menu and select the “Scan for hardware changes” option.
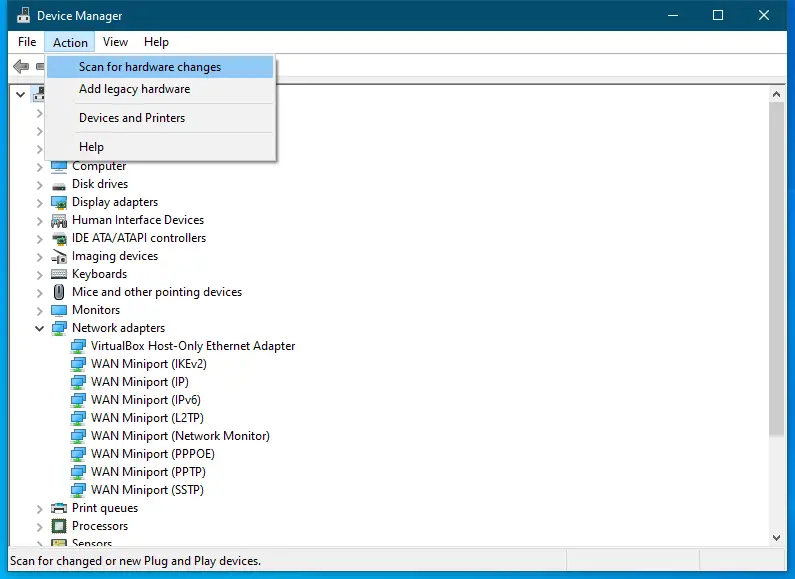
Windows will automatically find and install the correct drivers from the manufacturer’s website. If your machine cannot find the correct drivers, you can use a third-party tool to find and install the appropriate drivers for your network or WiFi adapter.
Once you complete the above steps, the WiFi adapter should work properly.
You might be interested in our guide on Modem/Router/WiFi connected to PC but no Internet; what to do?