You can mount your internal or external drive to an empty folder using built-in options on Windows 11 or 10. That means to mount your drive in a folder, you don’t need a third-party tool. Once the drive is mounted to a folder, the drive will appear under the folder; just list another folder.
The drive’s contents will not move and will still be physically located on the drive. That means you can access the drive’s content via the mounted folder path as well as from the drive location. Whatever you save or remove from the mounted folder will be saved or deleted on the drive.
In this gearupwindows article, you will learn to mount and unmount a drive in a folder in Windows 11 or 10. Using several methods, you can mount a drive to a folder. We will review all these ways, and you can use either.
How to Mount a Drive in a Folder in Windows 11 using Settings?
To mount a drive as a folder on Windows 11, use these steps:-
Step 1. First, create an empty folder on your PC where you want to mount your drive.
Step 2. Next, open Windows 11 Settings.
To do that, you can use the Windows + I keyboard shortcut. Or, right-click on the Start button and select Settings in the menu.
Step 3. Select System in the left sidebar.

Step 4. Click Storage on the right sidebar.
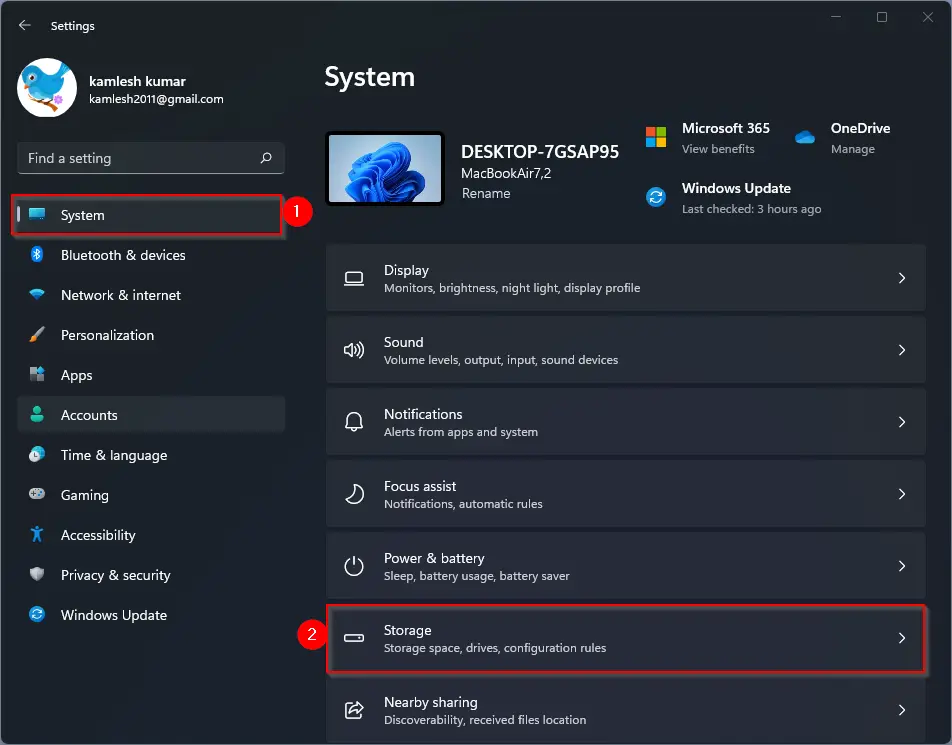
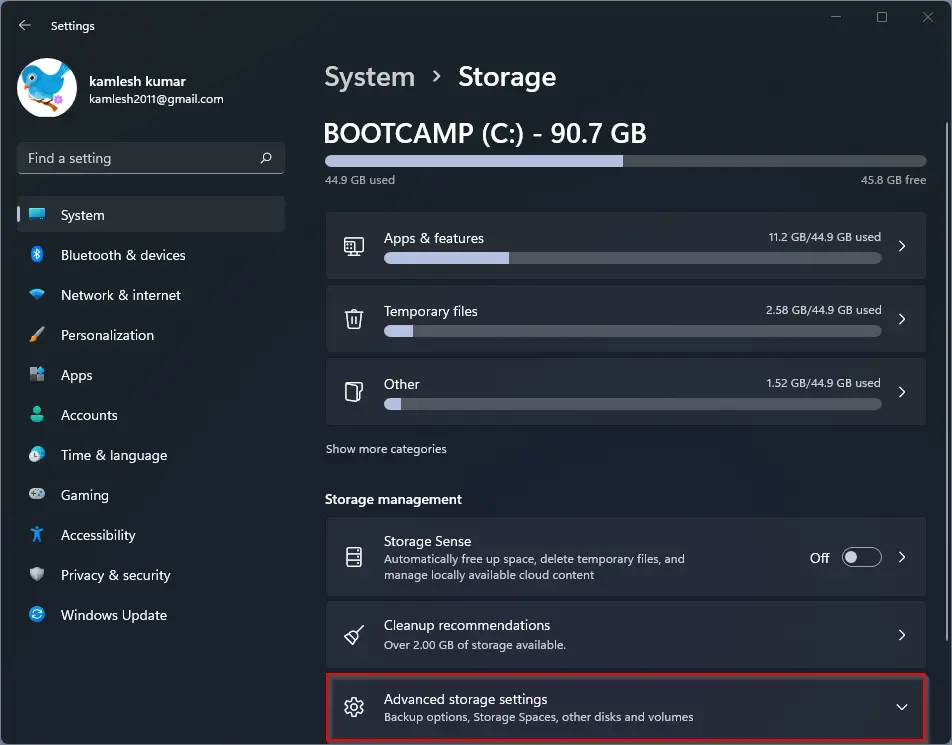
Step 5. Hit the Advanced storage settings tile to expand.
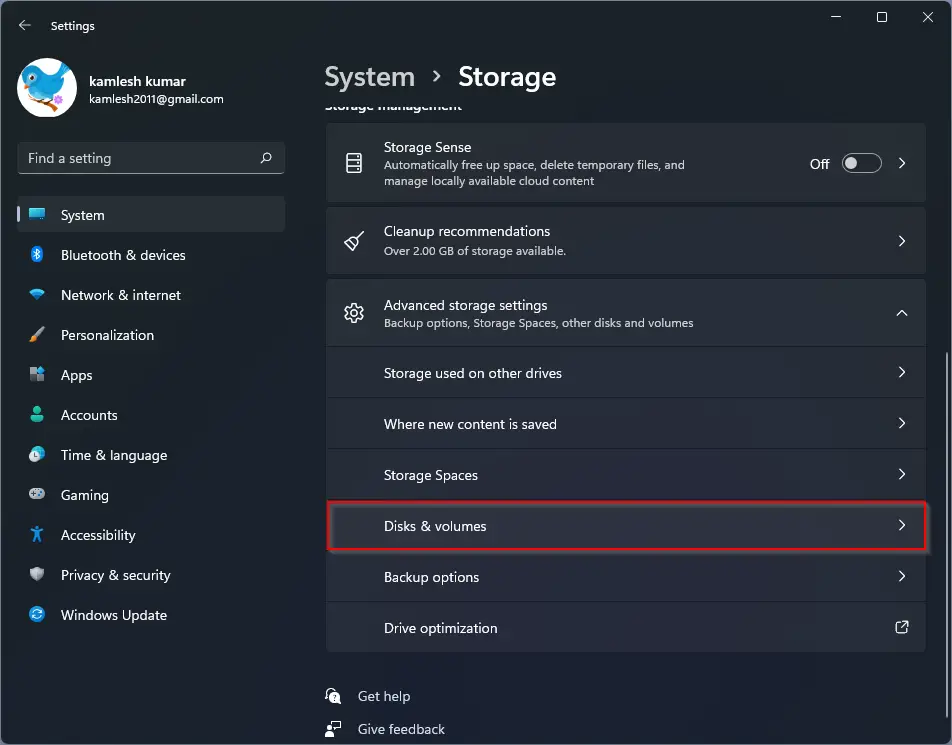
Step 6. Select Disks & volumes.
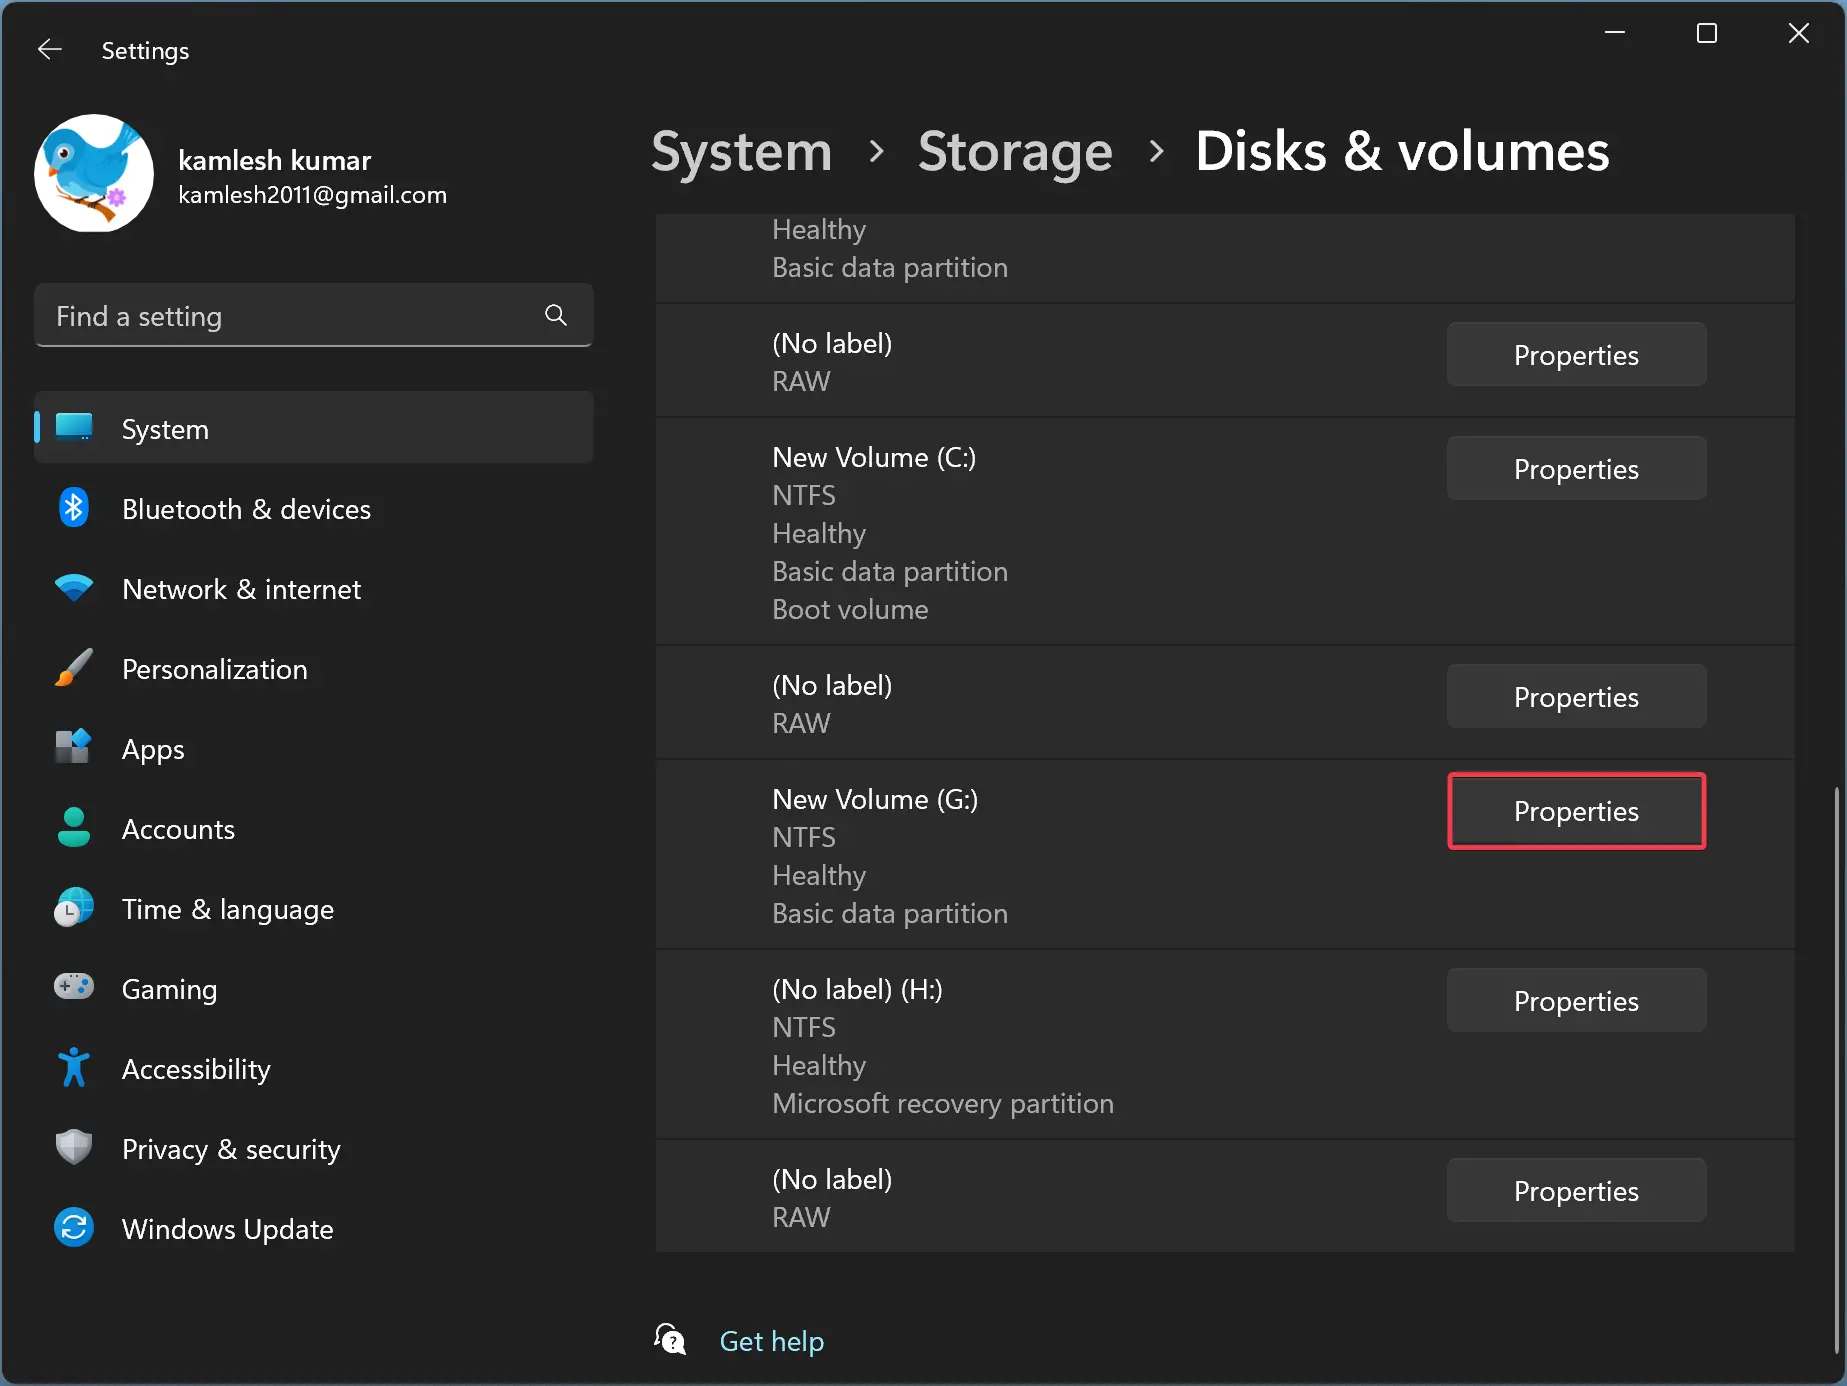
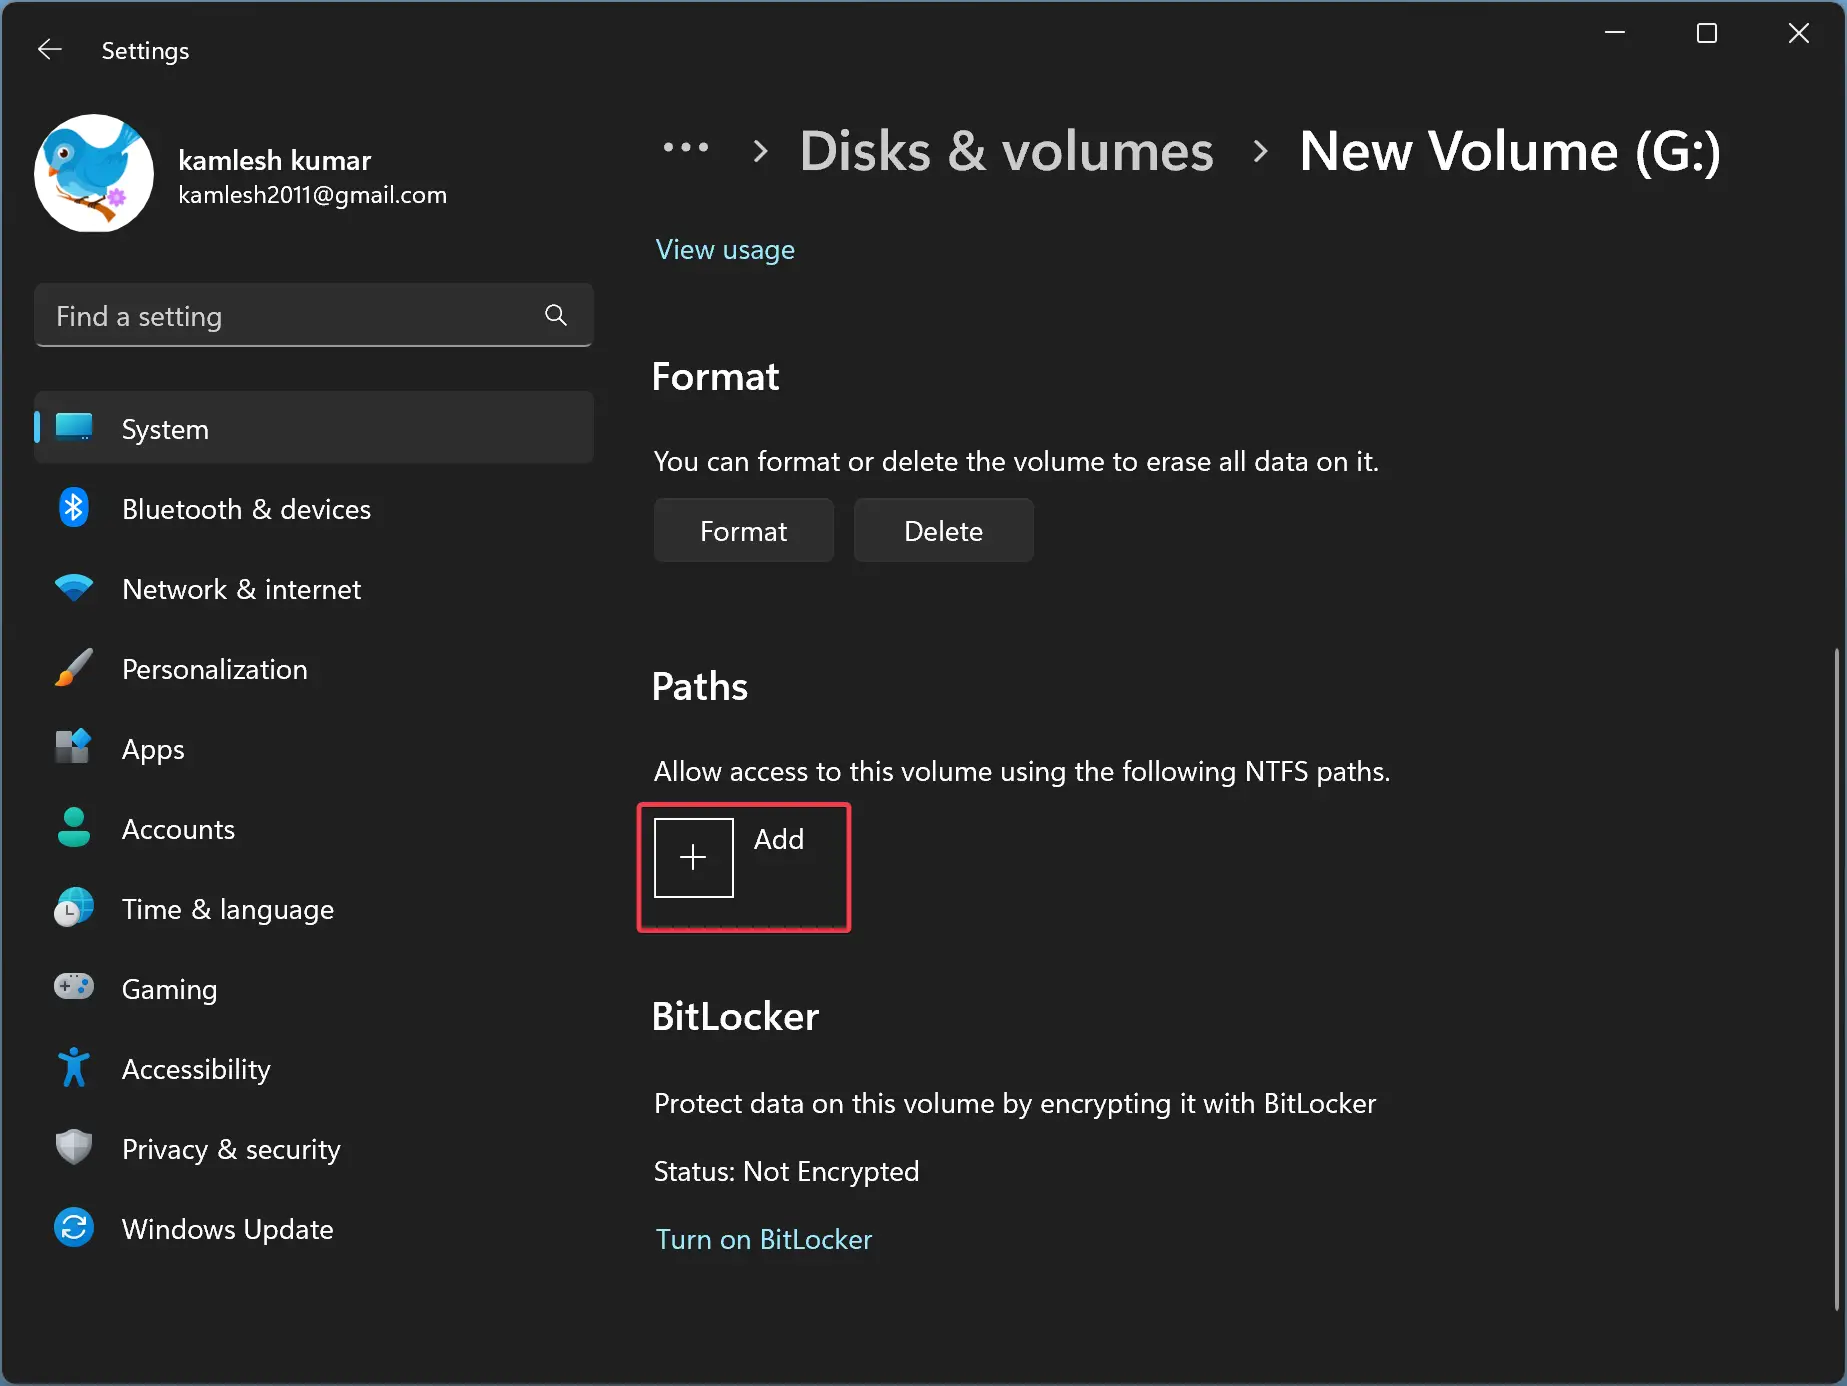
Step 7. Click the Properties button of the drive you want to mount as a folder.
Step 8. Click the + Add button inside the Paths section.
Step 9. In the “Add Path” dialog, type the complete folder path or click the Browse button and locate the folder.
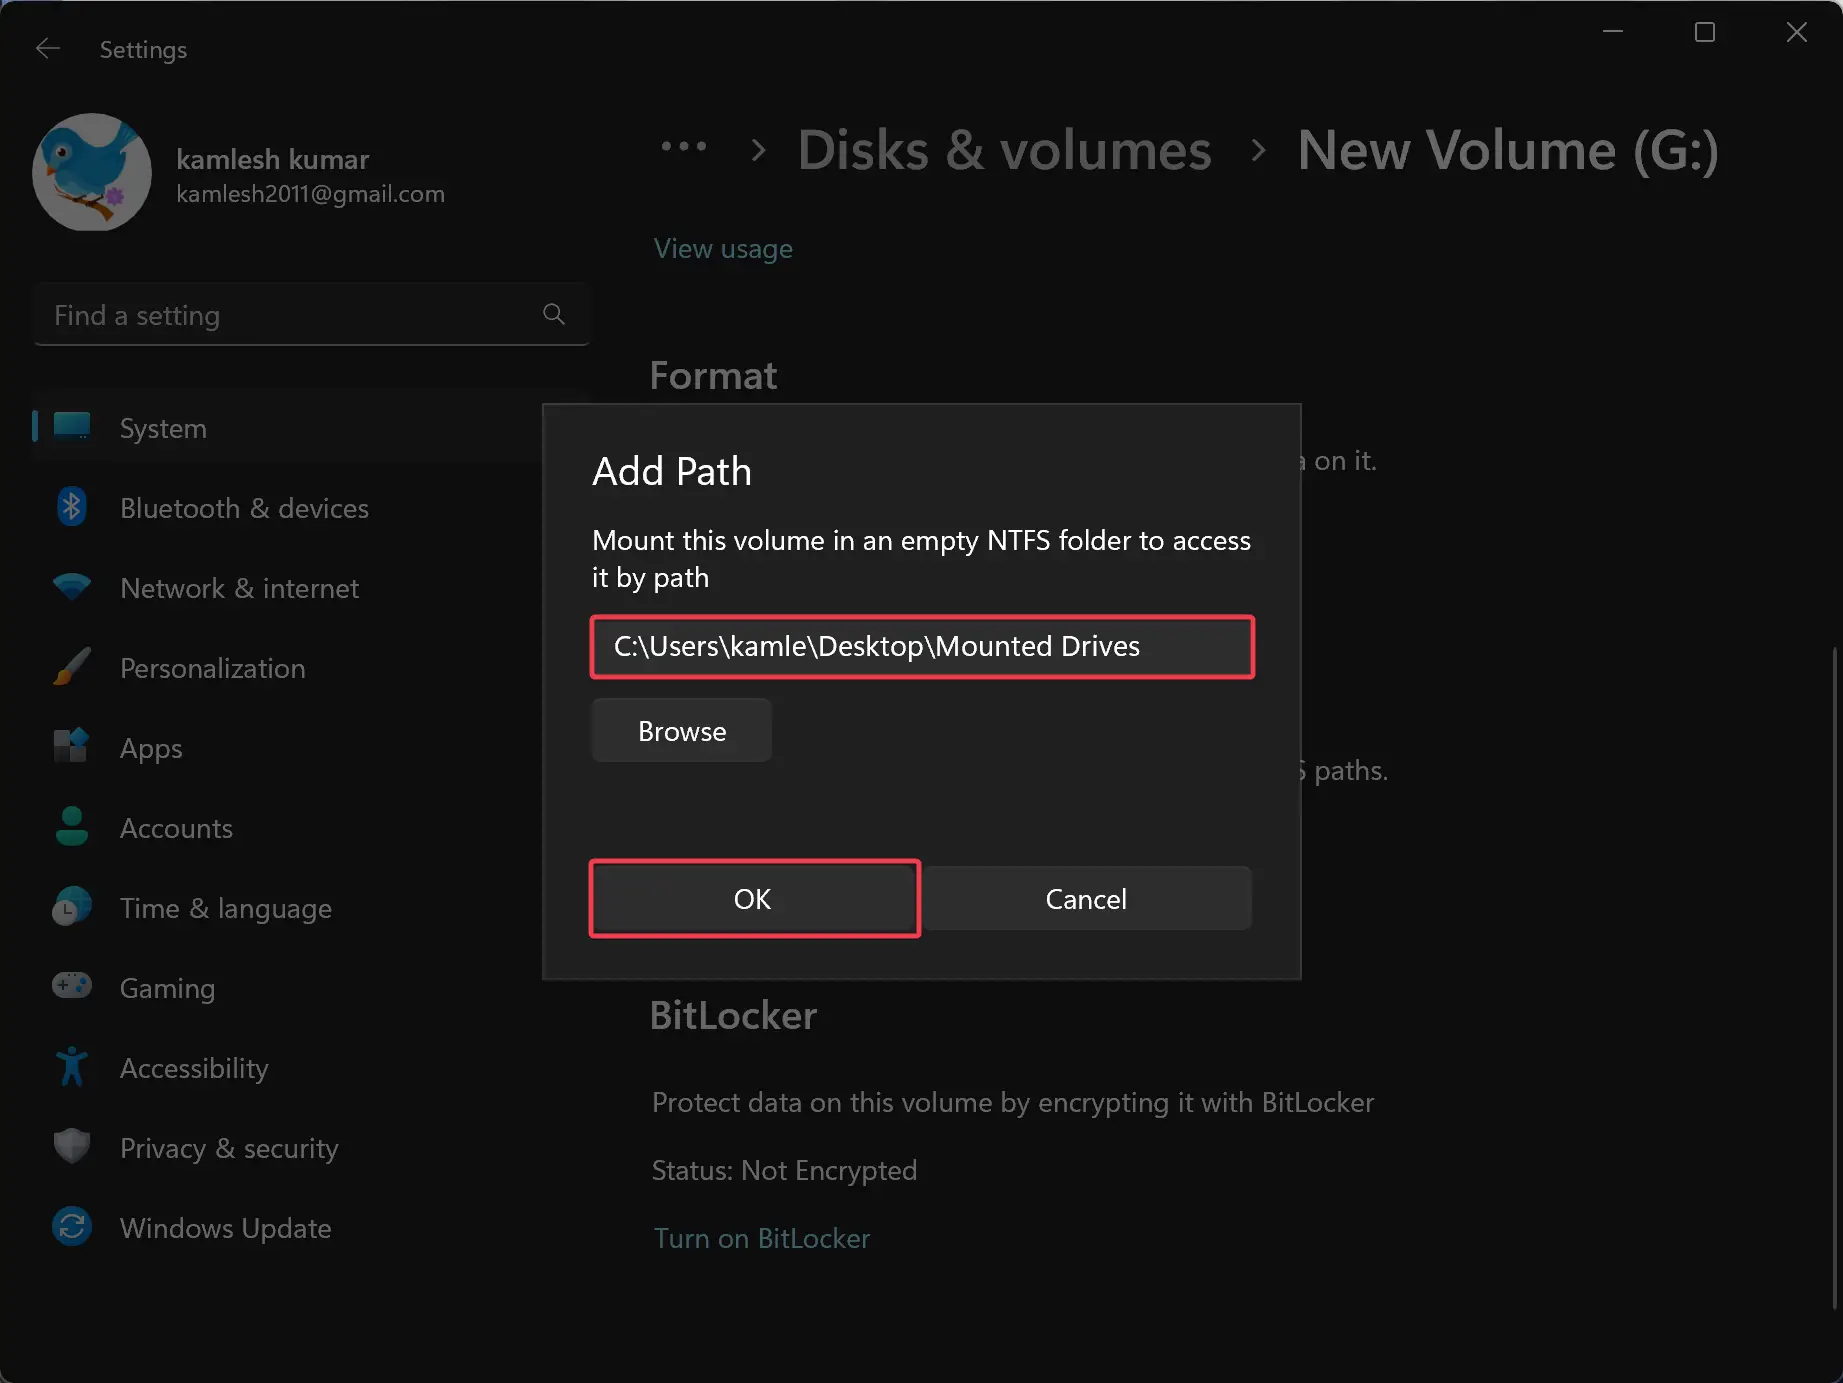
Step 10. Click OK.
Once you complete the above steps, the drive’s contents will now be accessible from the folder you created.
Quick Note: Don’t delete the folder on which you mounted your drive. Deleting the folder will also erase the drive contents. If you want to remove the folder, you need first unmount the drive.
How to Unmount a Drive from a Folder in Windows 11 using Settings?
If you’ve already mounted a drive into a folder in Windows 11 and you want to unmount the drive through the Settings app, use these steps:-
Step 1. Open Windows 11 Settings.
To do that, you can use the Windows + I keyboard shortcut. Or, right-click on the Start button and select Settings in the menu.
Step 2. Select System in the left sidebar.
Step 3. Click Storage on the right sidebar.
Step 4. Hit the Advanced storage settings tile to expand.
Step 5. Select Disks & volumes.
Step 6. Click the Properties button of the drive you want to unmount as a folder.
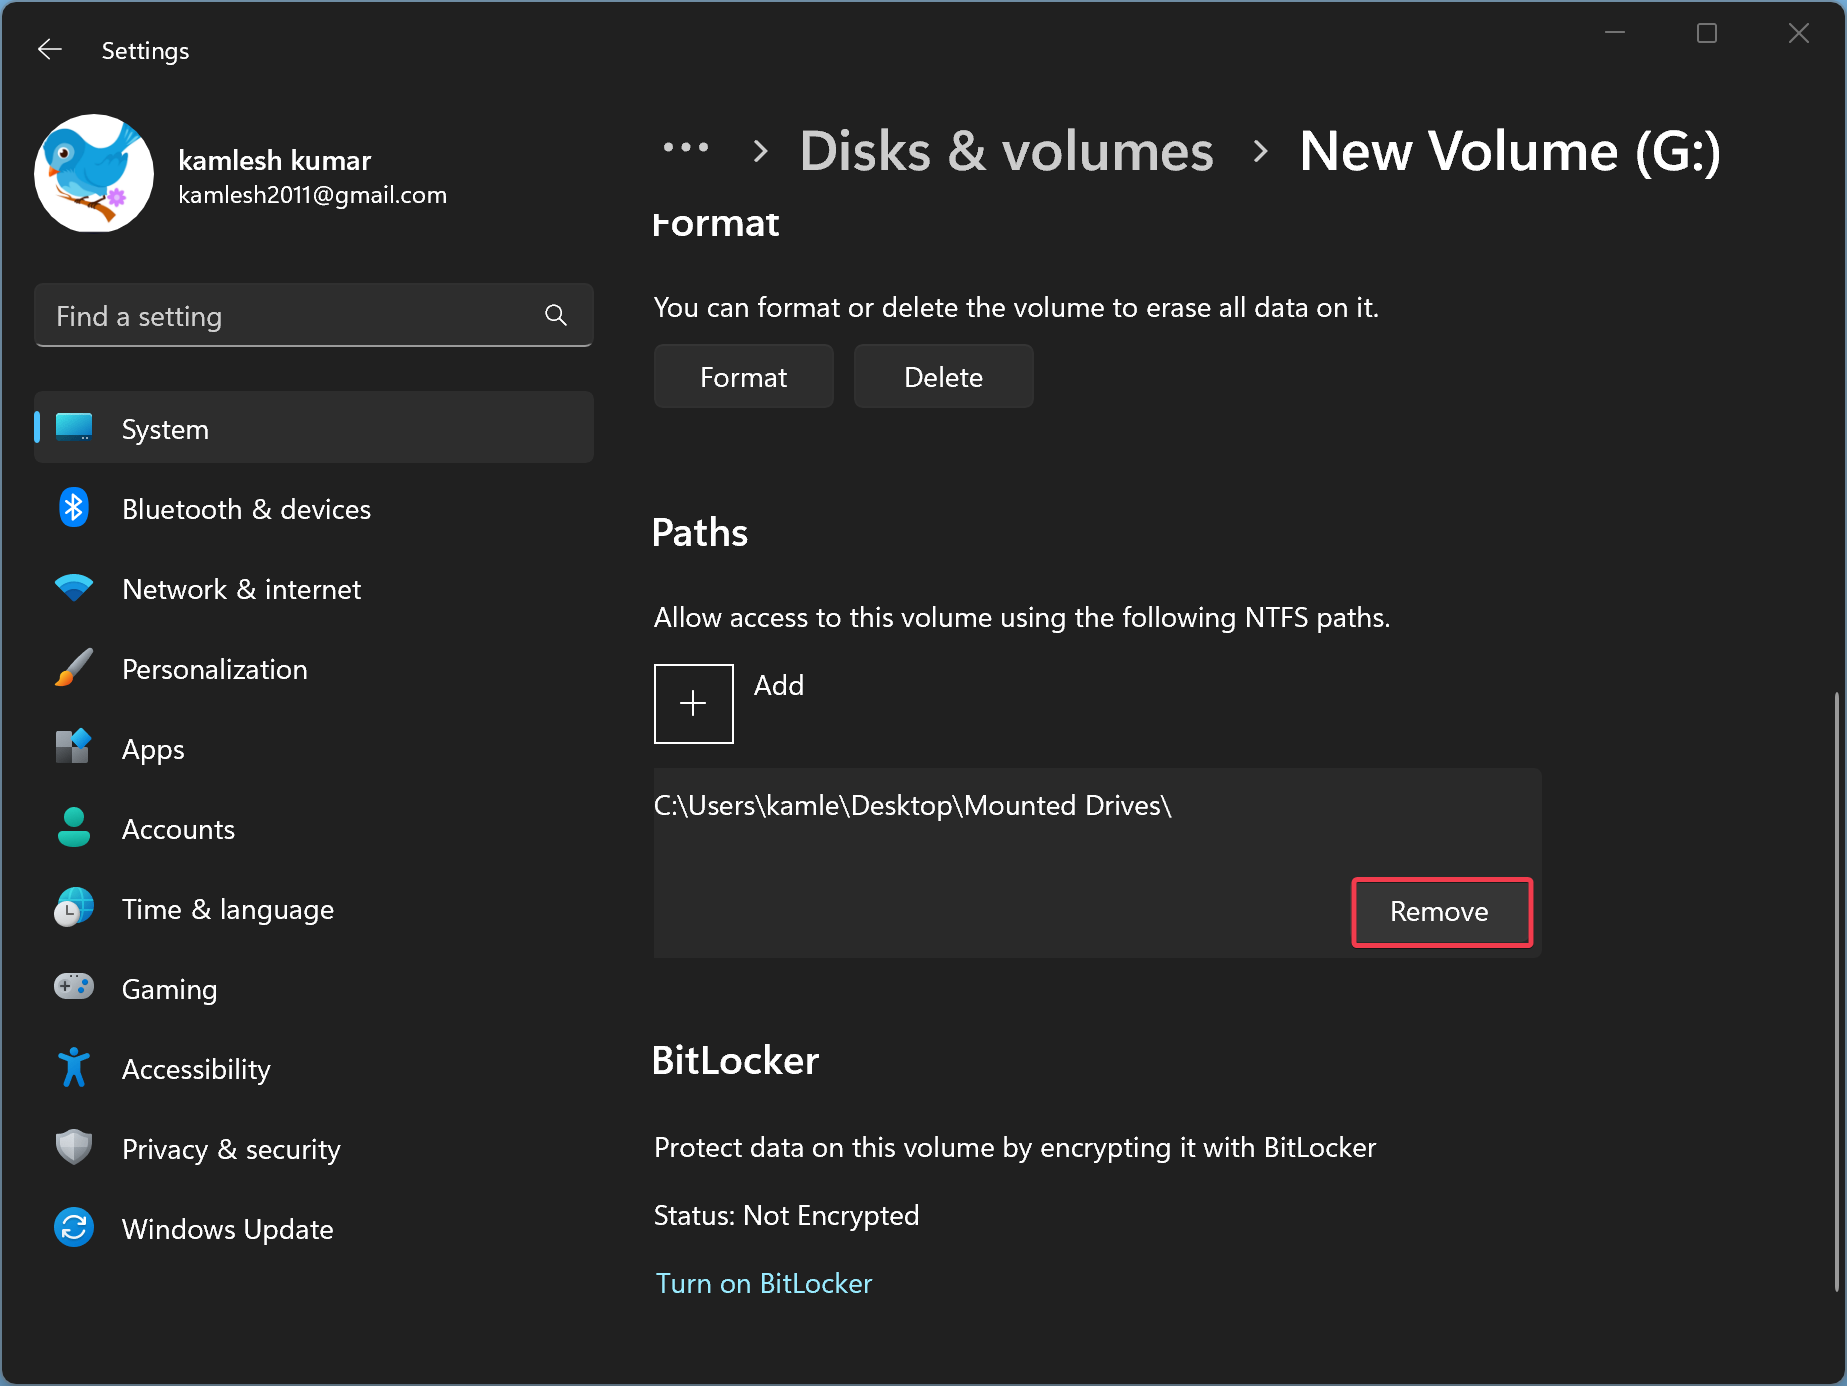
Step 7. Under the Paths section, you will find the folder path on which you have mounted your drive. Select the folder path and click the Remove button.
Once you complete the above steps, the drive will now be unmounted from the folder you created earlier. When you open that folder, you will find it empty. So, if you need, you can now erase that folder.
How to Mount a Drive in a Folder in Windows 11 or 10 through Disk Management?
To mount a drive in a folder in Windows 11 or 10 using the Disk Management tool, use these steps:-
Step 1. Create a new folder on which you want to mount your drive.
Step 2. Open Disk Management.
To do that, click on the Start button on the taskbar and type Disk Management. In the available search results, click on Create and format hard disk partitions to open Disk Management.
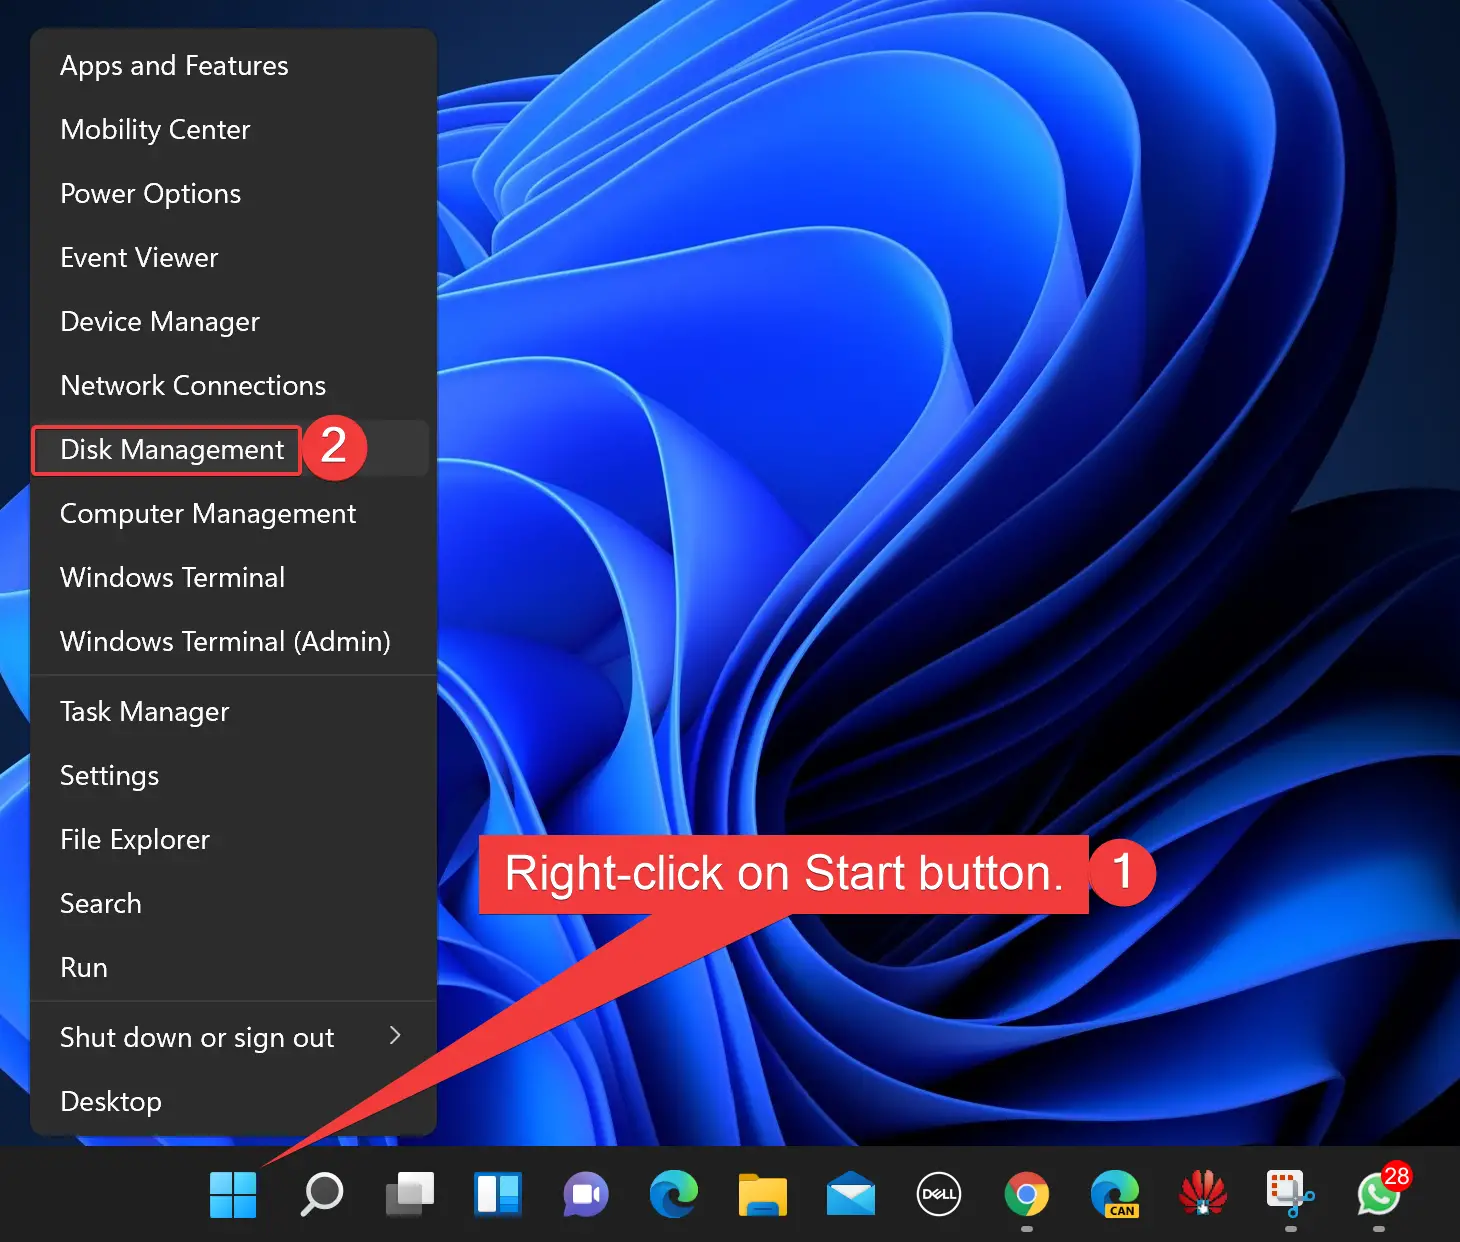
Alternatively, right-click on the Start button on the taskbar or press the Windows + X keyboard shortcut to launch the Quick Access menu. Select Disk Management in the pop-up menu to open it.
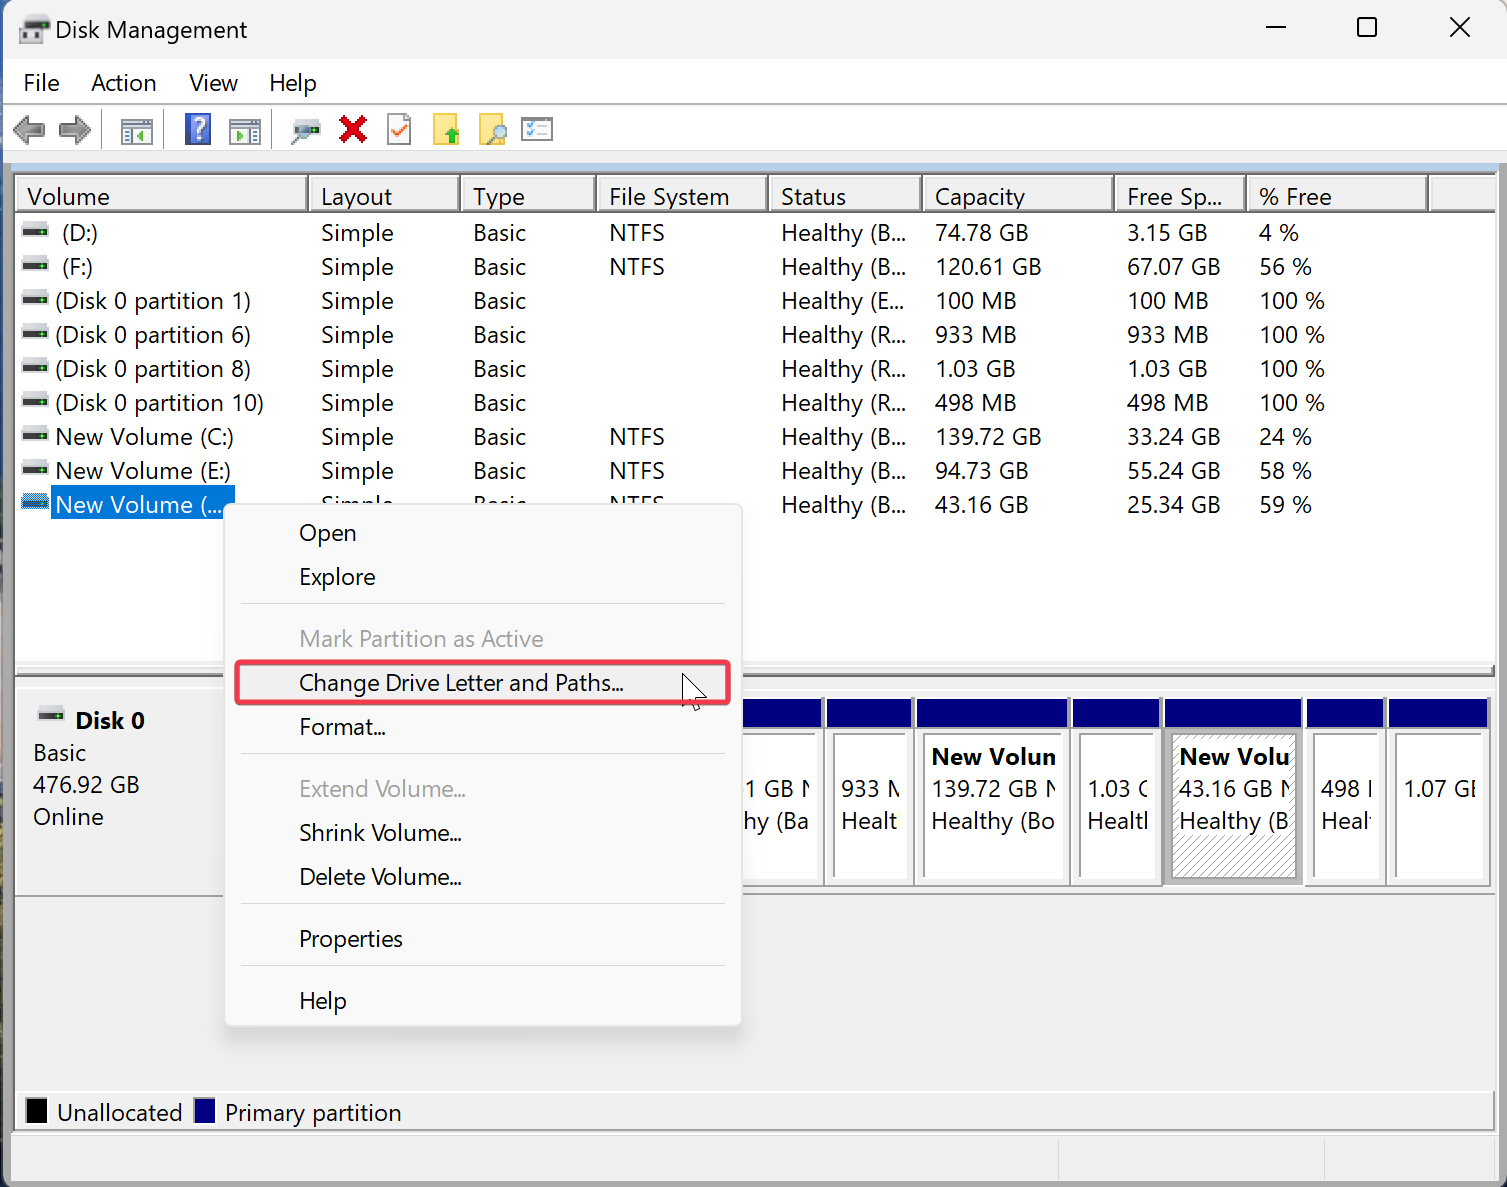
Step 3. Right-click the partition or volume you want to mount in a folder. Select Change Drive Letter and Paths.
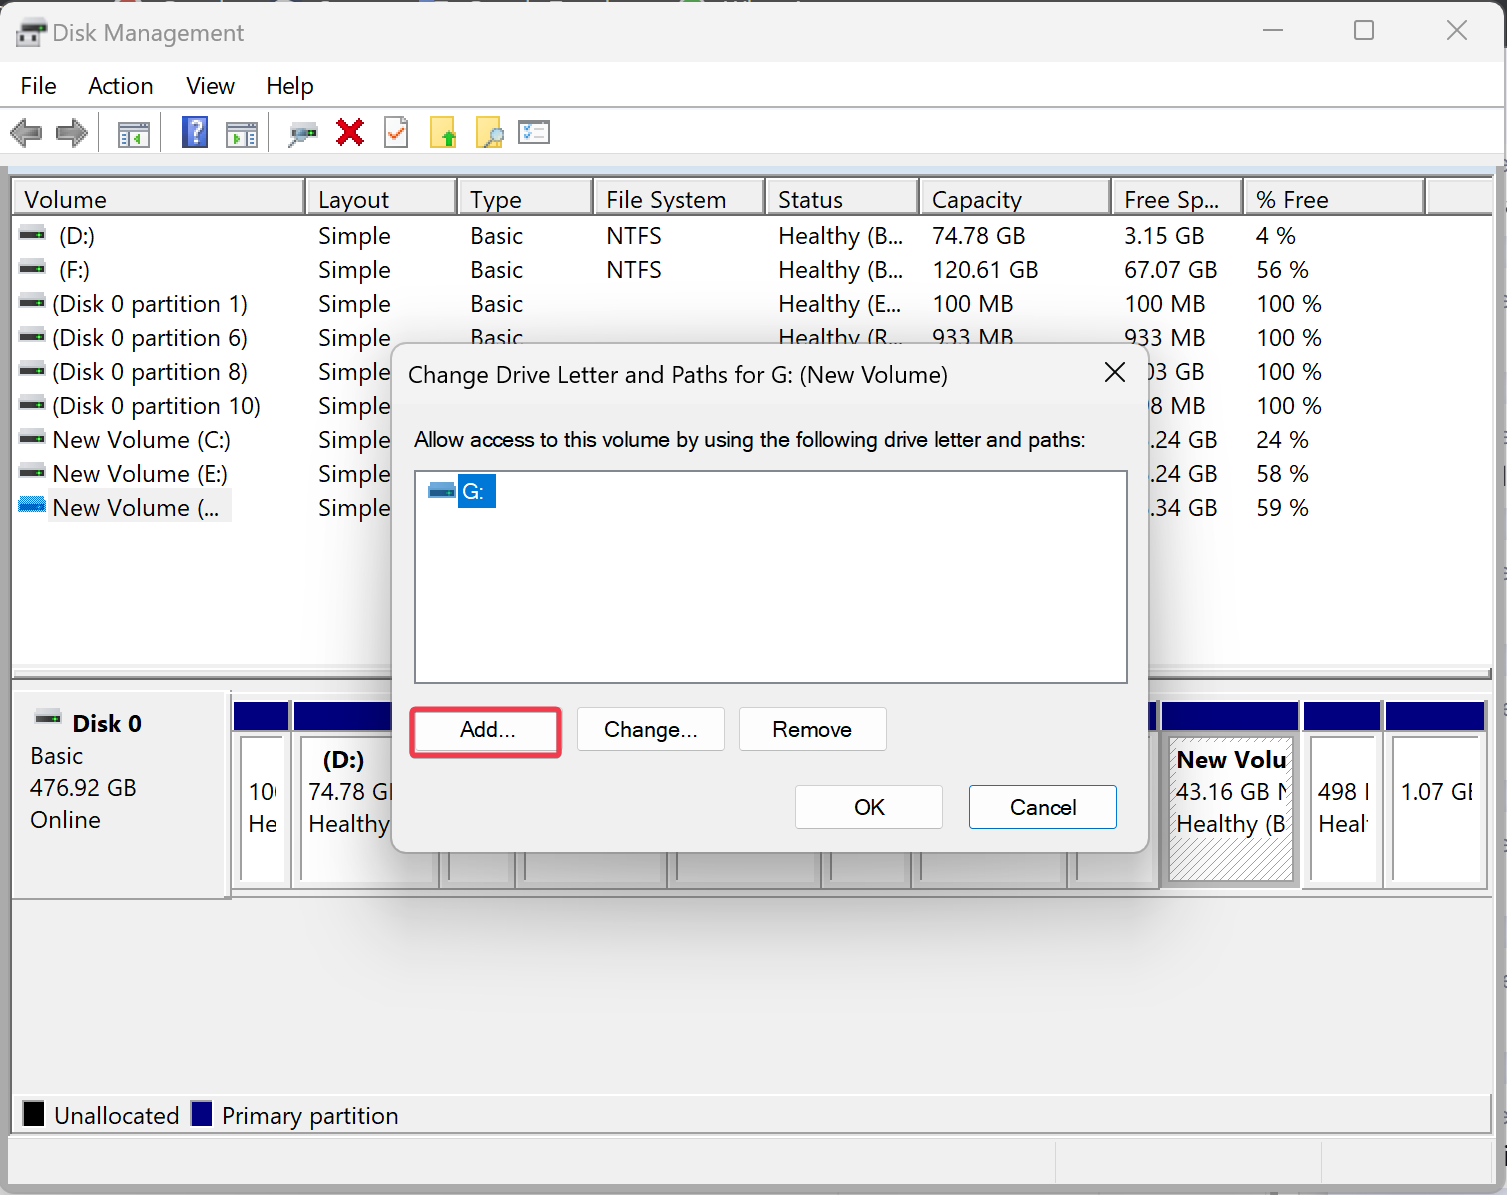
Step 4. Click the Add button in the “Change Drive Letter and Paths” window.
Step 5. Type the complete path of the folder on which you want to mount the drive in the “Mount in the following empty NTFS folder” text field. Or, click the Browse button and select your newly created folder.
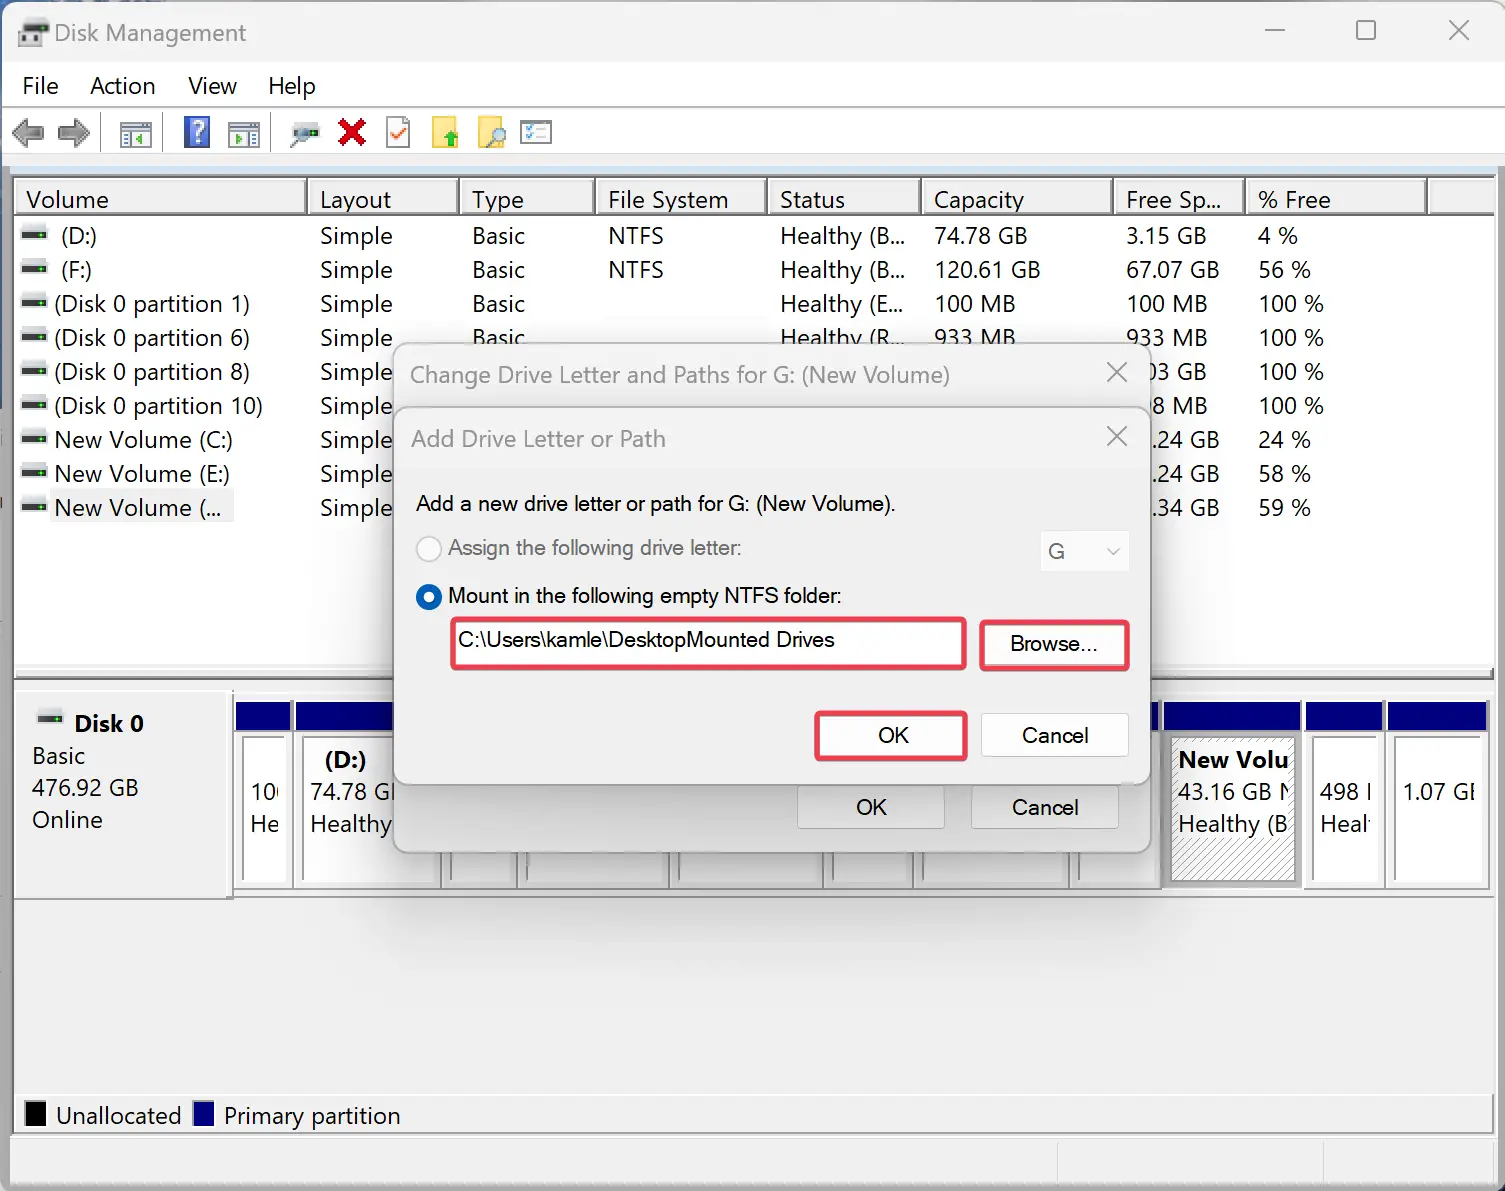
Step 6. Click OK.
Once you complete the above steps, the drive’s contents will now be accessible from the folder you created.
Quick Note: Don’t delete the folder on which you mounted your drive or partition. Deleting the folder will also erase the drive contents. If you want to remove the folder, you need first unmount the drive.
How to Unmount a Drive from a Folder in Windows 11 or 10 through Disk Management?
If you want to unmount a drive from the folder in Windows 11 or 10 using Disk Management, use these steps:-
Step 1. Open Disk Management.
To do that, click on the Start button on the taskbar and type Disk Management. In the available search results, click on Create and format hard disk partitions to open Disk Management.
Alternatively, right-click on the Start button on the taskbar or press the Windows + X keyboard shortcut to launch the Quick Access menu. Select Disk Management in the pop-up menu to open it.
Step 2. Right-click the partition or volume you want to unmount from a folder. Select Change Drive Letter and Paths.
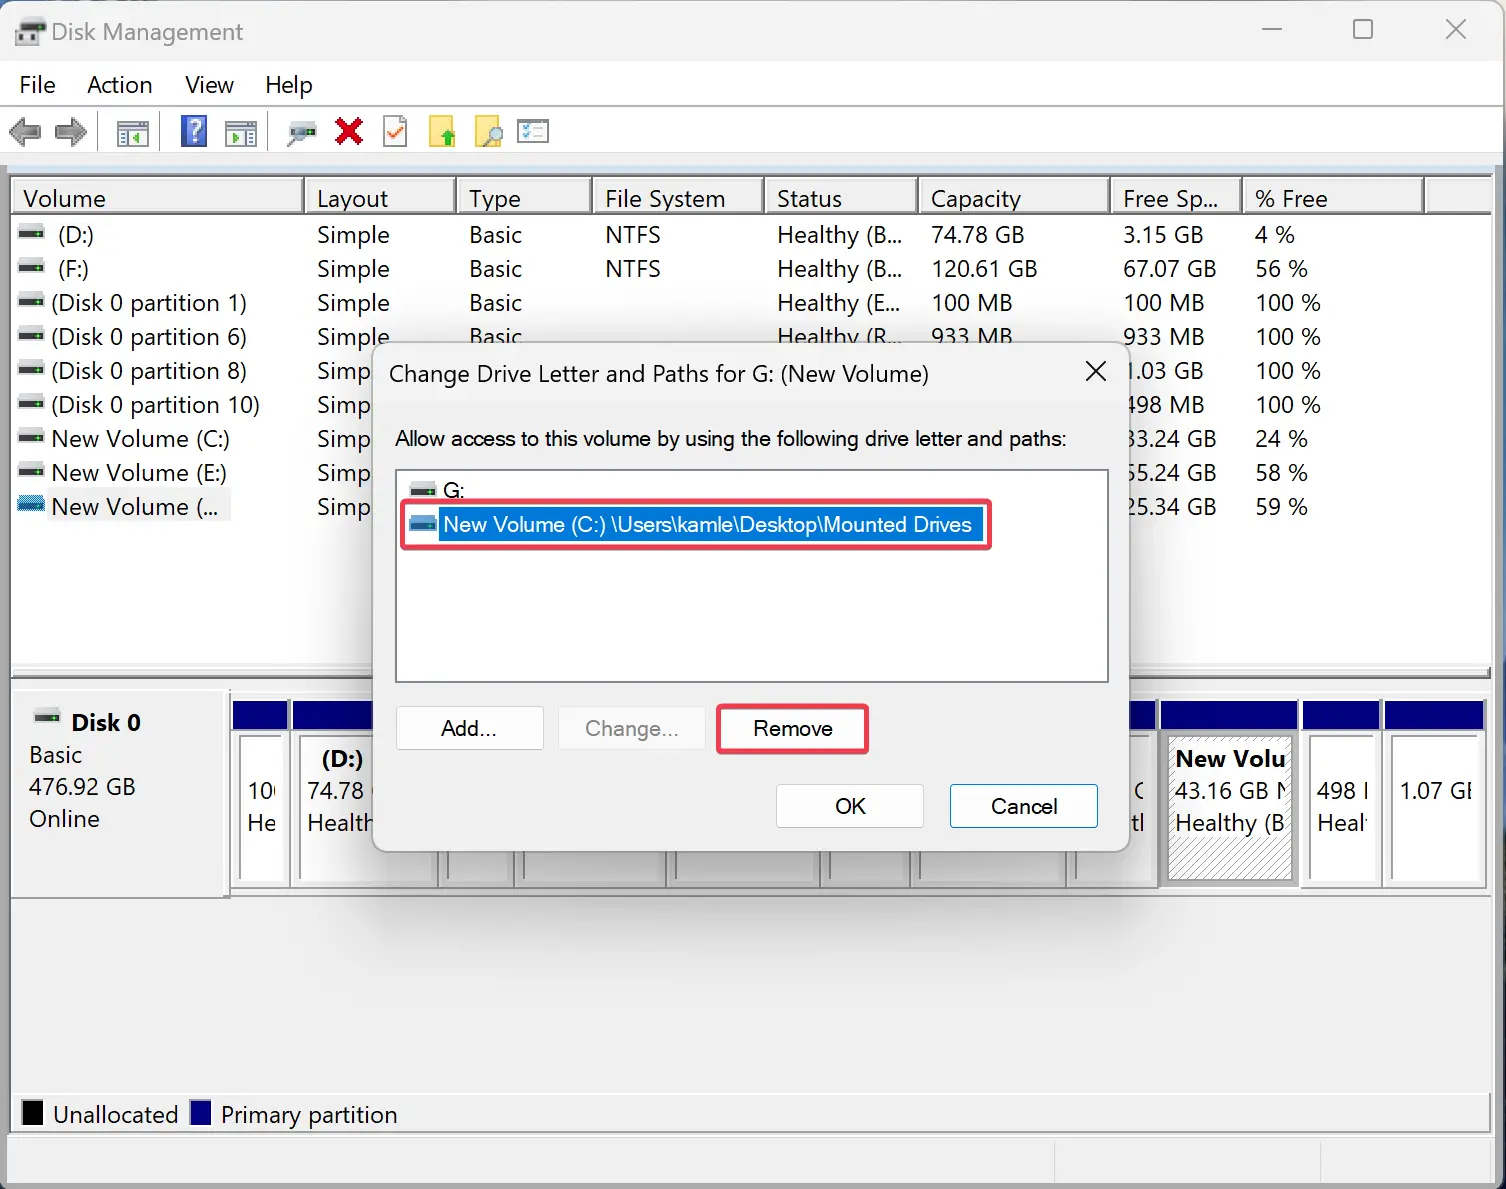
Step 3. Click the folder path in the “Change Drive Letter and Paths” window and select the Remove button.
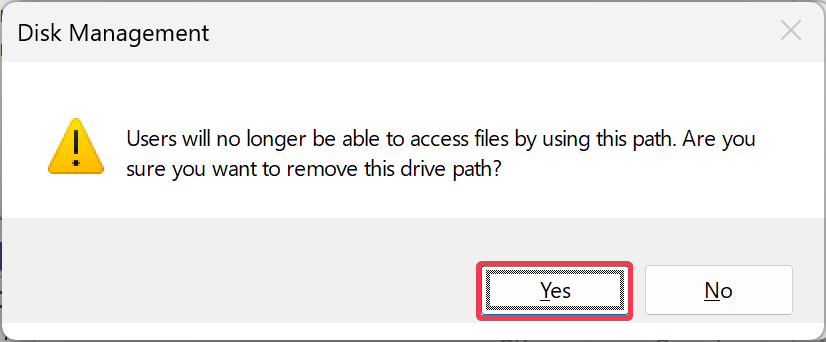
Step 4. Click the Yes button when you’re asked to remove the drive path.
Once you complete the above steps, the drive’s contents will disappear from the folder you created earlier. When you open that folder, you will find it empty. So, if you need, you can now erase that folder.
How to Mount an Unallocated Drive as a Folder in Windows 11 or 10?
On Windows 11 and 10, you can mount an unallocated drive as a folder through Disk Management.
To mount an unallocated drive as a folder, do these steps:-
Step 1. Create a new folder on which you want to mount your unallocated drive.
Step 2. Open Disk Management.
To do that, click on the Start button on the taskbar and type Disk Management. In the available search results, click on Create and format hard disk partitions to open Disk Management.
Alternatively, right-click on the Start button on the taskbar or press the Windows + X keyboard shortcut to launch the Quick Access menu. Select Disk Management in the pop-up menu to open it.
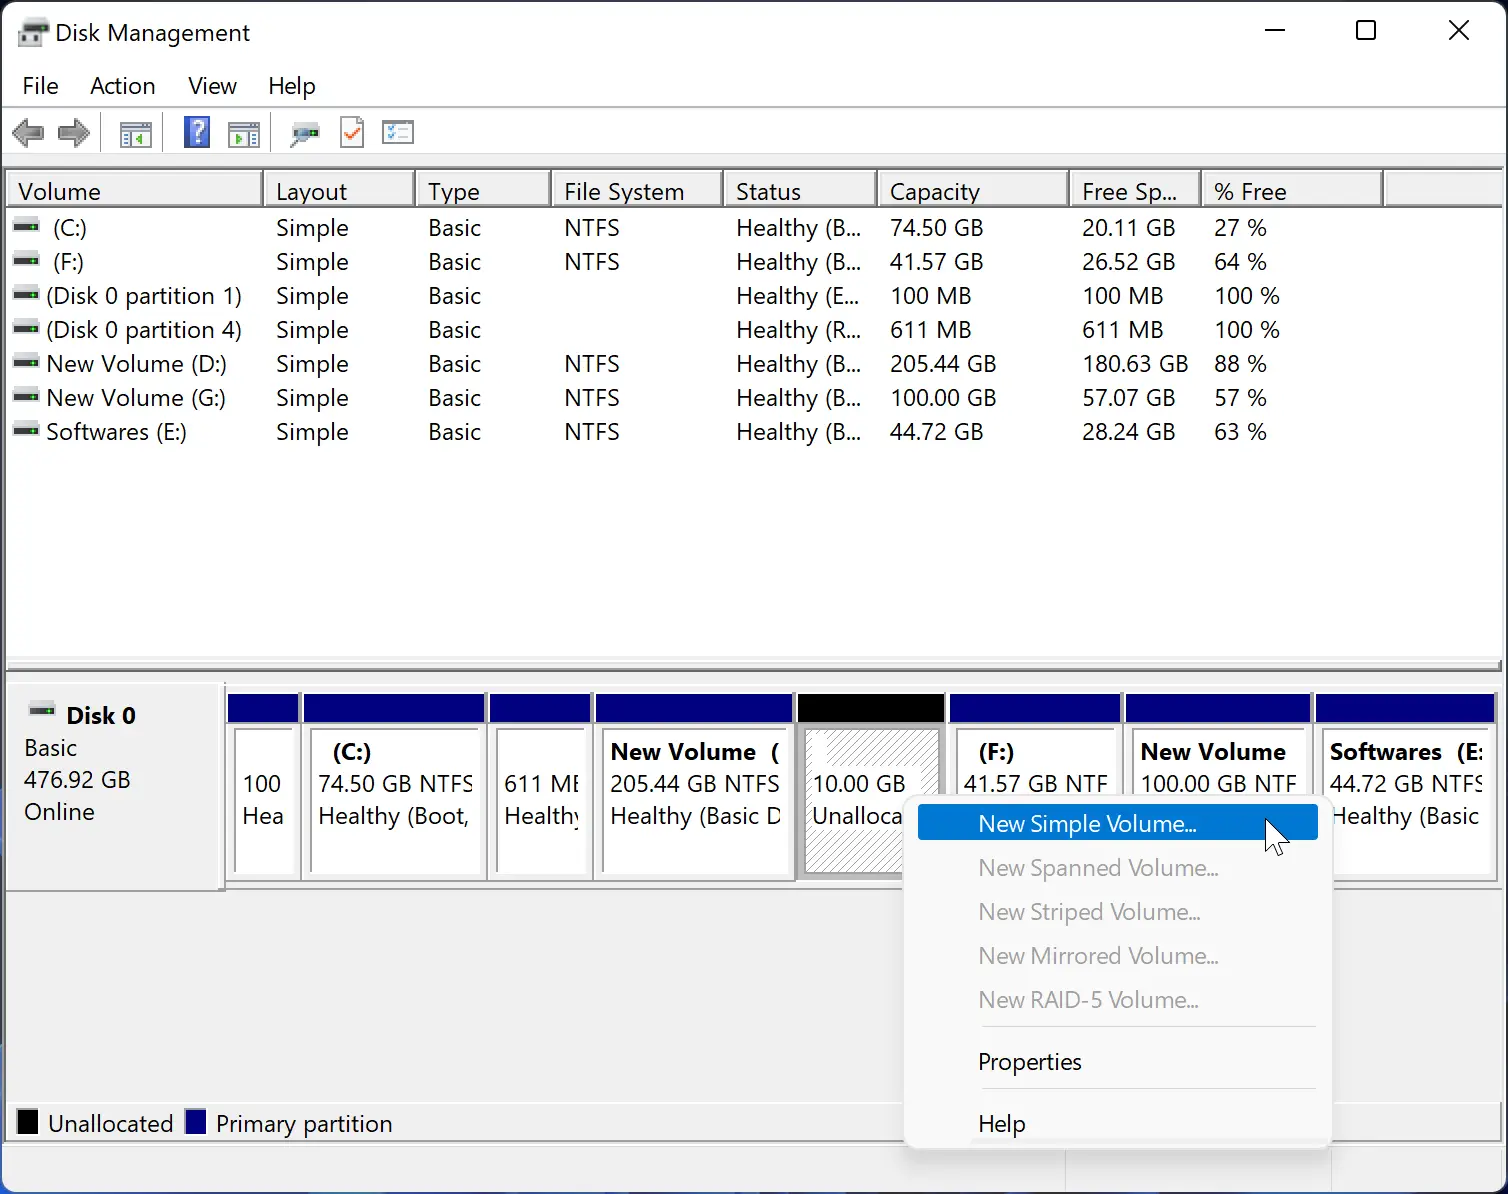
Step 3. Right-click on the unallocated partition you want to mount in a folder. Select the New Simple Volume option.
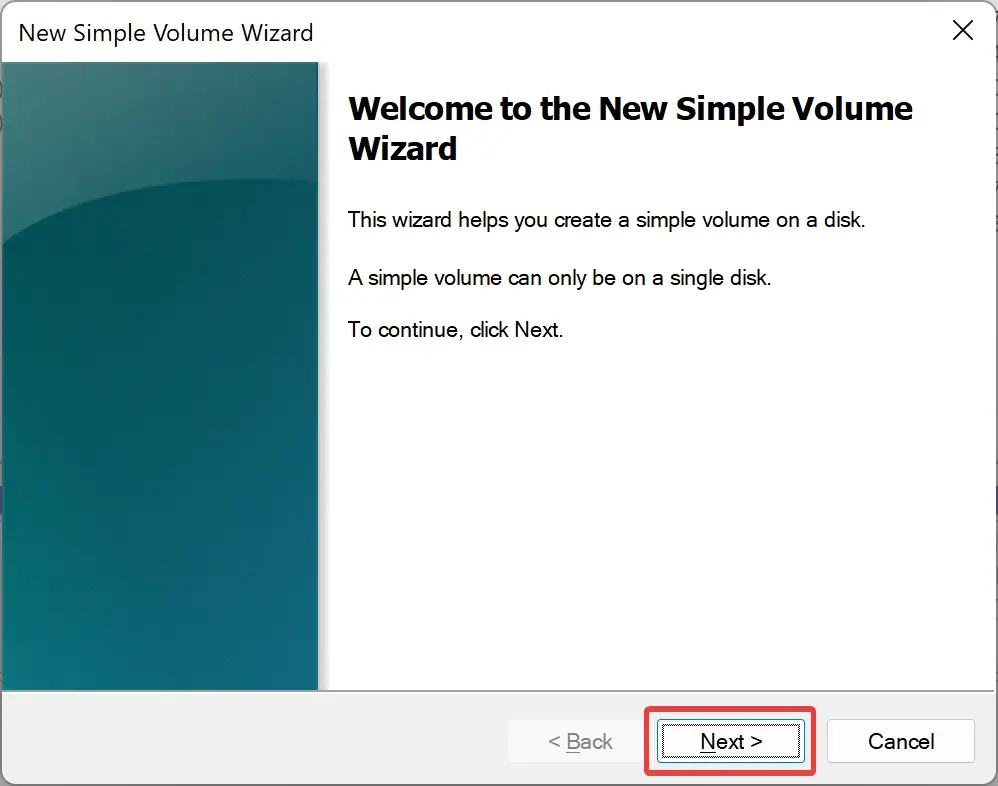
Step 4. Click the Next button.
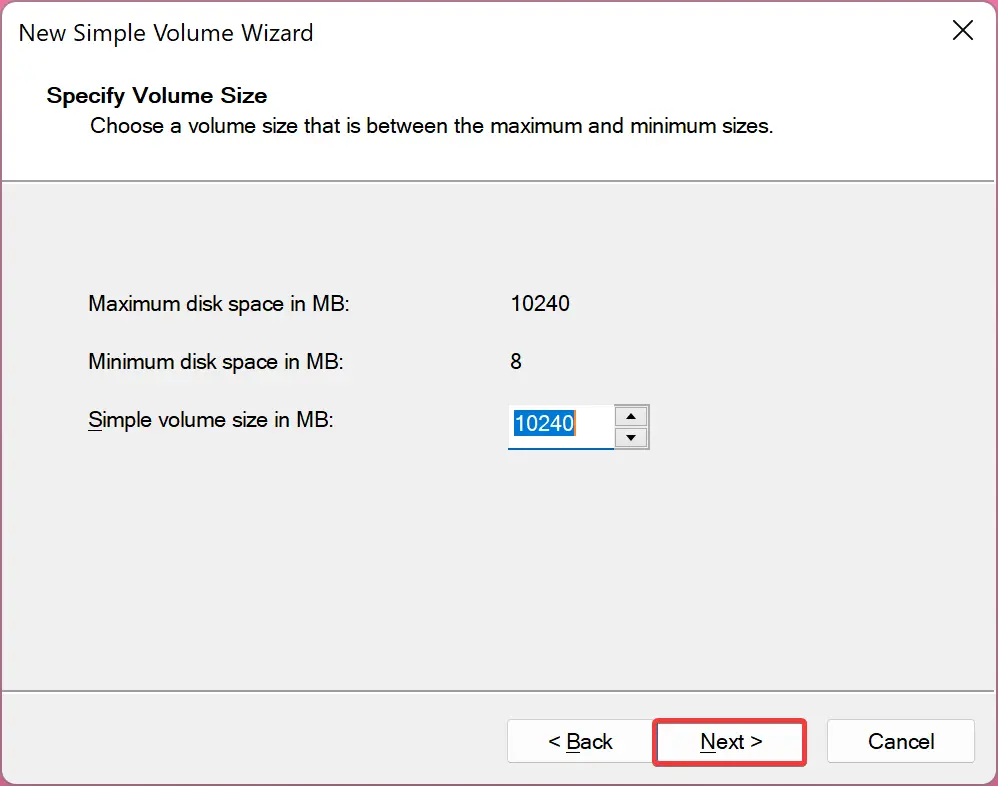
Step 5. Click the Next button.
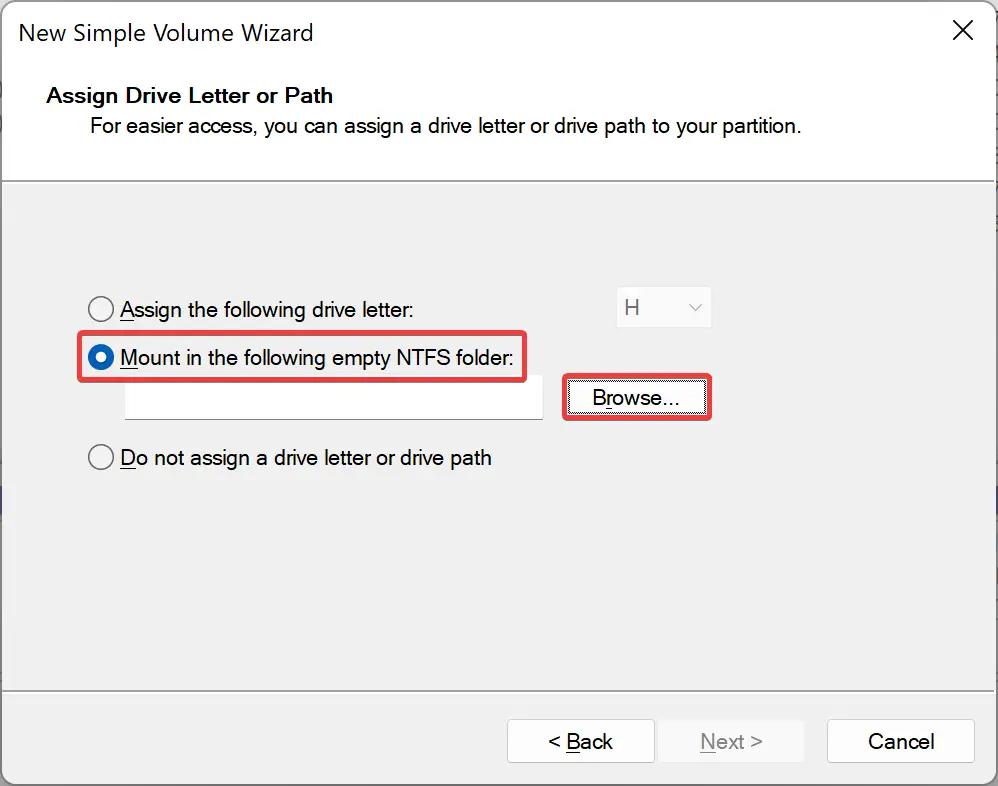
Step 6. Select the Mount in the following empty NTFS folder and click the Browse button.
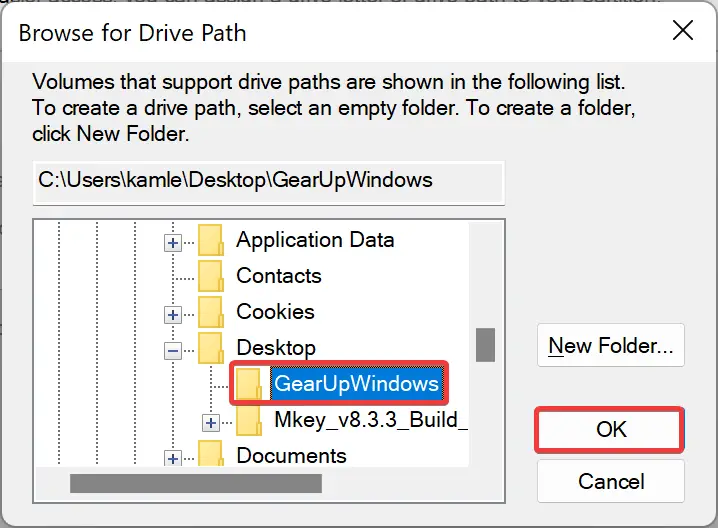
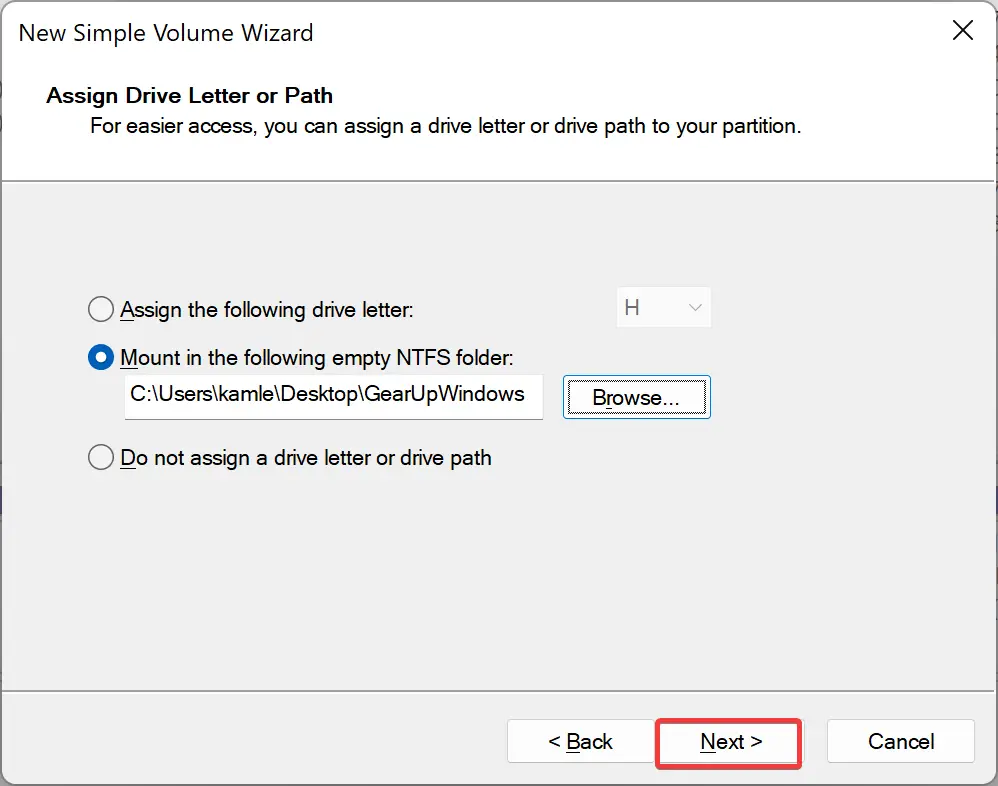
Step 7. Select the folder you created to mount the unallocated drive and click the OK button.
Step 8. Click the Next button.
Step 9. Click the Next button.
Step 10. Click the Finish button.
Once you complete the above steps, the unallocated drive will now be accessible from the folder you created.
If you want to unmount the drive from the folder, you need to format it. To do that, open the Disk Management panel and right-click on the partition or drive. Select the Format option. Click the OK button twice to complete the formatting.
Conclusion
In conclusion, mounting a drive to an empty folder is an easy way to access drive content in Windows 11 or 10 without using a third-party tool. With built-in options, you can mount an internal or external drive to a folder and access its content. The drive’s content will not move, and you can access it from the drive location or the mounted folder path. In this article, we learned how to mount and unmount a drive using the Windows 11 Settings app and Disk Management tool. Remember not to delete the folder where you mounted your drive or partition; doing so will delete the drive contents.