USB flash drive is very popular due to its size and storage capacity. One can carry a lot of data in a small device without any hassle. It is not only easy to carry, but it is also an easy-to-use device. Just connect to the PC and do your job and simply eject it without any trouble. If you often connect your USB flash drive to the same PC, then you might prefer to create a keyboard shortcut to access them with ease.
A lot of Windows PC users prefer to use keyboard shortcuts to perform their tasks quickly. It is also possible to create a keyboard shortcut to open the USB drive quickly. There is a lot of freeware program available over the internet that can create a shortcut key for your USB flash drive, but in this gearupwindows article, we will guide you through creating a shortcut of USB flash drive without any third-party tool. This guide does not only help to create a keyboard shortcut in Windows 10 PC, but you can also use the same guidelines on Windows 7 and Windows 8.
To assign a keyboard shortcut for your USB flash drive, first, you need to assign a unique drive letter so that your Windows PC will not assign a new drive letter each time you connect the drive to the PC.
Note: Before processing the steps, please backup your USB drive data because, during the process, you will lose the data that is stored on Pendrive.
How to Assign a Unique Drive Letter on Windows 10, 8, and 7 PC?
To assign a unique drive letter to your USB drive, perform the following recommended steps:-
Step 1. Connect your USB flash drive to your PC and close all the programs or files that are opened.
Step 2. Access Disk Management tool.
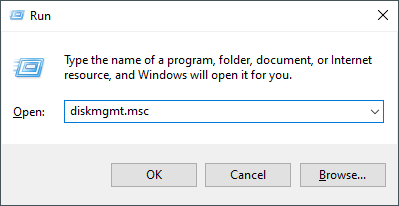
To open the Disk Management tool, press the Windows logo + R keys simultaneously to launch the Run dialog box. In the Run box, type diskmgmt.msc and then press Enter key from the keyboard.
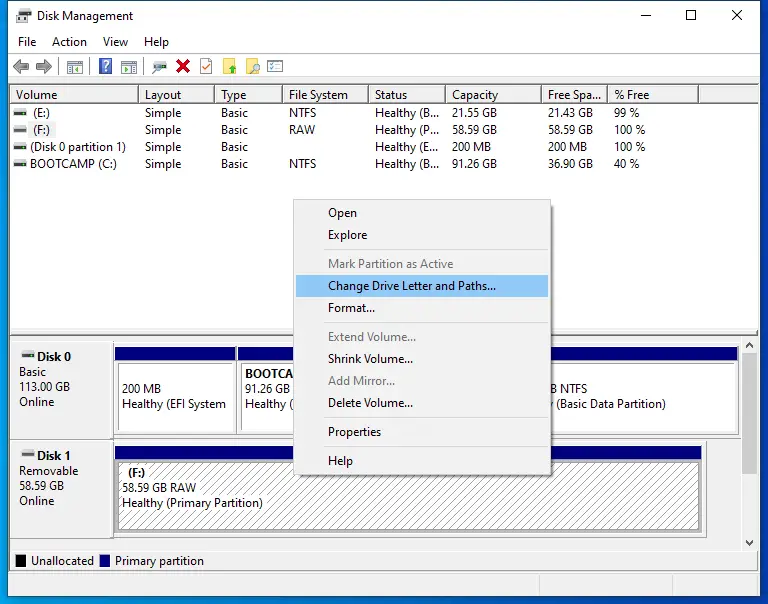
Step 3. In the Disk Management window that opens, right-click on your USB drive and select “Change Drive Letter and Paths” from the available options. Now, Change Drive Letter and Paths dialog will open.
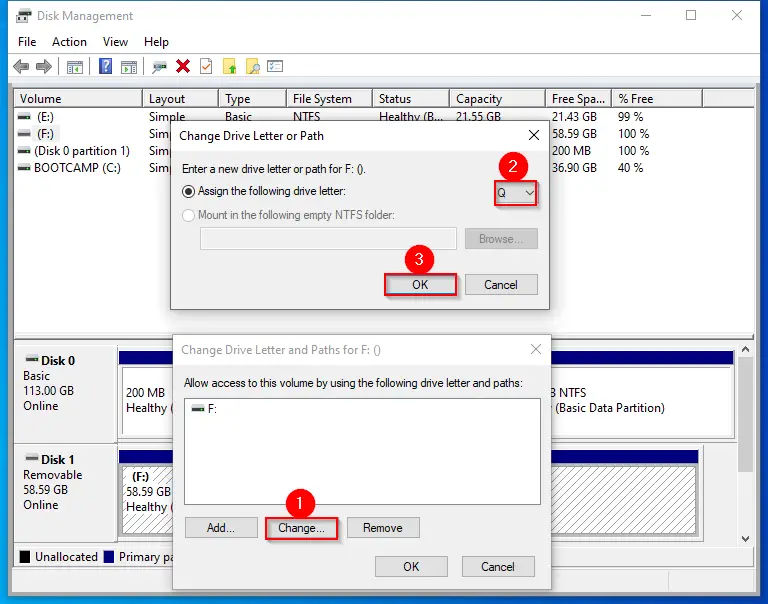
Step 4. Click the Change button and then select a free drive letter. Now, click the OK button to assign the selected letter to your USB drive.
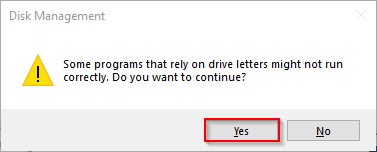
Step 5. Finally, click the Yes button when you see a dialog box, “Some programs that rely on drive letters may not run correctly. Do you want to continue?”
Step 6. Now, another dialog box will appear saying that “You need to format the disk in drive before you can use it.”
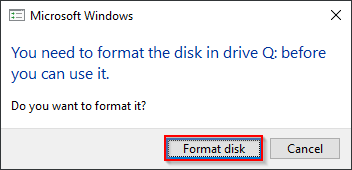
Step 7. Click the “Format disk” button to continue.
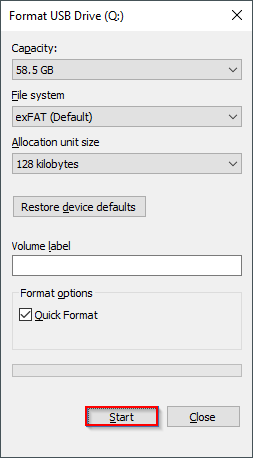
Step 8. Click the Start button when the “Format USB Drive” window opens.
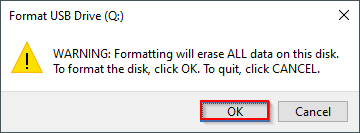
Step 9. Click OK in the next window that appears.
Step 10. Once formatting is completed, click OK.

After completing the above-mentioned steps, you have assigned a unique drive letter for your USB flash drive.
Now, you have to create a shortcut key for your USB flash drive.
How to assign a shortcut key for a USB flash drive?
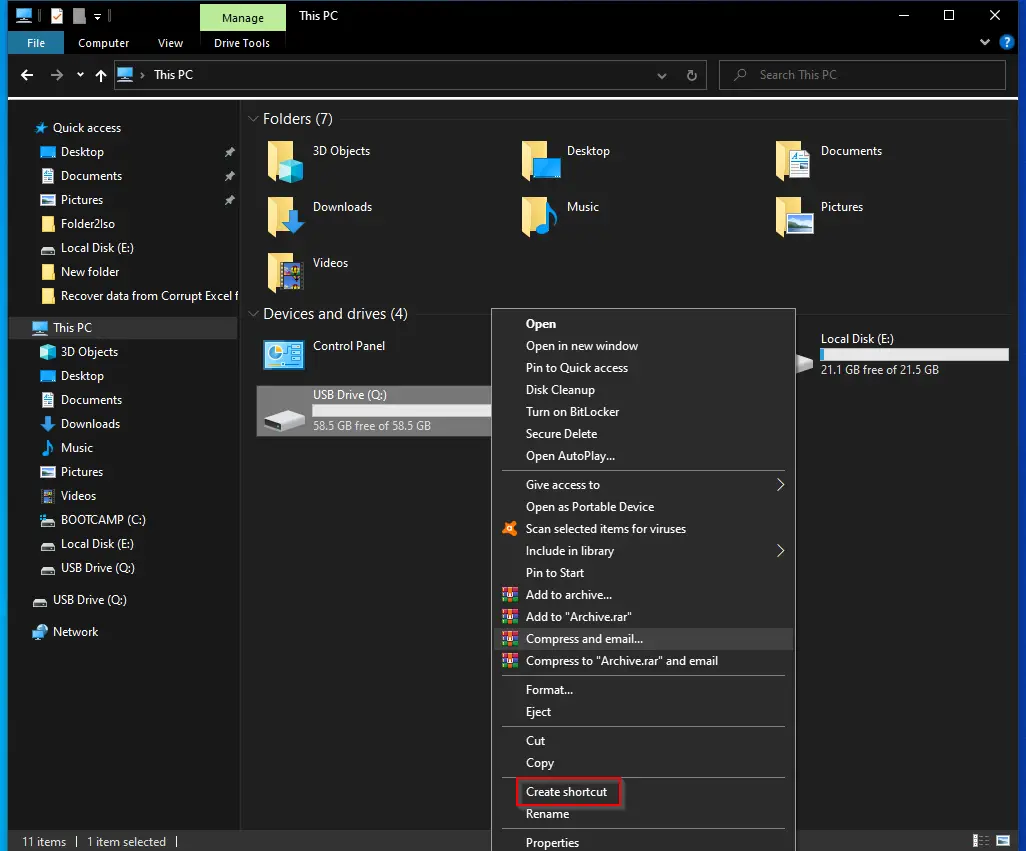
Step 1. Open Windows Explorer or File Explorer (This PC, Computer, or My Computer).
Step 2. Right-click on the USB drive and then click Create shortcut option to form a shortcut of the drive on the desktop.
Step 3. Click Yes when prompted.
The above action will create a shortcut icon for your USB flash drive on the desktop.
Step 4. Now, on the desktop, right-click on the shortcut icon of your USB drive and then choose Properties from the available options.
![]()
Step 5. In the USB Drive Properties dialog box, navigate to the Shortcut tab.
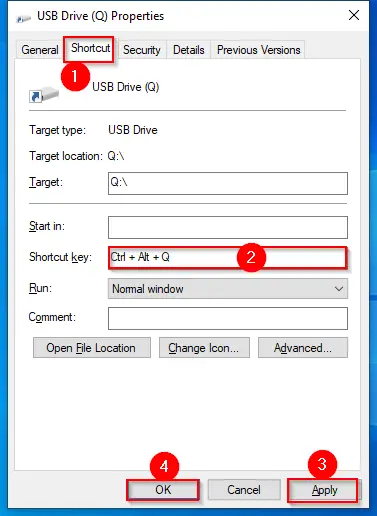
Step 6. Here, in the Shortcut key box, enter a keyboard shortcut and then click the Apply button.
For instance, press the Q key, and Windows will automatically assign Ctrl + Alt + Q to launch the USB flash drive.
Step 7. Click Apply.
Step 8. Click OK.
From now onwards, you can launch the USB drive with the assigned keyboard shortcut.
Using a similar method, you can set keyboard shortcuts to all drives of your internal hard drive. To do so, simply follow the above-mentioned steps.