Managing user accounts and groups is an essential task for Windows 11/10 administrators. To perform these tasks efficiently, you can use the Local Users and Groups Microsoft Management Console (MMC) snap-in. In this article, we will explore various methods to open this MMC snap-in on your Windows 11 or 10 system.
Note: Before proceeding, keep in mind that the Local Users and Groups MMC snap-in is not available in the Windows 11/10 Home edition. To access it, you’ll need to enable the Local User and Group Management console first.
To manage user accounts or groups in Windows 11/10, you need to open Local Users and Groups Microsoft Management Console (MMC) snap-in. This lets you manage user accounts or groups, like creation/deletion of user accounts, disabling a user account, resetting user password, enabling built-in Administrator account, preventing a user from changing Logon Password, etc.
Note:- Before proceeding with further recommended steps, you should note that the Local Users and Groups MMC snap-in is not a part of the Windows 11/10 Home edition. If you want to access Local Users and Groups MMC snap-in in Windows 11/10 Home edition, first enable the Local User and Group Management (Lusrmgr.msc) console in Windows 11/10 Home edition.
This article will show three ways to run the Local Users and Groups MMC Snap-in in Windows 10/11. These are the following:-
- Open Local Users and Groups Snap-in using Computer Management.
- Open Local Users and Groups Snap-in via Command Prompt.
- Open Local Users and Groups Snap-in in User Accounts.
- Open Local Users and Groups Snap-in using the Run dialog.
- Open Local Users and Groups Snap-in using PowerShell.
How to open Local Users and Groups Snap-in in Windows 11/10 using Computer Management?
Follow these steps to open Local Users and Groups Snap-in in Windows 11/10 using Computer Management:-
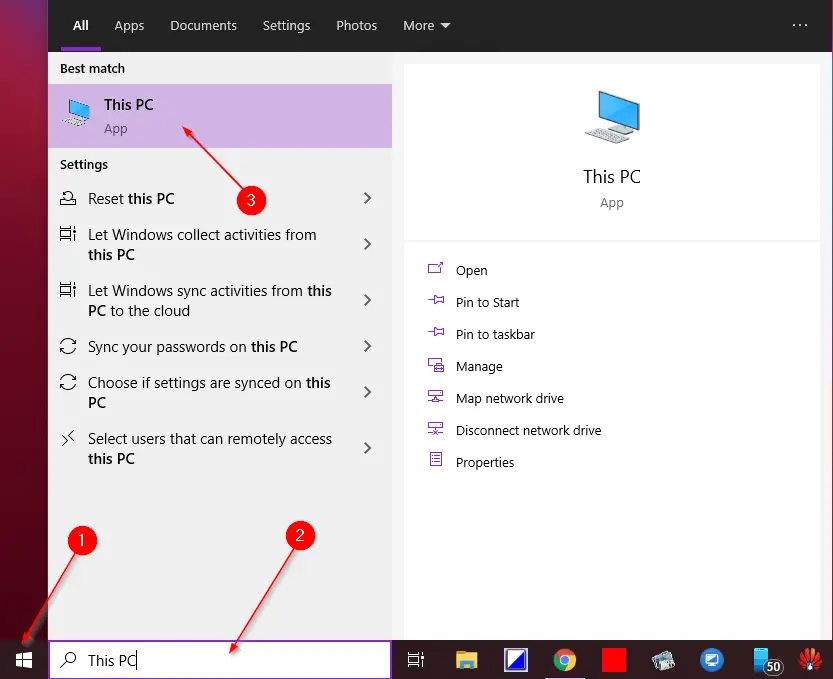
Step 1. Click the Start button/menu and type This PC.
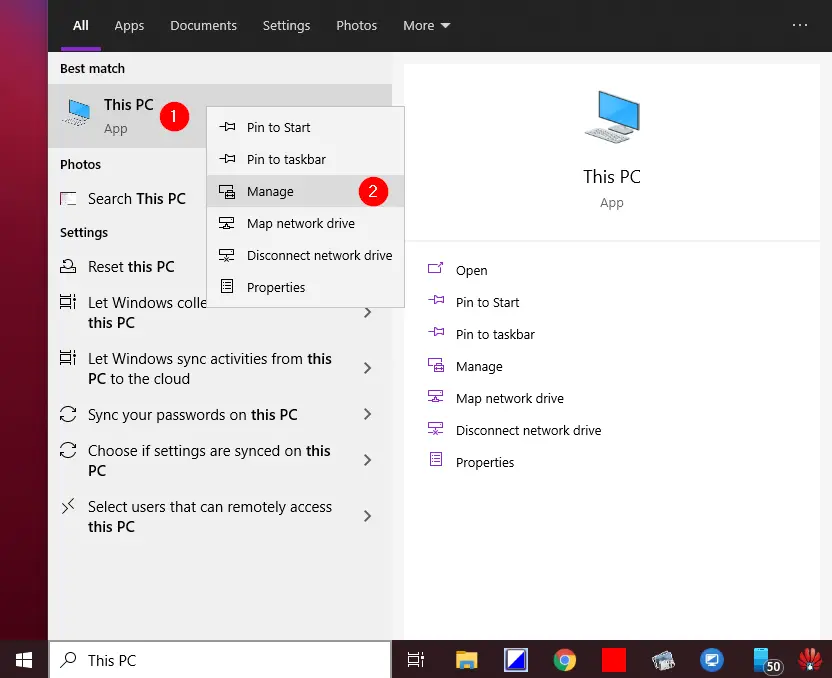
Step 2. Right-click on This PC and select the Manage option.
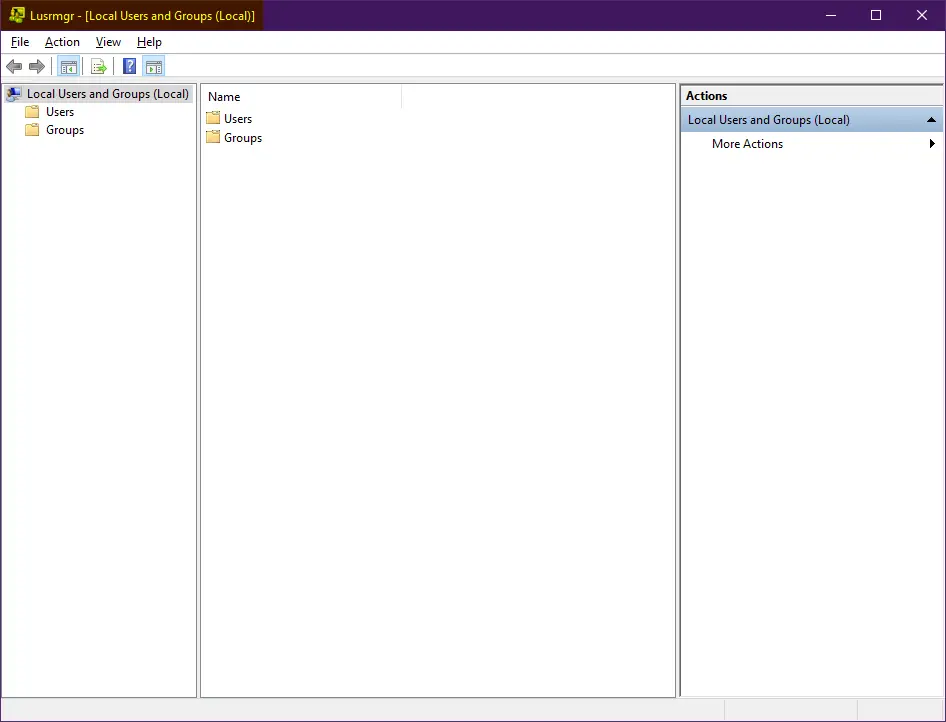
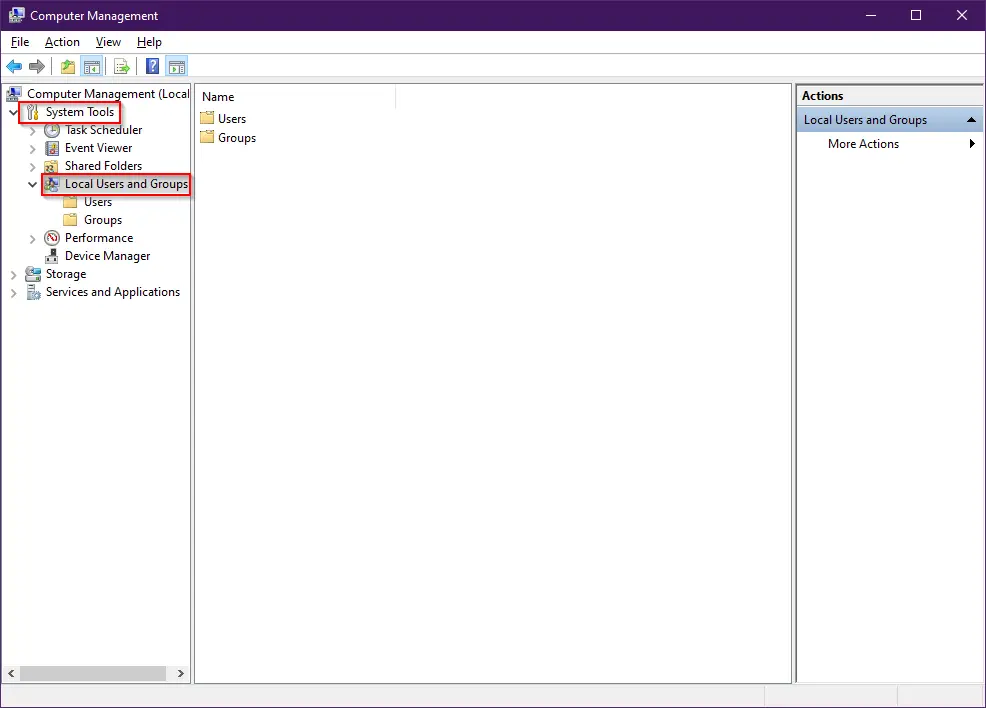
Step 3. After that, the Computer Management window opens.
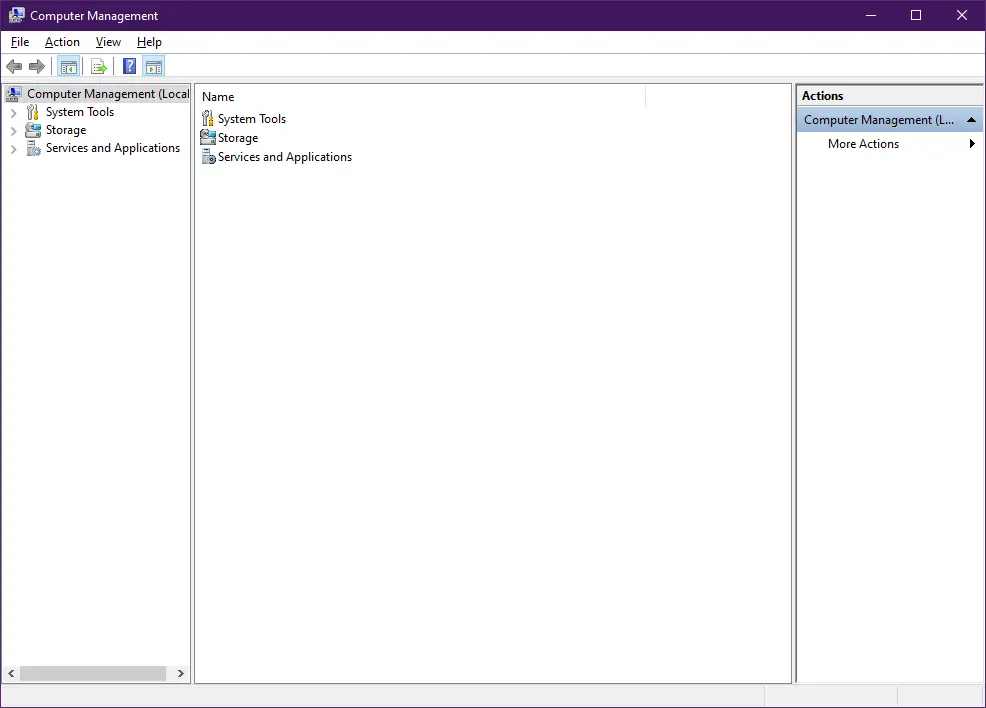
Step 4. Expand System Tools in the left console tree, and you can access Local Users and Groups MMC snap-in.
How to open Local Users and Groups Snap-in via Command Prompt?
First, open the Command Prompt window.
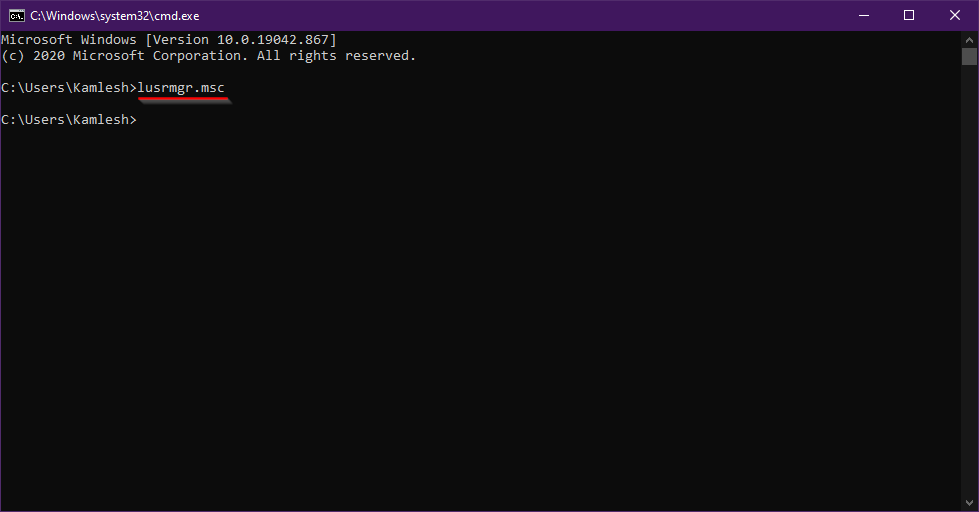
Then, click the Start button and type CMD; click on the Command Prompt from the available results to open the Command Prompt window. Type lusrmgr.msc on the prompt and press Enter from the keyboard to open the Lusrmgr (Local Users and Groups) window.
How to open Local Users and Groups Snap-in in User Accounts?
Follow these steps to open Local Users and Groups Snap-in in User Accounts:-
Step 1. Press the Windows logo + R keys to open the Run dialog box.
Step 2. Type the following command and hit Enter from the keyboard:-
netplwiz
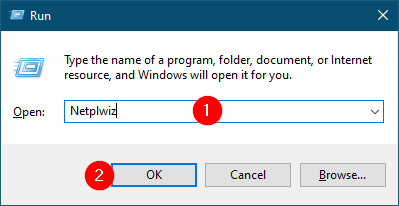
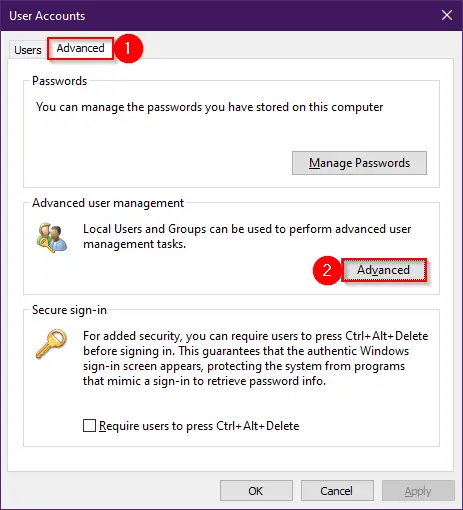
Step 3. The User Accounts dialog box will open up. Switch to the Advanced tab and then click the Advanced button. Now, you can access the Local Users and Groups snap-in.
How to open Local Users and Groups Snap-in in Windows 11/10 using the Run dialog?
Follow these steps to open Local Users and Groups Snap-in in Windows 11/10 using the Run dialog:-
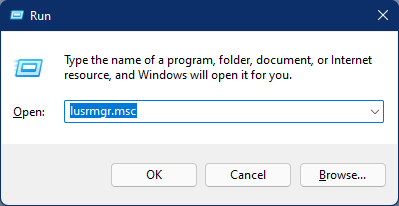
Step 1. First, press the Windows + R keys to open the Run dialog box.
Step 2. Type lusrmgr.msc in the Run box and press Enter on the keyboard or click the OK button.
How to open Local Users and Groups Snap-in in Windows 11/10 using PowerShell?
Follow these steps to open Local Users and Groups Snap-in in Windows 11/10 using PowerShell:-
Step 1. Open Windows PowerShell by clicking on the Start button, typing PowerShell, and clicking on the Windows PowerShell entry in the search results.
Step 2. Then, type lusrmgr and hit Enter.
Once you complete the above steps, you should access Local Users and Groups MMC Snap-in in Windows 11/10.
Conclusion
In conclusion, managing user accounts and groups is an important task that every Windows 11/10 user needs to know. The Local Users and Groups Microsoft Management Console (MMC) snap-in is a powerful tool that allows users to create or delete user accounts, disable user accounts, reset user passwords, enable the built-in Administrator account, and much more. In this article, we have explained five different ways to open Local Users and Groups Snap-in in Windows 11/10, including using Computer Management, Command Prompt, User Accounts, Run dialog, and PowerShell. However, it’s important to note that the Local Users and Groups MMC snap-in is not a part of the Windows 11/10 Home edition, and users need to enable the Local User and Group Management console first. By following the steps mentioned in this article, users can easily access Local Users and Groups MMC Snap-in in Windows 11/10 and manage their user accounts and groups effectively.