Most Windows users love Windows 11 and started installing it on their PC even if Secure Boot and TPM 2.0 are not supported. Some users are testing Windows 11 on a virtual machine since the final version has not arrived yet. Windows 11 comes with several new features and tools to increase your productivity. According to Microsoft, if your computer meets the minimum hardware requirement of Windows 11, then Windows 10 will be updated to Windows 11 automatically.
If you are not sure whether your PC is compatible with Windows 11, you can use any of the following tools:-
But what if I don’t want to upgrade to Windows 11? In other words, what is the solution if my computer is compatible with Windows 11, but still, I don’t want to upgrade my Windows OS? Is there any way to stop installing Windows 11 on my PC? No more Windows 11!
If, due to some reason, you don’t want to migrate to Windows 11, Microsoft provides a built-in way to block it from being installed on your Windows 10 computer. You can prevent Windows 11 from being installed on your computer by modifying Registry or Group Policy settings.
If you are running Windows 10, say Microsoft to keep Windows 11 away because I am not ready to learn it. In this gearupwindows article, we will guide you with steps to restrict Windows 11 from being installed on your PC.
How to Block Windows 11 from being installed on your Computer using Local Group Policy Editor?
Using Group Policy Editor, you can stop Windows 11 from being installed on your PC. But before proceeding with the steps, you should remember that this option is only available for users with the Pro, Enterprise, and Education editions of Windows 10. That means if you are using Windows 10 Home Edition, you can’t use this method to stop Windows 11. However, the next method, the registry editor, will help all editions of Windows 10 users.
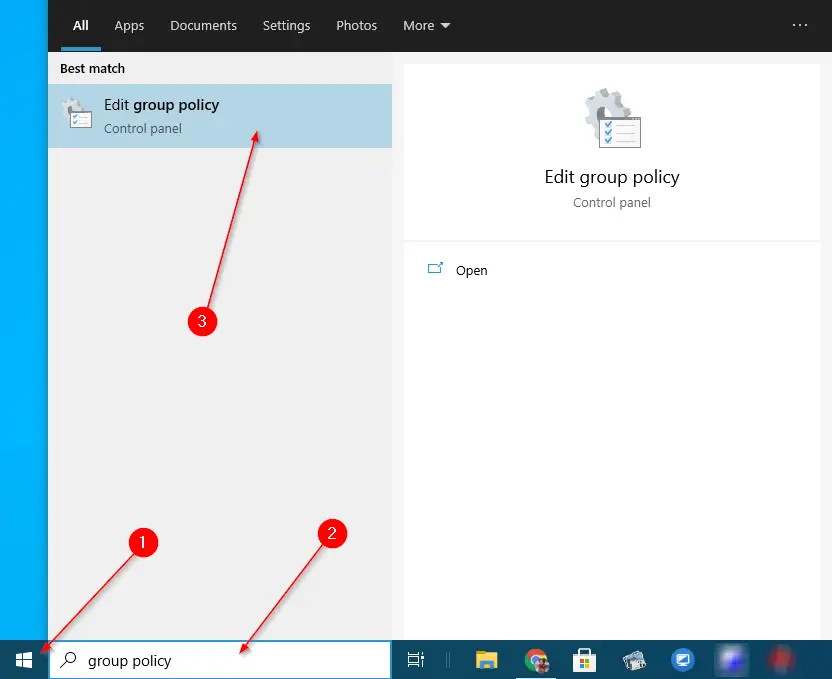
Step 1. Open the Local Group Policy Editor.
To do that, click on the Start button from the taskbar and then type group policy. In the available search results, click on the top entry Edit group policy to open Group Policy.
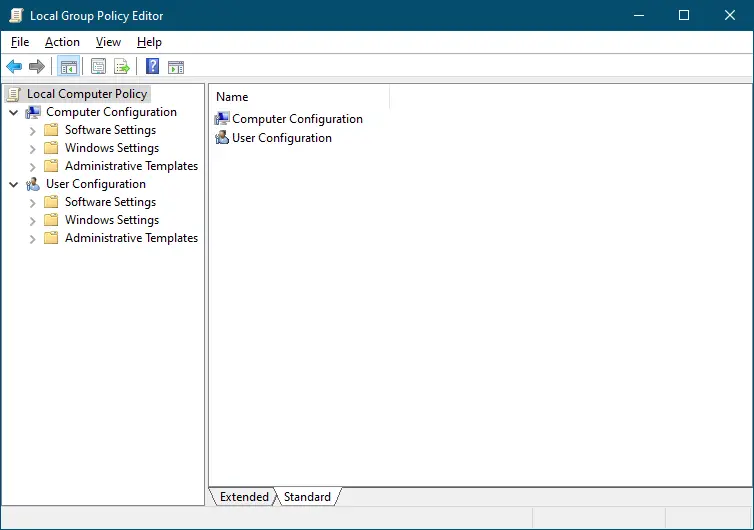
Step 2. In the Local Group Policy Editor, navigate to the following path from the left side pane:-
Local Computer Policy > Computer Configuration > Administrative Templates > Windows Components > Windows Update > Windows Update for Business
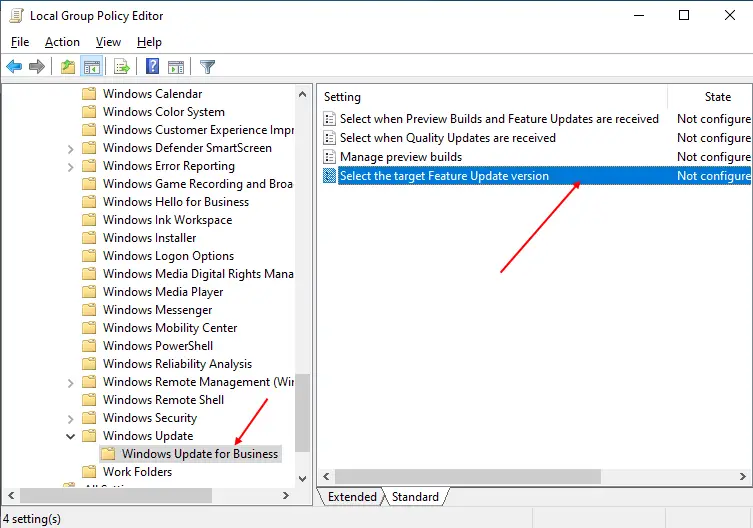
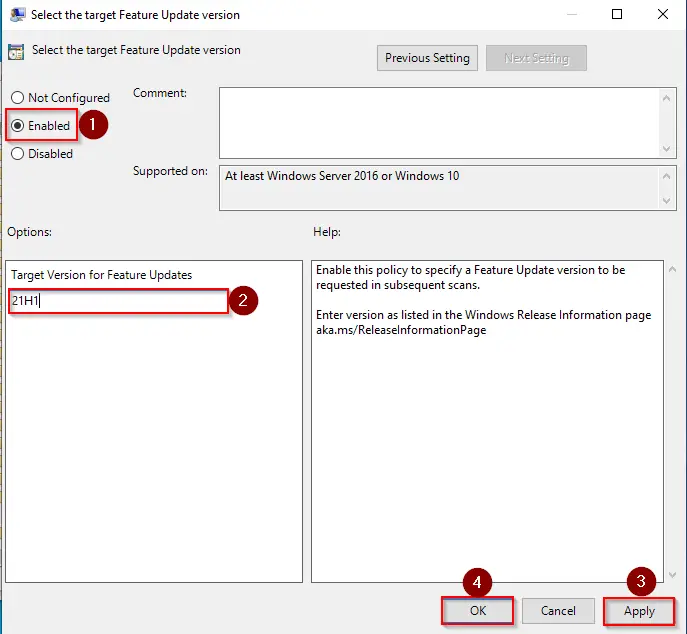
Step 3. On the opposite side of the “Windows Update for Business” folder, double-click on the policy name, “Select the target Feature Update version,” to open its settings. Select the Enabled option. Type 21H1 or 21H2 into the text field “Target Version for Feature Updates.” Finally, click on the Apply and then the OK button.
After executing the above steps, your PC will not install Windows 11. Once you are ready to install Windows 11, repeat the above steps, and in step 3, select the radio button Not Configured. When Windows 11 is finally released, and your PC is compatible with it, Windows 10 will be automatically upgraded to Windows 11. Since Microsoft provides a free update from Windows 10 to Windows 11, your OS will be automatically activated.
How to Prevent Windows 11 from being installed on Your Computer using Registry Editor?
This method is applicable to all editions of Windows 10. If you cannot open Gpedit.msc due to any reason on your PC, you can use this registry editor method.
Step 1. Open the Registry Editor.
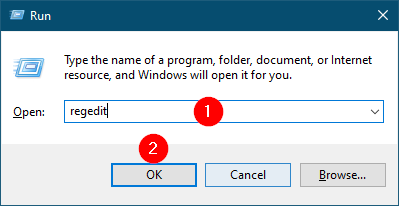
To do so, press the Windows + R keys simultaneously from the keyboard to launch the Run command box. In the Run box, type regedit and click the OK button to open the Registry Editor.

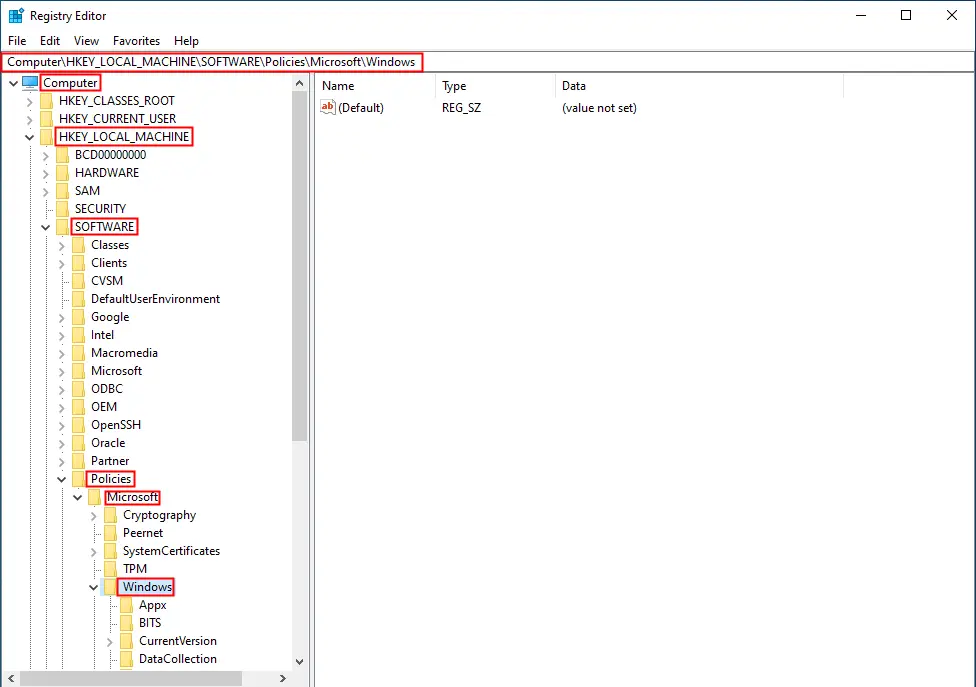
Step 2. In the Registry Editor window, navigate or steer for the following registry key from the left side pane:-
Computer\HKEY_LOCAL_MACHINE\SOFTWARE\Policies\Microsoft\Windows
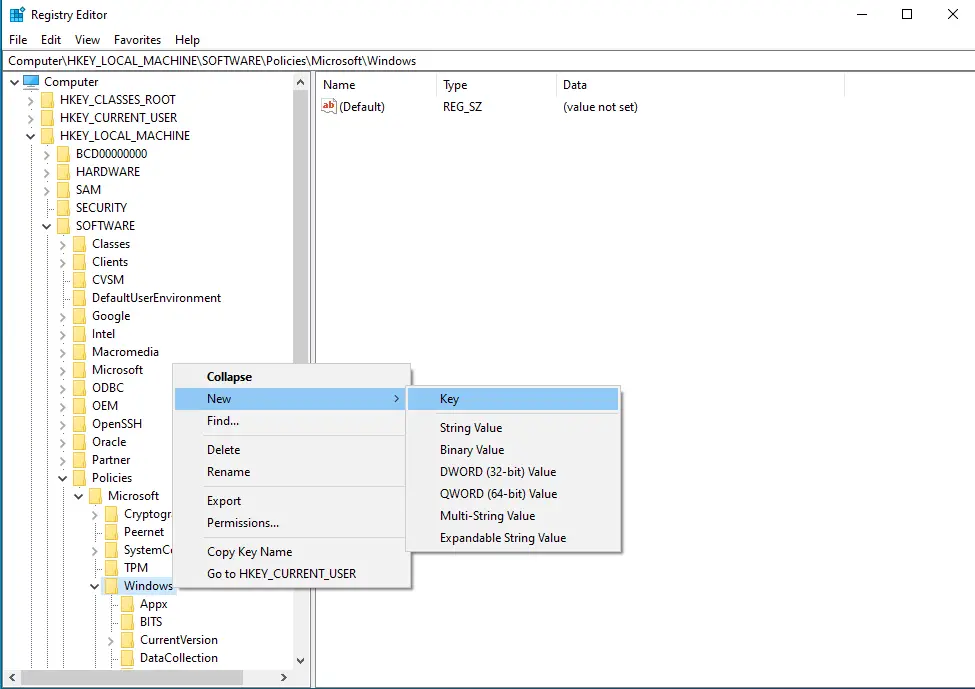
Step 3. Right-click on the Windows folder, select the New, and then the Key option. Name the newly created key to WindowsUpdate.
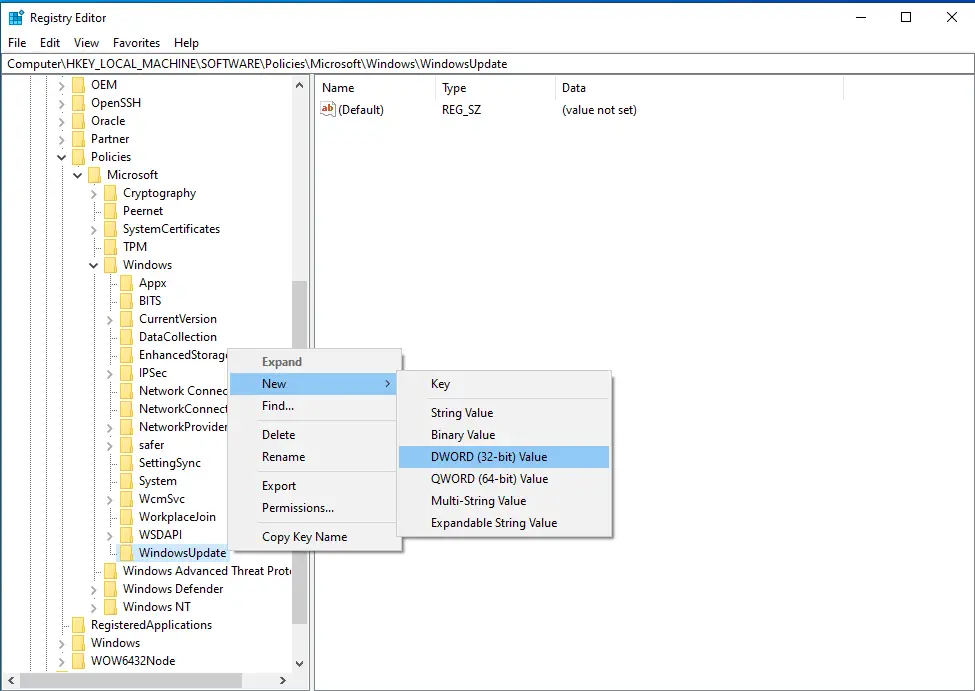
Step 4. Now, select the WindowsUpdate folder and then right-click on it. Select New and then DWORD (32-bit) Value option. Name it to TargetReleaseVersion.
Step 5. On the opposite side of the WindowsUpdate folder, double-click on the TargetReleaseVersion DWORD (32-bit) Value. Change the Value data to 1 and then click on the OK button.
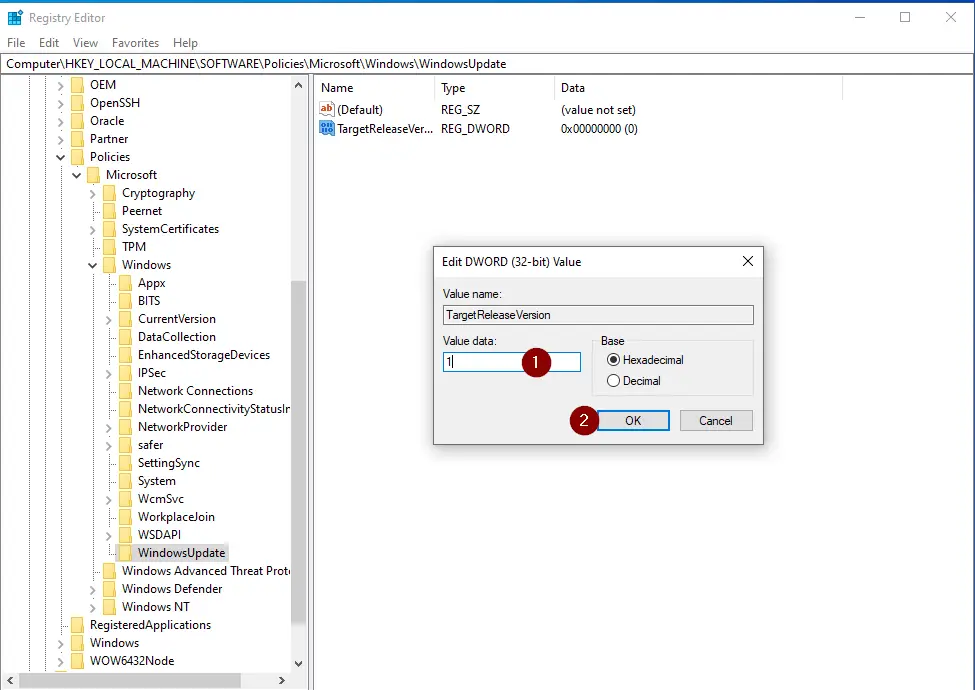
That’s all. Close the Registry Editor window and say goodbye to Windows 11. In case you want to get Windows 11 installed on your PC, navigate to the following registry key:-
HKEY_LOCAL_MACHINE\SOFTWARE\Policies\Microsoft\Windows\WindowsUpdate
Double-click on the TargetReleaseVersion DWORD (32-bit) Value and set its Value data to 0.
Good luck.
Conclusion
In conclusion, Windows 11 has many new features and tools that can increase productivity. However, some users may not want to upgrade their Windows OS to Windows 11, even if their computer meets the minimum hardware requirements. In such cases, Microsoft provides built-in options to block Windows 11 from being installed on your Windows 10 computer. You can use either the Local Group Policy Editor or the Registry Editor, depending on your Windows 10 edition. With the Local Group Policy Editor, you can select the target Feature Update version and prevent Windows 11 from being installed. With the Registry Editor, you can create a new key named WindowsUpdate and set the TargetReleaseVersion to 1 to block Windows 11 from being installed. By following these steps, you can stop Windows 11 from being installed on your computer until you are ready to make the switch.