When you print a Microsoft Word document in Windows 11 or 10, the printer prints them in the same order. Suppose you open a Word document and give the command to print from 1 to 10 pages. First, the printer will print page number 1, then page 2, and so on. After printing, page number 1 will stay at the bottom, then page 2, and at the top, you will find page 10. That means you have to rearrange the pages in a manner that was available in the Word document.
It is okay if you only have to print a few pages; you can rearrange them manually. But what if you have to print thousands of pages? Manually arranging the pages in the same manner as it was available in the Word document will consume a lot of time.
To save lots of your valuable time, you can print documents in reverse order so that after printing the documents, you don’t need to rearrange the papers. When you print documents in reverse order, the printer will print the last document first and so on. That means when printing is finished; page number 1 will come up at the top of other pages. So, you don’t need to rearrange the papers.
A high-end printer may be able to print documents in reverse order; if not, you can use the built-in option of Microsoft Word. No need to download a third-party application to print documents in reverse order.
In this gearupwindows article, we will guide you through printing Microsoft Word documents in reverse order in Windows 11 and 10.
How to Set Up Microsoft Word to Print Documents in Reverse Order?
This is the best way to print Word documents in reverse order. Once you set up Microsoft Word to print documents in reverse order, you don’t need to change the settings in the future.
To set up Microsoft Word to print documents in reverse order, use these steps:-
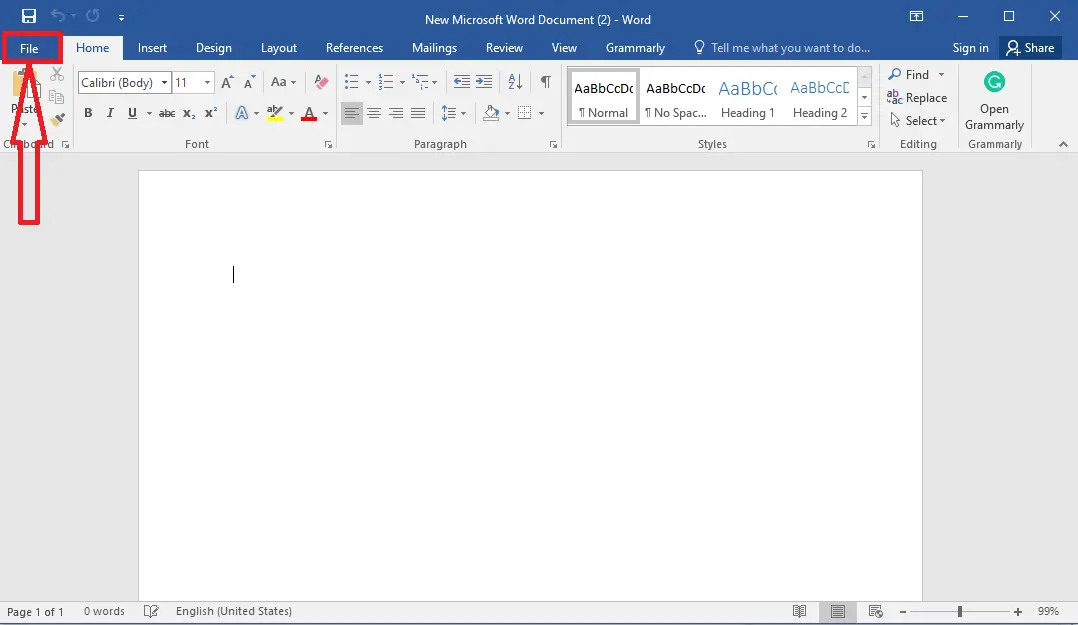
Step 1. Open a Microsoft Word document.
Step 2. Click on the File menu.
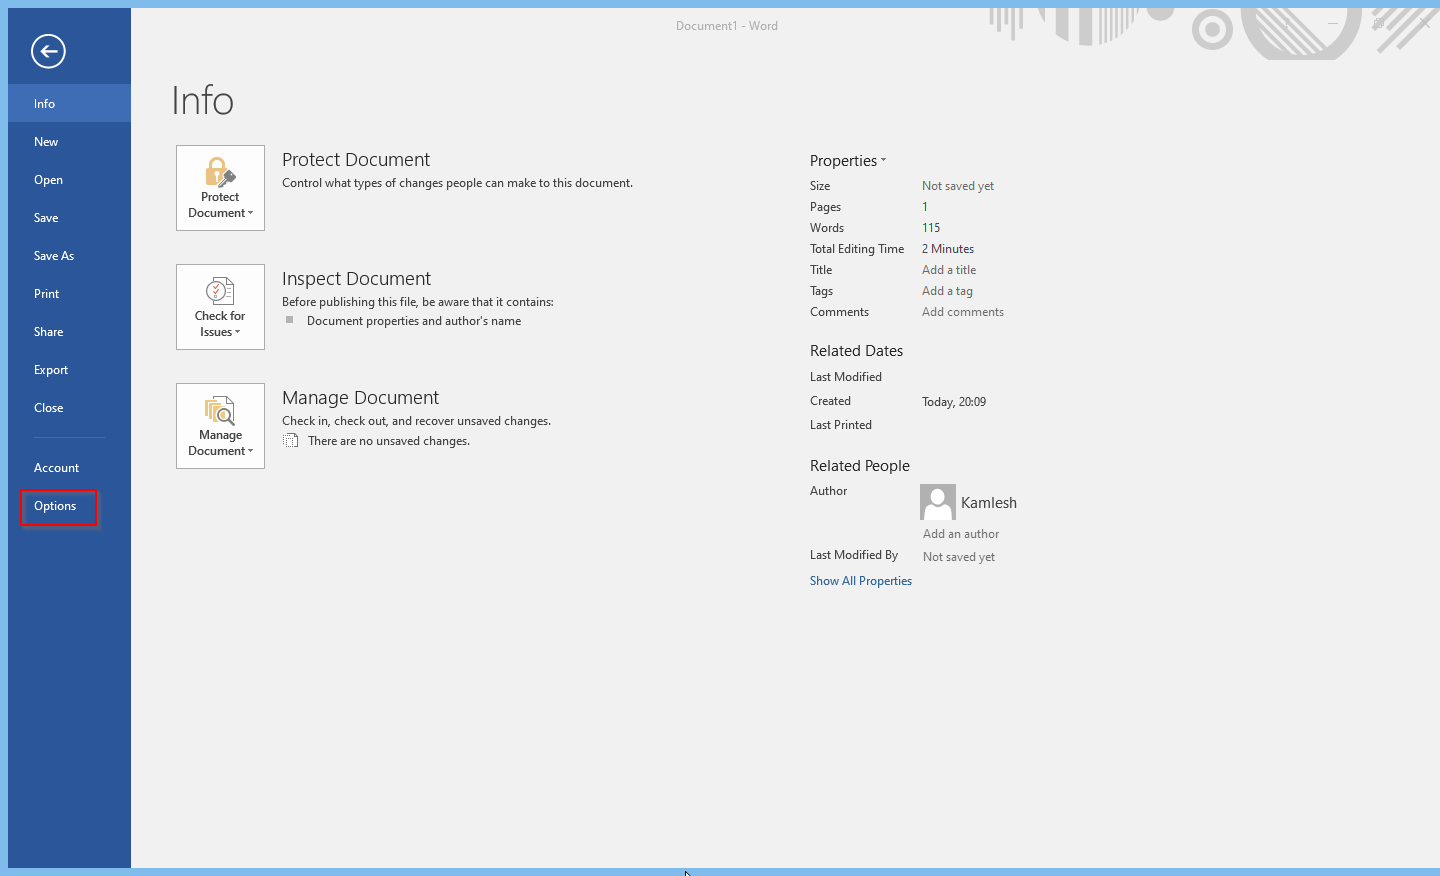
Step 3. Choose Options in the left sidebar.
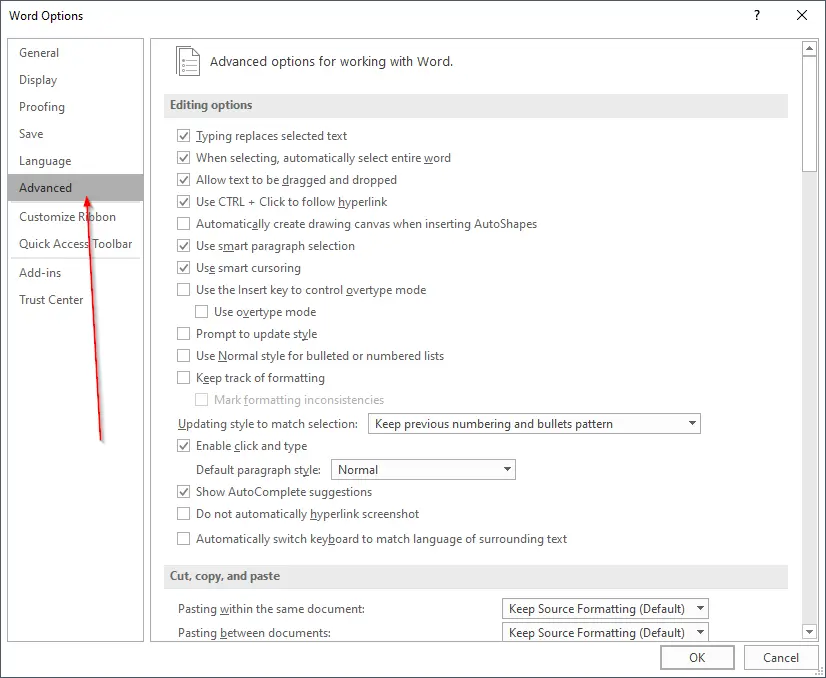
Step 4. When you’re done, the Word Options panel will open. Here, switch to the Advanced tab.
Step 5. On the right sidebar, check the option “Print pages in reverse order” under the “Print” section.
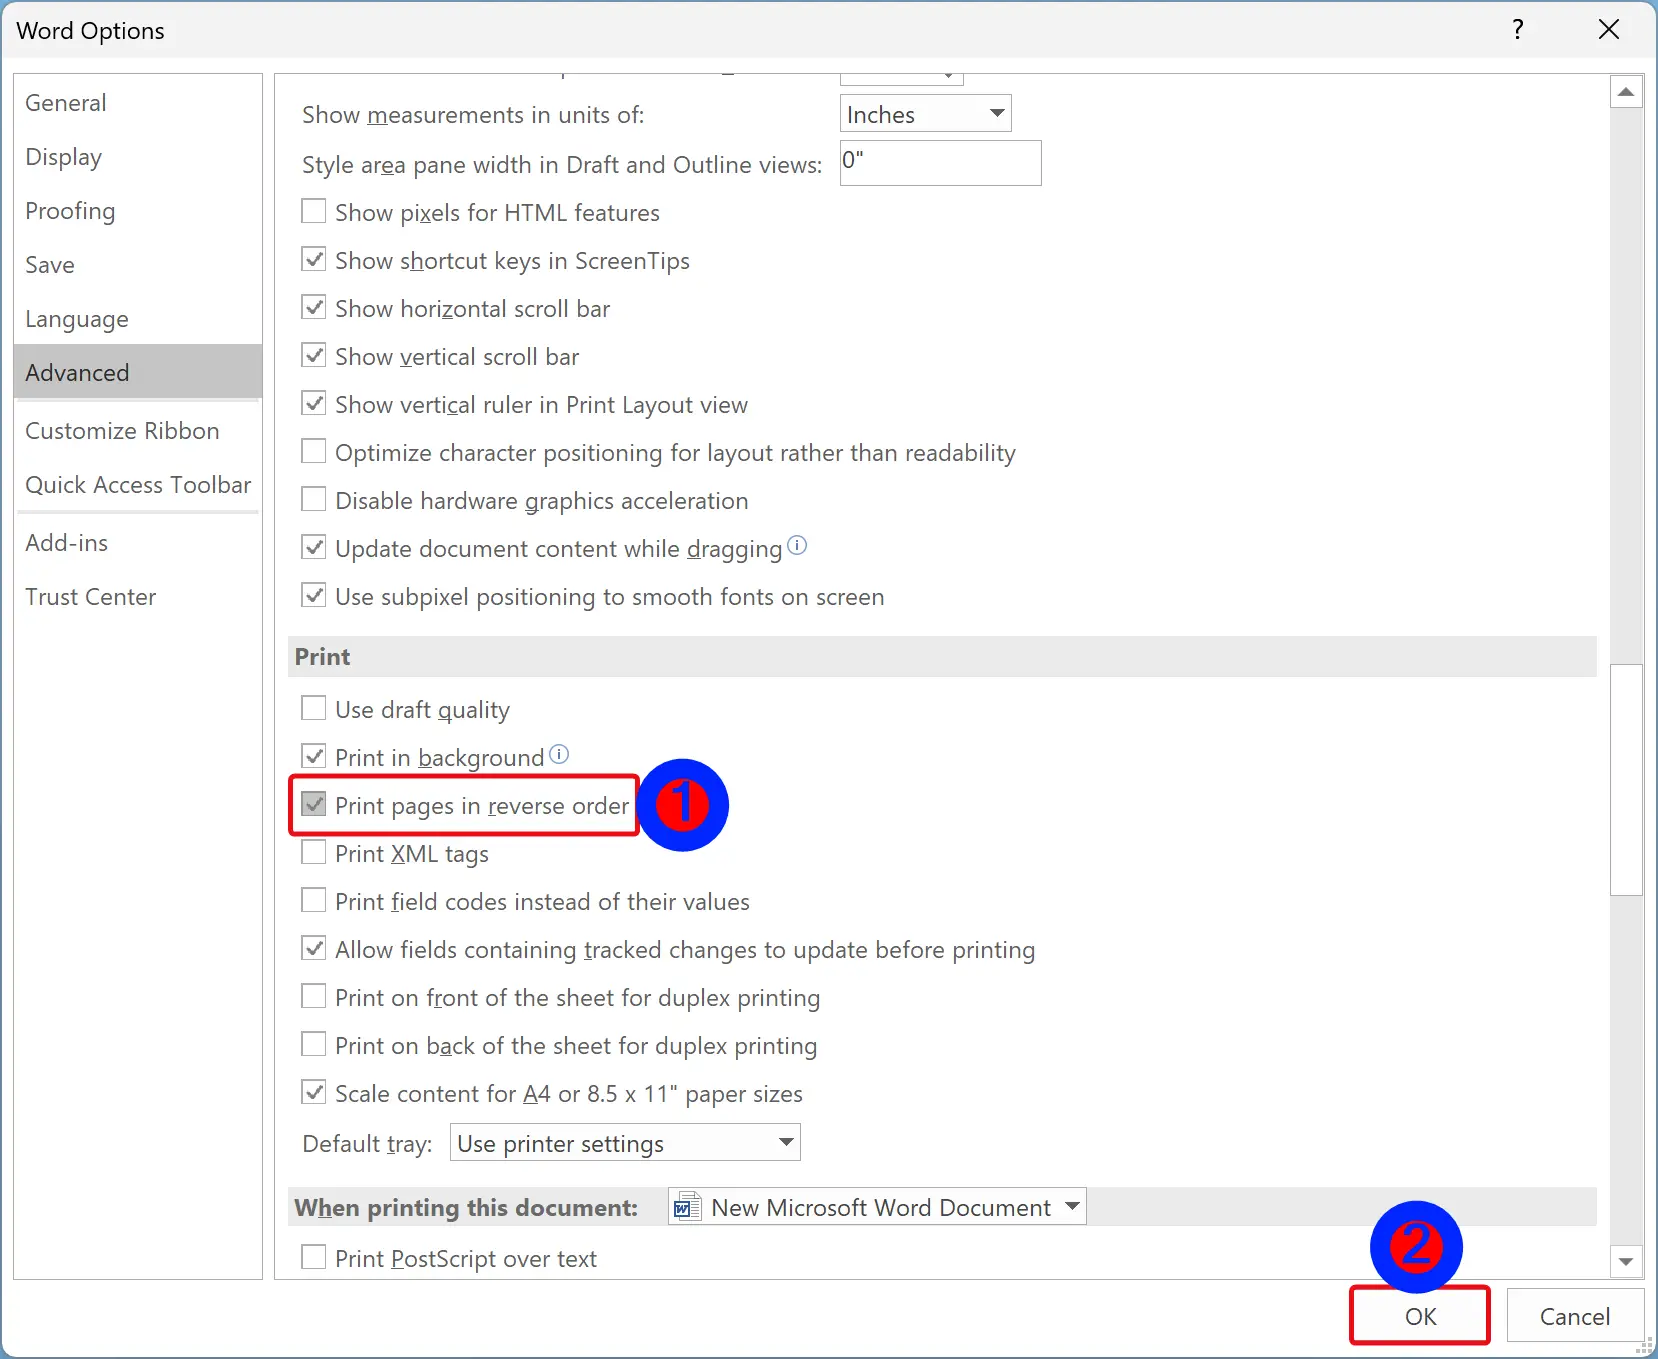
Step 6. Click OK.
Once you complete the above step, Word will print documents in reverse order. For example, if you give a command to print pages from 1-10, the printer will first print page 10, then 9, and so on.
How to Print Microsoft Word Documents in Reverse Order using Print Dialog?
Word, Excel, and PowerPoint have a built-in option to print pages in reverse order. Whether you want to print a document, spreadsheet, or presentation, you can print that in reverse order.
To print a Microsoft Word document in reverse order through the Print dialog, use these steps:-
Step 1. Open a Microsoft Word document.
Step 2. Select File > Print in the menu.
Step 3. Enter the page number in the “Pages” option in reverse order, such as 100-1.
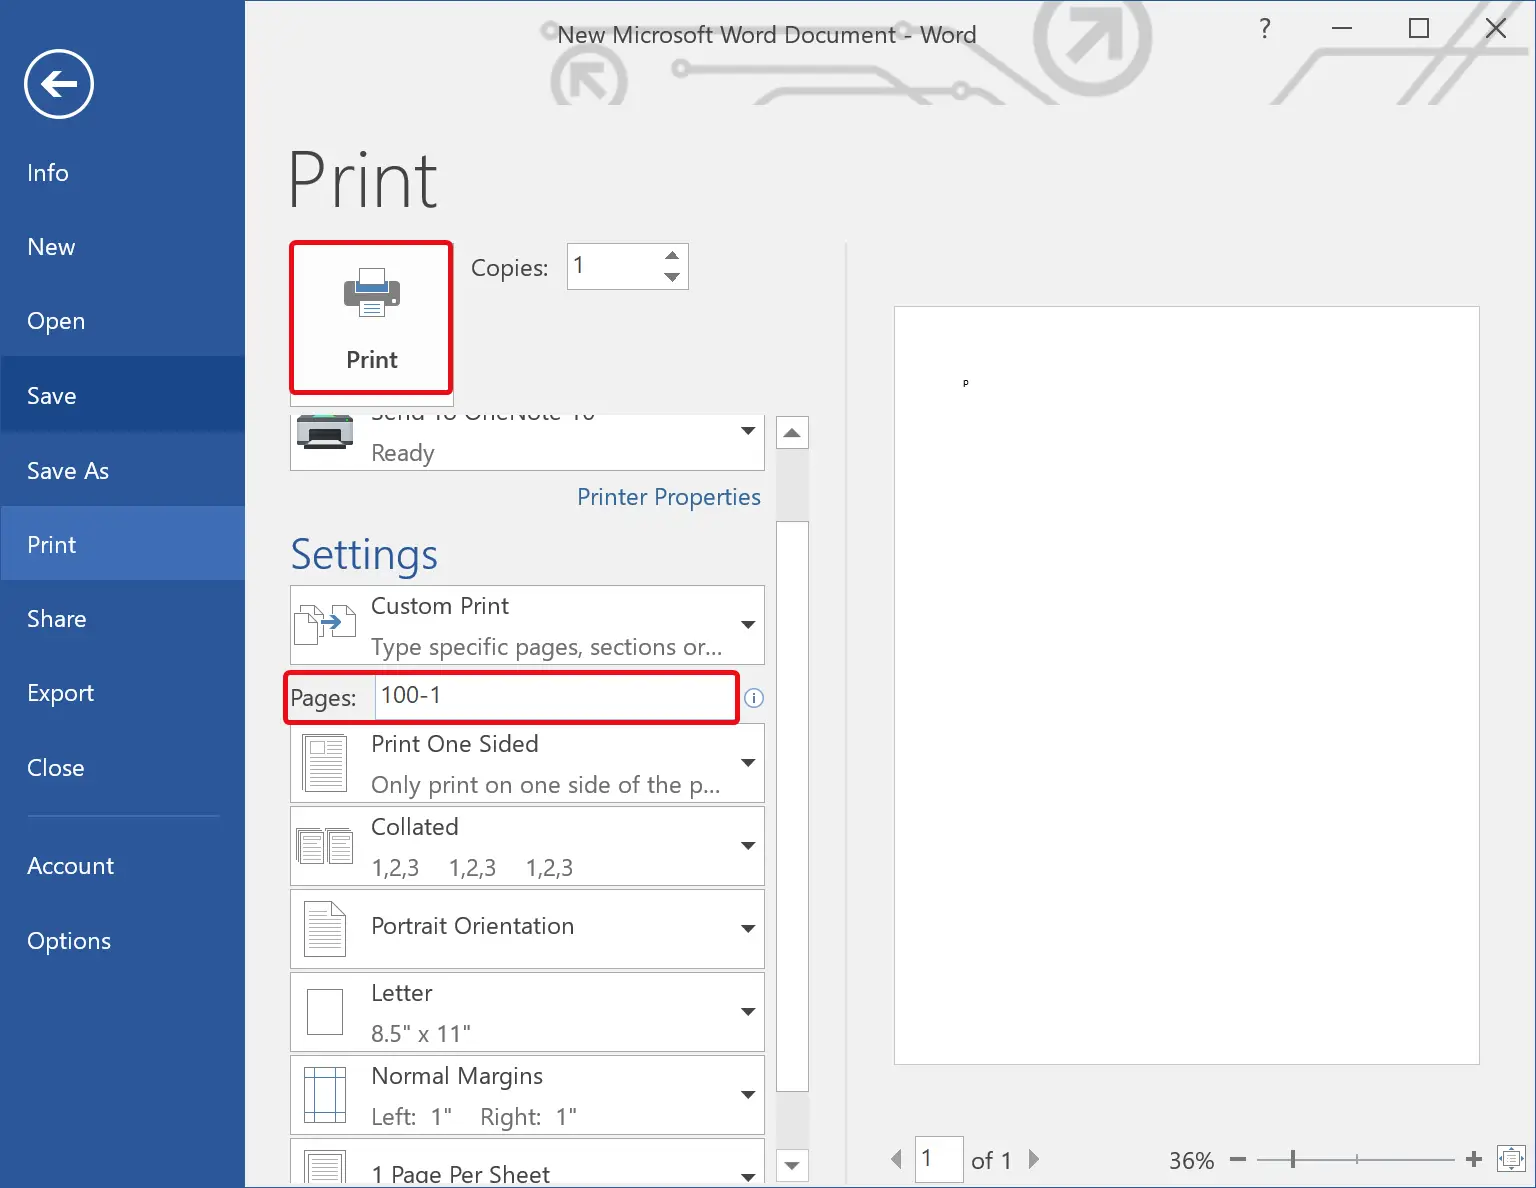
Step 4. Finally, click the Print button.
You need to repeat the steps each time you want to take printouts in reverse order.
Conclusion
In conclusion, printing large documents can be time-consuming and tedious, especially when you have to rearrange pages after printing manually. However, with Microsoft Word’s built-in option to print documents in reverse order, you can save a lot of time and effort. By following the simple steps outlined above, you can easily set up Word to print pages in reverse order or use the Print dialog to enter the page numbers in reverse order. This feature is available in both Windows 11 and 10 and eliminates the need to download any third-party applications. With this helpful feature, printing large documents can be done efficiently and with ease.