Starting Anniversary Update, Microsoft included an exciting feature on Windows 10. Your Windows 10 PC may function as a wireless receiver for Miracast, allowing you to view the display from another Windows PC, an Android smartphone or tablet, or a Windows phone.
To turn your Windows 10 machine into a wireless receiver, you need to install the “Wireless Display” optional feature on your PC to bring the “Connect” app to your computer. On a Windows 11 machine, the Connect app is known as a “Wireless Display.” Both “Connect” and “Wireless Display” serve the same purpose.
You need to go through several steps to cast or project the Android display to a Windows 10 PC. In this gearupwindows article, we will guide you through every step that will help you mirror your Android phone display to Windows 10 machine.
How to Install Wireless Display (Connect App) on Windows 10?
To mirror your phone screen to the PC, you’ll need to install the optional feature “Wireless Display” on your Windows 10. This will bring the “Connect” app to your computer.
To download and install “Wireless Display” on your Windows 10, do the following:-
Step 1. First, open Windows Settings.
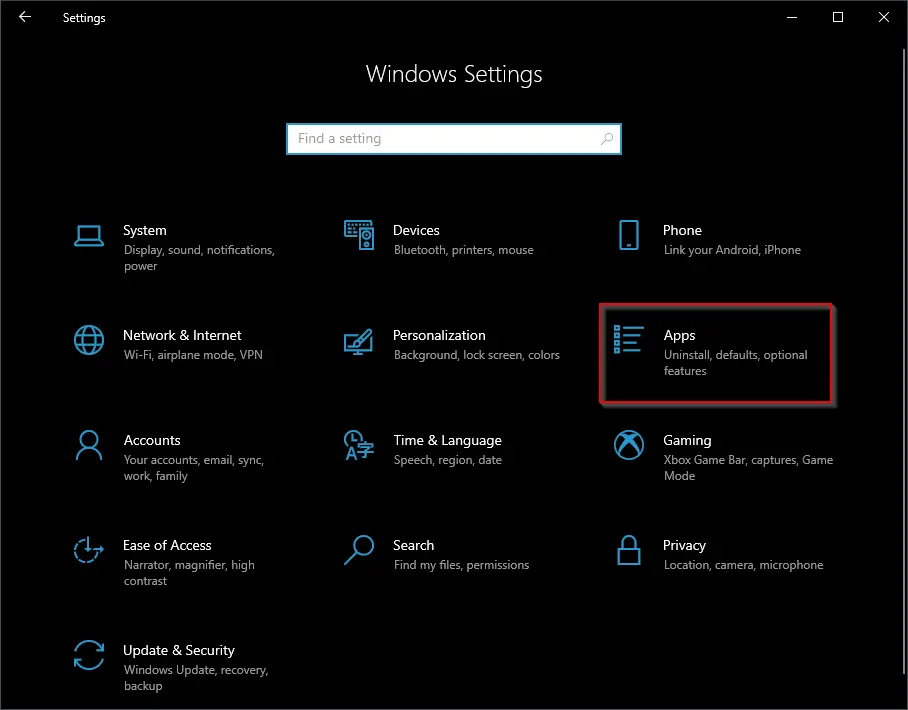
Step 2. Then, click on Apps.
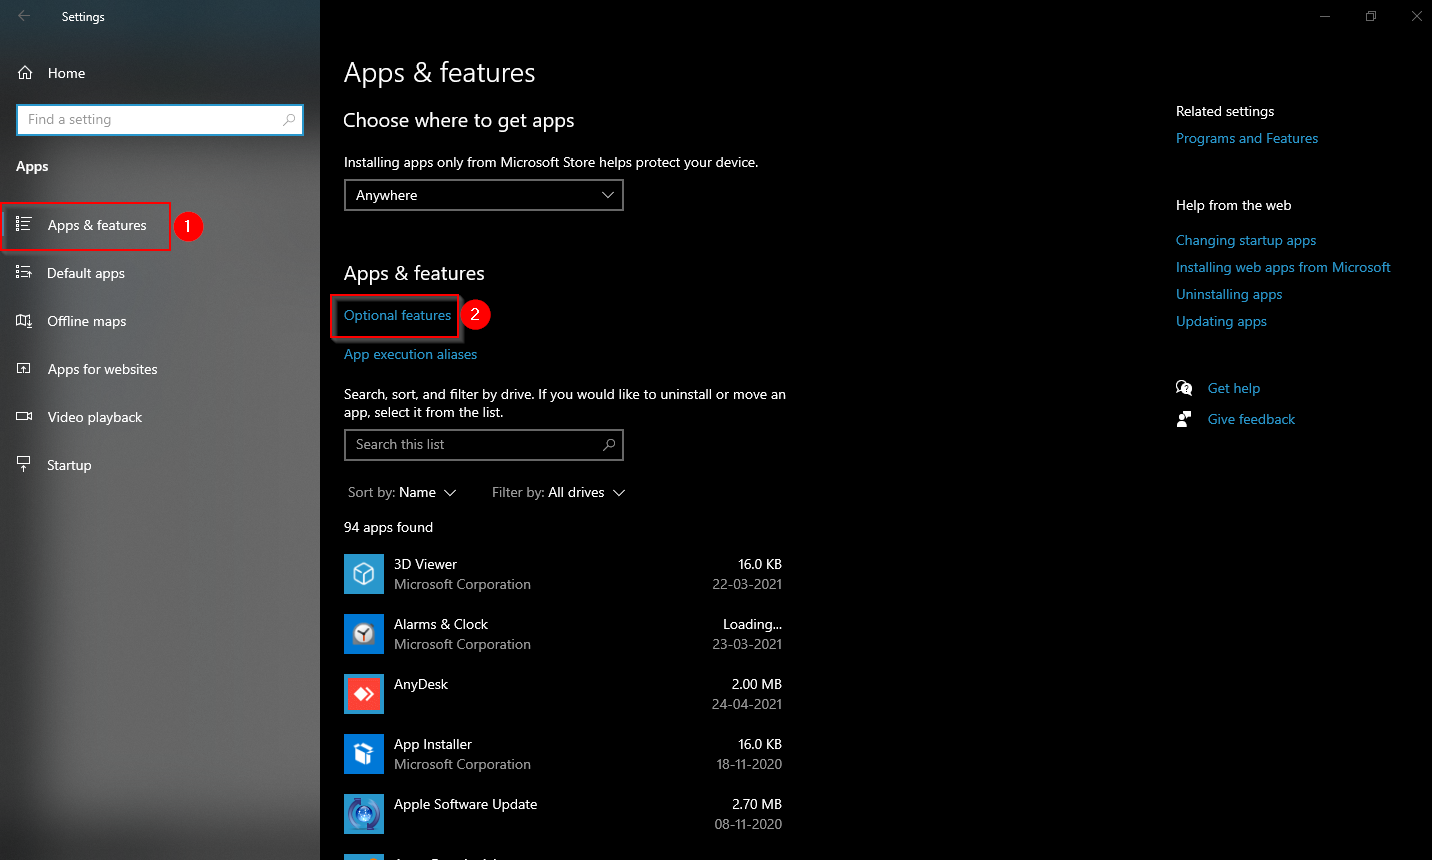
Step 3. Next, select Apps & features on the left side.
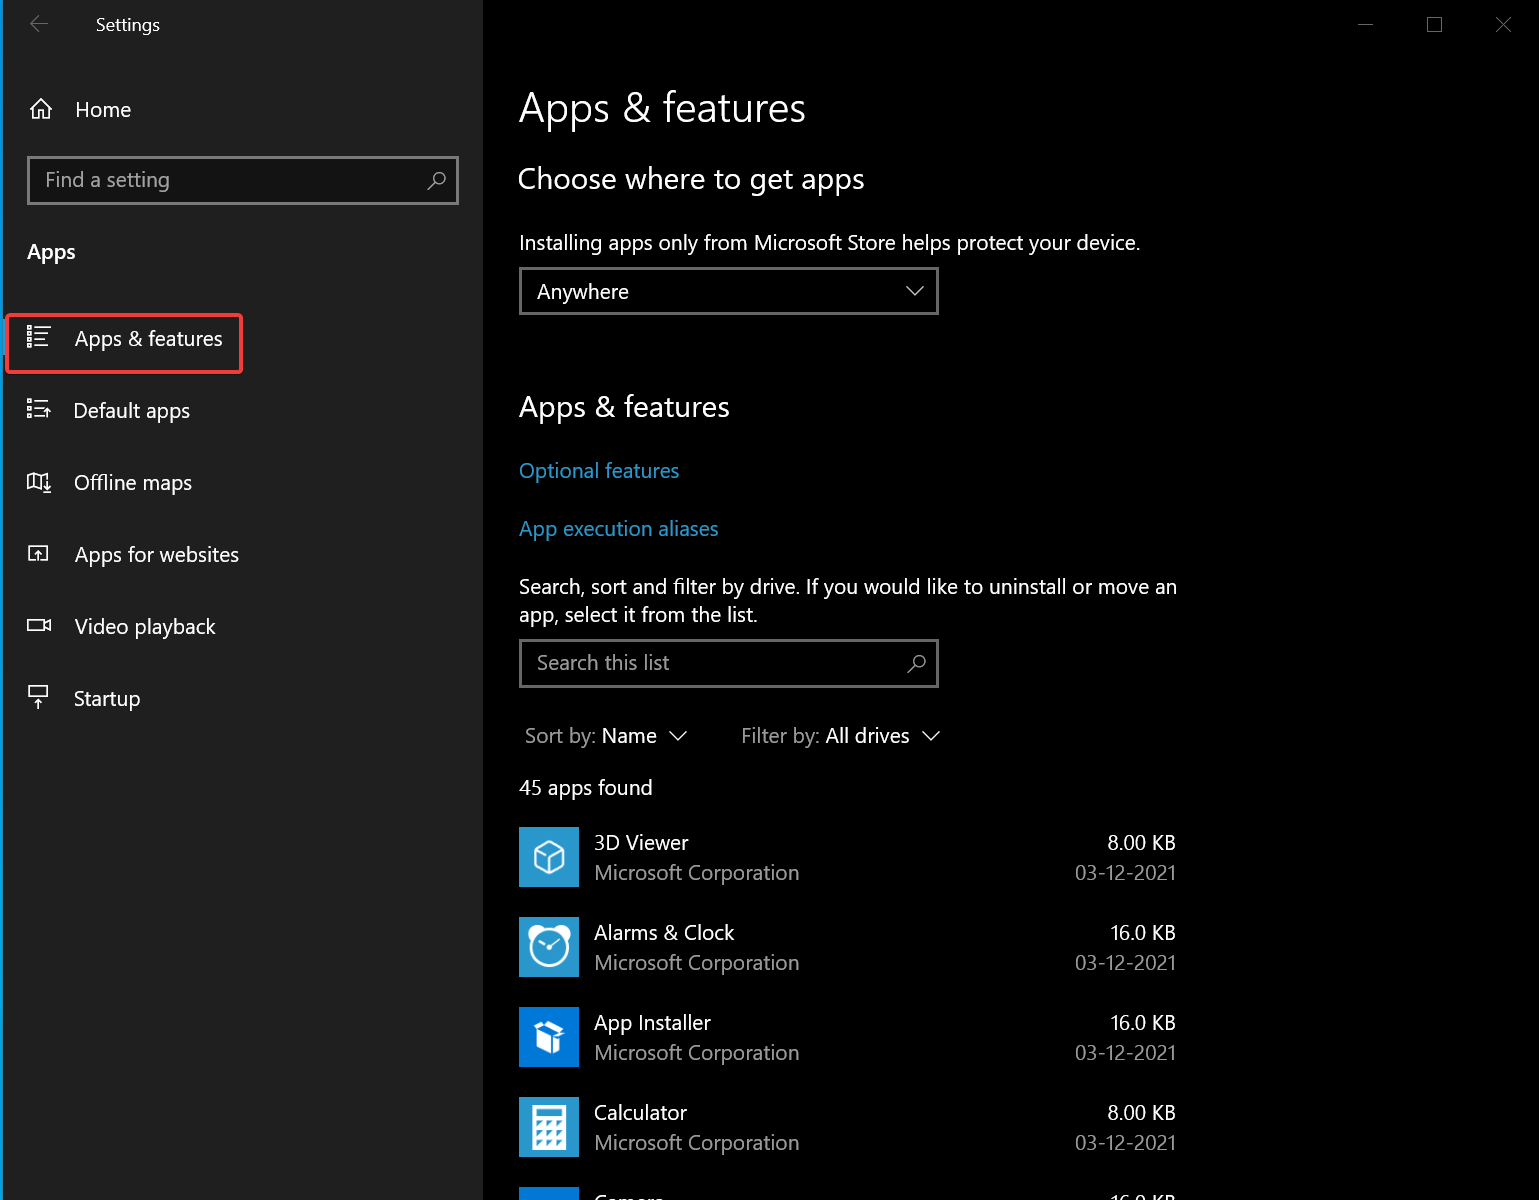
Step 4. After that, click the Optional features link on the right side.
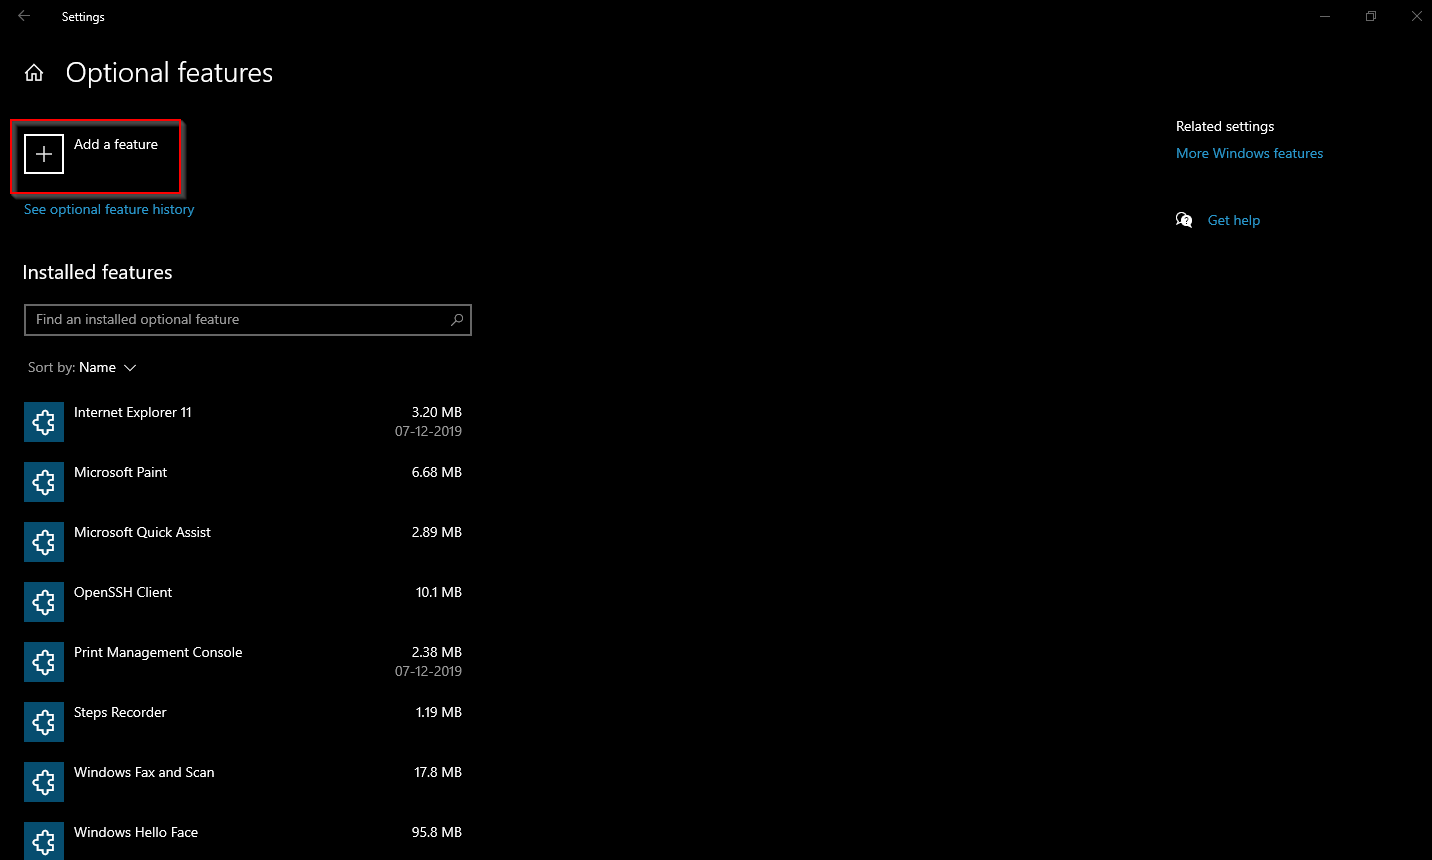
Step 5. On the following screen, click the Add a feature button.
Step 6. Then, type Wireless Display in the search bar.
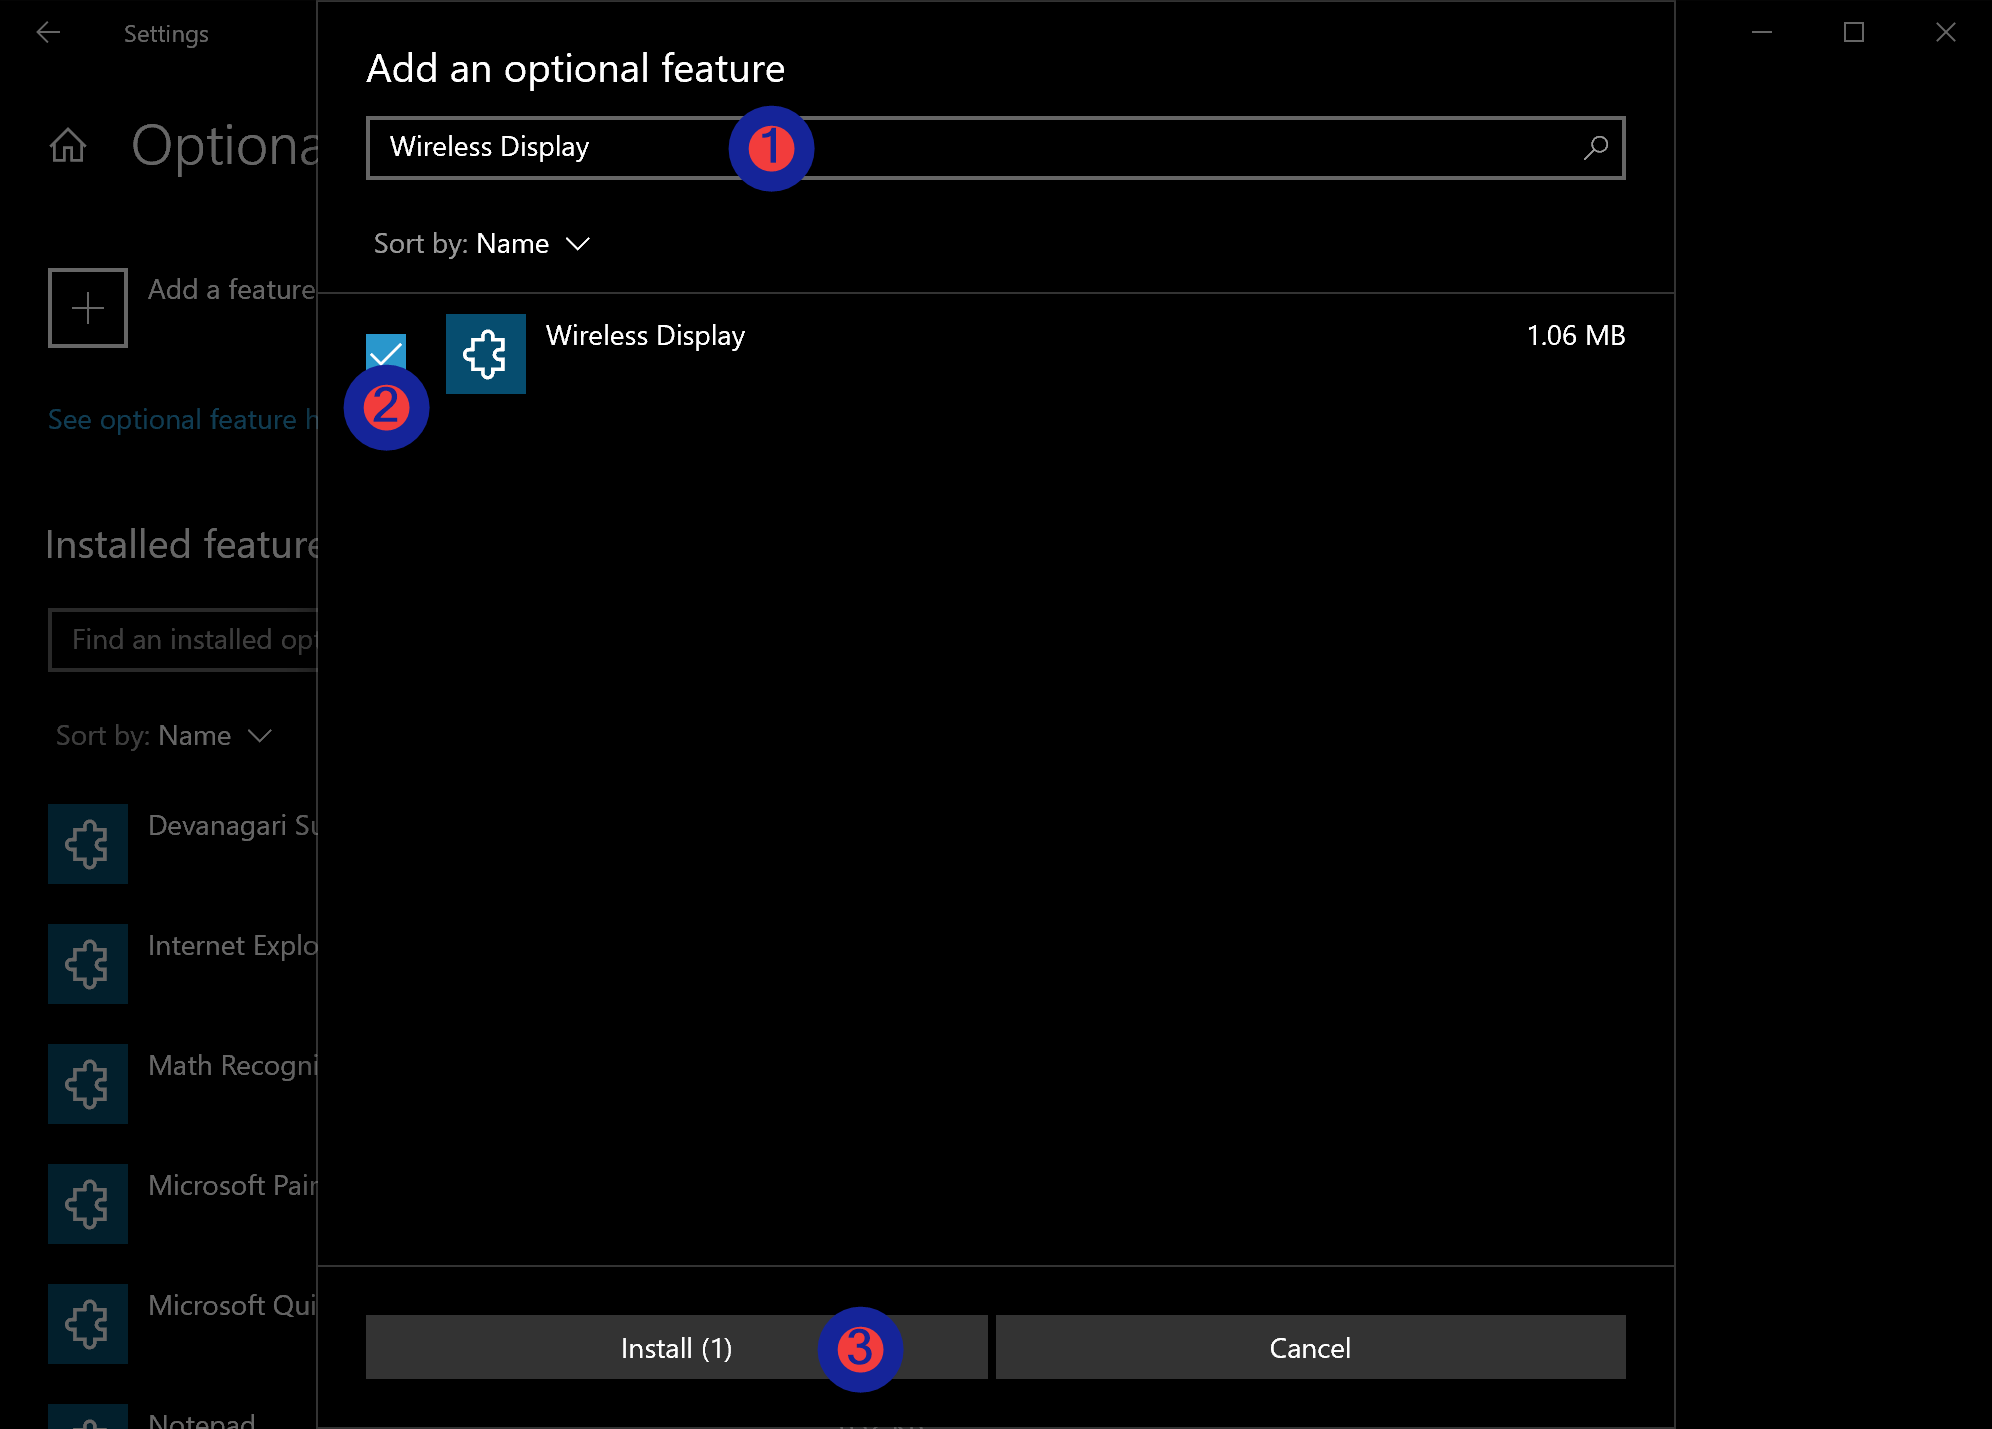
Step 7. After that, check the checkbox before “Wireless Display.”
Step 8. Finally, click the Install button to install Connect app on your Windows 10 PC.
How to Cast from an Android Phone to Windows 10?
Quick Note: Ensure that your Windows 10 PC and Android phone are connected to the same WiFi network.
To cast from an Android phone to Windows 10 PC, you need to change the “Projecting to this PC” options. For that, navigate to Settings > System > Projecting to this PC.
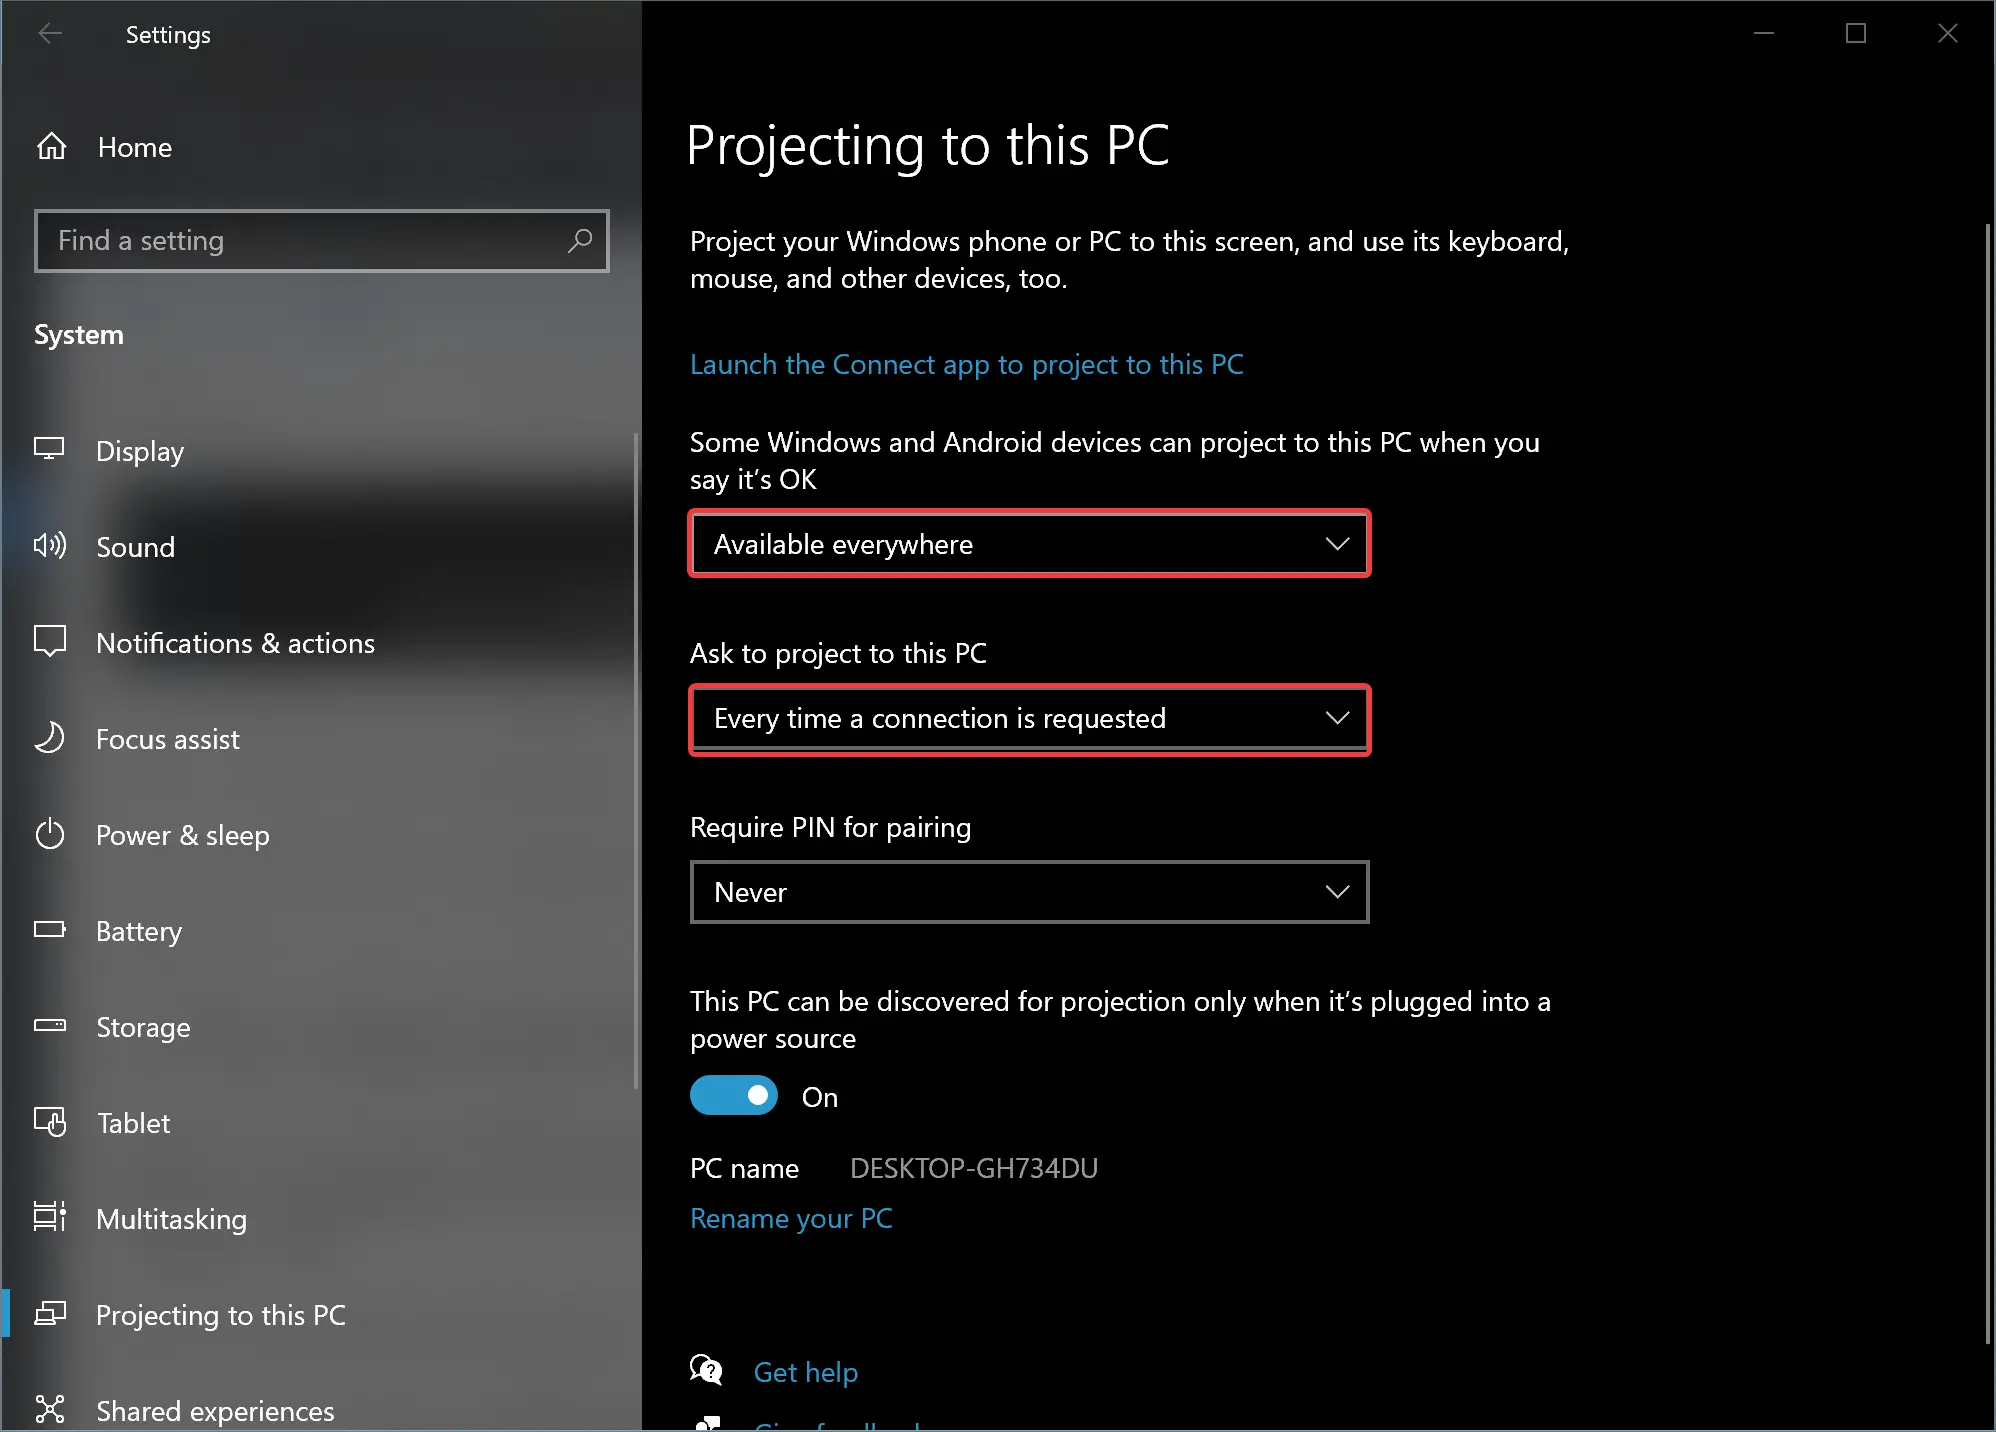
Here choose the options wisely. For example, in the first drop-down menu, select “Available everywhere,” and in the second drop-down menu, choose “Every time a connection is requested.”
To project the screen of an Android device to Windows 10, you can use the built-in Cast feature if your phone supports it. You may find the different names on different manufacturer phones, for instance, “Smart View” in Samsung and “Screencast” on Oppo phones. You can also find this on an Android device by navigating to Settings > Display > Cast.
Swipe down and enable Wireless Display on your phone or allow the same from the phone’s Settings. When you’re done, you should see your PC appear in the list here if you have opened the Connect app on your PC.
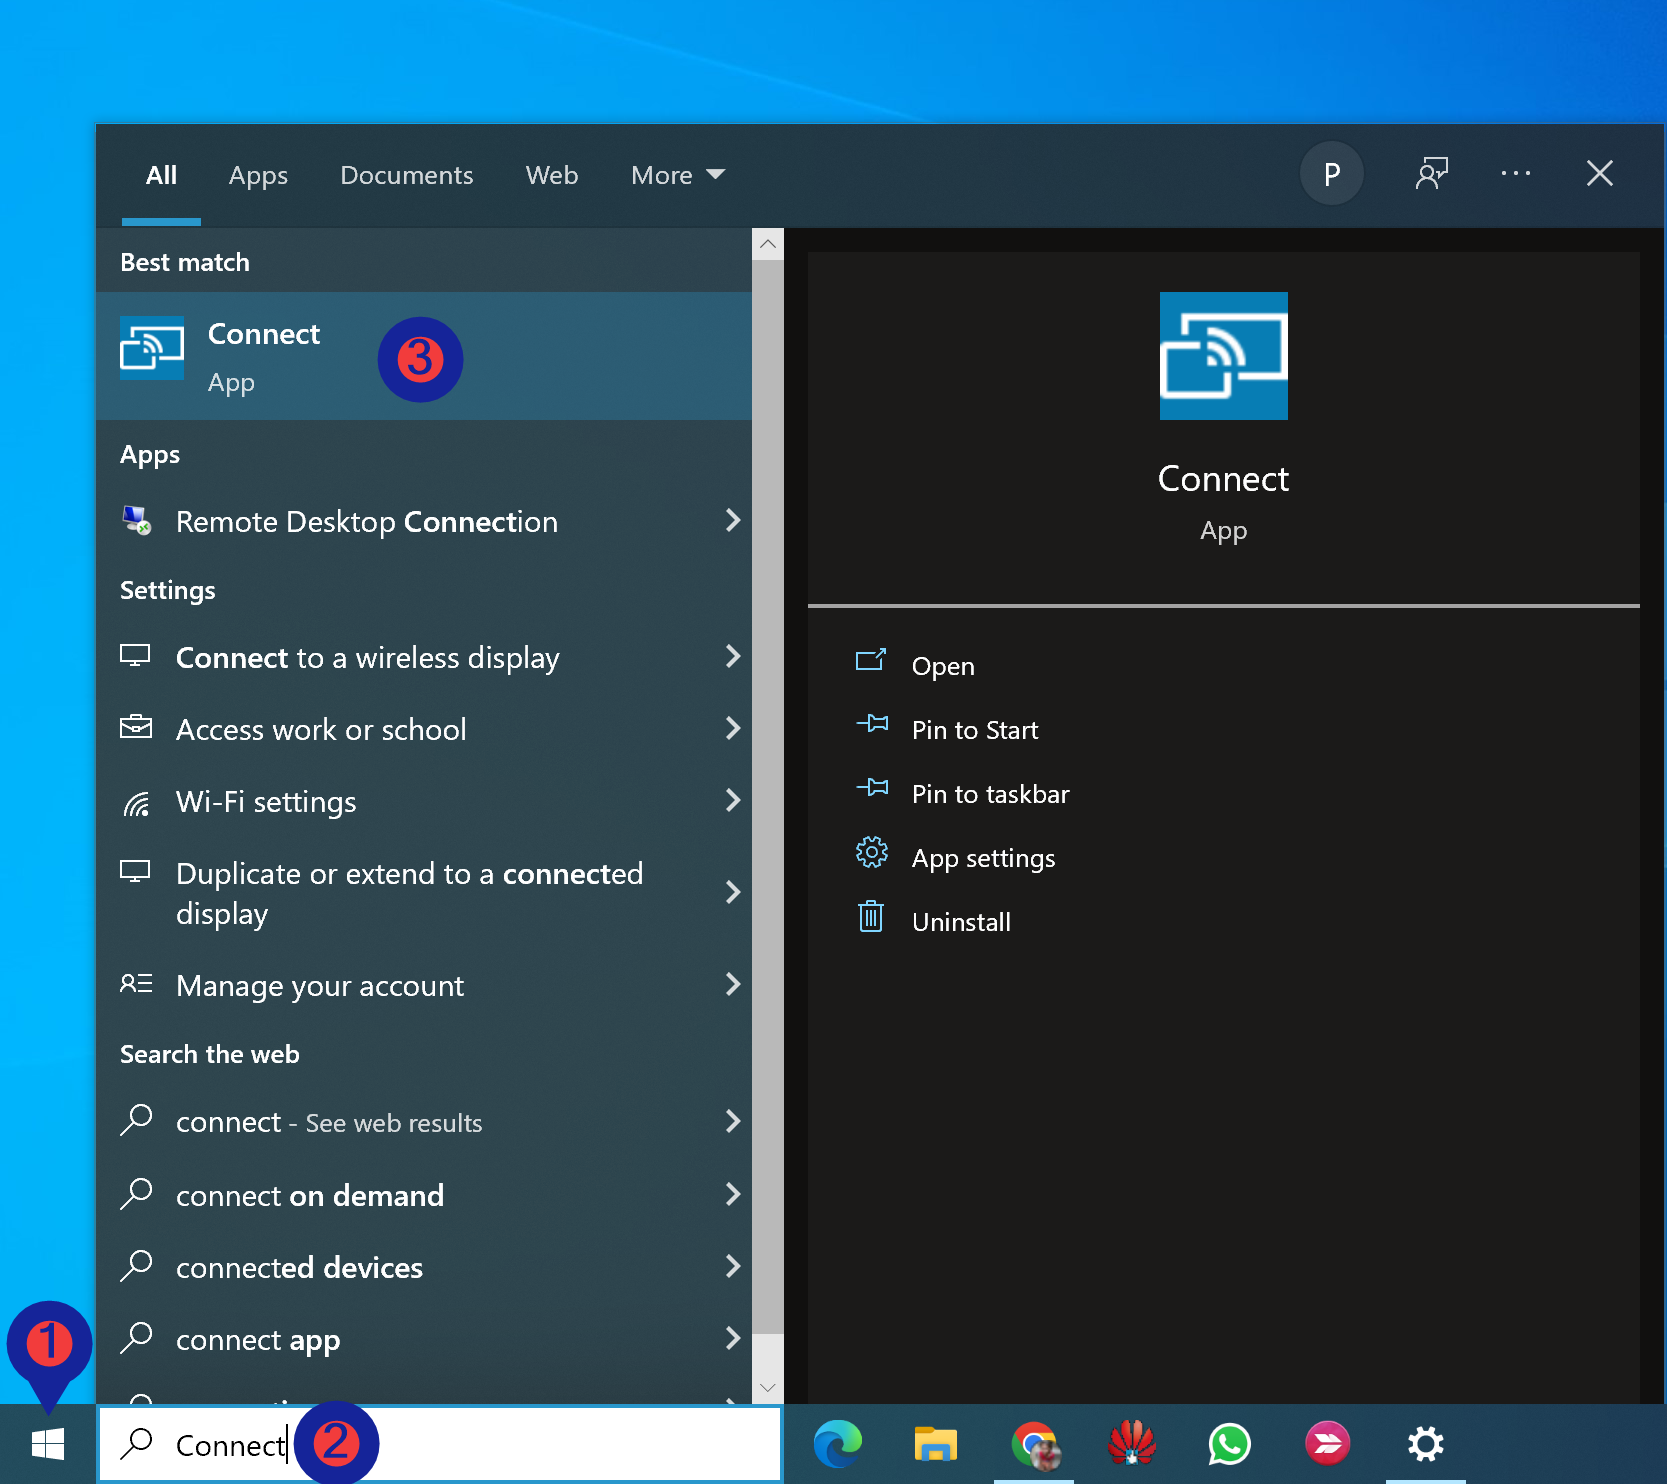
If you have not launched the Connect app on your PC yet, click the Start button and type Connect. Click the same to open.
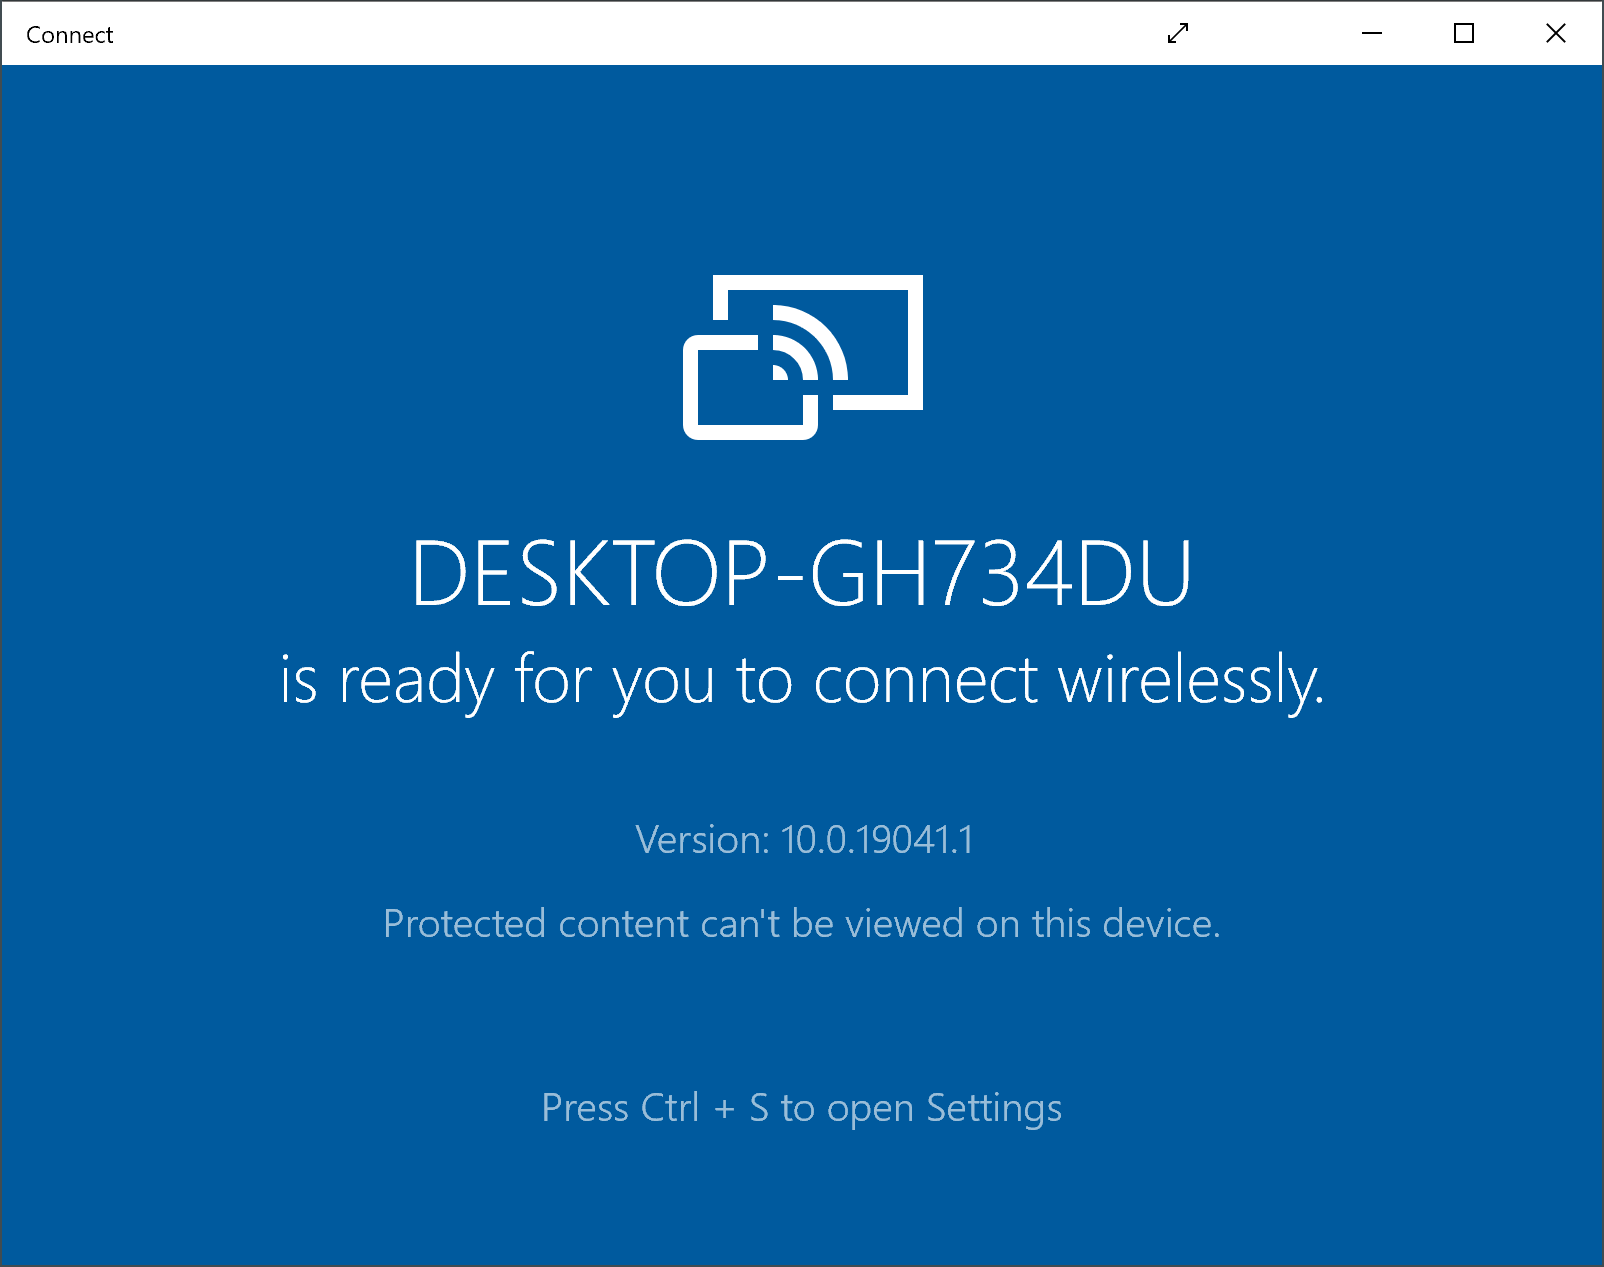
When you start Connect app on your Windows 10 machine and Cast it on your phone, your PC name will appear. Tap on your PC name on your phone to project the phone’s screen on your Windows 10 PC.
The Connect app will produce notifications that you can find in the action center. Allow your PC to display the screen of your phone. To stop projecting, close the Connect window on the PC or end the remote display connection on the phone projecting to it.
That’s it!
Conclusion
In conclusion, turning your Windows 10 or 11 PC into a wireless receiver for Miracast can be a useful feature to project or mirror the display from another Windows PC, Android smartphone or tablet, or Windows phone. To use this feature, you need to install the “Wireless Display” optional feature on your Windows 10 PC or use the “Wireless Display” app on your Windows 11 machine. Once installed, you can follow the steps outlined in this gearupwindows article to mirror your Android phone display to your Windows 10 PC. By changing the “Projecting to this PC” options, enabling Wireless Display on your phone, and using the Connect app on your PC, you can easily project your phone’s screen onto your PC.