Windows 11/10 allows you to add several printers to your PC. When you add a new printer, the system detects and sets up the device with default settings. Depending upon the manufacturer, the printer’s name may be complex and lengthy.
Although the default name of the printer is unique and descriptive, sometimes you may want to change its name for some reason. For example, you want to display a short and simple name. The printers are installed in different locations, and you want to rename them according to their locations so that you don’t make a mistake while printing a document.
The reasons may be many. Windows 11/10 lets you change the name of your printers using the Settings app, Control Panel, Command Prompt, and PowerShell.
In this gearupwindows article, you will learn how to rename a Printer on Windows 11 and 10.
How to Change Printer Name using Windows 11 Settings?
To change the printer name through the Windows 11 Settings app, use these steps:-
Step 1. Open Windows 11 Settings.
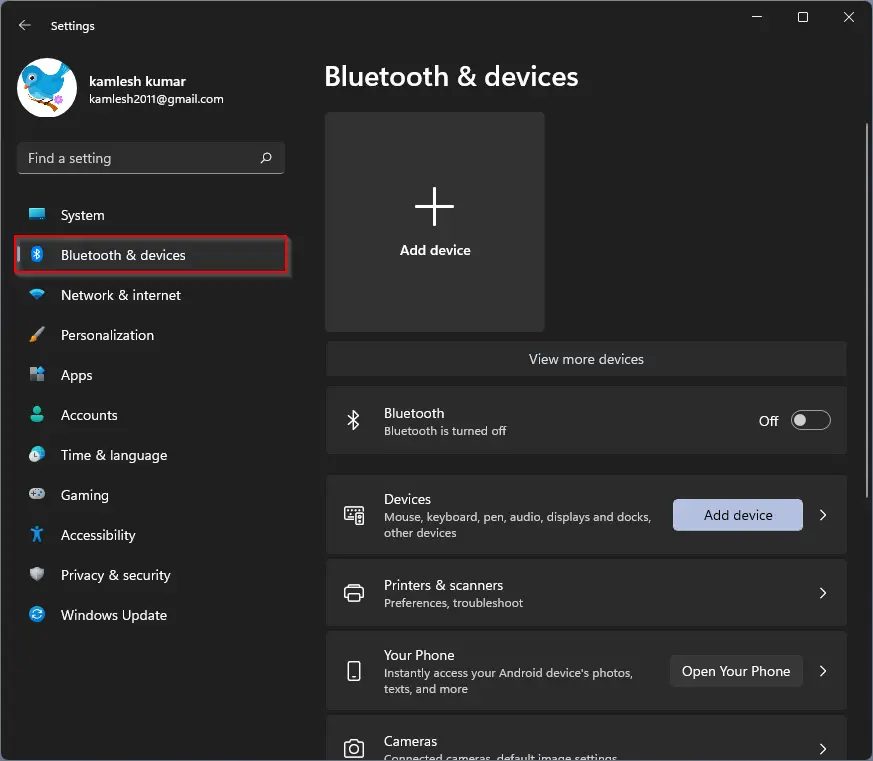
Step 2. Click on Bluetooth & devices.
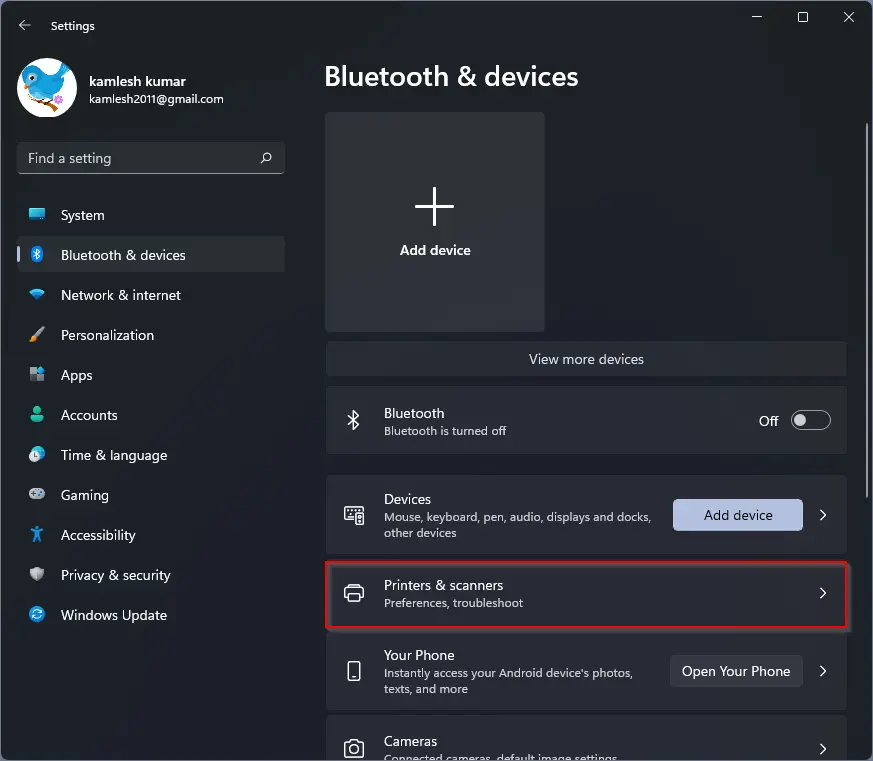
Step 3. On the right sidebar, click on the Printers & scanners tile.
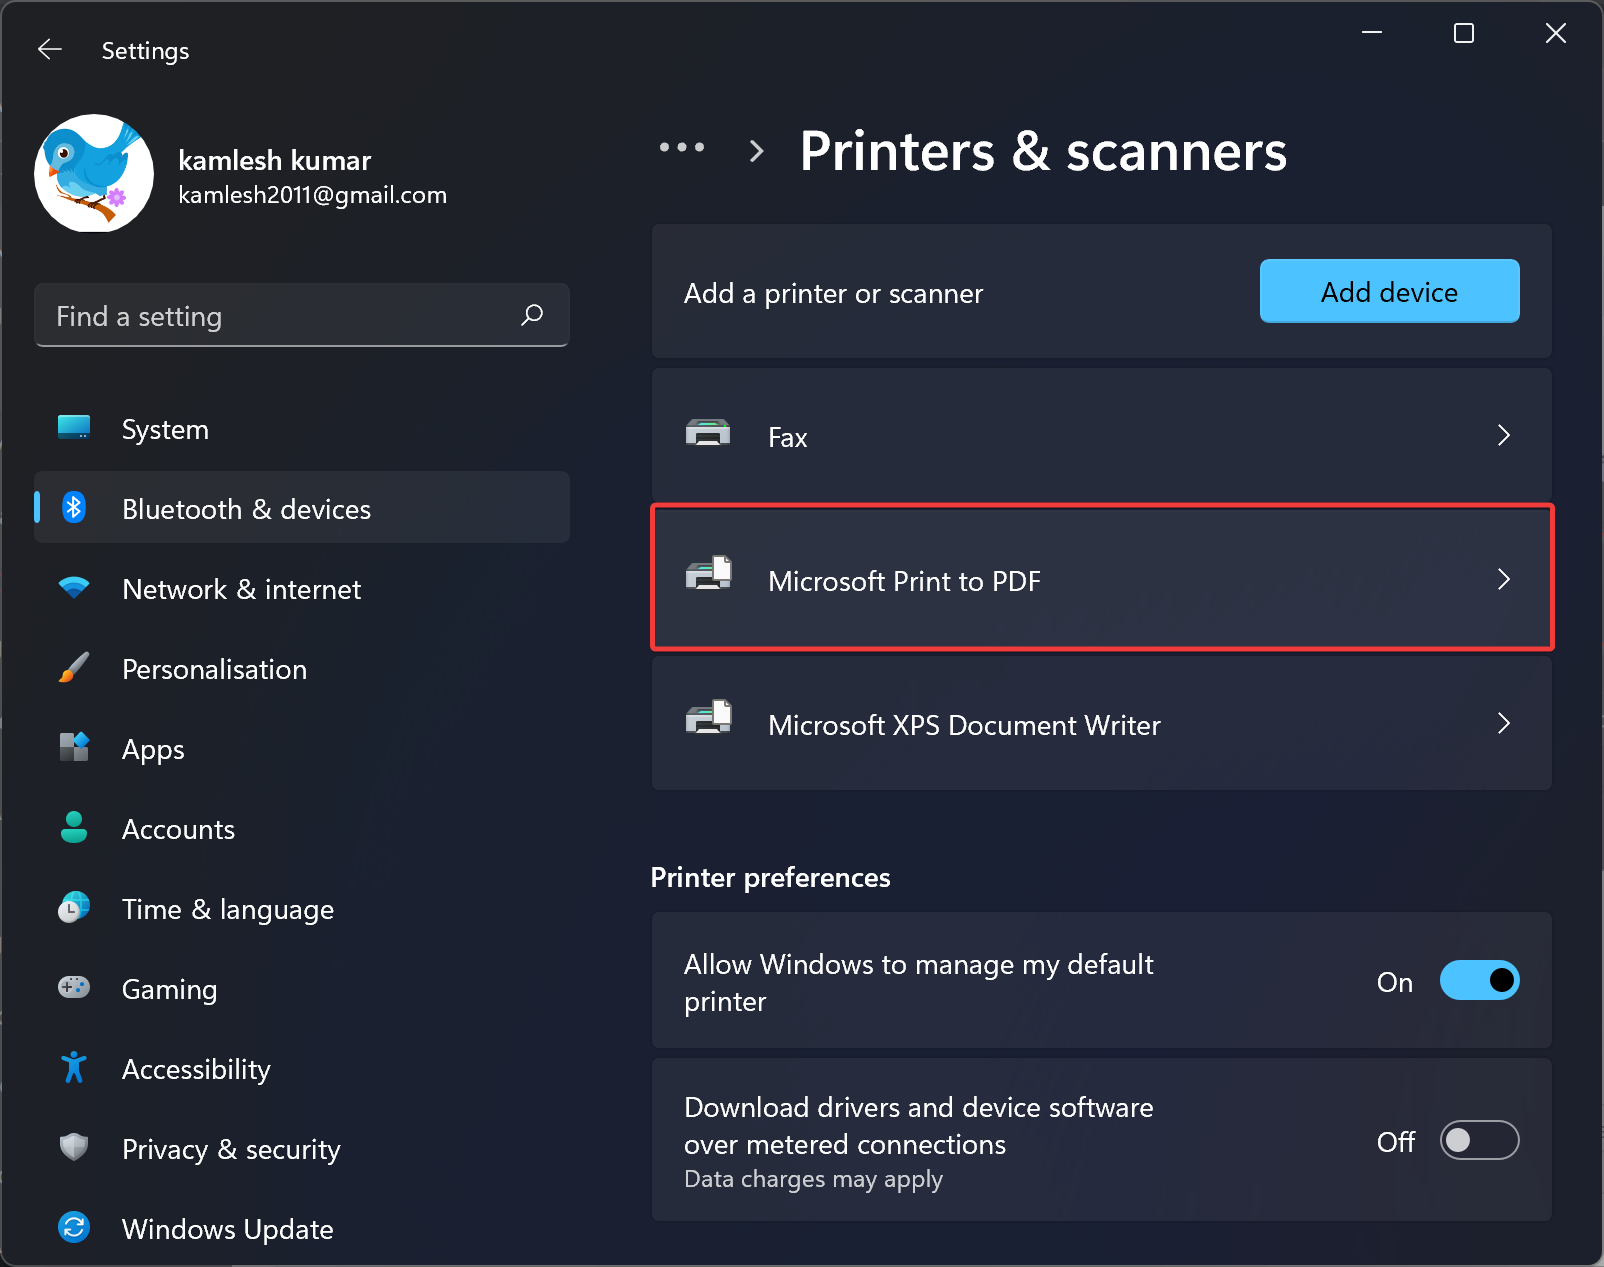
Step 4. Select a printer you want to rename.
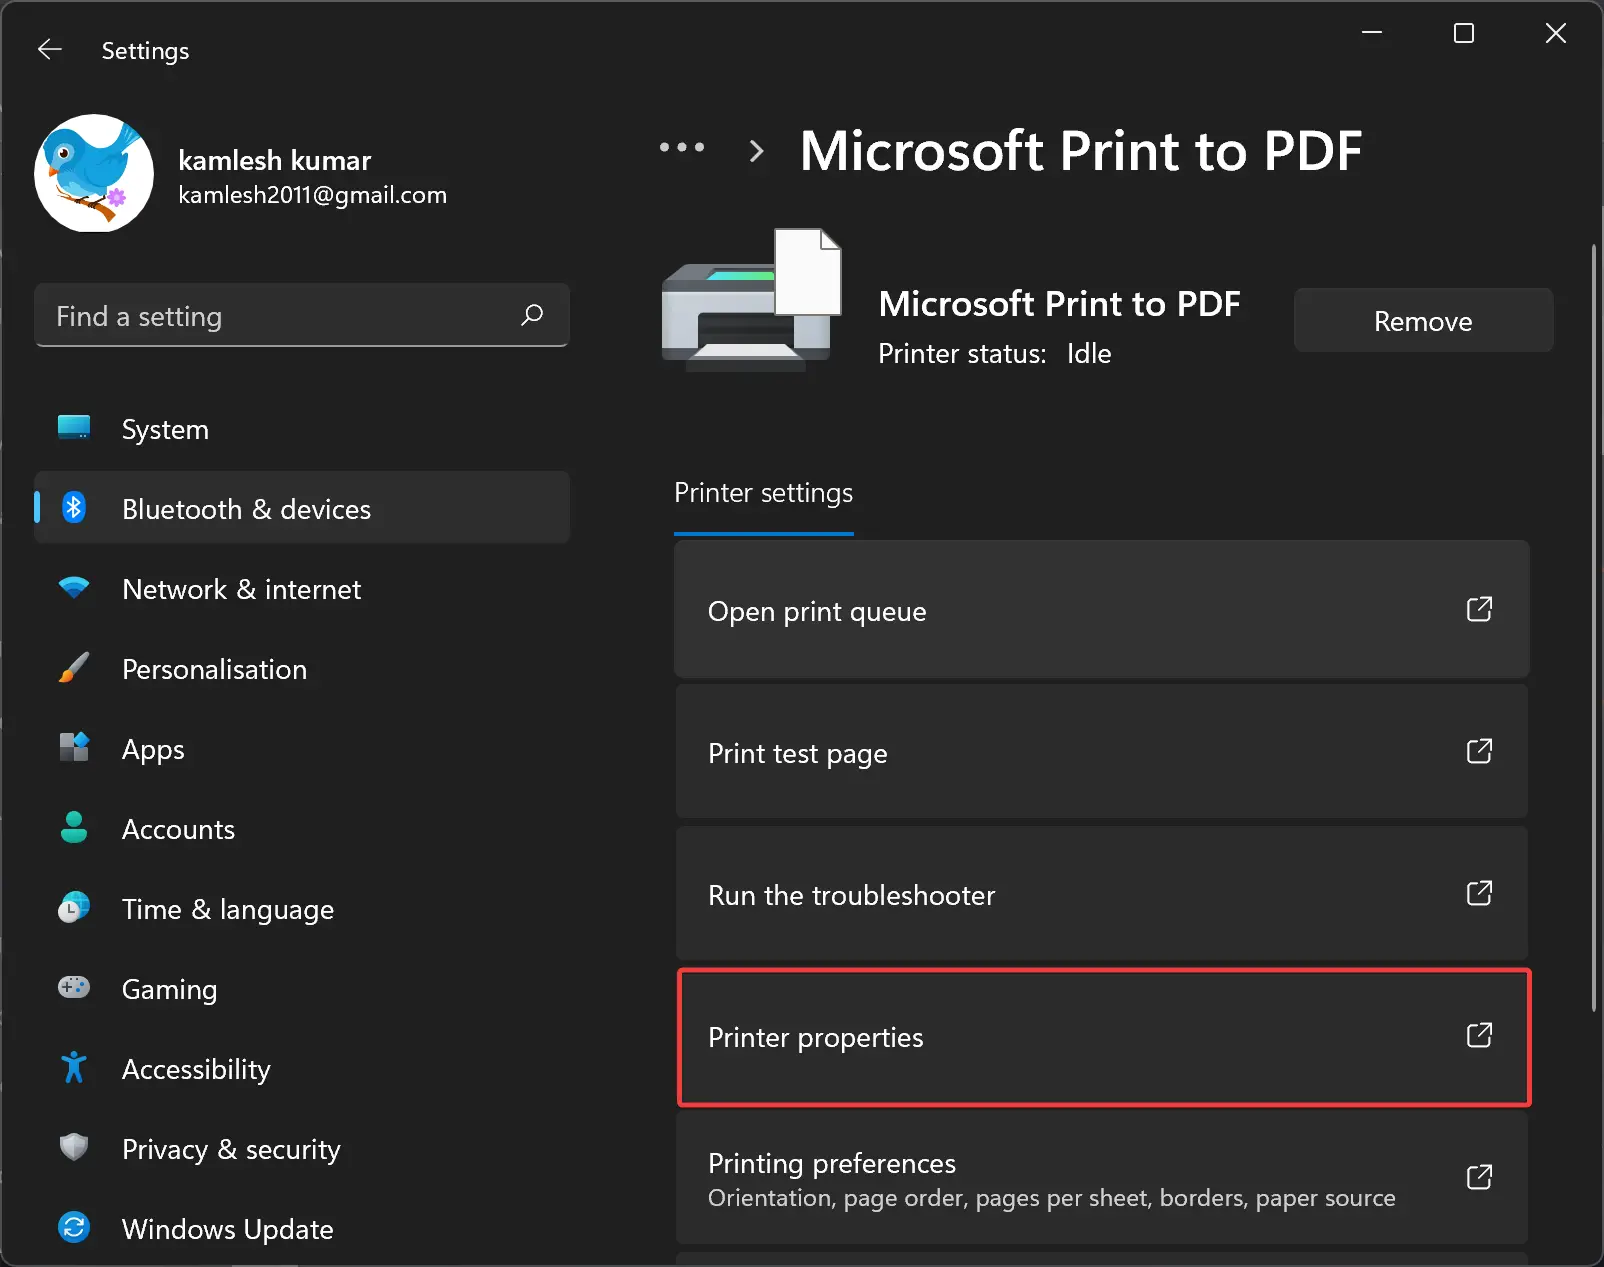
Step 5. Click Printer properties to open the Printer Properties dialog.
Step 6. Switch to the General tab.
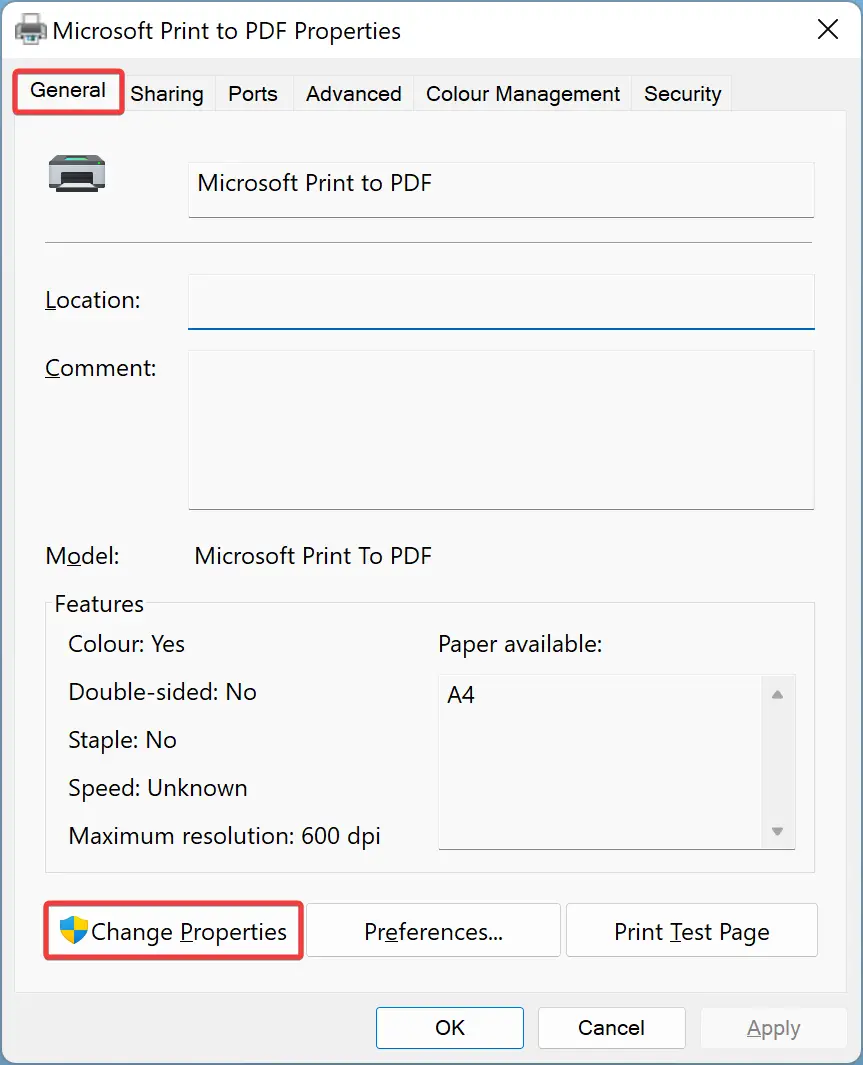
Step 7. Click the Change Properties button.
Step 8. Switch to the General tab.

Step 9. Change the name of the printer.
Step 10. Click OK.
How to Rename a Printer in Windows 11 or 10 through Control Panel?
To change the printer name on Windows 11 or 10 using Control Panel, use these steps:-
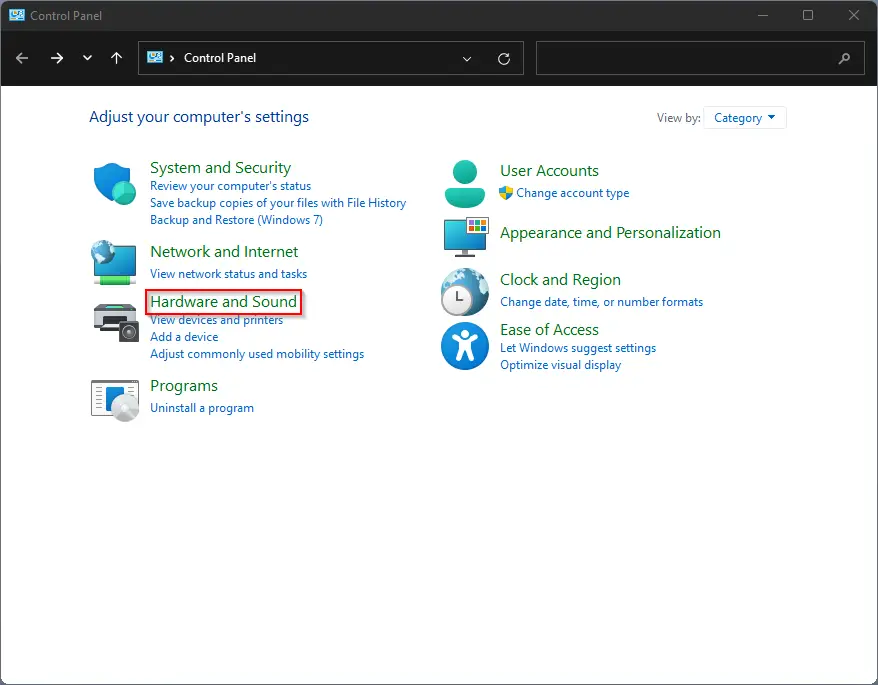
Step 1. Open Control Panel.
Step 2. Click on Hardware and Sound.
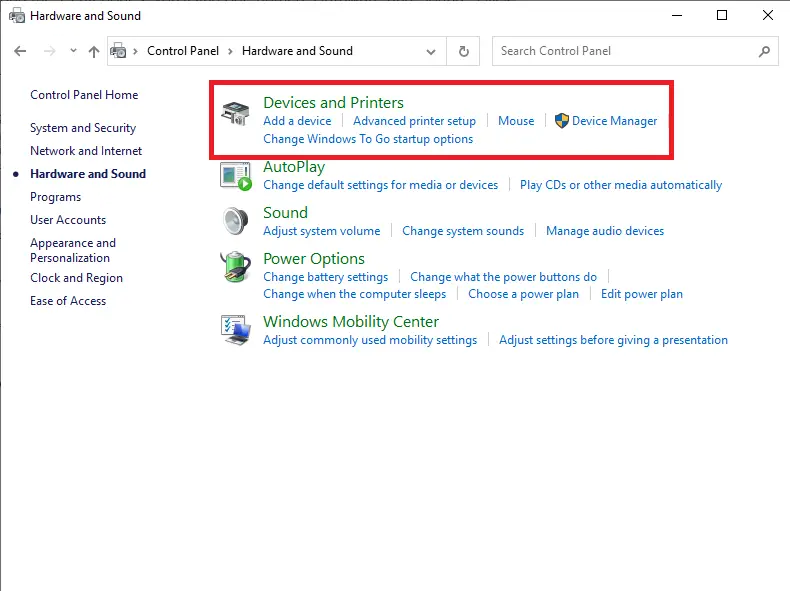
Step 3. Click on Devices and Printers.
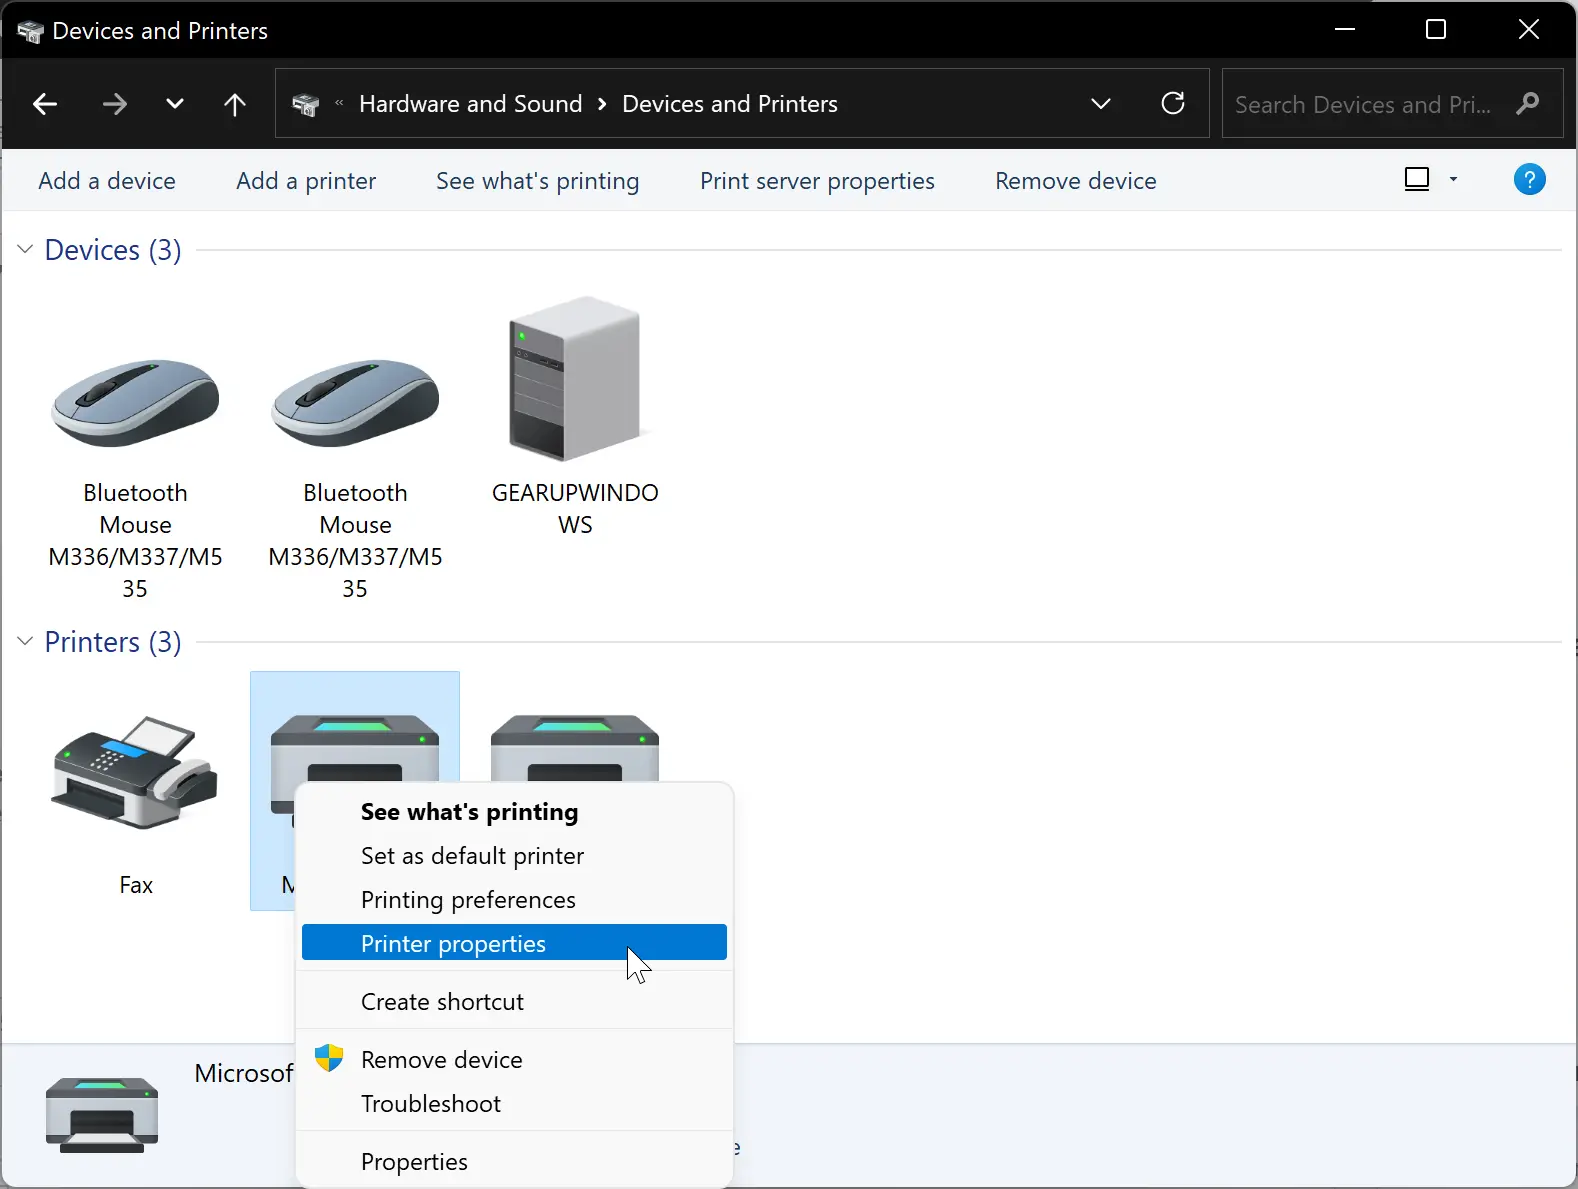
Step 4. Under the “Printers” section, right-click the printer you want to change the name and select the Printer properties option.
Step 5. Switch to the General tab.
Step 6. Click the Change Properties button.
Step 7. Switch to the General tab.
Step 8. Change the name of the printer.
Step 9. Click OK.
How to Change a Printer Name on Windows 11 or 10 through Command Prompt?
To change the printer name using Command Prompt, do these steps:-
Step 1. Open an elevated Command Prompt.
Step 2. Type the following and press the Enter key on the keyboard to change the name of your printer:-
cscript %WINDIR%\System32\Printing_Admin_Scripts\en-US\prncnfg.vbs -x -p "CURRENT-PRINTER-NAME" -z "NEW-PRINTER-NAME"
Note: In the above command, replace CURRENT-PRINTER-NAME with the current printer name and NEW-PRINTER-NAME with the new name you want to set for your printer.
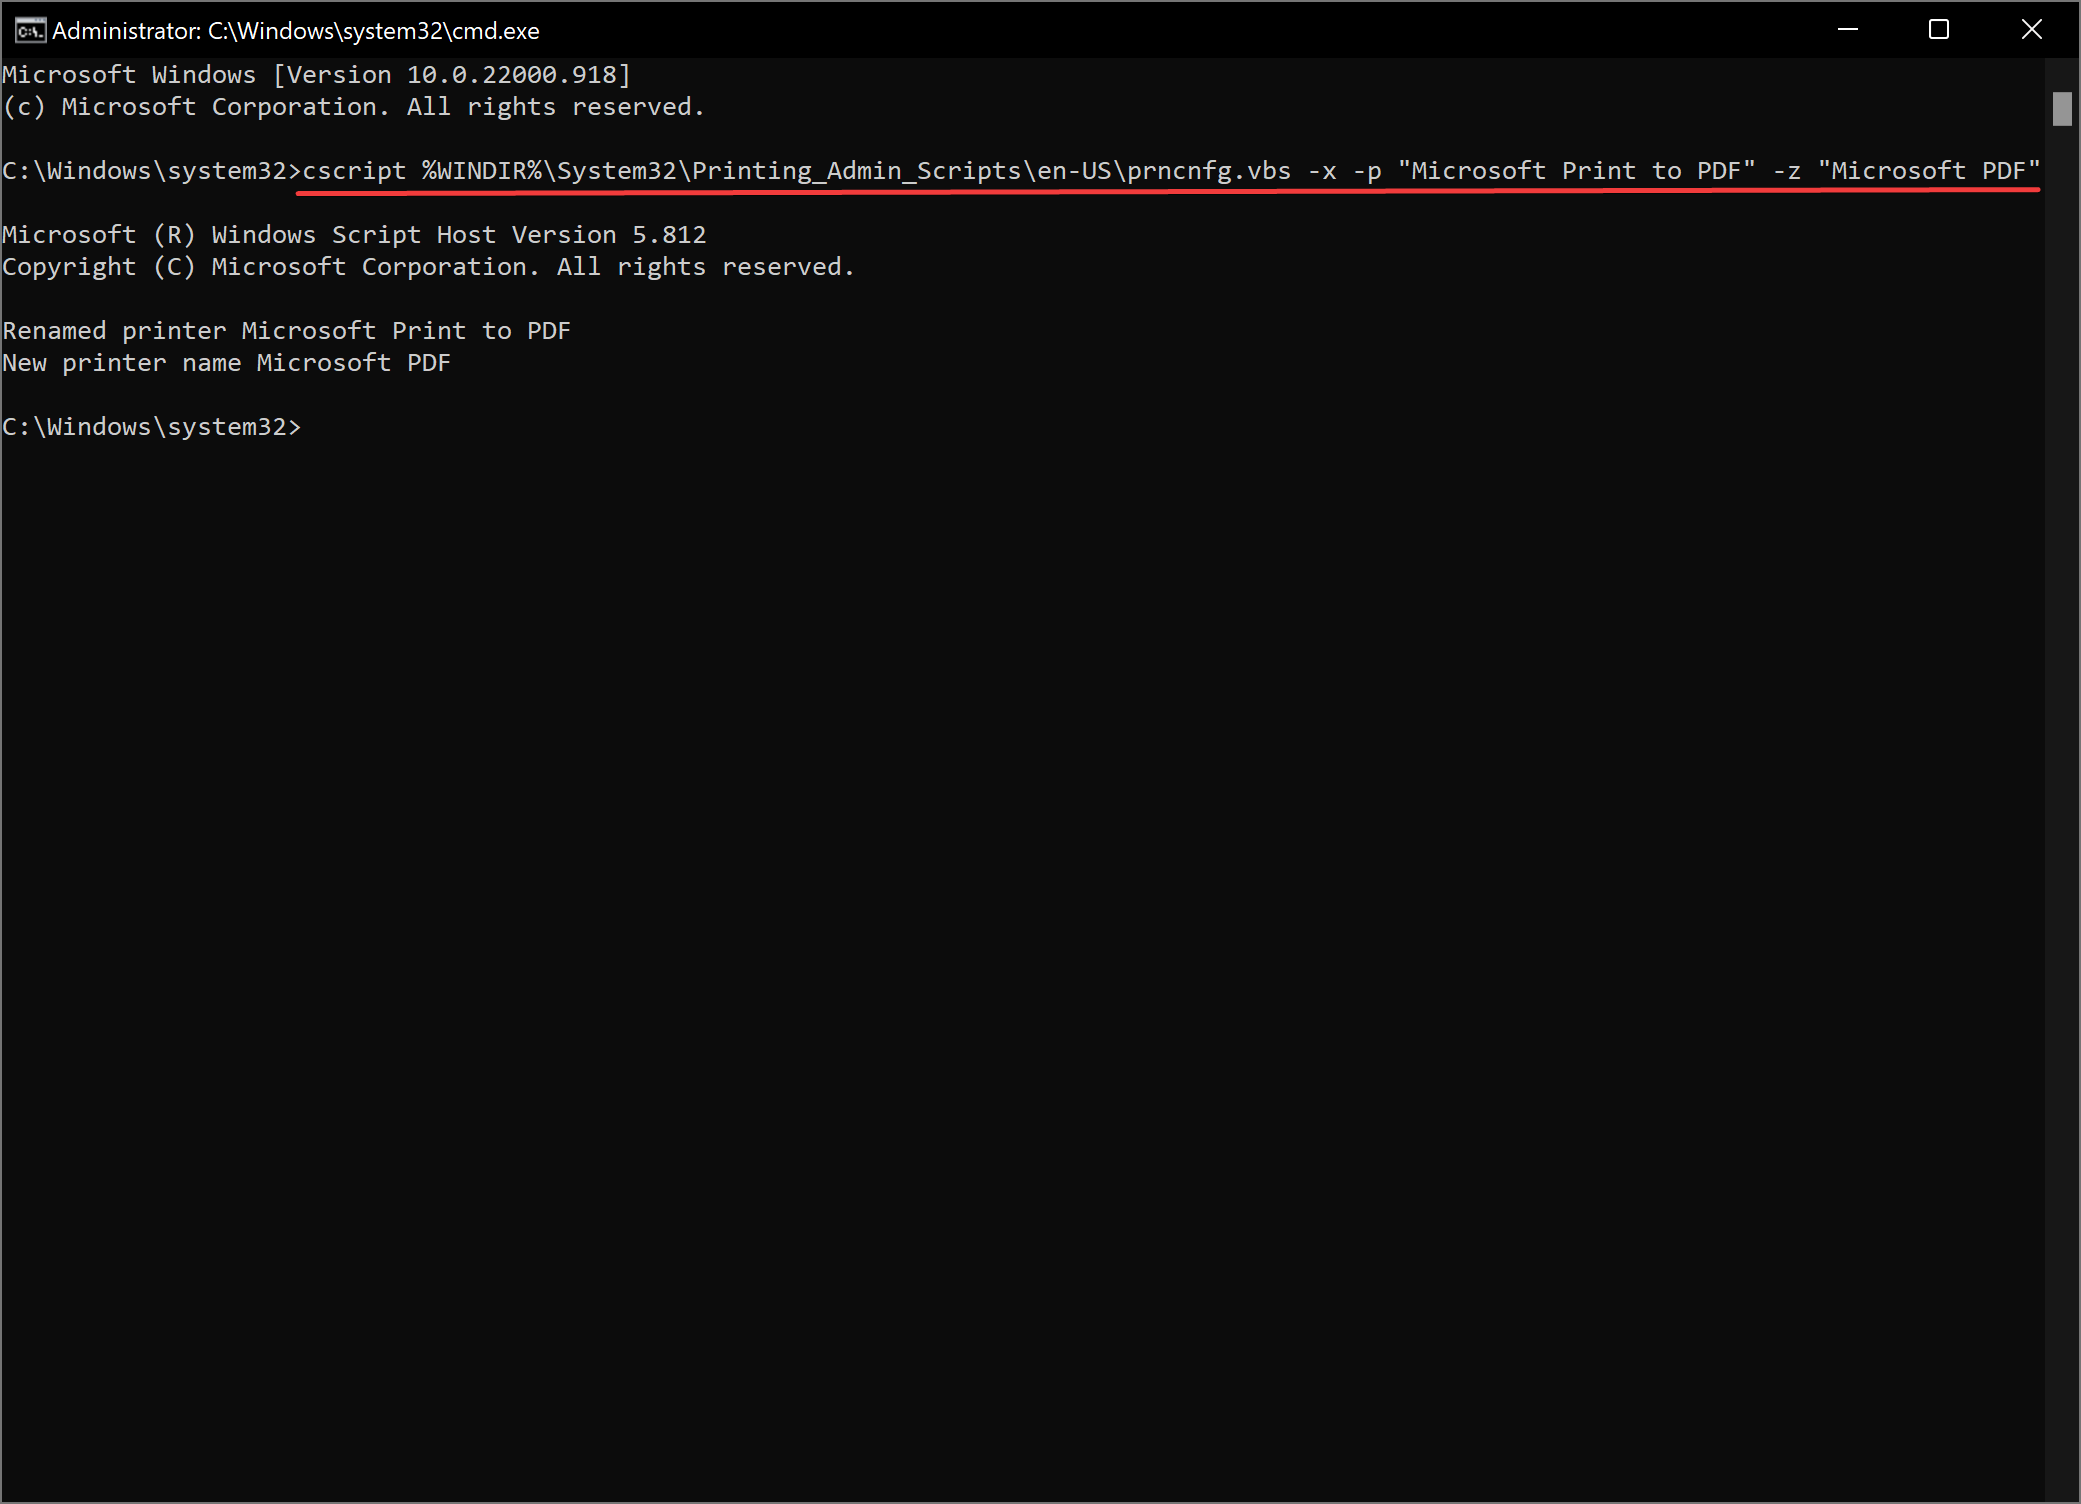
For example, we want to change the print name “Microsoft Print to PDF” to “Microsoft PDF.” So, the command should be the following:-
cscript %WINDIR%\System32\Printing_Admin_Scripts\en-US\prncnfg.vbs -x -p "Microsoft Print to PDF" -z "Microsoft PDF"
How to Rename Printer on Windows 11 or 10 using Windows PowerShell?
To change the printer name using Windows PowerShell, do these steps:-
Step 1. Open an elevated Windows PowerShell.
Step 2. Type the following and press the Enter key on the keyboard to change the name of your printer:-
Rename-Printer -Name "CURRENT-PRINTER-NAME" -NewName "NEW-PRINTER-NAME"
Note: In the above command, replace CURRENT-PRINTER-NAME with the current printer name and NEW-PRINTER-NAME with the new name you want to set for your printer.
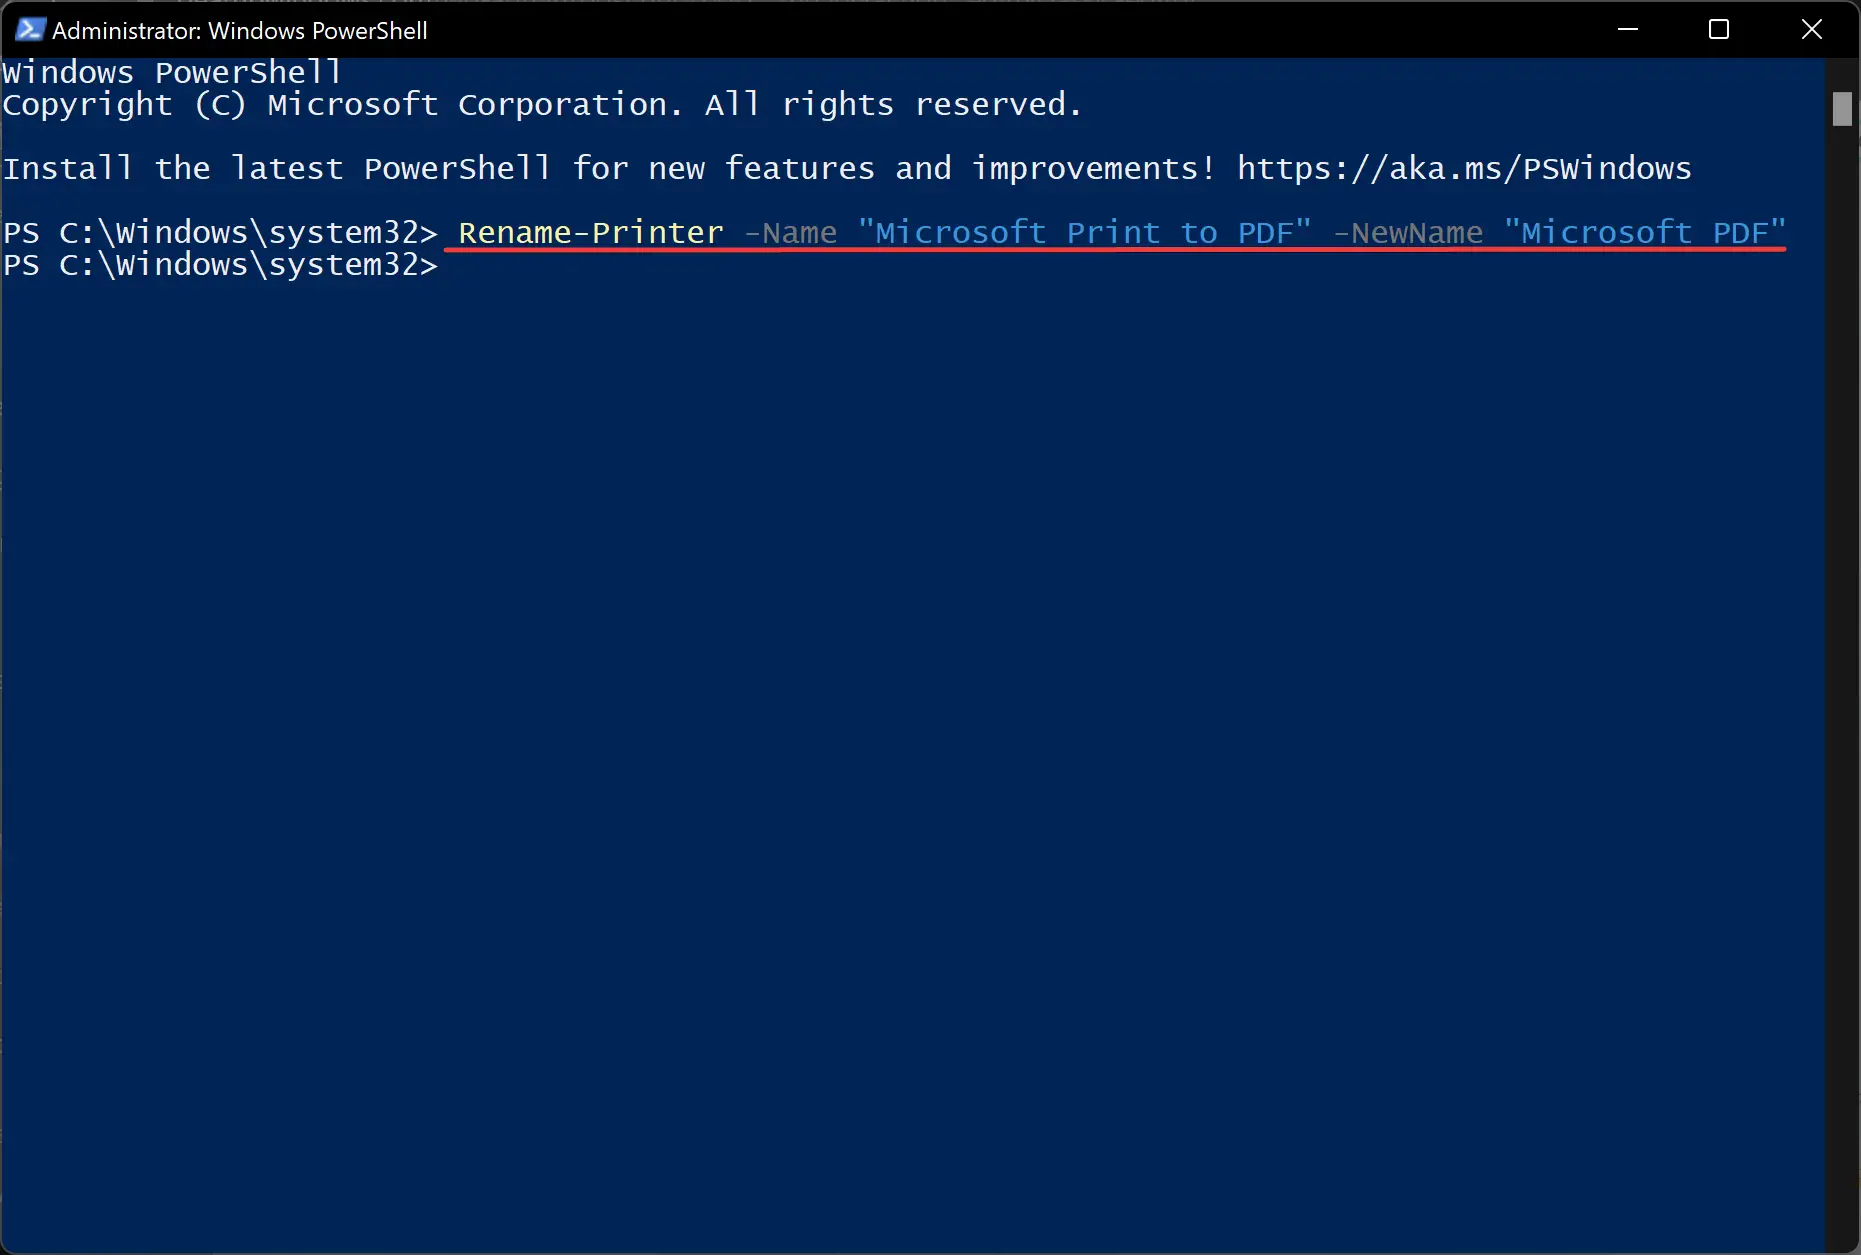
For illustration, we want to change the print name “Microsoft Print to PDF” to “Microsoft PDF.” So, the command should be the following:-
Rename-Printer -Name "Microsoft Print to PDF" -NewName "Microsoft PDF"
Conclusion
In conclusion, Windows 11/10 provides several ways to rename a printer on your PC. Although the default printer name is unique and descriptive, you may want to change it to something that’s easy to remember or relevant to the location of the printer. By using the Settings app, Control Panel, Command Prompt, or Windows PowerShell, you can quickly change the printer name to meet your needs. Whether you are a casual user or a power user, these methods are simple and straightforward to follow, allowing you to customize your printing experience on Windows 11/10.